Crispy sweet and sour pork lives or dies on two things: a light, shattering coating and a sauce that clings without turning the crust soggy. When both parts are handled right, you get crisp pork, bright peppers, juicy pineapple, and that glossy red-orange sauce that hits sweet, tangy, and savory all at once. It tastes like the best part of a takeout order, but the pork stays crisper because it’s fried in batches and tossed with the sauce at the very end.
The egg and soy marinade gives the pork a little seasoning before it ever sees the flour mixture, and the cornstarch in both the marinade and coating helps build that crisp shell. I like pork shoulder for more flavor and a little extra insurance against drying out, but loin works well if you cook it just until done. The sauce is simple on purpose: ketchup for body, rice vinegar for sharpness, sugar for balance, and pineapple juice for the fruit note that ties the whole dish together.
Below, I’ll walk through the part that matters most: how to keep the pork crisp after frying, how to thicken the sauce without making it gummy, and the small timing details that keep the peppers bright instead of limp.
The pork stayed crisp even after tossing it in the sauce, and the pineapple kept the whole dish from tasting flat. My husband said it tasted like the version we always order, only fresher.
Save this sweet and sour pork for the night you want crispy fried pork, pineapple, and glossy takeout-style sauce without a wok full of guesswork.
The Frying Order That Keeps the Pork Crispy Instead of Heavy
The mistake most people make with sweet and sour pork is rushing the last toss. Once the fried pork sits in sauce for too long, the coating absorbs liquid and the texture slides from crisp to soft fast. The fix is simple: get the sauce thick first, add the peppers and pineapple just long enough to warm through, then toss in the pork and serve immediately.
Batch-frying matters here too. If the pan is crowded, the oil temperature drops and the coating absorbs more fat before it has a chance to set, which gives you a greasy crust instead of a crisp one. You want the pork pieces to come out deeply golden, not pale and blotchy, and the oil should still bubble actively around each piece.
- Don’t fry the pork all at once — smaller batches keep the oil hot enough for a crisp shell.
- Don’t let the sauce simmer with the pork in it — that’s how the coating softens before the plate hits the table.
- Drain on a rack or paper towels right after frying — excess oil on the surface can thin the sauce later.
What Each Ingredient Is Actually Doing in the Pan
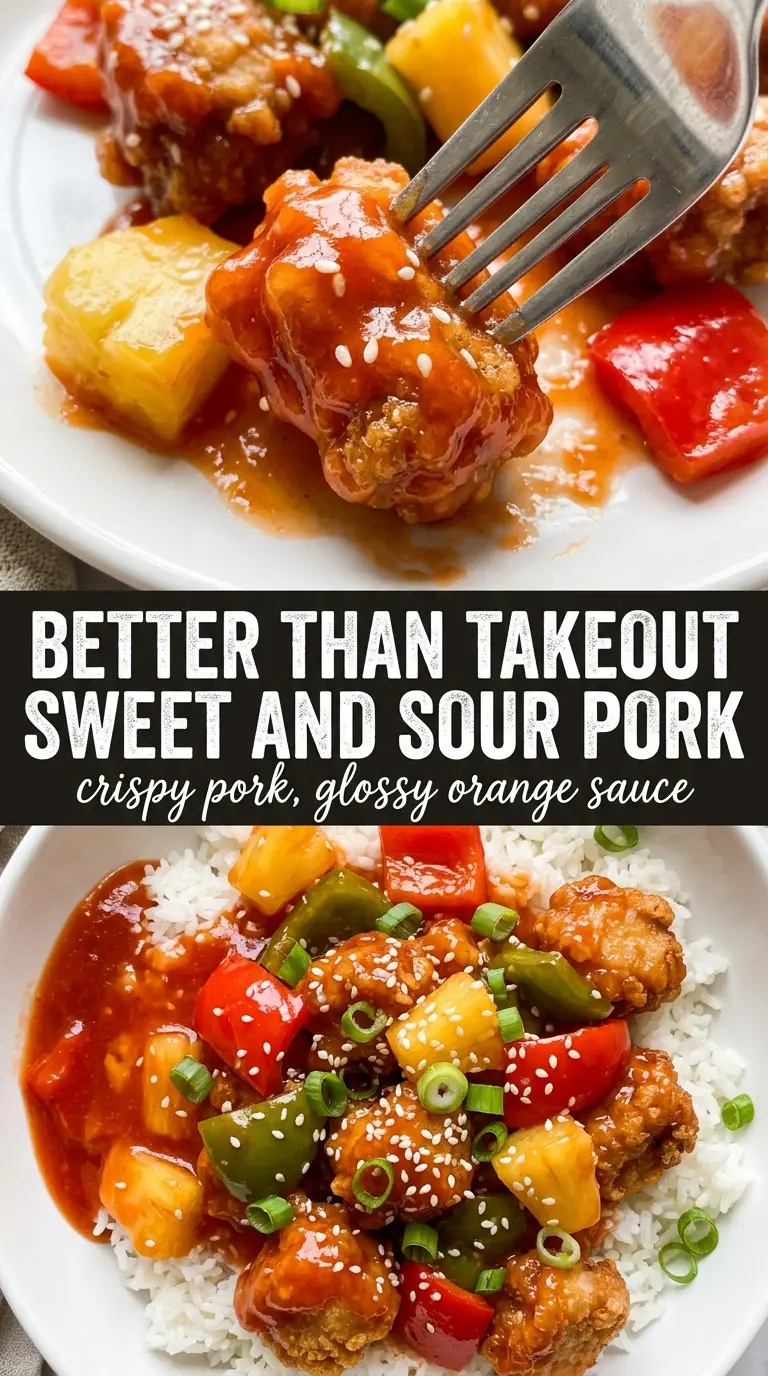
- Pork shoulder or loin — shoulder has a little more fat and stays juicy under frying, while loin is leaner and cooks quickly. Cut either one into even 1-inch pieces so the batches finish at the same time.
- Egg, soy sauce, and cornstarch marinade — the egg helps the coating grip, the soy seasons the meat from the inside, and the cornstarch gives the surface a tacky layer that fries up crisp.
- Half flour, half cornstarch coating — flour gives structure, cornstarch gives crunch. All cornstarch can get brittle and patchy; all flour tends to fry up heavier.
- Pineapple juice in the sauce — this adds the fruit note that canned pineapple alone can’t provide. If you don’t have it, use water and a little extra pineapple for brightness, but the sauce will taste flatter.
- Rice vinegar — this is the sharp edge that keeps the sauce from reading as just sweet ketchup. Apple cider vinegar works in a pinch, but it brings a different, slightly louder note.
Building the Sauce So It Coats, Not Clumps
Season the Pork Before the Coat Goes On
Mix the pork with the egg, soy sauce, and cornstarch first, and give it the full 15 minutes. The surface should look slightly sticky, not wet or soupy, because that tackiness is what helps the flour-cornstarch coating cling. If there’s a puddle of marinade in the bowl, the pork wasn’t tossed well enough and you’ll get uneven spots during frying.
Fry Until the Shell Is Deep Gold
Heat the oil to 350°F and fry in batches for 4 to 5 minutes, just until the pork turns golden and cooked through. The pieces should sound lively when they hit the oil and should not sit there quietly, which usually means the oil is too cool. Pull a piece to check if needed; the coating should feel firm, and the center should no longer look pink.
Cook the Vegetables Fast and Finish Immediately
Stir-fry the peppers and pineapple over high heat for about 2 minutes, just until the peppers start to soften at the edges but still hold their shape. Then pour in the sauce and let it boil until it turns glossy and thick enough to coat a spoon. Add the pork at the very end and toss just until every piece is lacquered; if you keep stirring after that, the crust starts breaking down.
How to Adapt This for Different Kitchens and Different Needs
Gluten-Free Sweet and Sour Pork
Swap the flour for a gluten-free all-purpose blend and use a gluten-free soy sauce or tamari. The coating will still crisp nicely, though it may be a little more delicate, so handle the fried pork gently when tossing it in the sauce.
Lighter Pan-Fried Version
If you don’t want to deep fry, shallow-fry the pork in a thin layer of oil and work in smaller batches. You won’t get the same shattering crust, but you’ll still get a well-browned exterior and a dish that lands closer to weeknight cooking without losing the core sweet-sour balance.
No Pineapple Juice
Use water plus an extra spoonful of ketchup and a little more vinegar if the sauce tastes flat. You’ll lose some of the rounded fruit flavor, but the sauce will still thicken and coat properly as long as the cornstarch is fully dissolved before it hits the pan.
Make It with Chicken
Use boneless chicken thigh pieces and fry them the same way. Thighs stay juicier than breast meat once they’re tossed in sauce, and they hold up better if the dish sits for a few minutes before serving.
Storage and Reheating
- Refrigerator: Store leftovers for up to 3 days. The pork will soften as it sits in the sauce, but the flavor holds up well.
- Freezer: Freezing isn’t ideal once the pork is coated in sauce. The crust loses its texture after thawing, so this dish is best made fresh.
- Reheating: Reheat in a skillet over medium-low heat with a splash of water, just until warmed through. A microwave makes the coating soggy faster, so use it only if texture matters less than speed.
Answers to the Questions Worth Asking
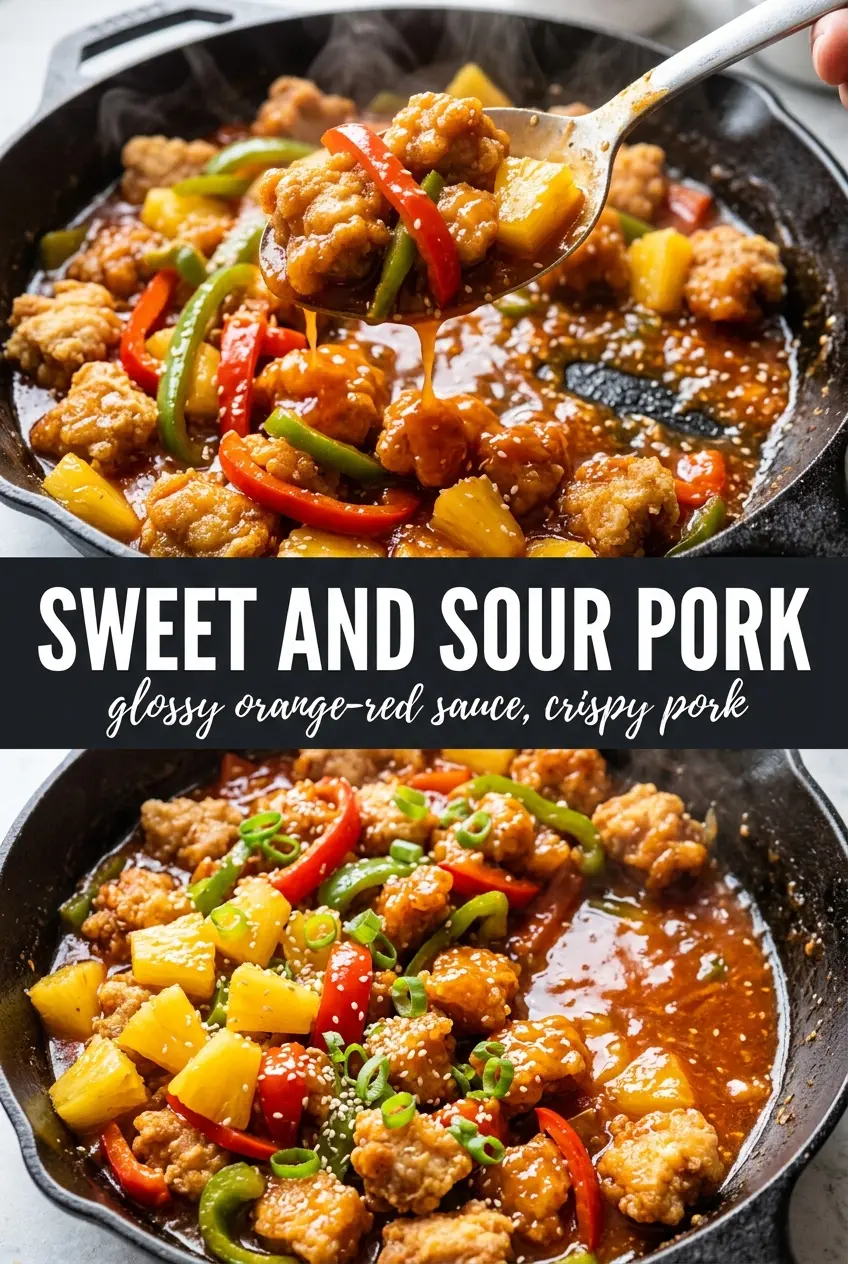
Sweet and Sour Pork
Ingredients
Equipment
Method
- In a bowl, marinate the pork with egg, soy sauce, and cornstarch for 15 minutes.
- Mix cornstarch and flour together, then coat the marinated pork pieces thoroughly.
- Heat oil in a Dutch oven to 350°F.
- Deep fry the pork in batches for 4–5 minutes until golden and cooked through, then drain on paper towels.
- Whisk ketchup, rice vinegar, sugar, soy sauce, cornstarch, and pineapple juice together until smooth.
- Stir-fry red bell pepper and green bell pepper with pineapple in 1 tablespoon oil over high heat for 2 minutes.
- Pour in the sauce, bring to a boil until thickened, then add the crispy pork and toss to coat before serving.