Grilled broccoli turns into something completely different once the florets hit the heat. The edges blister and crisp, the stems stay tender with a little bite, and the garlic-lemon coating picks up just enough smoke to taste bigger than the short ingredient list suggests. It’s the kind of side dish that disappears before the main course has a chance to settle in.
The trick is giving the broccoli a head start in boiling water so the stems soften before the grill starts doing the hard work. That quick blanch keeps the florets from drying out or burning before they’re cooked through. Olive oil carries the garlic and lemon, while the zest adds a brighter, longer-lasting citrus note than juice alone can manage.
Below, I’ll walk through the exact timing that keeps the broccoli charred instead of limp, plus a few swaps and serving ideas that make this recipe easy to fit into a weeknight dinner or a cookout spread.
I never thought broccoli could get this good on the grill. The blanching step kept it tender, and the lemon-garlic coating picked up perfect char without burning. Even my kids ate the crispy little florets first.
Save this grilled broccoli for the nights when you want charred edges, lemon-garlic brightness, and a side dish that comes off the grill in minutes.
Why Blanching Keeps Grilled Broccoli Tender Instead of Dry
The most common mistake with grilled broccoli is putting raw florets straight on the grill and hoping the heat will do everything evenly. The stems stay tough while the tips scorch, and by the time the center softens, the outside has lost its best texture. A quick blanch changes the timeline. It gives the broccoli a head start so the grill can focus on adding char, not finishing the cooking from scratch.
That two-minute bath also helps the florets hold onto their shape. If you skip it, you’ll still get flavor, but the result is more likely to be uneven: crisp at the edges, stubborn in the middle, and dry where the grill grates hit hardest. Drain the broccoli well after blanching. Any water left clinging to the florets will fight the oil and dilute the seasoning before the grill even starts working.
What Each Ingredient Is Doing in the Grill Pan

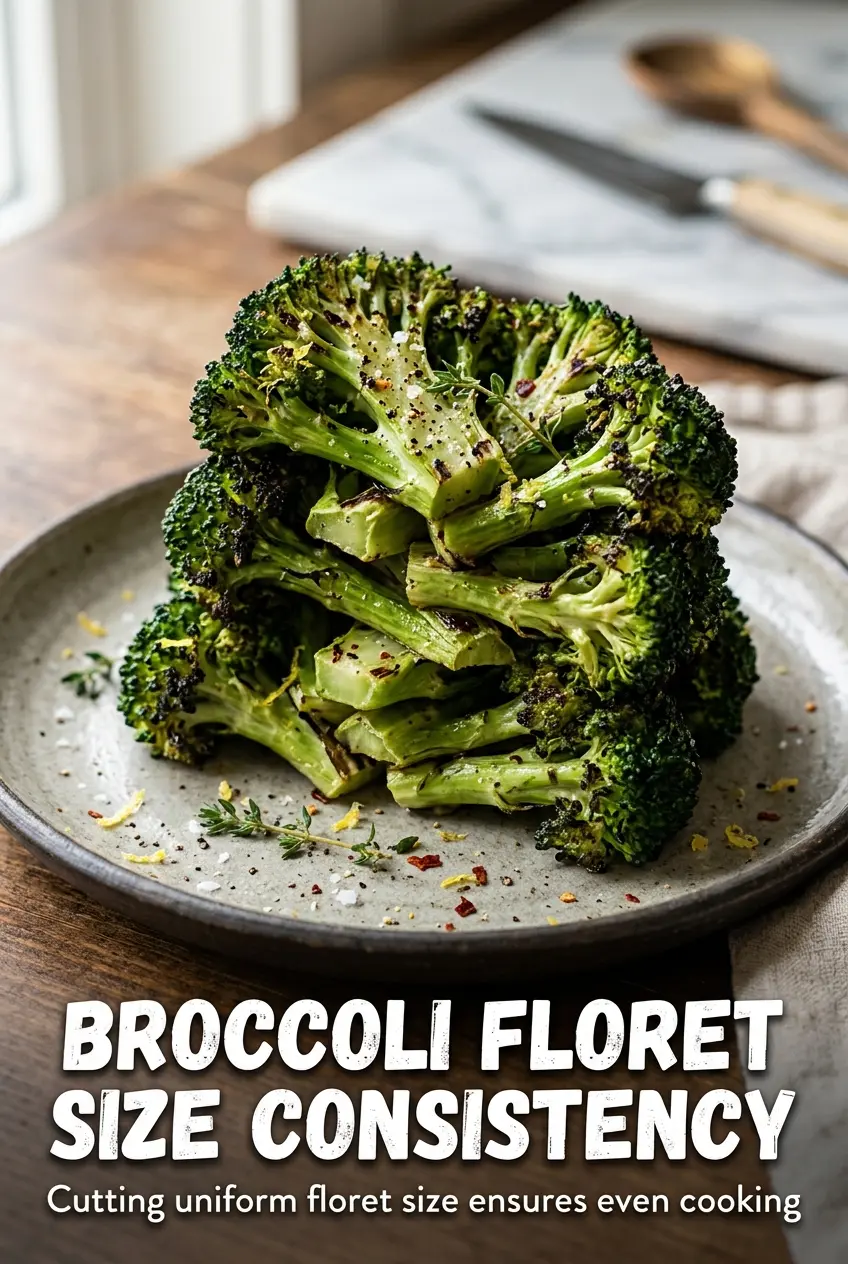
- Broccoli — Large florets are the right call here because they’re easier to flip and less likely to fall through the grates. Cut them into generous pieces so the stems can soften without the tops turning to mush.
- Olive oil — This keeps the broccoli from sticking and helps the char develop instead of turning leathery. A lighter olive oil or a neutral oil both work, but olive oil gives the finished dish a fuller, rounder taste.
- Garlic — Fresh minced garlic adds the sharp, savory backbone of the seasoning. It can burn fast on a hot grill, so keeping the florets well coated in oil helps protect it. If you need to swap, garlic powder is safer, but it won’t taste as fresh.
- Lemon zest and juice — Zest gives you the bright citrus aroma that survives the heat, while juice sharpens the final bite. Use both. Juice alone can taste flat after grilling, and zest alone won’t wake up the finished dish the same way.
- Parmesan — This is optional, but it adds a salty, nutty finish that plays nicely with the char. Use finely grated Parmesan so it melts into the hot broccoli instead of sitting in dry clumps.
Getting the Char Without Burning the Garlic
Blanch, Drain, and Dry First
Bring a pot of salted water to a boil and drop in the florets for just two minutes. You want them brighter in color and slightly softened, not fully cooked. Drain them well and let the steam escape for a minute or two before seasoning. If they go onto the grill wet, they’ll steam instead of char, and the oil won’t cling evenly.
Coat the Broccoli Evenly
Toss the warm florets with olive oil, garlic, lemon zest, lemon juice, salt, and pepper while they’re still slightly warm. That warmth helps the broccoli take on the seasoning more evenly. The garlic should look glossy and distributed, not clumped in one spot. If the mixture looks dry, add a little more oil rather than more juice, because too much acid can make the broccoli taste sharp instead of balanced.
Grill Until the Edges Crisp
Lay the broccoli over medium-high heat and leave it alone long enough to get real grill marks. Four to five minutes per side is the sweet spot for most grills, but watch the color, not the clock. You’re looking for dark char on the outside and tender stems when pierced with a fork. If the florets start to blacken before the centers soften, your heat is too high or the pieces are too small.
Finish While It’s Hot
Move the broccoli to a platter as soon as it comes off the grill. Sprinkle on red pepper flakes and Parmesan while the florets are still hot enough to soften the cheese a little. That last minute matters because the residual heat pulls everything together. If you wait too long, the cheese stays dusty and the seasoning tastes separate from the broccoli instead of part of it.
How to Adapt This Grilled Broccoli for Different Tables
Dairy-Free Grilled Broccoli
Skip the Parmesan and finish with a little extra lemon zest plus a pinch of flaky salt. You’ll lose the nutty, salty finish, but the broccoli stays bright and smoky, and the char still carries the dish.
No Grill, Same Charred Feel
Use a grill pan or a very hot cast-iron skillet and cook in a single layer. You won’t get the same smoke, but you’ll still get browned edges and tender florets if the pan is hot before the broccoli goes in.
Make It Spicier
Increase the red pepper flakes or add a pinch of cayenne to the oil mixture. Heat works especially well with the lemon and garlic here, but keep the amount modest so it doesn’t overpower the charred flavor.
Storage and Reheating
- Refrigerator: Store leftovers in an airtight container for up to 3 days. The broccoli softens a bit, but the flavor holds up well.
- Freezer: I don’t recommend freezing it. The florets turn watery and lose the crisp edges that make this recipe worth making.
- Reheating: Reheat in a hot skillet or a 400°F oven until warmed through. The microwave works in a pinch, but it makes the broccoli limp and mutes the char.
Answers to the Questions Worth Asking
Grilled Broccoli
Ingredients
Equipment
Method
- Bring a large pot of water to a boil and blanch the broccoli florets for 2 minutes, then drain well. The florets should turn bright green but still hold shape.
- In a mixing bowl, toss the blanched broccoli with olive oil, minced garlic, lemon zest, lemon juice, salt, and black pepper until evenly coated. The florets should look glossy with seasoning clinging to the edges.
- Preheat the grill to medium-high heat and grill the broccoli for 4-5 minutes per side. Look for deep char marks and tender florets as you flip.
- Transfer the grilled broccoli to a serving platter and immediately sprinkle with red pepper flakes and parmesan cheese if desired. Finish while hot so the cheese softens slightly and the seasoning stays fragrant.


