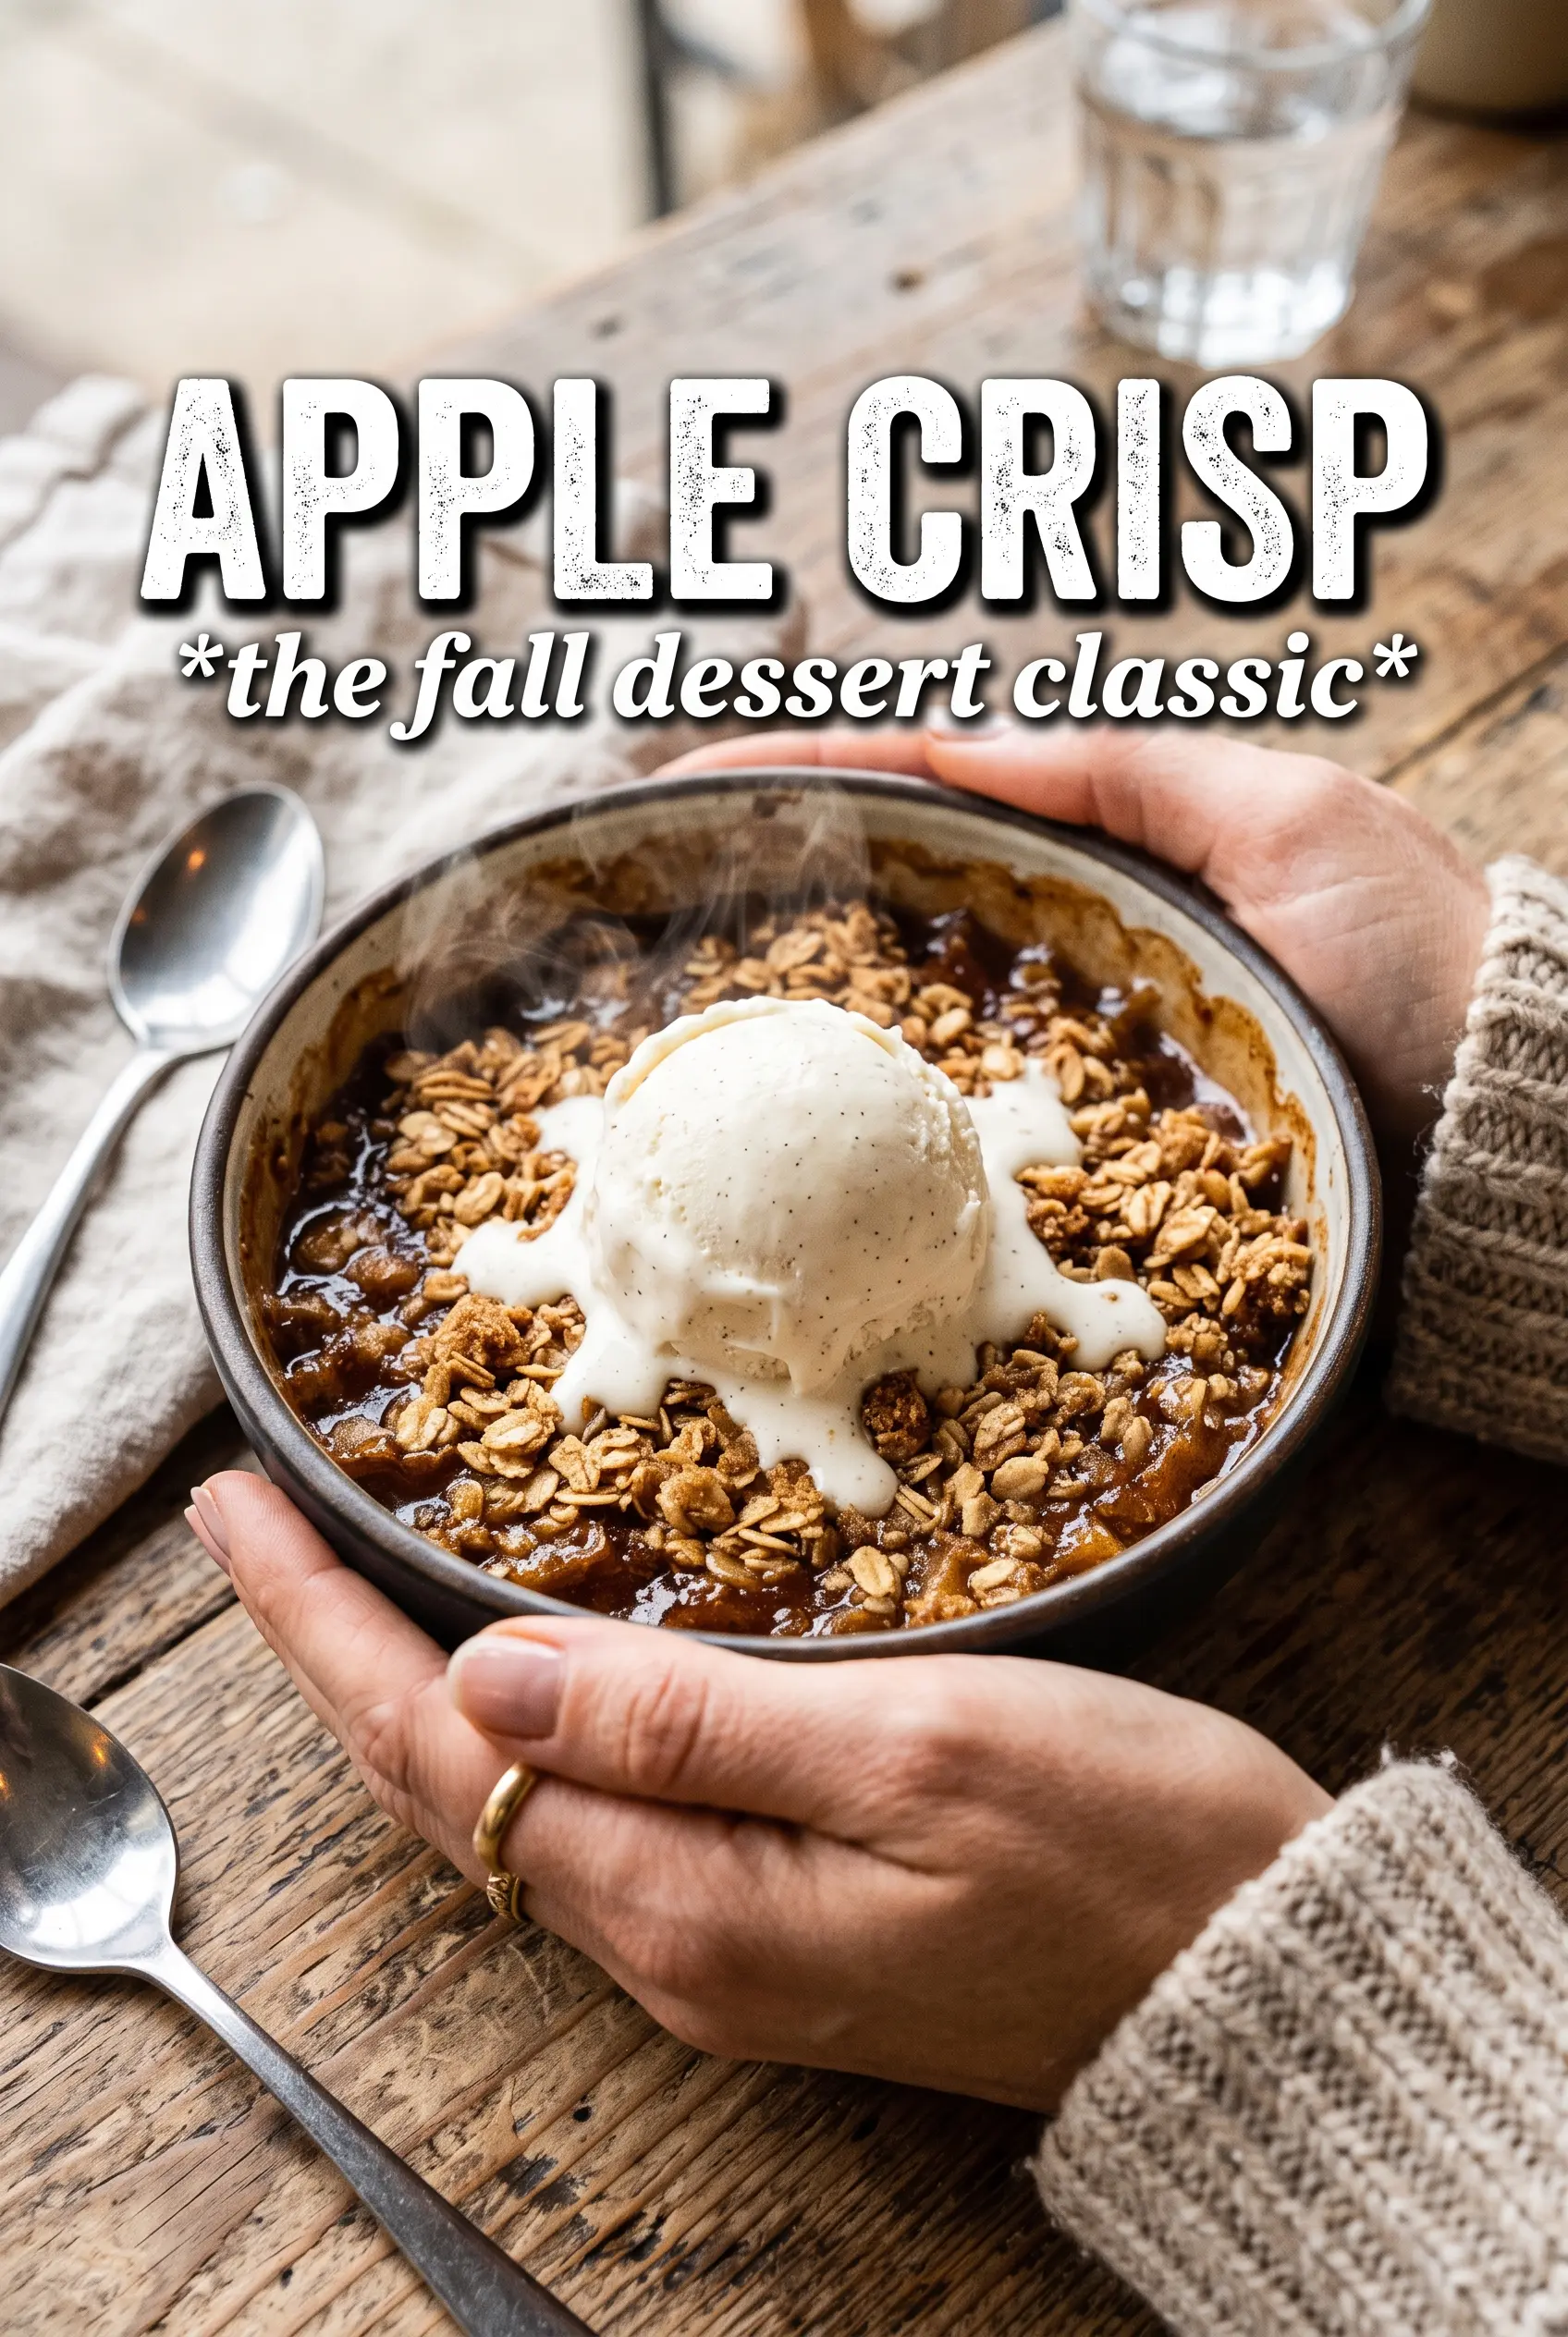
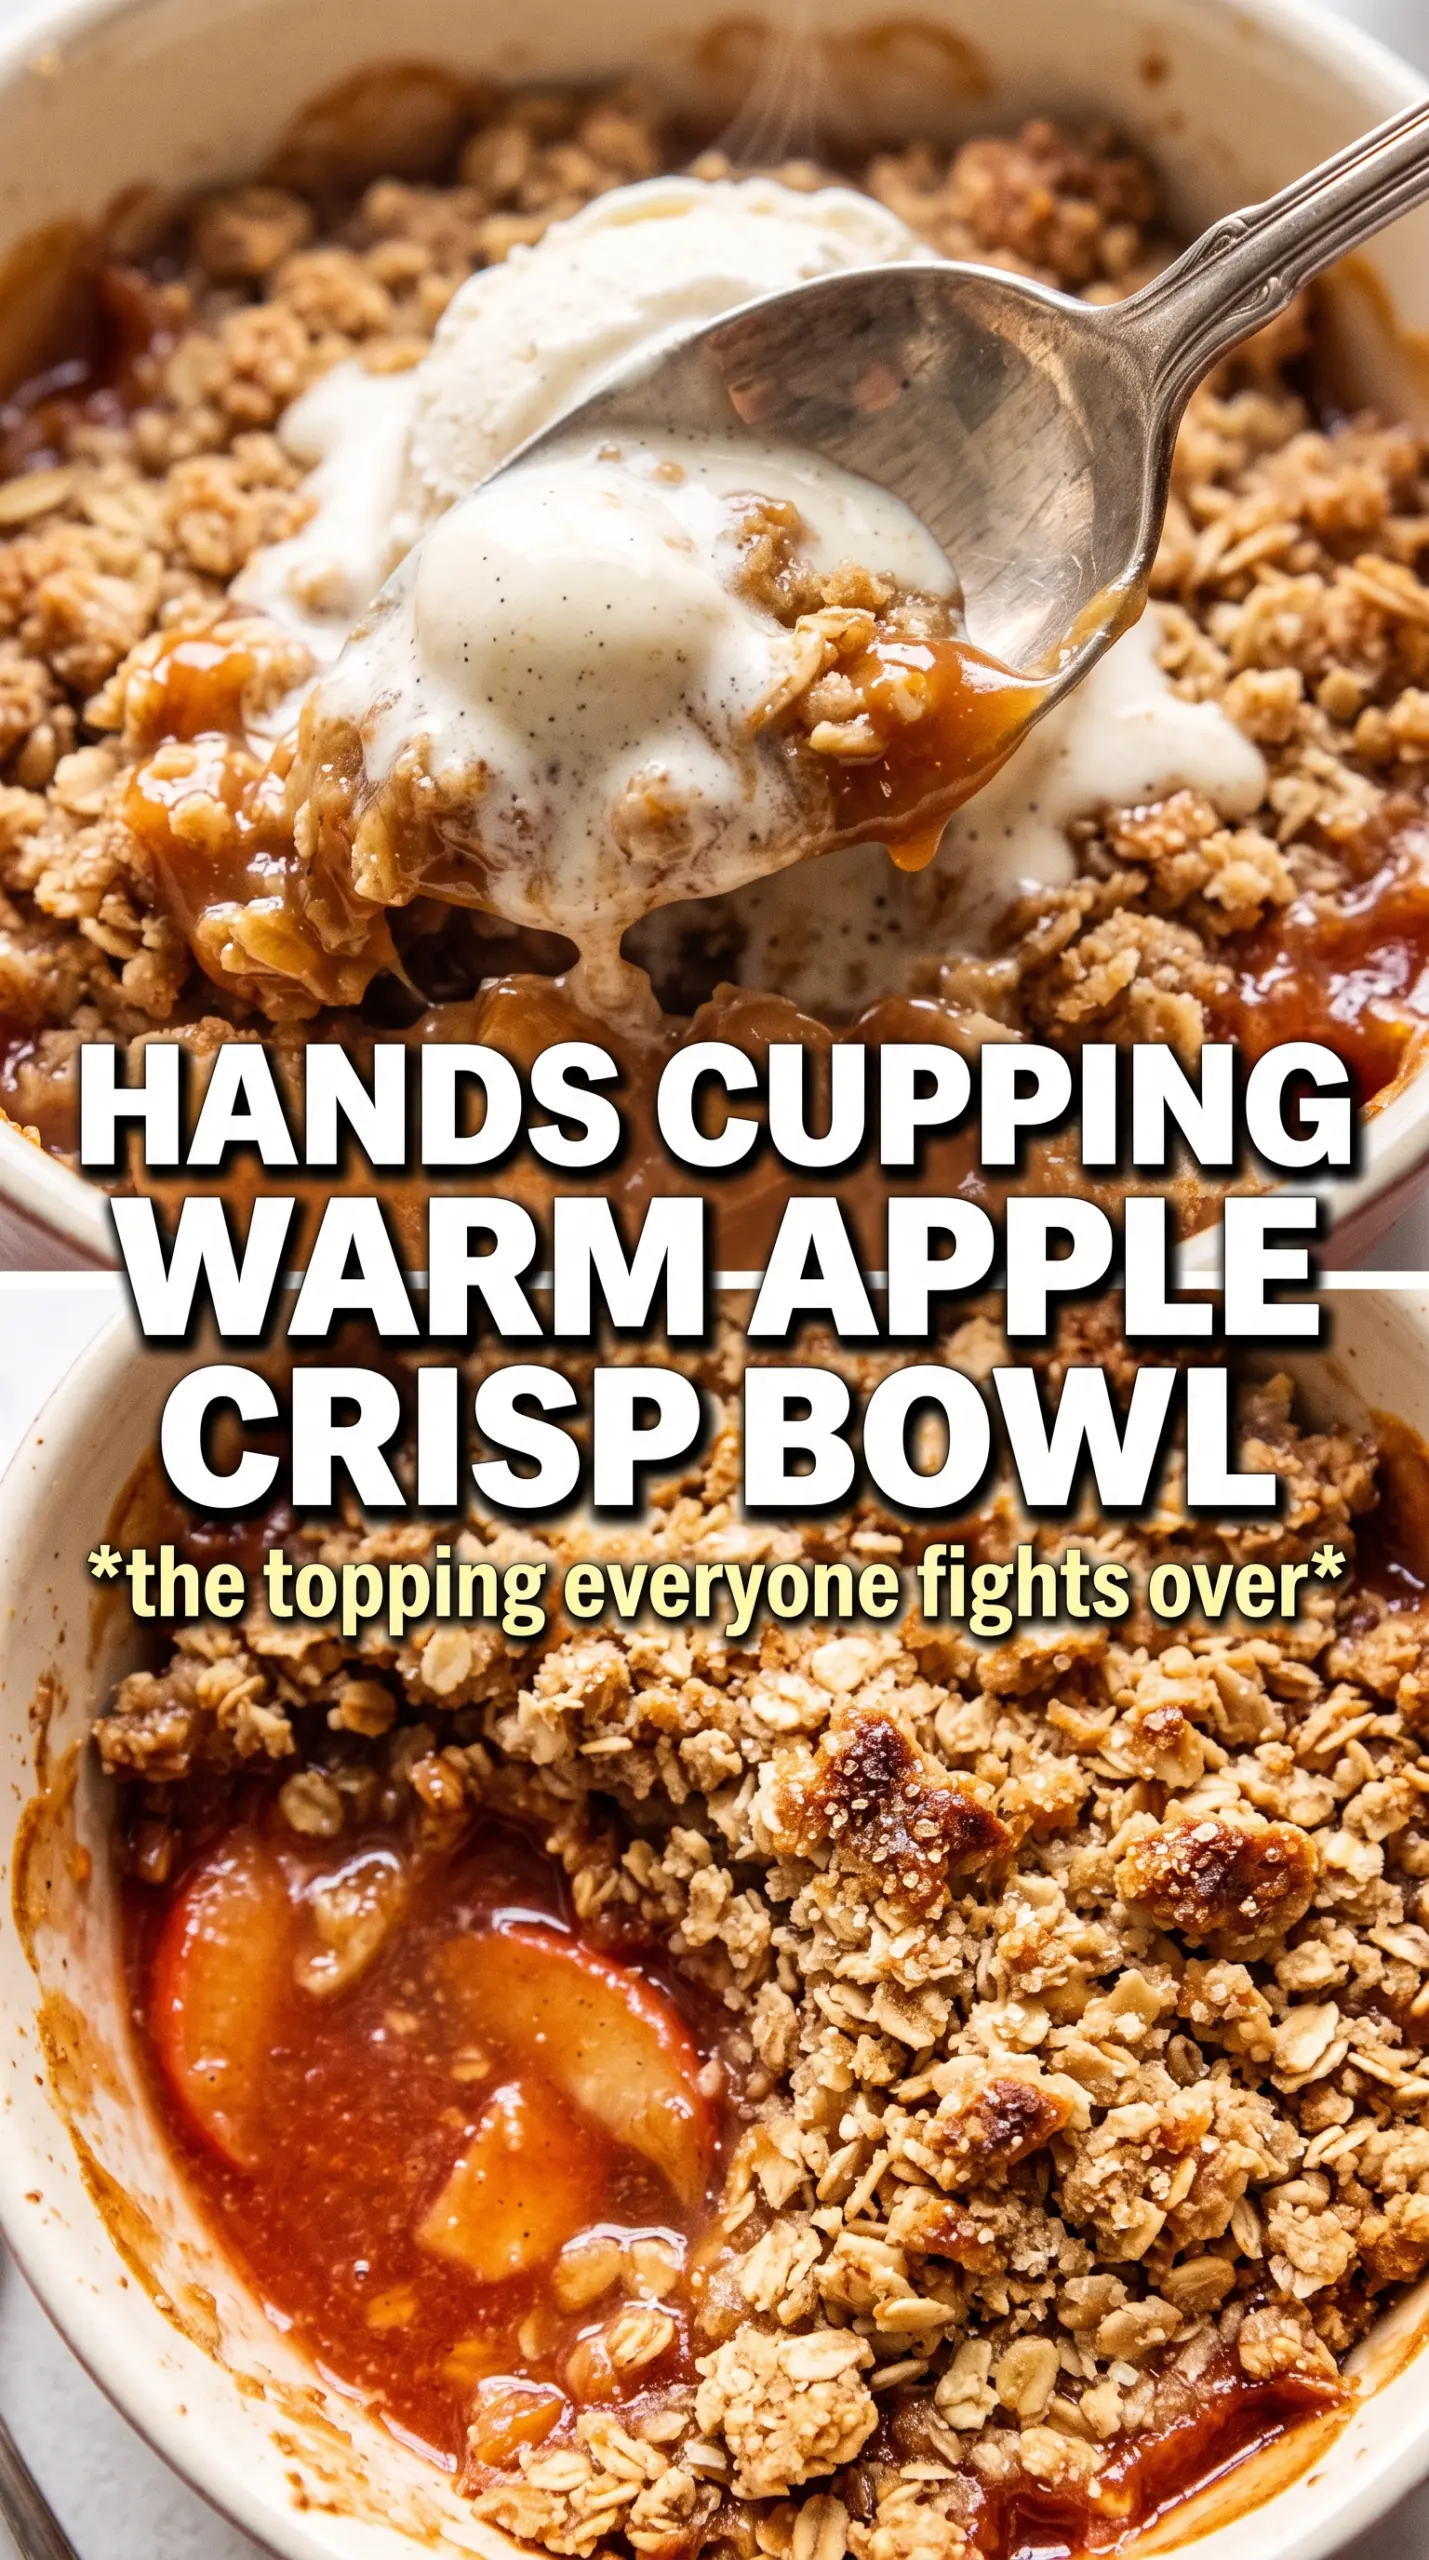
Apple crisp comes out best when the topping stays nubby and golden instead of turning sandy, and the apples underneath soften into a bubbling filling that still tastes like fruit, not jam. The contrast is the whole point: crisp edges, tender apples, cold vanilla ice cream melting into the hot pan.
This version uses a mix of Granny Smith and Honeycrisp for a filling that lands somewhere between tart and sweet. The Granny Smiths keep their shape and give the filling enough sharpness to keep the dessert from tasting flat, while the Honeycrisp adds juice and a little natural sweetness. Cornstarch pulls the apple juices into a glossy sauce as the crisp bakes, so you don’t end up with a watery dish at the bottom of the pan.
Below you’ll find the part that matters most: how to keep the topping in chunky clumps, how to know when the filling has thickened, and the small resting time that keeps the first serving from running all over the plate.
The topping stayed crisp even after it cooled a bit, and the filling thickened up instead of staying runny. I used Granny Smith and Honeycrisp like you suggested, and the balance was perfect with vanilla ice cream.
Like this apple crisp? Save it to Pinterest for the nights when you want bubbling cinnamon apples and a thick, golden oat crumble.
The Part That Keeps Apple Crisp from Going Watery
The biggest mistake with apple crisp is treating the apples and topping like they bake at the same pace. They don’t. If the apples are sliced too thick, the filling tastes crunchy at the center even when the topping is done. If they’re sliced too thin, they collapse before the crumble gets enough time to brown, and you lose that layered texture.
The other thing that matters is how the apples are coated. Cornstarch needs the fruit juices to activate, but it can’t rescue a pan that’s overloaded with liquid. Toss the apples until every slice looks lightly dusted rather than paste-covered, then spread them in an even layer so they cook at the same rate. When the filling is ready, you should see slow, thick bubbles around the edges and through the center, not just steam rising from the pan.
- Granny Smith apples hold their shape and keep the dessert from becoming mushy. They bring the sharpness this dessert needs.
- Honeycrisp apples add juice and sweetness. If you swap them out, choose another firm baking apple with good flavor, not a mealy one.
- Cornstarch thickens the juices as the apples bake. Flour works in a pinch, but it leaves the filling a little cloudier and less glossy.
- Cold butter is what creates the crumble. Warm butter blends in too smoothly and gives you a sandy topping instead of big crisp clumps.
What Each Ingredient Is Actually Doing in This Recipe
- Primary ingredient (the star) — Quality matters most. Choose the best you can find.
- Cooking medium (oil, butter, or broth) — This carries flavors and prevents dryness.
- Seasonings (salt, pepper, spices, herbs) — Layer flavors so nothing overpowers. Build depth gradually.
- Aromatics (garlic, onion, herbs) — Cook with fat to bloom flavors. Become the foundation.
- Supporting ingredients — Complement the main ingredient without overpowering it.
- Sauce or liquid (if applicable) — Brings flavors together. Balance richness with acid.
- Acid (lemon, vinegar, wine, or other) — Brightens and prevents flat-tasting results.
- Final finish (garnish, glaze, or sauce) — Prevents one-dimensional taste and adds visual appeal.
How to Build the Crisp Topping So It Bakes Into Clusters
Start the topping with cold butter and work it into the dry ingredients until the mixture forms chunks, not crumbs. Those uneven clumps are what bake into the crisp, crunchy topping people come back for. If the butter melts into a paste while you’re mixing, the topping will bake flat and the texture will be more like sweet granola than crisp.
Use your fingertips or a pastry cutter and stop when you still have some pieces the size of peas and small marbles. That mixed texture is intentional. It gives you little pockets that brown deeply while the finer bits fill in around them. Once it goes over the apples, scatter it in an even layer but don’t press it down. Loose topping browns better because hot air can move through it.
Coating the Apples
Toss the apples with the sugars, cinnamon, nutmeg, cornstarch, and lemon juice until the slices look evenly slick. The lemon juice keeps the flavor bright and helps the apples taste like apples, not just sugar and spice. If the bowl looks dry in spots, keep tossing until the cornstarch disappears into the fruit juices. Any white pockets of starch can bake up chalky.
Making the Crumble
Mix the oats, flour, brown sugar, cinnamon, and salt first, then cut in the butter until you get chunky clumps. The mixture should hold together when squeezed but still break apart in rough pieces. If it feels too floury, the butter wasn’t worked in enough. If it turns greasy and wet, the butter softened too much before it hit the bowl.
Baking to the Right Bubble
Bake until the top is deeply golden and the filling is bubbling through the center, not just at the edges. That bubbling matters more than the timer because it tells you the cornstarch has actually thickened the fruit juices. If the top is browning too quickly before the filling bubbles, lay a piece of foil loosely over the dish for the last part of baking. Let it rest for 10 minutes before serving so the filling settles instead of spilling out like syrup.
Three Ways to Change the Pan Without Losing the Crisp
Make it dairy-free
Swap the butter for a plant-based butter that stays solid when cold. You still want a chilled fat so the topping forms clusters; melted coconut oil will work, but the crumble sets up a little harder and tastes less buttery.
Make it gluten-free
Use a 1:1 gluten-free flour blend in place of the all-purpose flour and check that your oats are certified gluten-free. The topping still bakes up crisp, though the clumps may be a little more delicate when you scoop it.
Use pears for part of the fruit
Replace up to half the apples with firm pears if you want a softer, more floral filling. Pears release more juice, so keep the cornstarch in place and bake until you see active bubbling through the center.
Make it ahead for dessert later
You can assemble the filling and topping separately a few hours ahead, then keep them chilled until baking time. If you combine them too early, the butter softens and the topping loses its edge before it ever hits the oven.
Storage and Reheating
- Refrigerator: Store covered for up to 4 days. The topping softens a bit, but the flavor holds up well.
- Freezer: Freeze the baked crisp tightly wrapped for up to 2 months. Thaw in the refrigerator overnight before reheating, or the center will stay cold while the top overbrowns.
- Reheating: Warm in a 325°F oven until heated through and the topping crisps back up, about 15 to 20 minutes. The microwave will heat the apples, but it turns the crumble soft and steamy.