Apple cider cake has the kind of tender crumb and warm spice that makes people cut a second slice before the first one is finished. The reduced cider gives the cake a deeper apple note than plain juice ever could, and the sour cream keeps the layers moist without turning them heavy. Paired with cream cheese frosting and a caramel drizzle, it lands right in that sweet spot between homey and celebration-worthy.
The one step that matters most here is reducing the cider before it goes into the batter. That concentrated liquid carries more flavor, and it keeps the cake from tasting watered down. I also like the mix of cinnamon, nutmeg, and allspice because it gives the cake depth without burying the apple. The frosting is built to be tangy enough to cut through the sweetness, which keeps each bite balanced instead of cloying.
Below, I’ve included the details that make the layers bake evenly, the frosting stay fluffy, and the whole cake hold together cleanly when you slice it.
The cider flavor came through beautifully, and the cake stayed moist for days. Reducing the cider first made a huge difference, and the cream cheese frosting set up just right for stacking.
Like this layered apple cider cake? Save it to Pinterest for the days when you want spiced cake, cream cheese frosting, and a caramel drizzle that looks bakery-made.
The Cider Reduction Is What Keeps the Cake from Tasting Flat
Most apple cakes rely on raw cider or applesauce and end up tasting sweet without much depth. Reducing the cider to half a cup concentrates the apple flavor and removes extra water, which matters because too much liquid makes the crumb loose and a little gummy around the center. Let it cool before you add it to the batter. Hot cider can melt the butter mixture and throw off the texture before the cake even goes in the oven.
The other thing that helps here is the balance between butter, brown sugar, and sour cream. Brown sugar brings a soft molasses note that suits the spices, while sour cream keeps the cake plush and tender. If your cakes ever bake up dry at the edges and dense in the middle, it usually means the batter was too thin or the pans were overfilled. This batter should look thick, smooth, and evenly aerated before it goes into the oven.
What Each Ingredient Is Actually Doing in This Apple Cider Cake
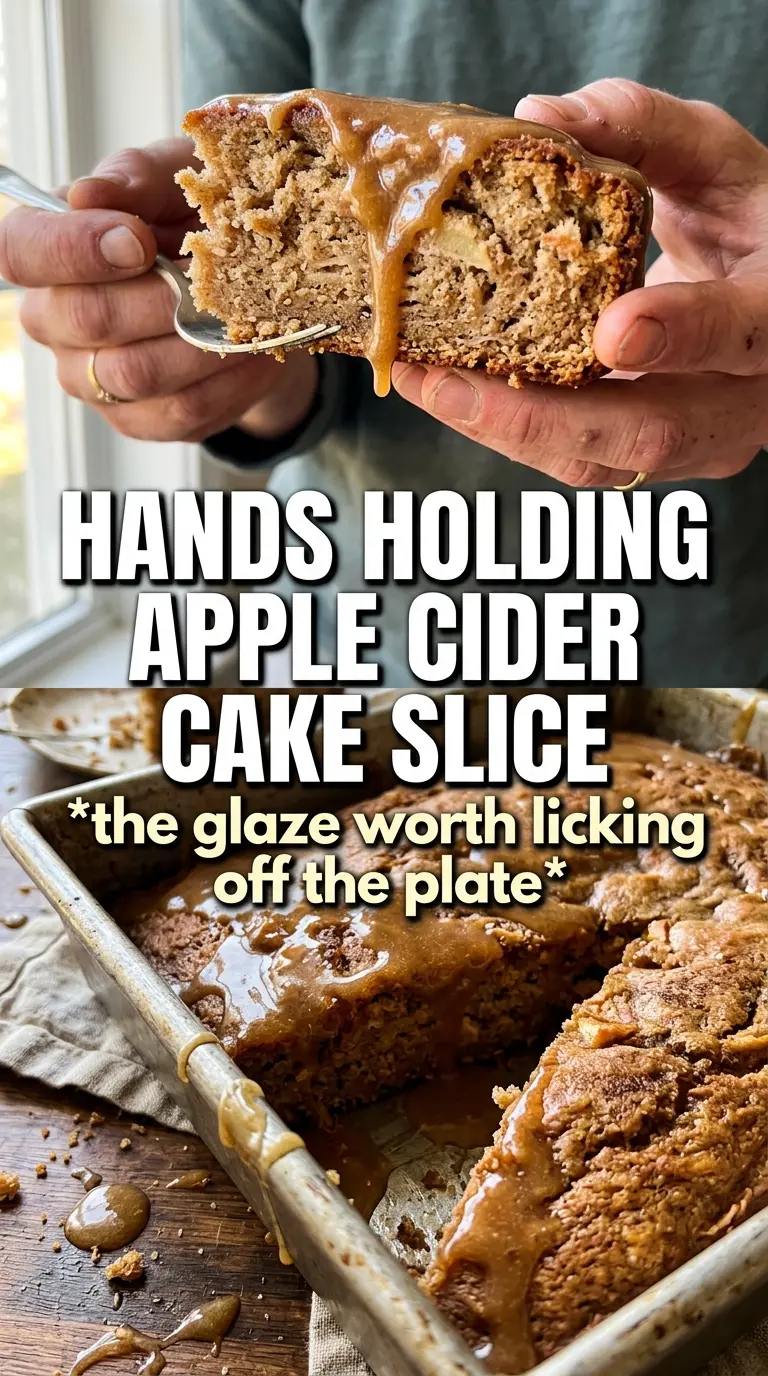
- Reduced apple cider — This is the flavor anchor. Reducing it gives you a stronger apple note without adding extra moisture. If you skip the reduction, the cake still works, but the flavor is thinner and less distinct.
- Brown sugar — This adds moisture and a deeper sweetness than white sugar would. It also supports the spice mix and makes the crumb feel richer.
- Sour cream — This keeps the cake soft and helps the layers stay tender after baking. Full-fat sour cream gives the best texture, but plain full-fat Greek yogurt works in a pinch with a slightly tangier finish.
- Cream cheese frosting — The tang matters here. It keeps the cake from tasting one-note sweet and gives the stack enough structure to slice cleanly.
- Caramel drizzle — This is the finishing note, not the base flavor. Use a thick caramel so it ribbons down the sides instead of disappearing into the frosting.
Building the Layers So They Bake Evenly and Stack Cleanly
Reducing the Cider First
Pour the cider into a small saucepan and cook it until it shrinks to half a cup. Keep the heat steady and watch the volume, not the clock, because some pans reduce faster than others. The liquid should look slightly syrupy and smell stronger than when you started. Cool it completely before mixing, or it can soften the butter too much and make the batter greasy.
Mixing the Batter Without Toughening It
Beat the butter and brown sugar until the mixture looks pale and fluffy. That step traps air, which gives the cake lift since the batter is fairly rich. Add the eggs one at a time, then the vanilla and cooled cider. Once the flour mixture and sour cream go in, stop mixing as soon as the batter looks combined. Overmixing here can make the crumb tight instead of tender.
Baking and Cooling for Stable Layers
Divide the batter evenly between two greased 9-inch pans and bake until the tops spring back and a toothpick comes out with a few moist crumbs. If the centers still look wet and glossy, give them a few more minutes. Let the cakes cool completely in the pans before turning them out. Warm layers tear easily, and cream cheese frosting melts fast on even slightly warm cake.
Frosting and Finishing the Stack
Beat the frosting until it’s smooth and airy, but don’t push it so long that it becomes loose. If the frosting looks soft, chill it for a few minutes before assembling. Spread a thick layer between the cakes, then frost the outside with a light, even coat. Drizzle the caramel at the end so it stays visible on the sides instead of disappearing into the frosting.
How to Adapt This Cake When You Need a Different Finish
Gluten-Free Version
Use a 1:1 gluten-free baking flour that includes xanthan gum. The cake will still be tender, but the crumb may be a little more delicate, so let the layers cool fully before moving them. Skip any heavy extra mixing, since gluten-free batters can get dense fast.
Dairy-Free Adaptation
Swap the butter for a good baking-style plant butter and use a thick dairy-free yogurt in place of the sour cream. The flavor stays close, though the cake will be slightly less rich. For the frosting, use a dairy-free cream cheese alternative with enough structure to hold the layers.
Cupcake Version
Divide the batter among lined muffin cups and bake until the tops spring back and a tester comes out clean. You’ll get a faster bake and more frosting per bite, but you’ll lose the dramatic layer look. Start checking a few minutes early, because cupcakes dry out faster than full cake layers.
Less-Sweet Finish
Use a thinner layer of frosting and cut the caramel drizzle down to a light finish. The cake already brings plenty of sweetness from the brown sugar and reduced cider, so a restrained topping lets the spice and apple flavor stand out more clearly.
Storage and Reheating
- Refrigerator: Store covered for up to 5 days. The frosting firms up in the fridge, but the cake stays moist.
- Freezer: Freeze unfrosted layers tightly wrapped for up to 2 months. Thaw them wrapped at room temperature before frosting.
- Reheating: Serve slices at room temperature for the best texture. If you want a slightly softer bite, let a slice sit out for 20 to 30 minutes rather than microwaving it, which can make the frosting oily.
Answers to the Questions Worth Asking
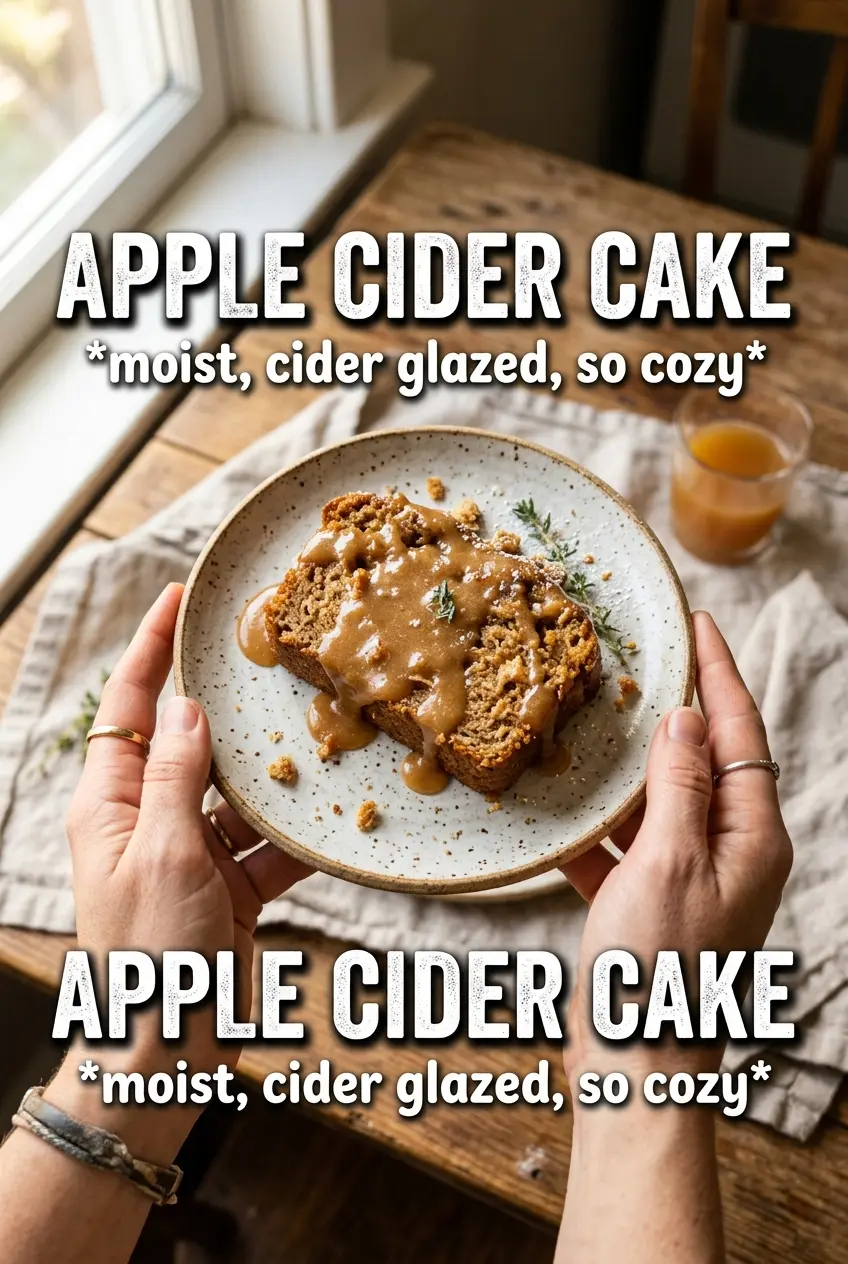
Apple Cider Cake
Ingredients
Equipment
Method
- Reduce apple cider until you have 1/2 cup, then cool.
- Preheat the oven to 350F and grease two 9-inch pans.
- Whisk together all-purpose flour, baking powder, baking soda, cinnamon, nutmeg, allspice, and salt.
- Beat unsalted butter and brown sugar until very fluffy, about 2-3 minutes.
- Add eggs and vanilla, then mix until combined.
- Mix in the reduced apple cider until the batter looks smooth and fragrant.
- Alternate adding the flour mixture and sour cream to the batter, beginning and ending with flour.
- Divide the batter between the two greased 9-inch pans.
- Bake for 35-40 minutes at 350F, until a toothpick comes out clean.
- Cool the cakes completely before frosting.
- Beat cream cheese until smooth, then beat in butter, powdered sugar, and vanilla until fluffy.
- Beat in 2 tablespoons cider for a pourable, apple-cider-forward frosting flavor.
- Frost the layers and stack the cooled cake.
- Drizzle caramel down the sides and over the top of the stacked cake.