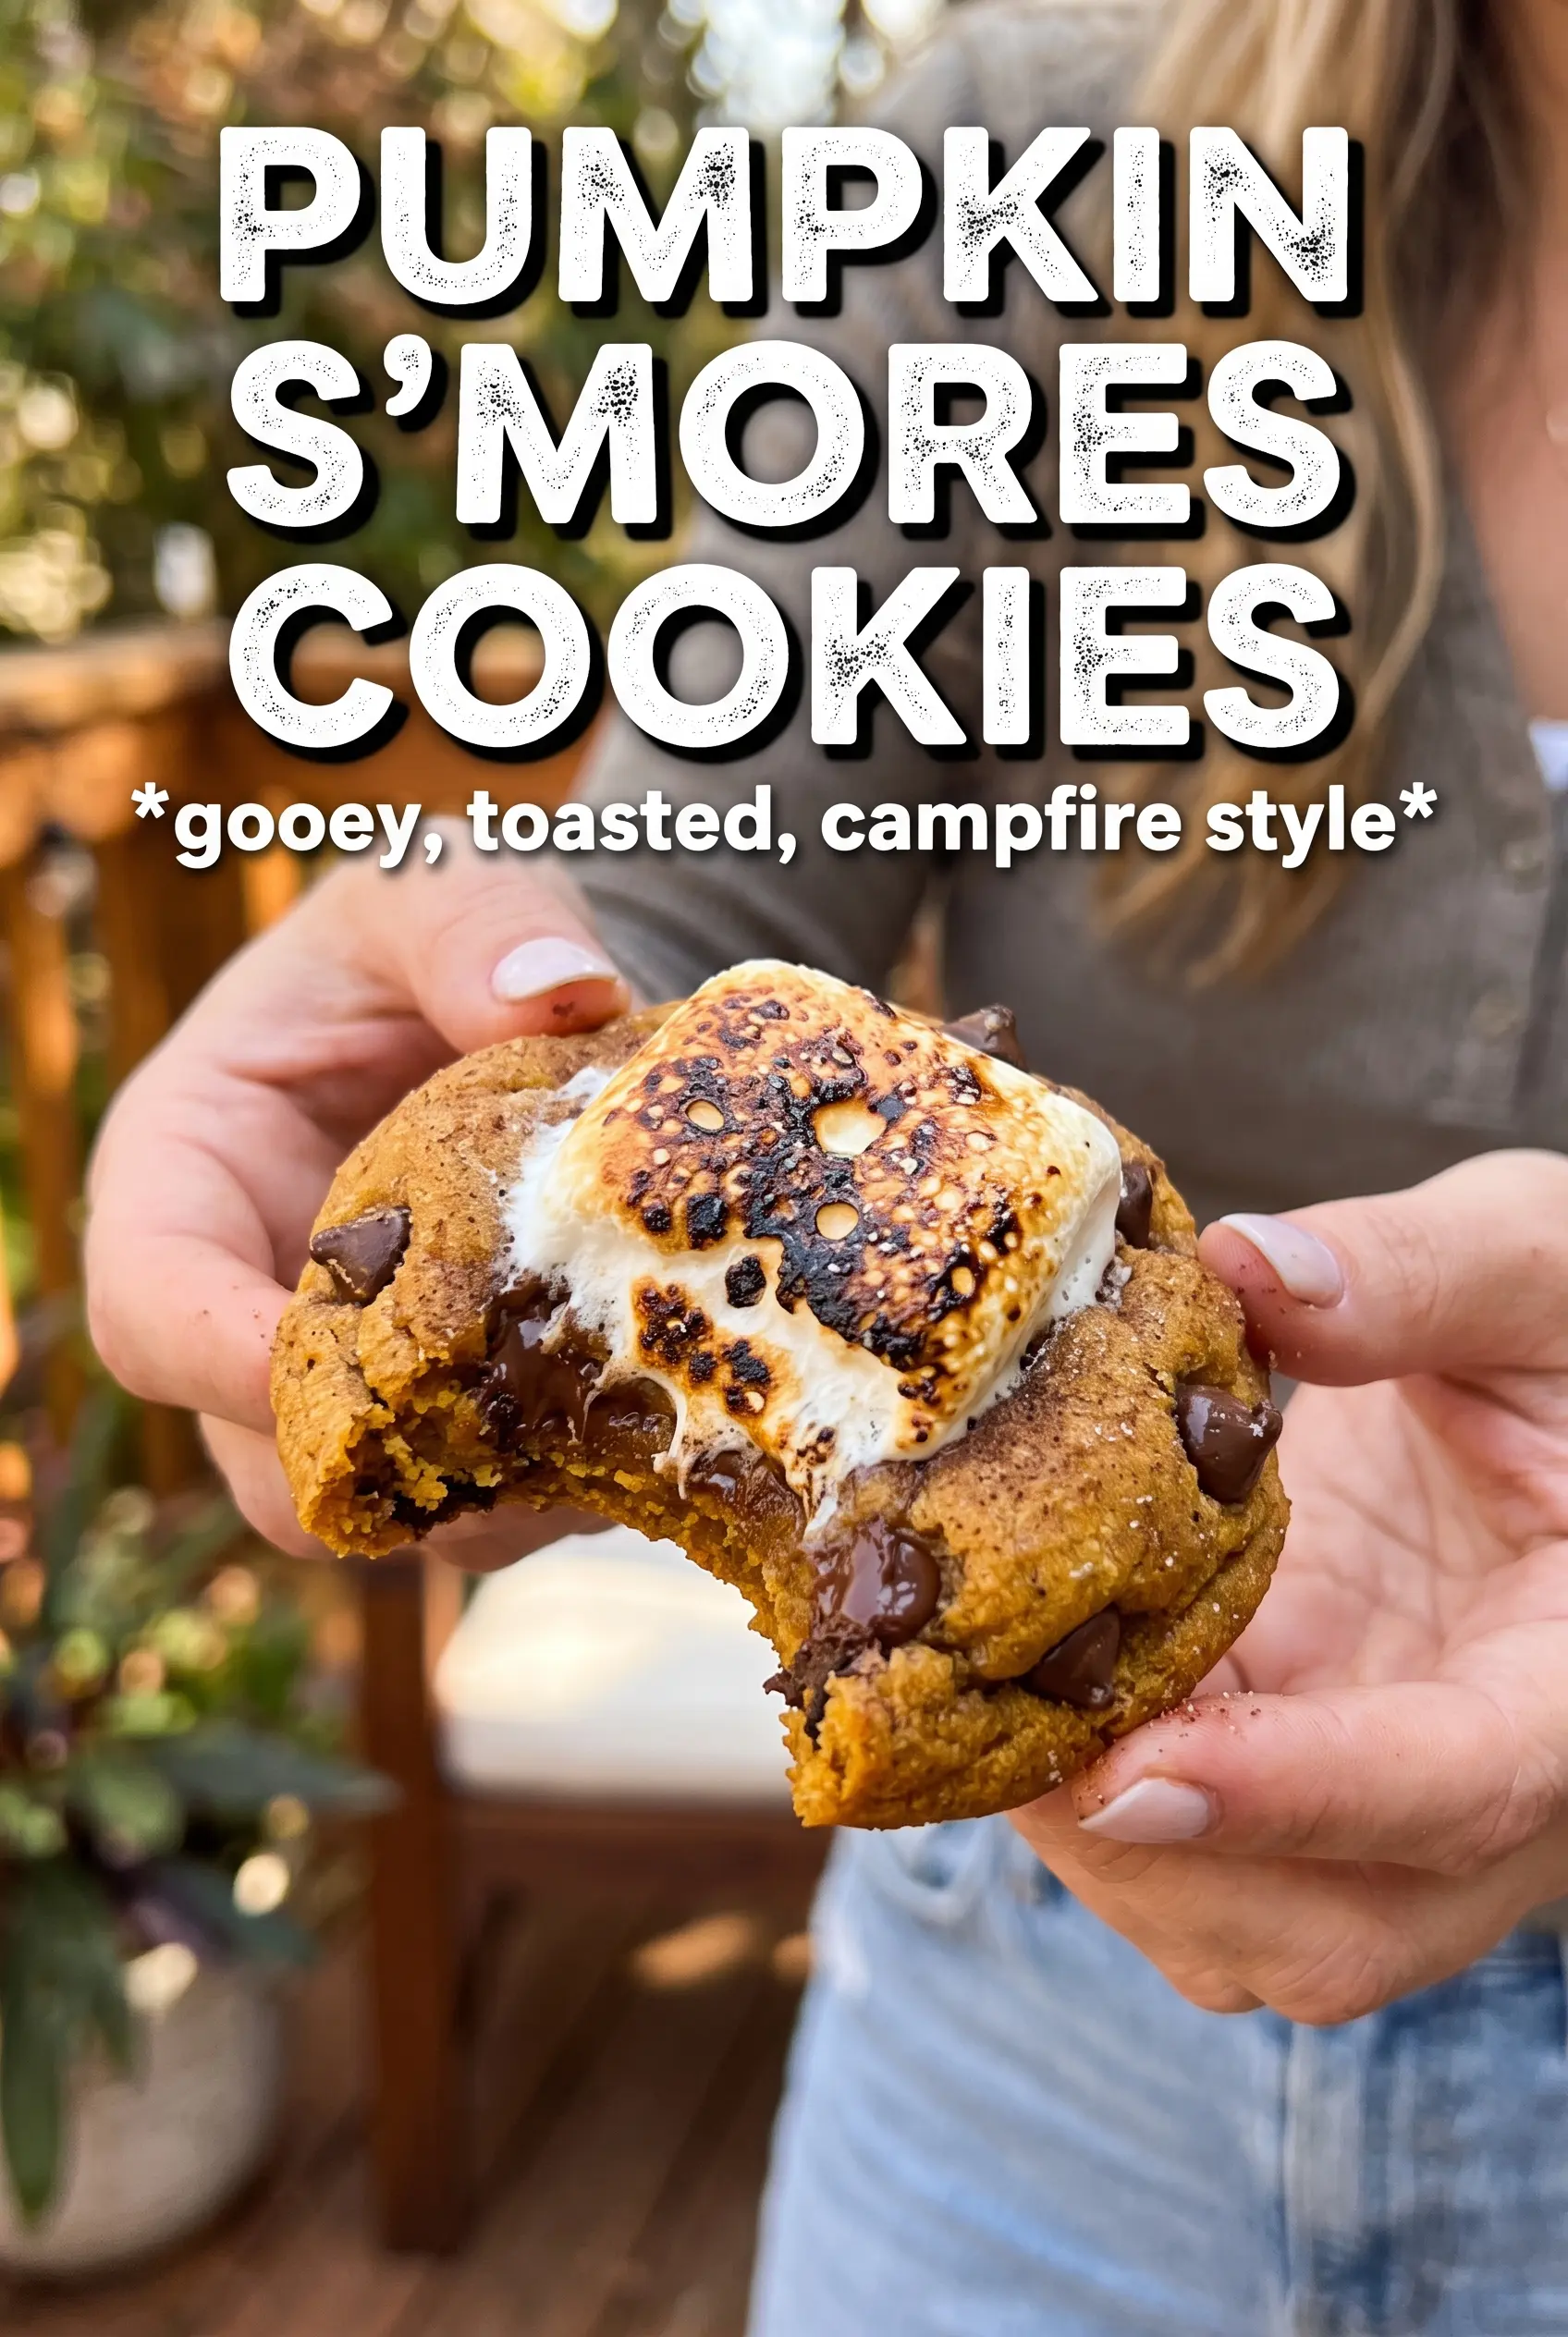
Warm pumpkin spice, melted chocolate, and toasted marshmallow in one cookie is the kind of combination that disappears fast from a cooling rack. These pumpkin s’mores cookies bake up soft in the center with crisp edges, graham cracker pieces for that familiar campfire crunch, and little pockets of marshmallow that go gooey first and toasted on top if you give them a quick broil.
The part that makes this version work is keeping the pumpkin under control. Pumpkin puree brings flavor and softness, but too much makes cookies spread strangely and bake up cakey instead of tender. Blotting it dry first keeps the dough sturdy enough to hold the graham pieces and marshmallows, while the brown sugar adds chew and the granulated sugar helps the edges set. I also press only half the marshmallows into the dough and save the rest for the top, which gives you those visible toasted spots instead of letting every marshmallow vanish inside the cookie.
Below you’ll find the small details that matter most here, including how to keep the marshmallows from melting away and the one step that keeps these cookies from turning too soft in the oven.
The pumpkin stayed soft without getting cakey, and the marshmallows on top browned up just enough instead of disappearing into the dough. I loved the graham cracker bits in every bite.
Pumpkin s’mores cookies are worth pinning for the melty chocolate, toasted marshmallow tops, and graham cracker crunch.
The Pumpkin Trick That Keeps These Cookies Soft, Not Cakey
Pumpkin puree is the ingredient most likely to throw these cookies off. It adds moisture and body, but it also behaves like extra liquid, which can make the dough puff up and bake into a muffin-like cookie if you don’t control it. Blotting the pumpkin dry before it goes into the bowl keeps the dough in cookie territory, where it should be: thick enough to scoop cleanly and spread just enough to set at the edges.
The other thing that matters here is the balance between chew and structure. Brown sugar keeps the centers tender, while granulated sugar helps the cookies settle and crackle at the edge. If your dough feels soft after mixing, that usually means the pumpkin was still too wet. Give it a few extra minutes of blotting rather than adding more flour, which can make the cookies dry and heavy.
What Each Ingredient Is Actually Doing in These Pumpkin S’mores Cookies

- Blotted pumpkin puree — This gives the cookies pumpkin flavor and softness without flooding the dough. Canned pumpkin is fine, but blot it until it looks thick and matte instead of glossy and wet.
- Brown sugar — This is what gives the cookies that soft, chewy middle. Dark brown sugar will add a deeper molasses note if you want a richer taste.
- Graham cracker pieces — These bring the s’mores part to life and add a dry, crisp contrast to the soft dough. Break them by hand so you get both small crumbs and bigger chunks.
- Dark chocolate chunks — Chunks hold their shape better than chips, so you get puddles of melted chocolate instead of tiny flecks. Semi-sweet works too, but avoid anything too sweet or the cookies start tasting flat.
- Mini marshmallows — Half go into the dough for gooey pockets, and half go on top for that toasted finish. If they all go inside, they melt out and disappear.
How to Get the Marshmallows Toasted Without Burning the Cookies
Building the Dough
Start by beating the butter with both sugars until the mixture looks fluffy and a little lighter in color. That step traps air and helps the cookies bake up with a softer center instead of a dense one. Add the blotted pumpkin, egg, and vanilla next, and mix until the bowl looks smooth and combined; if the mixture looks slightly broken at this point, that’s normal and the flour will bring it back together.
Bringing in the Dry Ingredients
Whisk the flour, baking soda, pumpkin pie spice, cinnamon, and salt before they go into the bowl. That keeps the spices evenly distributed, which matters here because pumpkin dough can easily end up patchy if the spice isn’t mixed through well. Fold the dry ingredients in just until no flour streaks remain. If you keep mixing after that, the cookies can turn tight and dry.
Folding in the S’mores Pieces
Add the graham cracker pieces, chocolate chunks, and only half the marshmallows at this stage. The dough should be thick enough to hold everything without looking soupy, and that’s the point. Save the remaining marshmallows for the tops so they toast instead of melting completely into the cookie. If the dough feels sticky, chill it for 15 minutes before scooping so the cookies hold their shape better in the oven.
Baking and Finishing the Tops
Scoop the dough into 2-tablespoon rounds and press the reserved marshmallows onto the tops. Bake just until the edges are set and the centers still look a little soft; they finish cooking on the hot pan after they come out. If you want the toasted look, broil for about 60 seconds at the very end and watch constantly, because marshmallows go from golden to burnt fast. Let the cookies sit on the pan for 5 minutes before moving them, or they’ll fall apart while the chocolate is still loose.
Gluten-Free Version
Use a 1:1 gluten-free baking blend that includes xanthan gum. The texture will be a little more delicate, but the cookies still hold together well if you let the dough rest for 10 minutes before scooping so the flour can hydrate.
Extra Toasty Campfire Flavor
Swap half the dark chocolate for milk chocolate and add a few crushed chocolate-covered graham crackers if you have them. The result tastes sweeter and closer to classic s’mores, but the cookie itself will read less rich and a little more candy-like.
Dairy-Free Version
Use a plant-based butter stick that behaves like real butter in baking. Avoid soft tub spreads, which can make the dough too loose and cause the cookies to spread more than you want.
Storage and Reheating
- Refrigerator: Store in an airtight container for 4 days. The marshmallows soften over time, but the cookies stay chewy.
- Freezer: Freeze baked cookies for up to 2 months, or freeze scooped dough balls without the top marshmallows and add those just before baking. This keeps the marshmallows from getting sticky in the freezer.
- Reheating: Warm cookies in a 300F oven for 4 to 5 minutes. The mistake to avoid is microwaving too long, which turns the marshmallows rubbery and makes the chocolate separate.