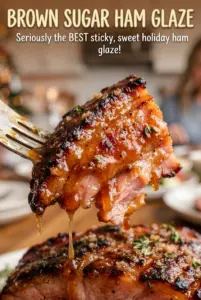
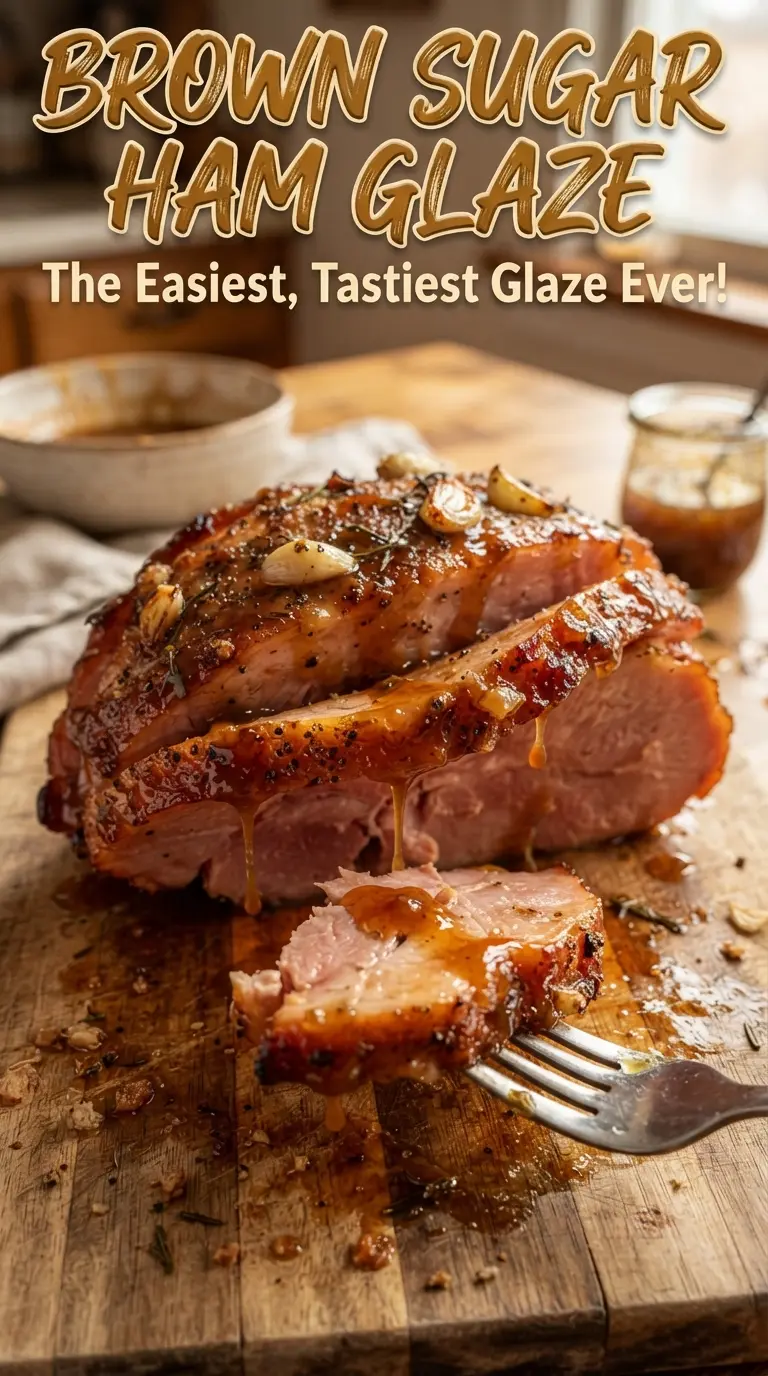
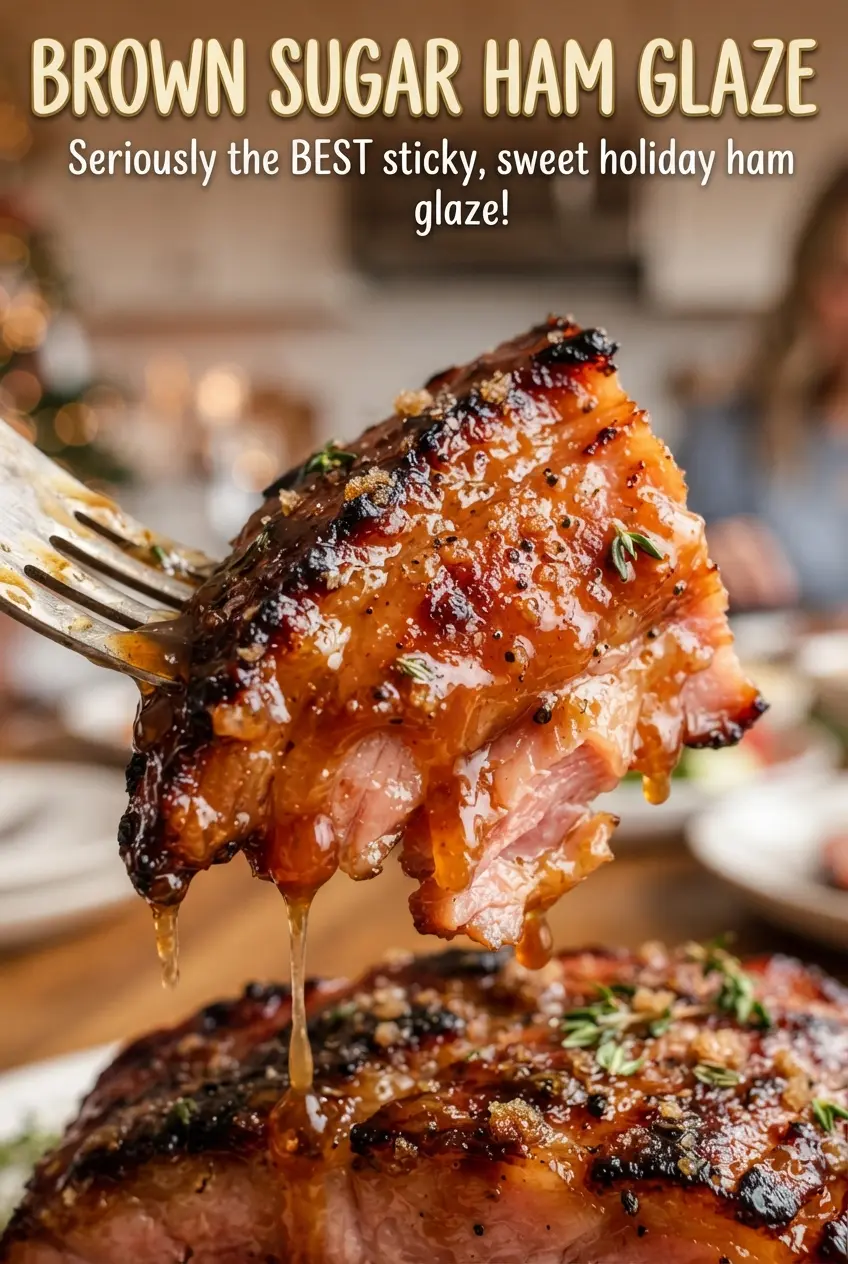
Brown sugar ham glaze turns an ordinary baked ham into something glossy, sticky, and deeply savory-sweet with almost no effort. It clings to the outside in a lacquered layer, seeps into the scored cuts, and gives every slice that caramelized edge people go back for first. The best part is how fast it comes together: a few pantry ingredients, one saucepan, and a brush are all you need.
This version gets its balance from honey, Dijon, and a little vinegar, which keeps the glaze from tasting flat or overly sweet. The juice adds brightness and helps the sugar dissolve cleanly, while cinnamon and cloves bring that warm, classic holiday-style aroma without taking over. If you’ve had ham glazes turn grainy, run off the meat, or burn before the ham was ready, this one is built to avoid all three.
Below, I’ll walk you through the simmer point that gives you a brushable glaze, which juice works best, and how to keep the leftover glaze warm enough to spoon over sliced ham at the table.
The glaze set up beautifully and brushed on without running off the ham. I loved how the Dijon kept it from getting cloying, and the edges caramelized just enough after the last 10 minutes in the oven.
Love the glossy finish and sweet-savory balance of this brown sugar ham glaze? Save it to Pinterest for your next baked ham dinner.
The Difference Between a Glaze That Clings and One That Slides Off
The biggest mistake with ham glaze is rushing the simmer. If the sugar hasn’t fully dissolved, the glaze goes grainy and won’t brush smoothly. If it never cooks long enough, it stays thin and runs straight off the ham instead of building that shiny coating on the outside.
This glaze needs just enough time on the stove to lose its raw edge and pick up body. You’re looking for a texture that coats the back of a spoon lightly, not a sticky candy syrup. The butter helps it emulsify, and the acid from the vinegar keeps the sweetness from turning dull.
- Brown sugar — Packed brown sugar gives the glaze its deep molasses note and that classic caramel color. Light brown sugar works fine, but dark brown sugar will taste a little richer and more intense.
- Honey — Honey adds shine and helps the glaze set up on the ham. Maple syrup can stand in, but it tastes rounder and a little less bright.
- Pineapple or orange juice — This is the liquid that loosens the glaze and brings the sweetness into balance. Orange juice gives a cleaner citrus finish; pineapple tastes softer and more traditional with ham.
- Dijon mustard — Dijon keeps the glaze from tasting one-note sweet and gives it a subtle savory backbone. Yellow mustard won’t bring the same depth.
- Butter — Butter smooths the glaze and helps it brush on evenly. Use real butter here; the flavor and texture are worth it.
What Each Ingredient Is Actually Doing in This Recipe
- Primary ingredient (the star) — Quality matters most. Choose the best you can find.
- Cooking medium (oil, butter, or broth) — This carries flavors and prevents dryness.
- Seasonings (salt, pepper, spices, herbs) — Layer flavors so nothing overpowers. Build depth gradually.
- Aromatics (garlic, onion, herbs) — Cook with fat to bloom flavors. Become the foundation.
- Supporting ingredients — Complement the main ingredient without overpowering it.
- Sauce or liquid (if applicable) — Brings flavors together. Balance richness with acid.
- Acid (lemon, vinegar, wine, or other) — Brightens and prevents flat-tasting results.
- Final finish (garnish, glaze, or sauce) — Prevents one-dimensional taste and adds visual appeal.
Building the Glaze So It Stays Glossy
Starting with a Cold Pan and a Gentle Stir
Put everything in the saucepan before turning on the heat, then stir until the brown sugar starts dissolving into the liquid. That first minute matters because it keeps the sugar from scorching on the bottom while the butter melts. Medium heat is enough; if the burner is too high, the edges will bubble hard before the center comes together.
Watching for the Right Simmer
Once the glaze comes to a simmer, keep it there for 3 to 4 minutes. You want small, steady bubbles and a glossy finish, not a hard boil that cooks off too much liquid. If it looks thick in the pan but turns stiff as it cools, it went a minute too far.
Brushing on the Ham in Layers
Start glazing during the last 30 minutes of baking and brush it on every 10 minutes. That builds flavor without burning the sugars early. The ham should already be fully cooked, because this glaze is there to lacquer the surface and deepen the crust, not to do the cooking for you.
Serving the Last Spoonfuls Warm
Keep the remaining glaze warm so it stays pourable at the table. If it thickens up too much, set the pan over very low heat for a minute and stir until it loosens again. Spoon it over the sliced ham right before serving so every piece gets a little extra shine and flavor.
How to Adjust This Glaze for Different Hams and Dinners
Use orange juice for a brighter finish
Orange juice gives the glaze a sharper citrus edge that works well with a saltier ham. It makes the final flavor feel a little lighter and less pineapple-forward, especially if you’re serving the ham with rich side dishes.
Make it dairy-free without changing the texture much
Swap the butter for a neutral dairy-free butter substitute or refined coconut oil. The glaze will still shine and cling well, though coconut oil will add a faint coconut note and a dairy-free butter will stay closer to the original flavor.
Skip the cloves if you want a softer spice note
The cloves give the glaze that warm, old-fashioned ham taste, but they can take over if you use too much. Leaving them out makes the glaze sweeter and cleaner-tasting, which works well if your ham is already heavily seasoned.
Double the batch for a large spiral ham
A big spiral-cut ham drinks in glaze fast because all those slices expose more surface area. Doubling the recipe gives you enough to brush between the layers and still have some left for serving at the table.
Storage and Reheating
- Refrigerator: Store leftovers in an airtight container for up to 5 days. It will thicken as it chills.
- Freezer: This glaze freezes well for up to 2 months. Thaw it overnight in the fridge before reheating.
- Reheating: Warm it over low heat with a splash of juice or water to loosen it back up. Don’t boil it hard or it can turn overly sticky and lose that smooth brushable texture.
Questions I Get Asked About This Recipe
Brown Sugar Ham Glaze
Ingredients
Equipment
Method
- Combine brown sugar, honey, pineapple or orange juice, Dijon mustard, butter, apple cider vinegar, cinnamon, and cloves in a saucepan.
- Heat over medium heat until the mixture reaches a simmer, stirring so the sugar dissolves, 3-5 minutes.
- Simmer for 3-4 minutes, stirring occasionally, until slightly thickened and glossy.
- Brush the warm glaze over a fully cooked ham during the last 30 minutes of baking, re-brushing every 10 minutes.
- Spoon the remaining warm glaze over sliced ham at the table.