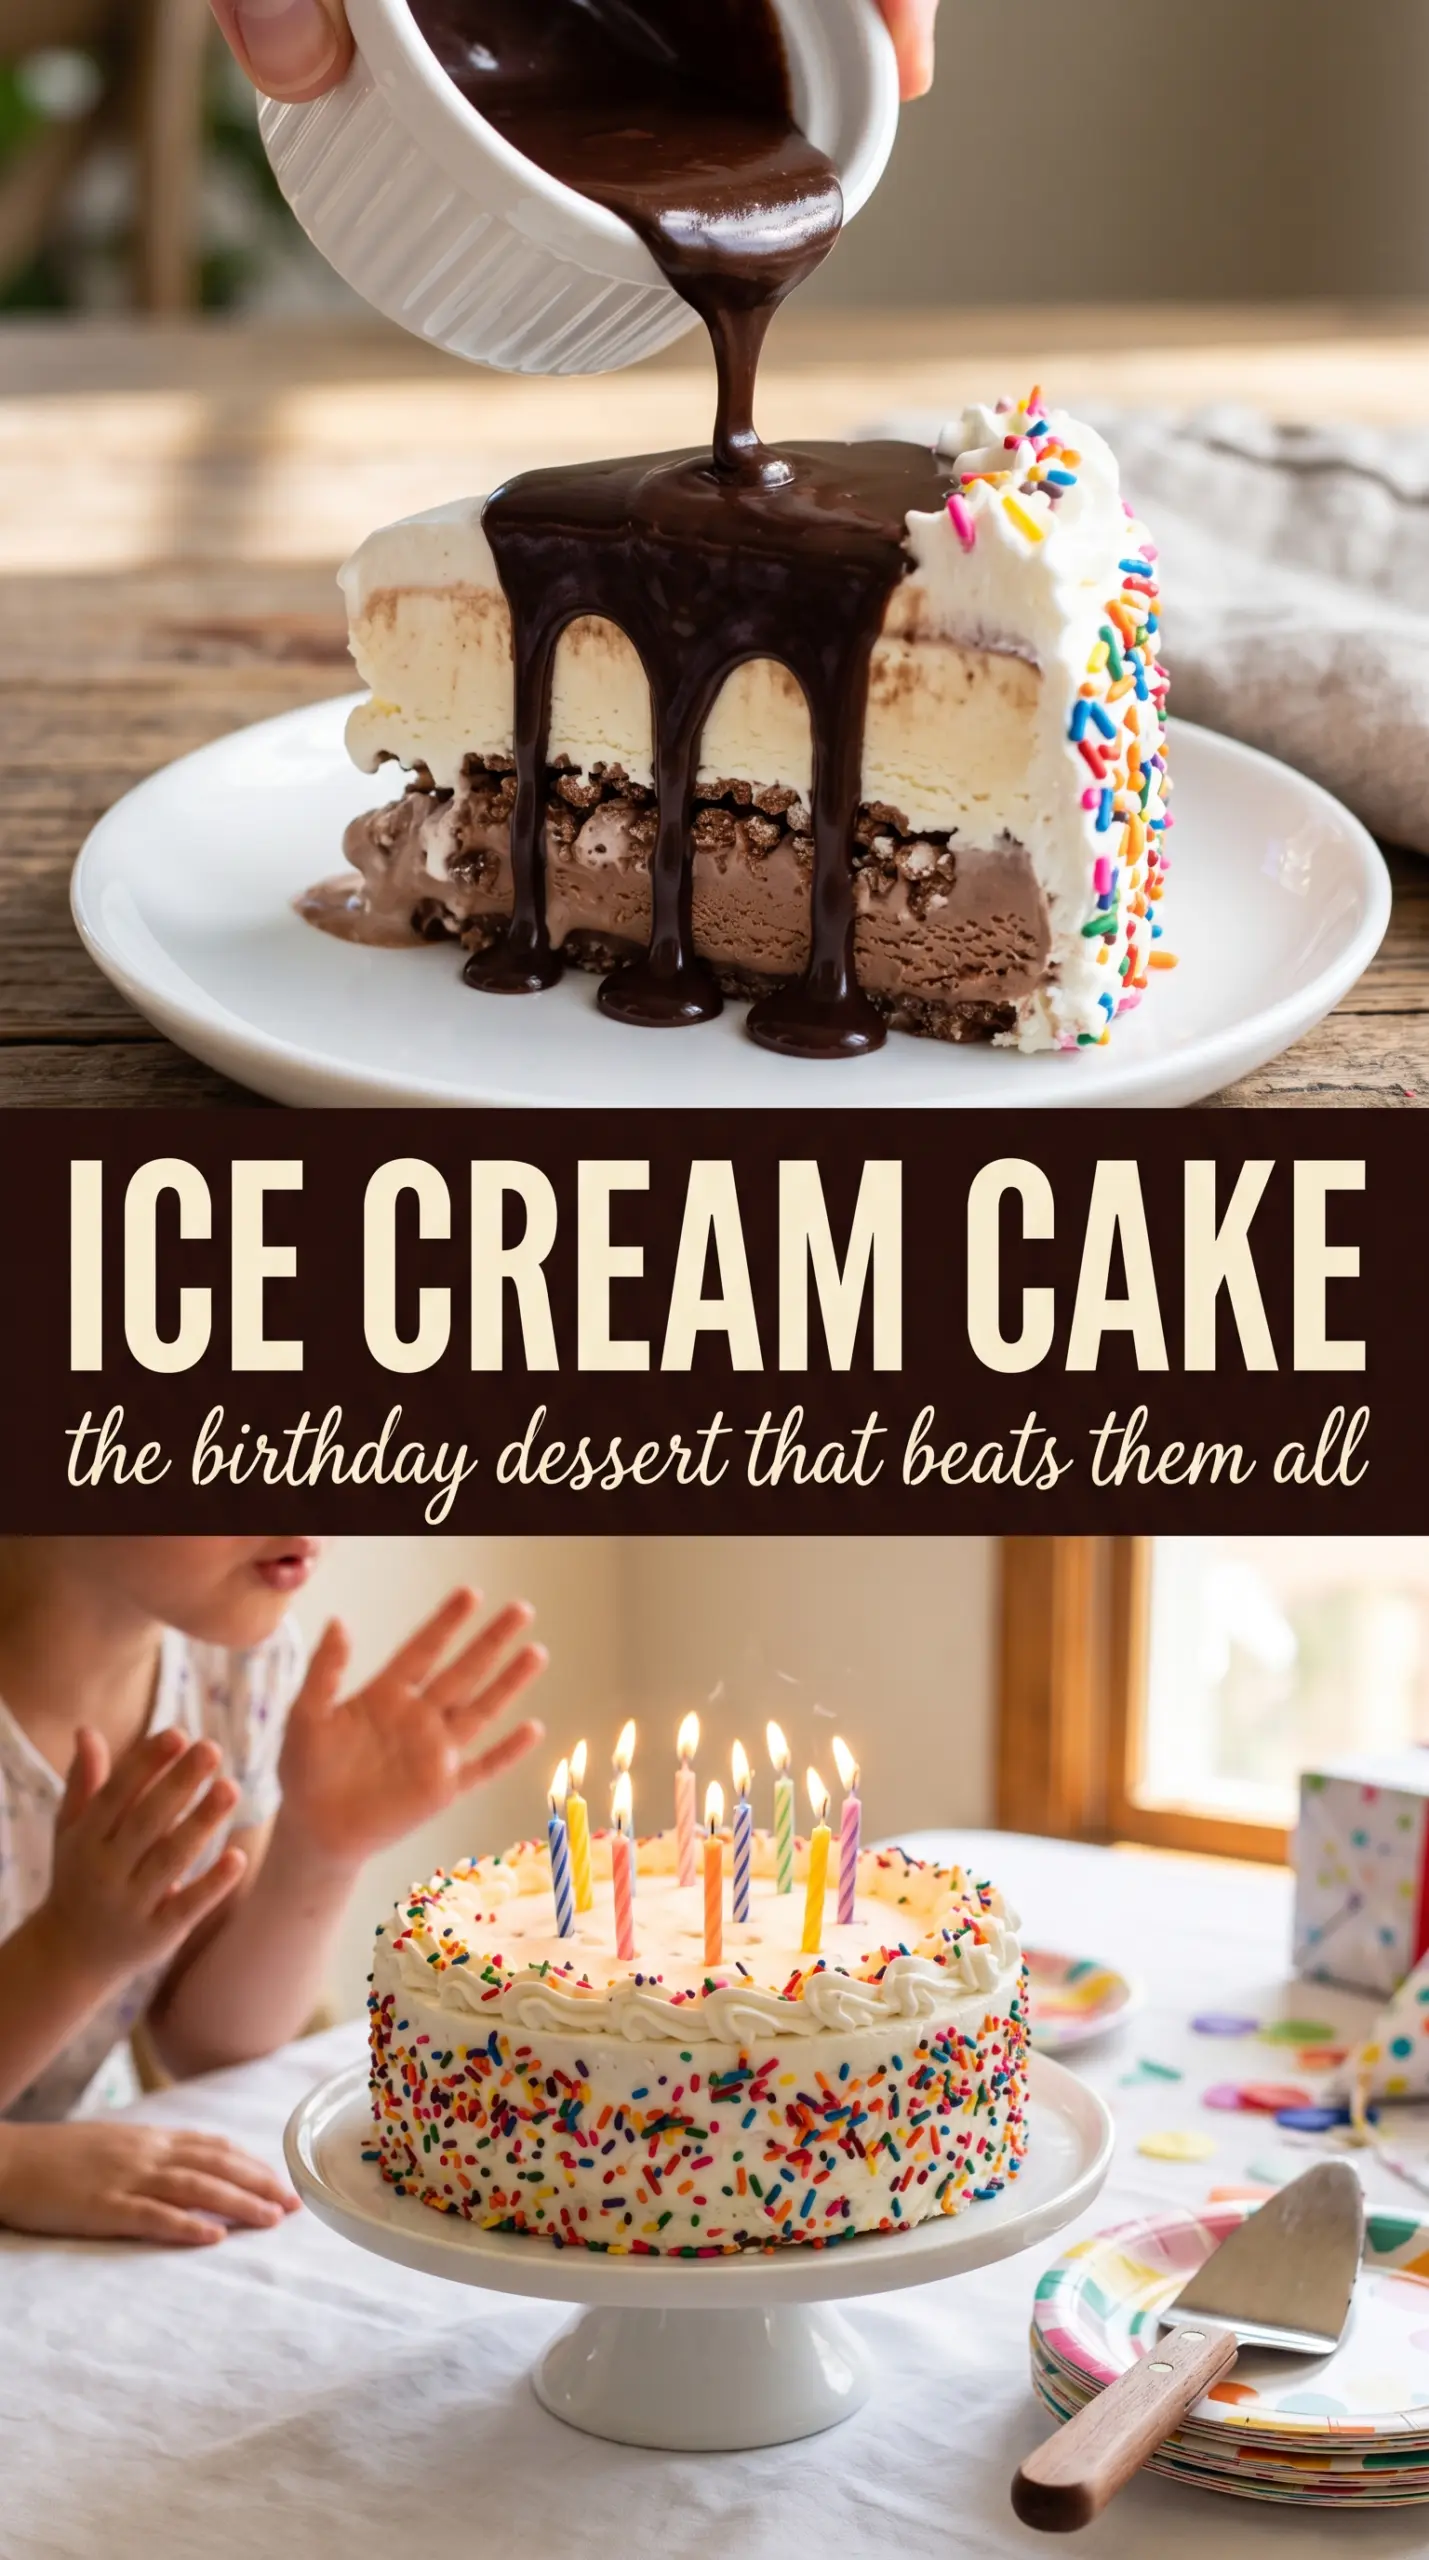
Ice cream cake is at its best when the layers cut cleanly and the first bite gives you cold vanilla, a ribbon of fudge, and a crunchy Oreo crust all at once. The whole dessert feels playful and nostalgic, but the texture is what makes people go back for a second slice. When it’s built right, the crust stays firm, the ice cream layers stay distinct, and the topping doesn’t slide off the moment it hits the table.
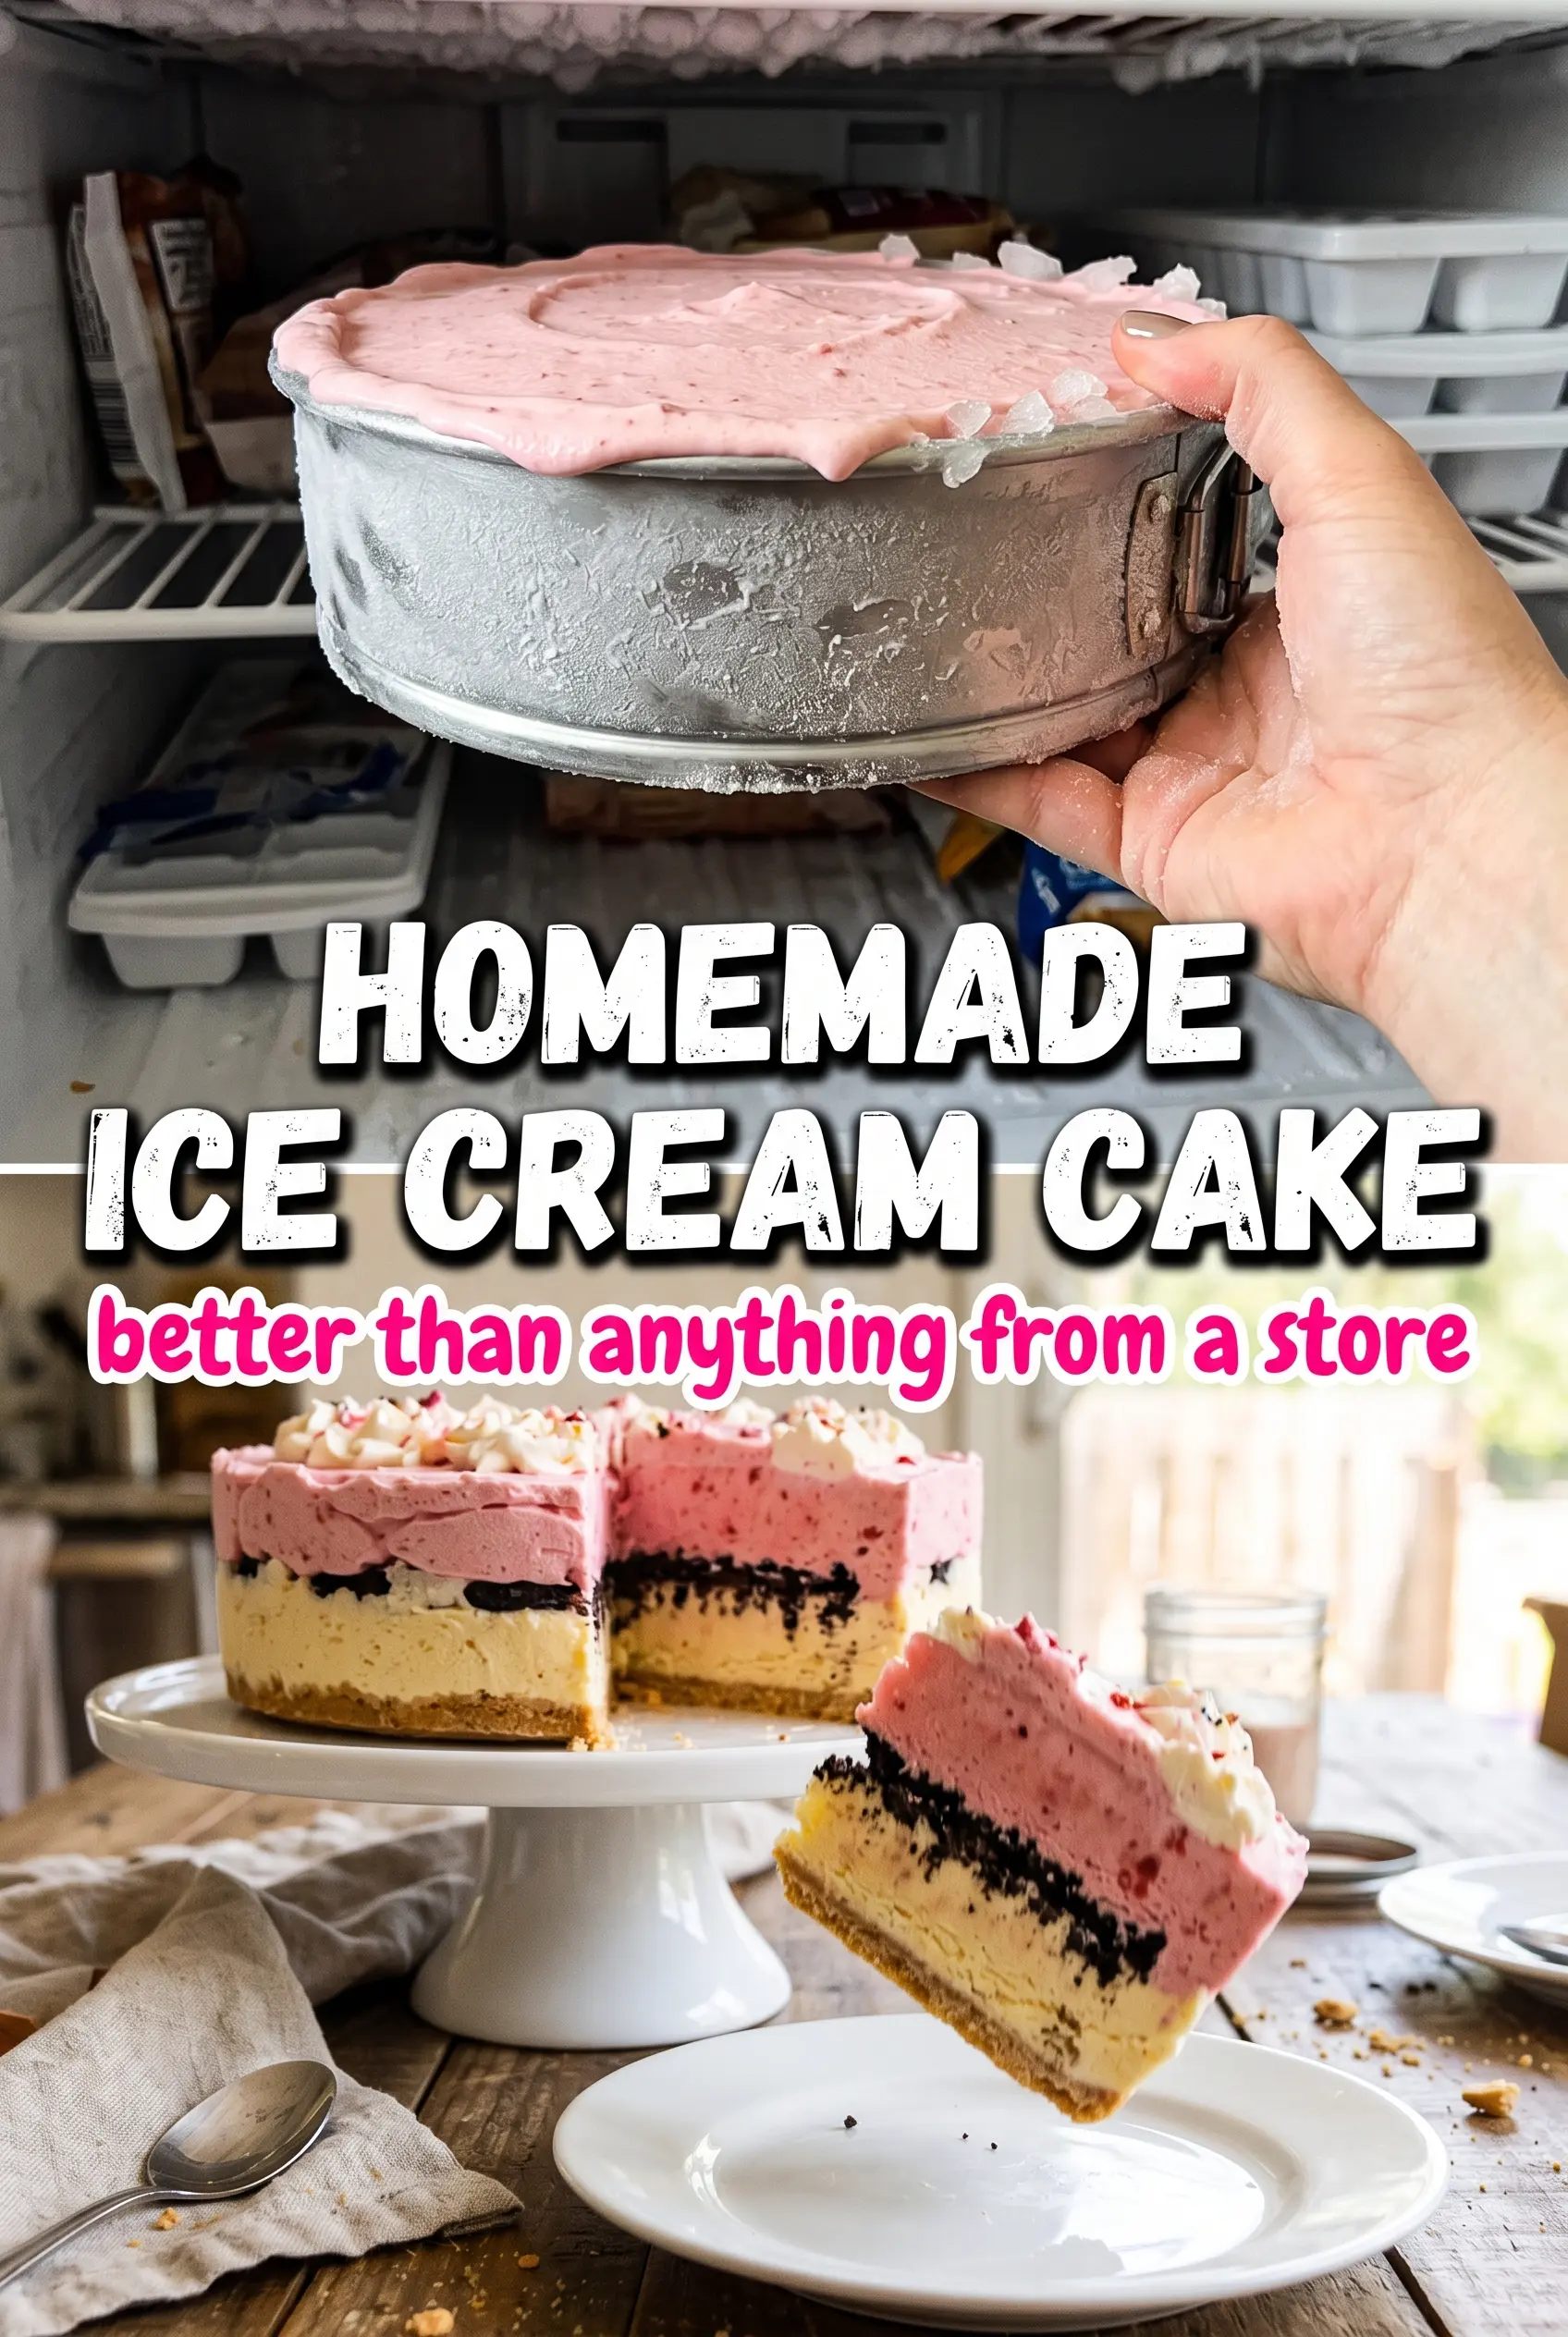
This version works because each layer gets enough freeze time to set before the next one goes in. That matters more than fancy ingredients. A slightly softened carton of ice cream spreads without tearing up the layer underneath, and cooling the fudge a bit keeps it from melting a tunnel into the vanilla. I also like the mix of vanilla and strawberry because the flavors stay clear and the color contrast makes the cake look as good as it tastes.
Below, I’ll show you the easiest way to build it in a springform pan, plus a few practical swaps if you want to change the flavor or plan ahead for a birthday crowd.
The crust stayed crunchy even after freezing overnight, and the fudge layer didn’t ooze into the strawberry ice cream like it usually does for me. Slicing it with a hot knife made such a difference.
Like this Oreo ice cream cake? Save it to Pinterest for birthdays, cookouts, and any night that needs a cold dessert with a clean chocolate-and-strawberry slice.
The Freezer Timing That Keeps the Layers Separate
The biggest mistake with ice cream cake is rushing the build. If the vanilla layer isn’t firm before you add the fudge, the sauce sinks instead of making a clean ribbon. If the fudge is too hot, it cuts right through the ice cream and leaves a thin chocolate streak instead of a defined layer.
Give each layer enough time to set before moving on. The crust only needs a short freeze to hold together, but the ice cream layers need longer because they’re carrying the weight of everything above them. That’s what keeps the slices neat when you run a hot knife through the cake later.
- Oreos — These bring the chocolate crunch that holds up in the freezer. Crumble them finely, but don’t turn them to dust; a few small bits give the crust better texture.
- Butter — Melted butter binds the cookie crumbs into a sliceable base. There isn’t a great swap here if you want the crust to set firmly, though refined coconut oil can work in a pinch with a slightly firmer bite.
- Vanilla ice cream — This is the first clean layer in the cake, so use a brand that softens smoothly rather than one that turns icy or grainy. Slightly softened is the key; melted ice cream will refreeze unevenly and make the layer hard to spread.
- Strawberry ice cream — The fruit flavor keeps the cake from tasting one-note. If you want a stronger strawberry color and flavor, pick a premium carton with real fruit bits, but avoid anything with large chunks that make slicing messy.
- Hot fudge sauce — This gives the cake its middle ribbon and a little richness in each bite. Let it cool until it’s warm, not hot, so it stays layered instead of melting into the vanilla.
- Whipped topping or stabilized whipped cream — This finishes the top and insulates the cake a bit during serving. Stabilized whipped cream holds sharper swirls and lasts better if the cake sits out for a few minutes.
What Each Ingredient Is Actually Doing in This Ice Cream
- Base ingredient (cream, milk, or custard) — This provides the foundation and richness. Quality matters.
- Sweetener (sugar, honey, or condensed milk) — This sweetens and prevents ice crystals. The ratio is critical.
- Flavor element (vanilla, fruit, chocolate, or other) — This defines the ice cream personality. Use quality ingredients.
- Egg yolks (if making custard base) — These create richness and silky texture. Optional but elevates ice cream.
- Churning (if using ice cream maker) — This incorporates air and prevents ice crystals. Critical for smooth texture.
- Freezing temperature and time — Proper freezing prevents rock-hard texture. Store at 0°F or below.
- Mix-ins (chocolate, cookies, fruit, or swirls) — These add texture and prevent one-dimensional flavor. Add near end of churning.
- Serving temperature (slightly soft, not rock hard) — This provides creamy mouthfeel. Remove from freezer 5 minutes before serving.
Building the Cake So the Slices Come Out Clean
Pressing the Oreo Crust
Mix the crushed Oreos with the melted butter until every crumb looks damp, then press the mixture firmly into the bottom of a 9-inch springform pan. Use the bottom of a measuring cup or glass to pack it down evenly. If the crust feels loose now, it will crumble later, so spend a full minute compacting it. A short freeze gives it enough structure to support the first ice cream layer.
Spreading the Vanilla Layer
Scoop the slightly softened vanilla ice cream over the chilled crust and work it into an even layer with an offset spatula. The goal is a smooth, level surface with no gaps at the edges. If the ice cream is too hard, it tears the crust. If it’s too soft, it melts into the crust and loses that clean separation.
Adding the Fudge Ribbon
Drizzle the cooled hot fudge over the vanilla layer in a thin, even layer. You want it pourable, not hot enough to melt the surface beneath it. A spatula helps spread it gently without digging in. Freeze again until the sauce firms up enough that the next layer won’t drag it around.
Finishing with Strawberry and Topping
Spread the strawberry ice cream over the set fudge layer, smooth the top, and freeze the cake for at least 4 hours, or overnight if you want the cleanest slices. Once it’s fully firm, run a warm knife around the edge before releasing the springform pan. Pipe the whipped cream on a frozen cake, not a soft one, so the swirls hold their shape instead of melting into the surface.
Three Ways to Change the Cake Without Losing the Structure
Chocolate-Peanut Butter Version
Swap the strawberry ice cream for chocolate ice cream and drizzle peanut butter sauce over the fudge layer. The cake will taste richer and less fruity, and the peanut butter adds a salty edge that works especially well with the Oreo crust. Keep both sauces cool before layering so the structure stays clean.
Dairy-Free Ice Cream Cake
Use dairy-free vanilla and strawberry ice creams, plus a plant-based whipped topping and dairy-free fudge sauce. The texture will be a little softer once sliced, so give it an extra hour in the freezer before serving. The crust still works well as long as the cookie brand is dairy-free.
Gluten-Free Crust
Use gluten-free chocolate sandwich cookies in place of the Oreos. The flavor stays close to the original, and the crust still packs tightly if you use the same butter ratio. Crush them finely so the crumbs bind evenly and don’t leave dry pockets.
Make-Ahead Birthday Cake
Build the cake a full day ahead and leave off the whipped cream and sprinkles until right before serving. That keeps the top looking fresh and prevents the decorations from bleeding color into the cream. It’s the best approach if the cake needs to sit in the freezer overnight before a party.
Storage and Reheating
- Refrigerator: Ice cream cake doesn’t hold well in the fridge; it starts to soften within 20 to 30 minutes. Serve straight from the freezer.
- Freezer: Wrap the cake tightly and freeze for up to 1 week for best texture. After that, the crust can get stale and the ice cream may pick up freezer flavor.
- Reheating: Don’t reheat it. For cleaner slices, let the cake sit at room temperature for 5 to 10 minutes, then use a knife dipped in hot water and wiped dry between cuts.
Questions I Get Asked About This Recipe
Ice Cream Cake
Ingredients
Equipment
Method
- Mix crushed Oreo cookies with melted butter until evenly coated, then press firmly into the bottom of a 9-inch springform pan. Freeze for 15 minutes until set.
- Spread slightly softened vanilla ice cream in an even layer over the Oreo crust, smoothing the top. Freeze for 1 hour until firm.
- Drizzle slightly cooled hot fudge sauce over the vanilla layer in a thin ribbon. Freeze for 15 minutes to firm up.
- Spread slightly softened strawberry ice cream over the fudge layer, smoothing the top. Cover with plastic wrap and freeze for at least 4 hours or overnight.
- Run a warm knife around the edge, release the springform, and transfer the cake to a serving plate. Keep it cold while finishing the topping.
- Pipe whipped topping swirls around the top edge, then scatter rainbow or patriotic sprinkles across the center. Slice with a hot knife and serve immediately.