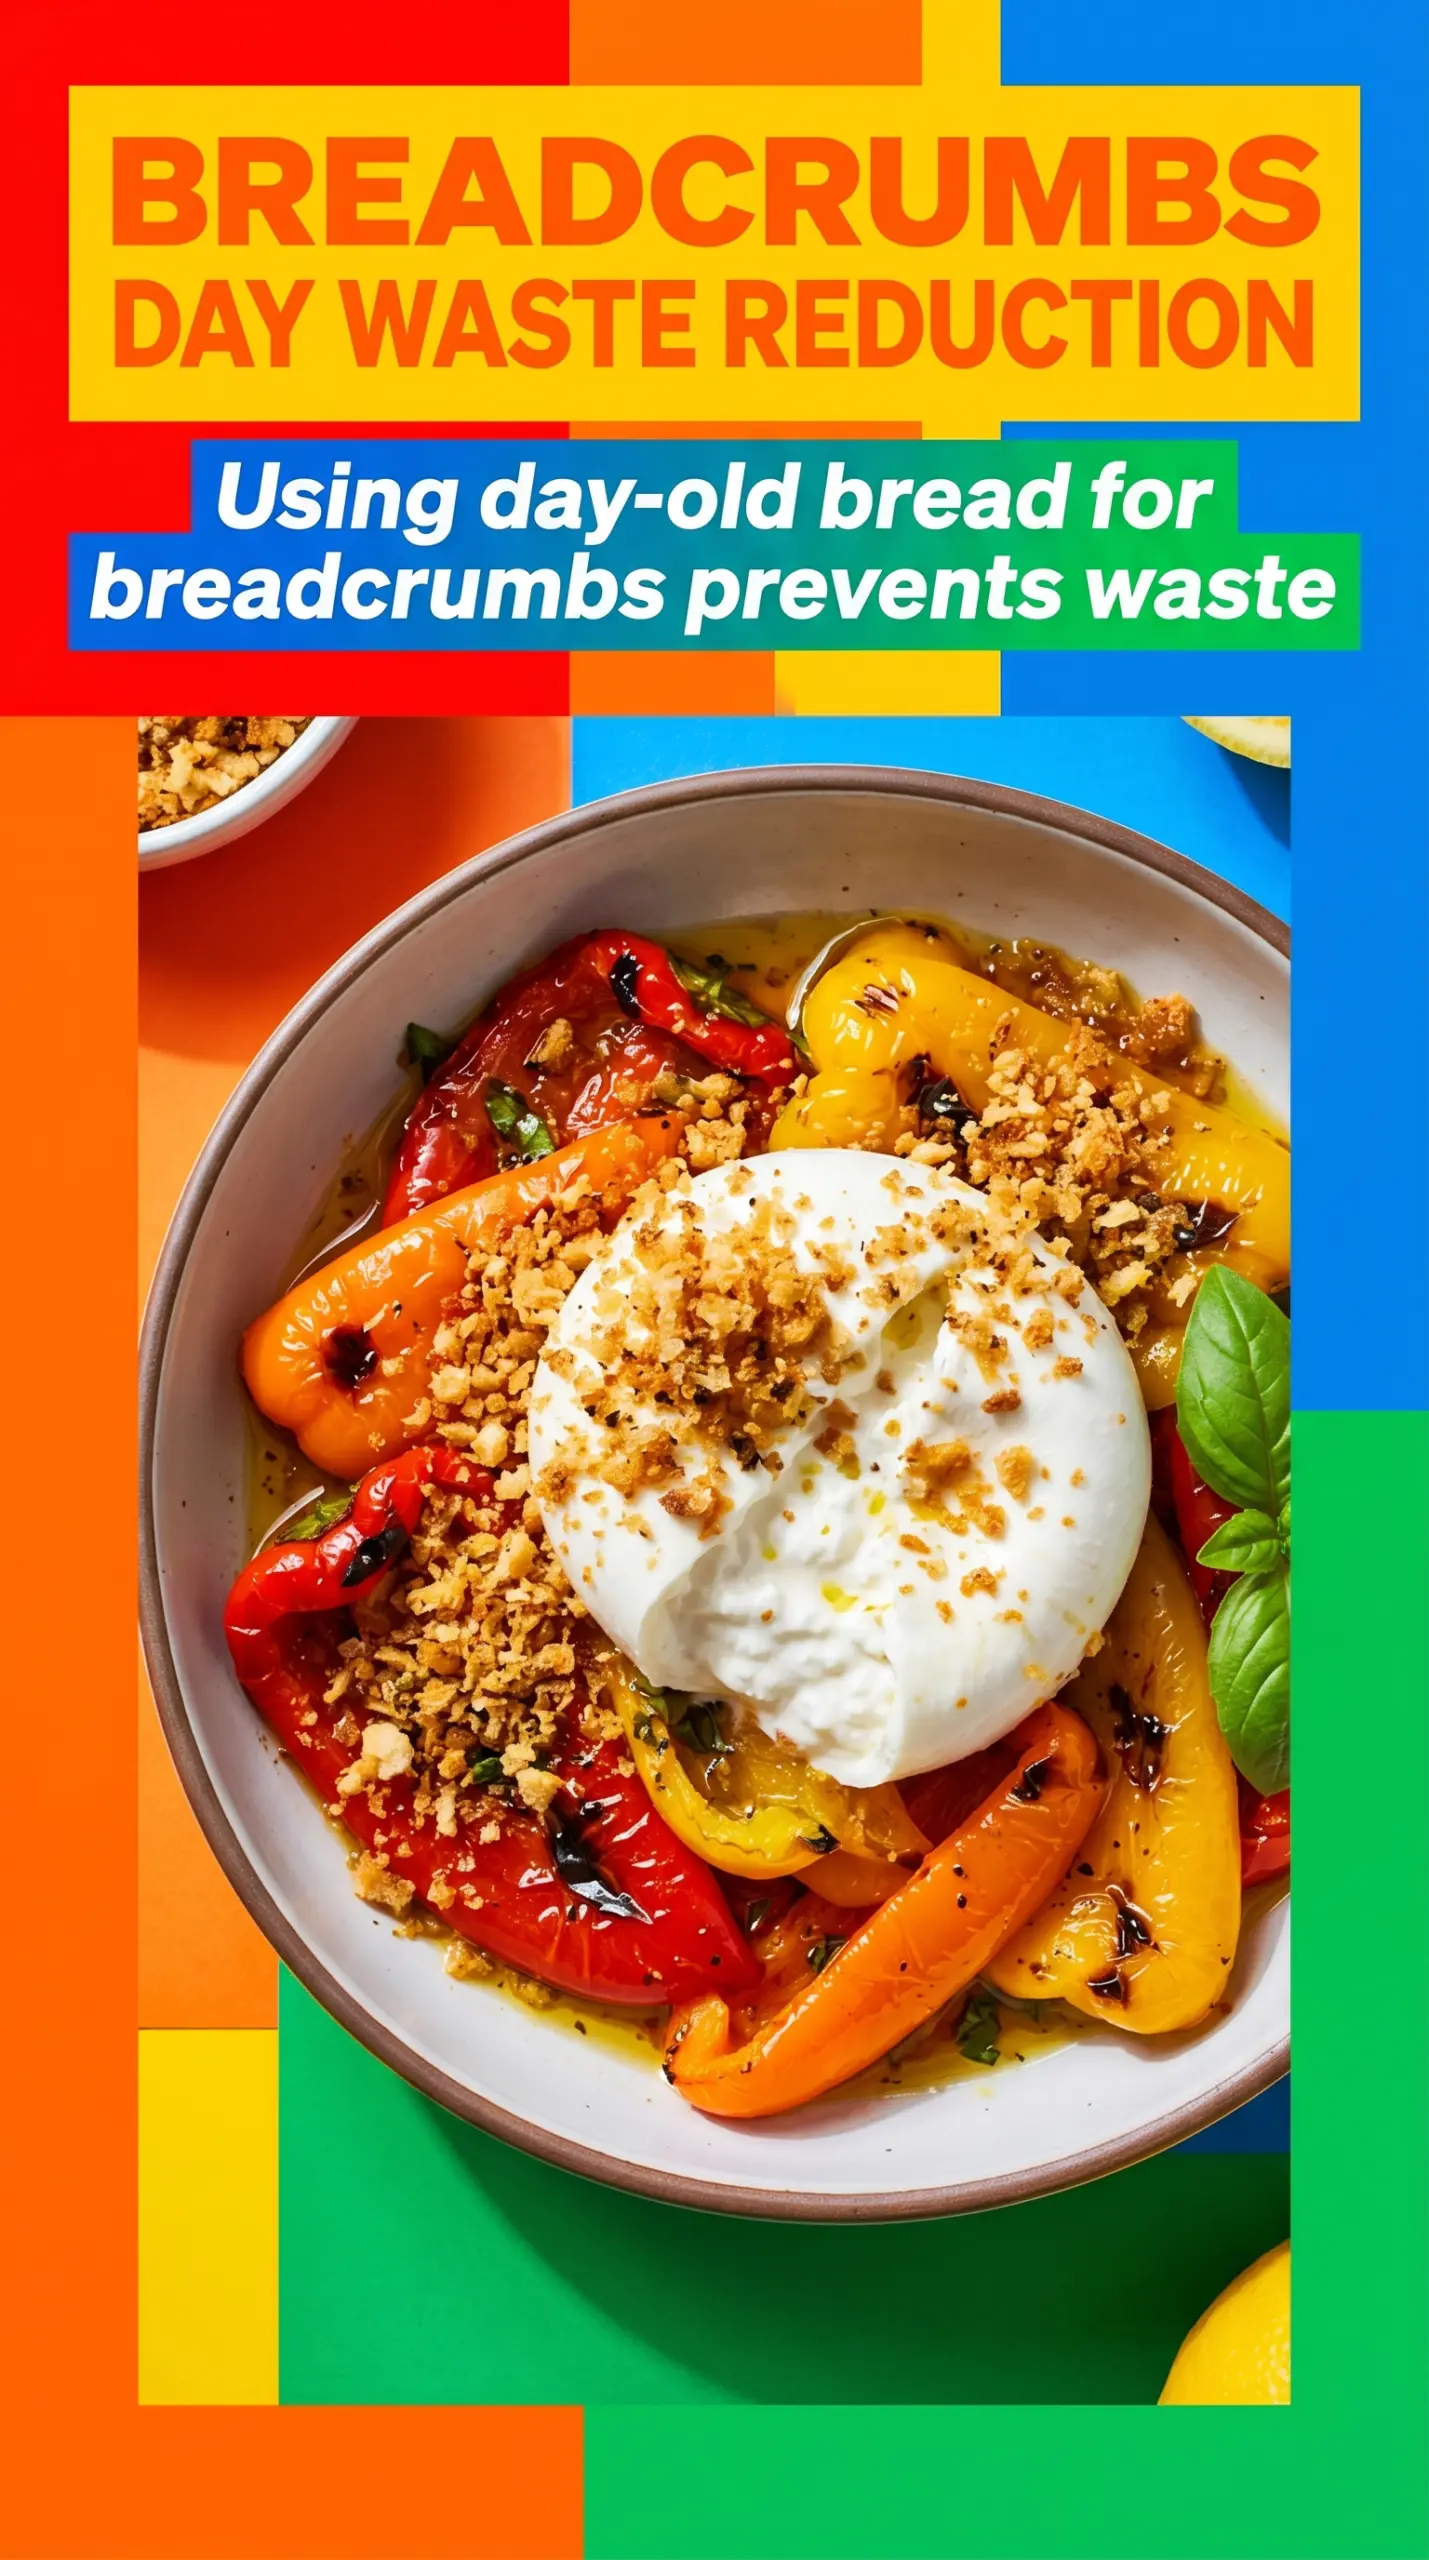
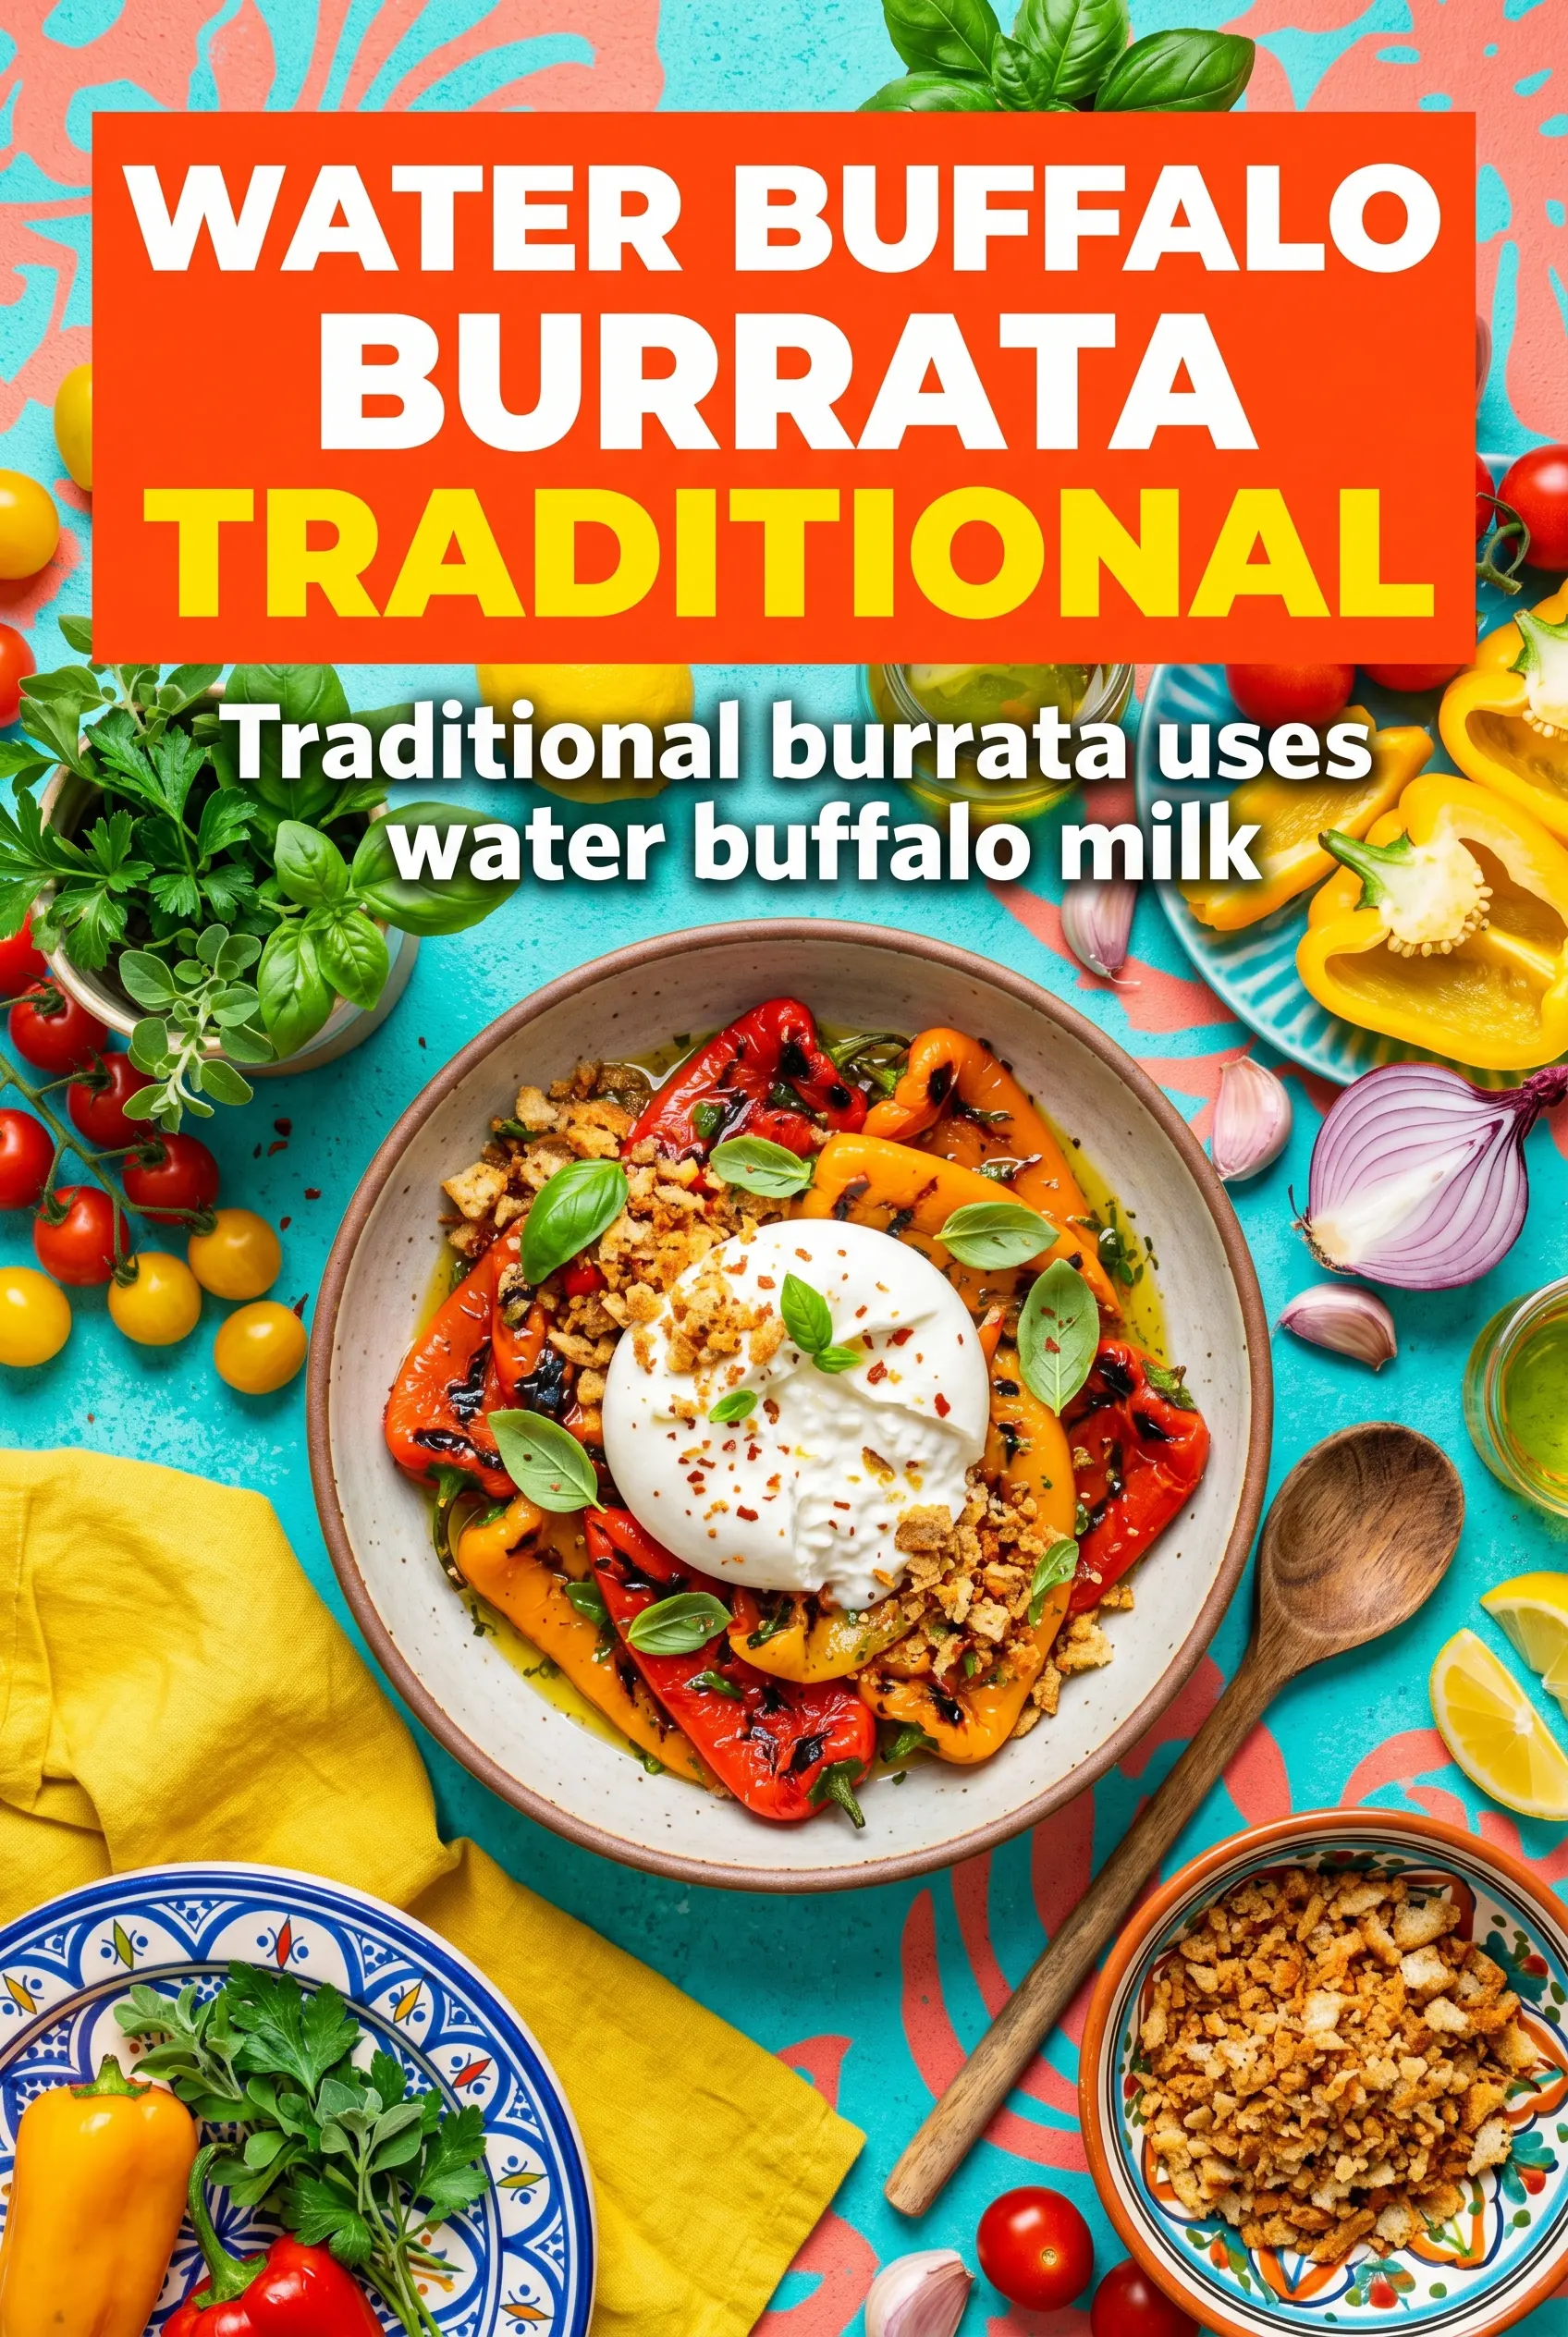
Charred peppers topped with torn burrata and crunchy breadcrumbs hit that perfect balance of smoky, creamy, and crisp. The peppers stay juicy under the grill, the marinade pulls flavor into every fold, and the burrata melts just enough into the warm vegetables without turning the whole platter heavy. It’s the kind of appetizer that disappears fast because every bite gives you something different.
The part that makes this version work is the short marinating window before grilling. Olive oil helps the peppers blister instead of dry out, while garlic and balsamic cling to the surface and deepen as the peppers char. Grilling them cut-side down first gives you those caramelized edges, then the skin-side finish softens the flesh until it’s spoon-tender but still structured enough to hold the cheese.
Below, I’m walking through the part that matters most: how to get the peppers tender without losing that grill-kissed bite, plus the best way to keep the breadcrumbs crisp until serving. There’s also a quick note on swapping the burrata if you need a different cheese on the table.
The peppers got that deep smoky edge without falling apart, and the burrata on top made it taste like something from a restaurant. I loved the crunchy breadcrumbs against the soft cheese.
Save these grilled marinated peppers with burrata for the nights when you want a colorful appetizer with smoky edges, creamy cheese, and crisp breadcrumbs.
The Part Where Most Grilled Peppers Turn Mushy
The trap with grilled peppers is rushing past the marinate-and-rest stage, then cooking them over heat that’s too low. Without that brief soak, the garlic and balsamic stay on the surface instead of sinking in, and the peppers can taste flat even if they’re charred. Without enough heat on the grill, they soften before they blister, which gives you limp peppers instead of the sweet, smoky slices you want.
Medium-high heat matters here because you need fast color on the cut side before the peppers collapse. You’re looking for dark grill marks, edges that take on a little wrinkle, and flesh that gives slightly when pressed with tongs but still holds its shape. If they go soft before they char, the grill wasn’t hot enough or the pieces sat too long on one side.
- Marinating time — The 30-minute rest is enough for the oil, garlic, and balsamic to cling without turning the peppers watery. Longer isn’t better here; peppers start to leak once they sit too long in acid.
- High-heat grilling — The quick sear builds sweetness and keeps the peppers from tasting steamed. If your grill grates are cooler than you think, they’ll soften before they color.
- Cut-side first — This is where the best flavor develops. The open surface picks up the char and helps the peppers release cleanly when you flip them.
What Each Topping Is Actually Doing Here
- Bell peppers — Use a mix of colors if you can. Red, yellow, and orange peppers bring more sweetness and make the platter look finished without extra work. Green peppers work, but they read sharper and less mellow.
- Burrata — This is the luxury move, and it matters. Burrata gives you creamy, milky richness that softens the char on the peppers; fresh mozzarella is sturdier and less lush, so it won’t give the same contrast.
- Panko breadcrumbs — Toasted panko gives the dish its best texture. If you skip the toasting, the crumbs can taste dusty and disappear into the cheese instead of staying crisp on top.
- Balsamic vinegar — A little goes a long way. It sharpens the sweetness of the peppers and gives the finished plate a gloss that plain oil can’t match.
- Fresh basil — Add it at the end, not before. Basil bruises fast and turns dark if it sits on heat, so it should stay fresh and fragrant on top of the warm cheese.
Building the Smoke, Cream, and Crunch in the Right Order
Coating the Peppers Evenly
Toss the pepper halves with olive oil, garlic, balsamic, salt, and pepper until every surface looks slick. The oil helps the peppers blister instead of sticking, and the balsamic should look lightly clinging, not pooling at the bottom of the bowl. If you see a wet puddle, the peppers will steam instead of grill, so lift them out and let the excess drip off before they hit the grates.
Marinating for Flavor, Not Sogginess
Let the peppers sit for 30 minutes. That’s long enough for the garlic and balsamic to round out the flavor, but short enough to keep the peppers firm. If they sit for much longer, they start to soften before grilling and the finished texture goes slack.
Getting the Char Without Overcooking
Place the peppers cut-side down over medium-high heat and leave them alone long enough to get real color. You want distinct blistering and deep grill marks, not just light browning. Flip them skin-side down and keep cooking until the skins are charred and the flesh gives easily when pierced with a fork; if the peppers still feel stiff in the center, give them another minute or two.
Finishing the Platter
Arrange the peppers on a platter while they’re still warm, then tear the burrata over the top so the center spills into the folds of the peppers. Scatter the toasted breadcrumbs across the cheese and vegetables just before serving so they stay crisp. Basil goes on last, after the heat is off the dish, because it’s there for freshness and aroma, not cooking.
How to Adapt This for a Bigger Crowd or a Different Cheese
Use goat cheese for a sharper finish
If you can’t find burrata, soft goat cheese gives you tang and creaminess, though it won’t melt into the peppers the same way. Drop small spoonfuls over the warm vegetables so it softens at the edges without disappearing completely.
Make it dairy-free with marinated white beans
For a dairy-free version, skip the burrata and spoon on well-drained white beans tossed with olive oil, lemon, and basil. You lose the creamy center, but the beans add enough richness and body to keep the platter satisfying.
Swap the panko for gluten-free crumbs
Use gluten-free panko or crushed gluten-free crackers toasted in a dry skillet until golden. The key is keeping that topping dry and crisp; if the crumbs are pale, they’ll turn soft the second they hit the burrata.
Scale it up for a buffet platter
Double the peppers and grill in batches so they still get direct contact with the grates. Don’t pile them onto the tray while they’re hot or the steam will soften the char; spread them out, then finish with cheese and crumbs right before serving.
Storage and Reheating
- Refrigerator: Store the grilled peppers separately from the burrata and breadcrumbs for up to 3 days. The peppers will soften a bit, but the flavor stays good.
- Freezer: The grilled peppers can be frozen, though the texture turns softer after thawing. Burrata doesn’t freeze well, so add it fresh after reheating.
- Reheating: Warm the peppers in a hot oven or a skillet until just heated through. Don’t microwave them if you want to keep any char; it makes the peppers watery and the breadcrumbs soggy.
Answers to the Questions Worth Asking
Grilled Marinated Peppers with Burrata and Breadcrumbs
Ingredients
Equipment
Method
- Toss the pepper halves with olive oil, minced garlic, balsamic vinegar, salt, and pepper until evenly coated, with the cut sides visible. Spread them on a sheet pan so the marinade can cling to the pepper surfaces.
- Marinate for 30 minutes to deepen flavor, letting the peppers sit at room temperature or in the refrigerator for best coverage. You should see the peppers glossy from the oil and vinegar mixture.
- Preheat the grill to medium-high heat, then place the peppers cut-side down and close the lid if possible. Grill for 6-7 minutes until the cut surfaces begin to blister and dark char forms.
- Flip the peppers to skin-side down and grill for 5-6 minutes until charred and tender. The skins should look blistered and the peppers should yield when pressed.
- Arrange the grilled peppers on a platter in a single layer, keeping the charred sides facing up where possible. Let them cool slightly so the burrata stays creamy.
- Tear the burrata over the peppers, then sprinkle with toasted panko breadcrumbs and fresh basil. Finish with golden crumbs and bright basil on top for a high-contrast look.


