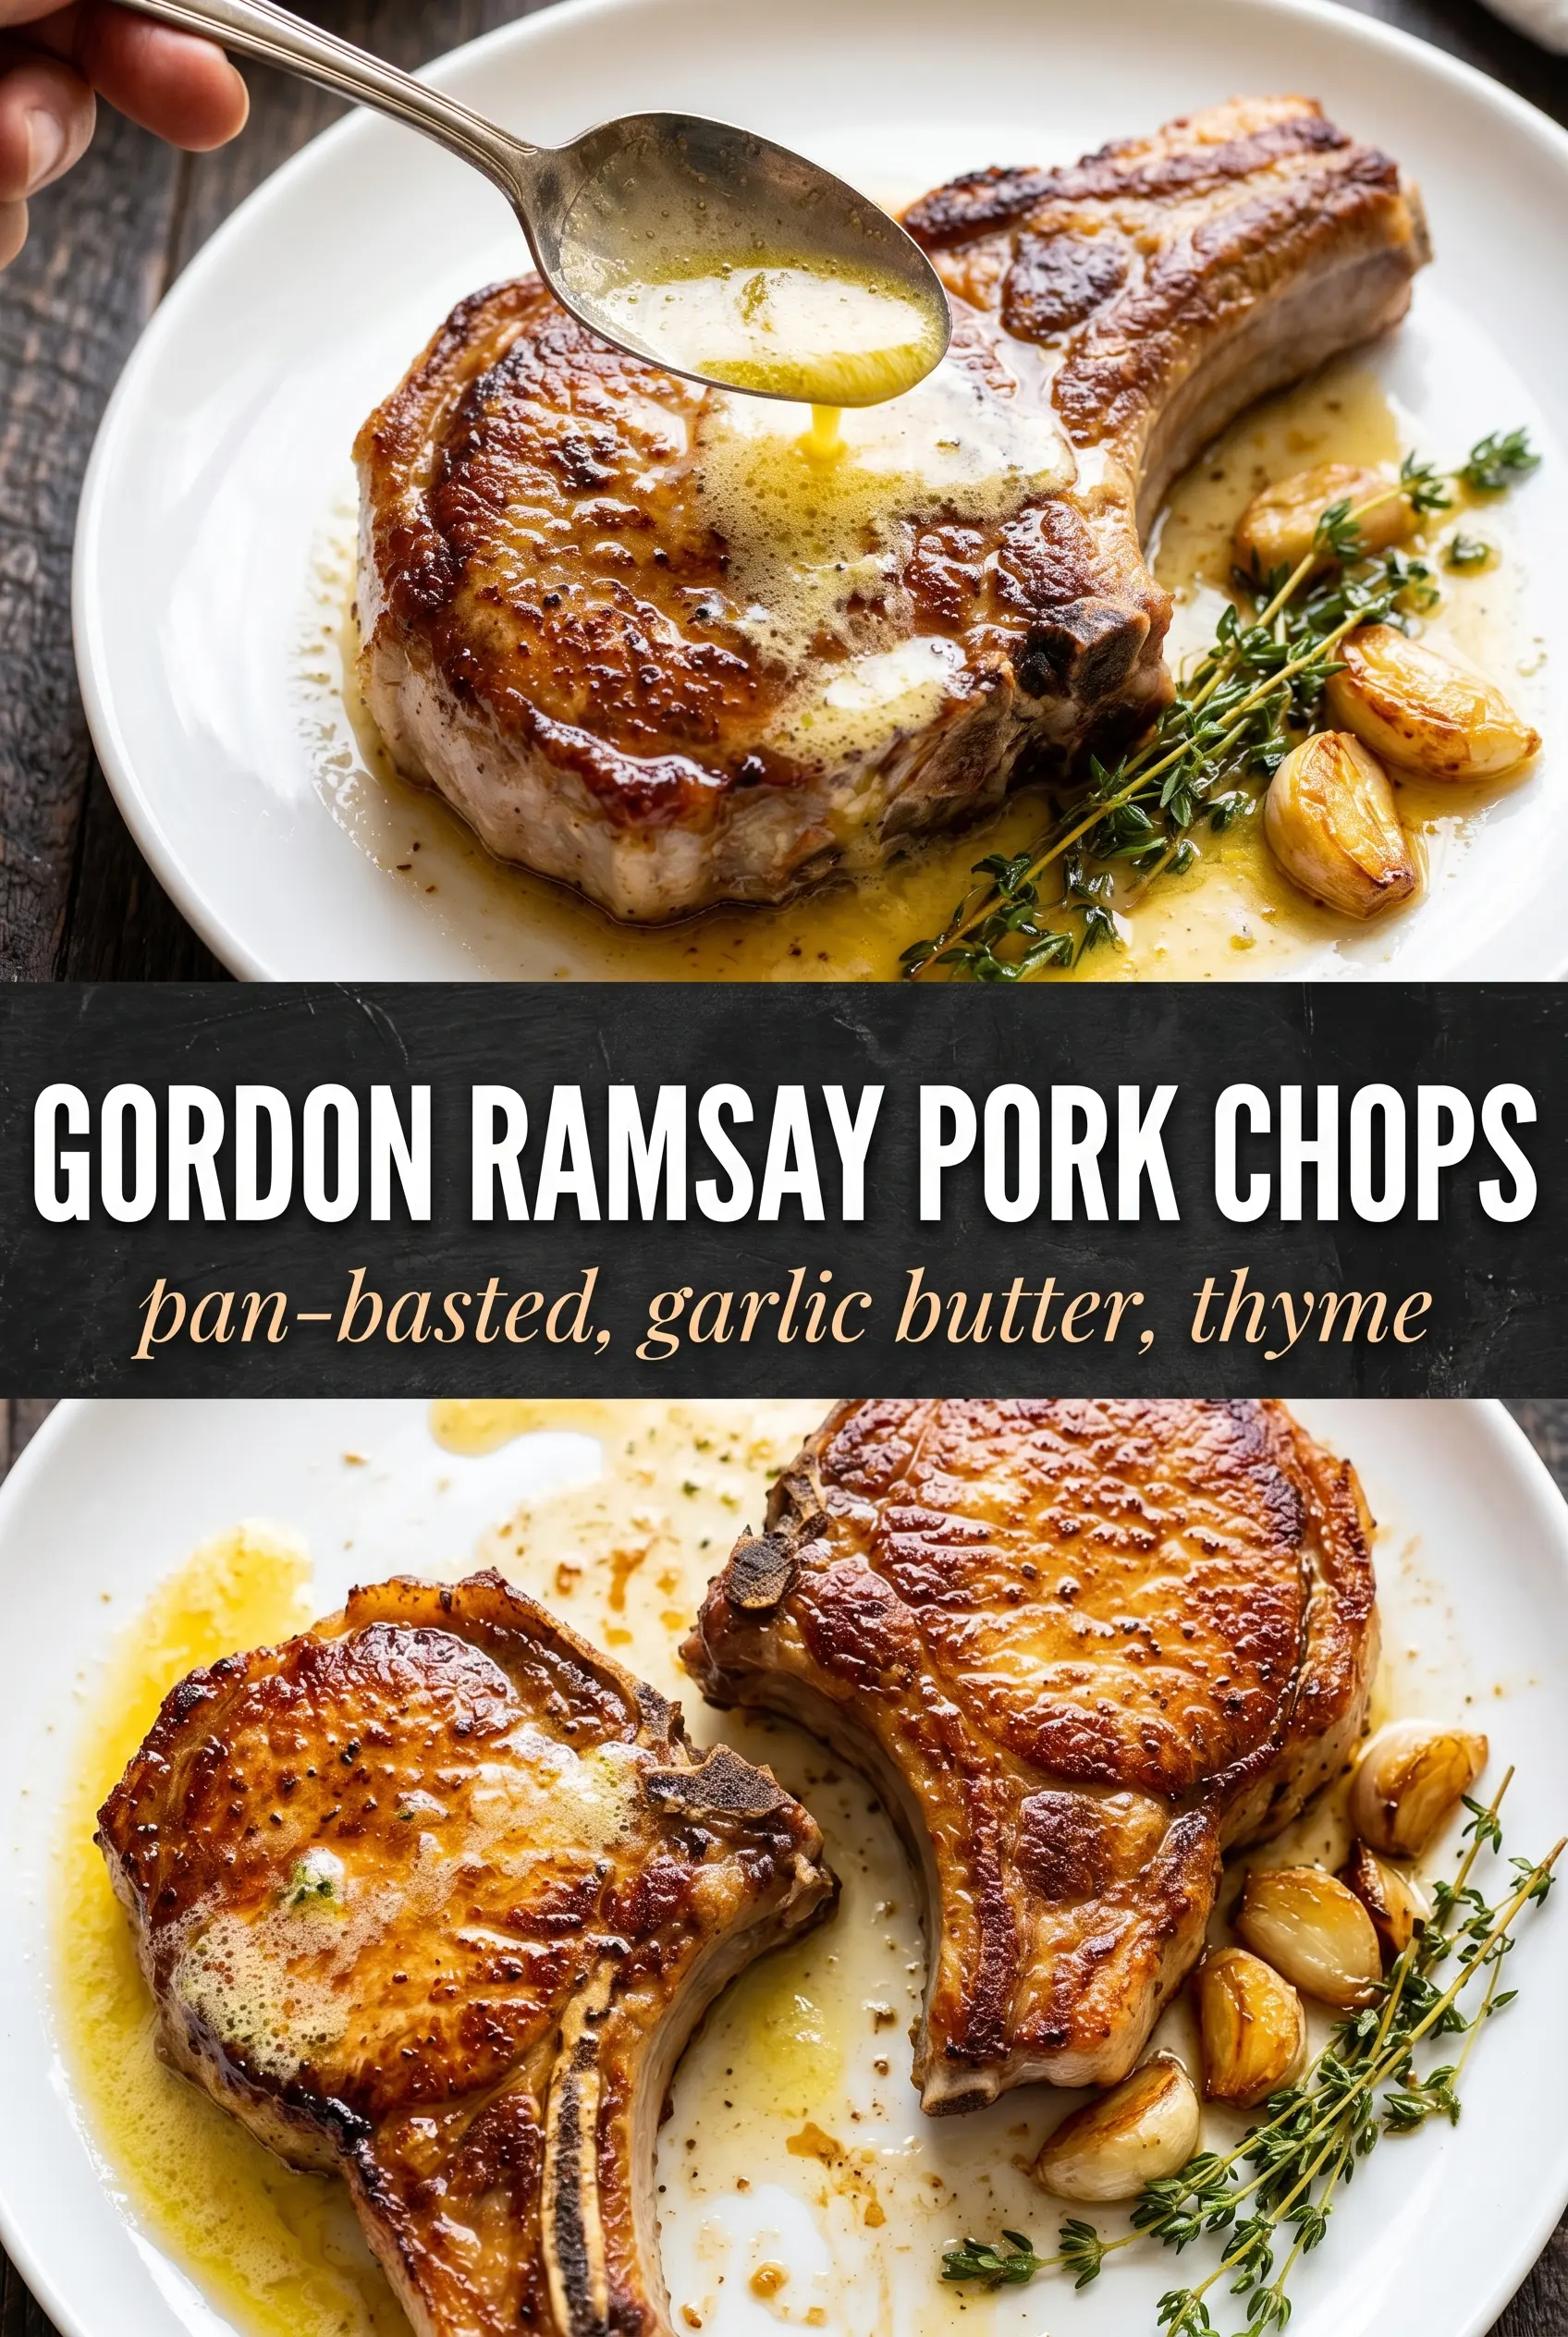
These pork chops hit the plate with a deep brown crust, a crisp, glassy fat cap, and the kind of herb butter gloss that makes them look straight out of a steakhouse kitchen. The best part is that the outside stays aggressively seared while the center stays juicy and just barely blushes at 145°F, which is exactly where a thick chop should be.
What makes this version work is the order of the cooking. The fat cap gets its own hard sear before the chops lie flat, which renders more fat and builds a better crust than starting them face-down and hoping for the best. Then the butter, garlic, thyme, and rosemary go in at the end, when they can perfume the pan without burning bitter in hot oil.
Below, I’ve broken down the one part that matters most for restaurant-style results: the sear. You’ll also find the ingredient notes that explain why thick bone-in chops behave better here than thin-cut ones, plus the timing cues that keep the center tender instead of dry.
The fat cap turned out crisp instead of chewy, and the butter baste gave the chops that restaurant-style finish without overpowering the pork.
Save these Gordon Ramsay pork chops for the night you want a shatteringly crisp fat cap and a thyme-garlic butter finish that tastes like a proper pan sauce.
The Fat Cap Is the First Thing That Needs Real Heat
Most pork chops fail before they ever get to the butter. They go into the pan cold, flat, and wet, which means the fat edge never renders properly and the exterior spends too much time steaming before it browns. The result is pale fat, a weak crust, and pork that tastes cooked instead of seared.
Holding the chop upright on its fat edge for the first couple of minutes changes that. You’re rendering the fat before the flat surfaces even hit the skillet, and that gives you a better crust later because the pan isn’t fighting a pool of unrendered fat. Once the chop goes flat, leave it alone until it releases with a deep brown color at the edges.
- Room-temperature chops — They cook more evenly and don’t seize up in the pan the way fridge-cold meat can.
- Bone-in, thick-cut chops — These stay juicier through the oven finish. Thin chops cook too fast for this method and can dry out before the crust is ready.
- Cast iron skillet — It holds the heat needed for a hard sear. A thin pan cools down when the pork goes in, which is exactly what you don’t want here.
- Fresh herbs and garlic at the end — They perfume the butter without burning. If they go in too early, the garlic turns bitter and the herbs lose their clean smell.
What Each Ingredient Is Doing in the Pan
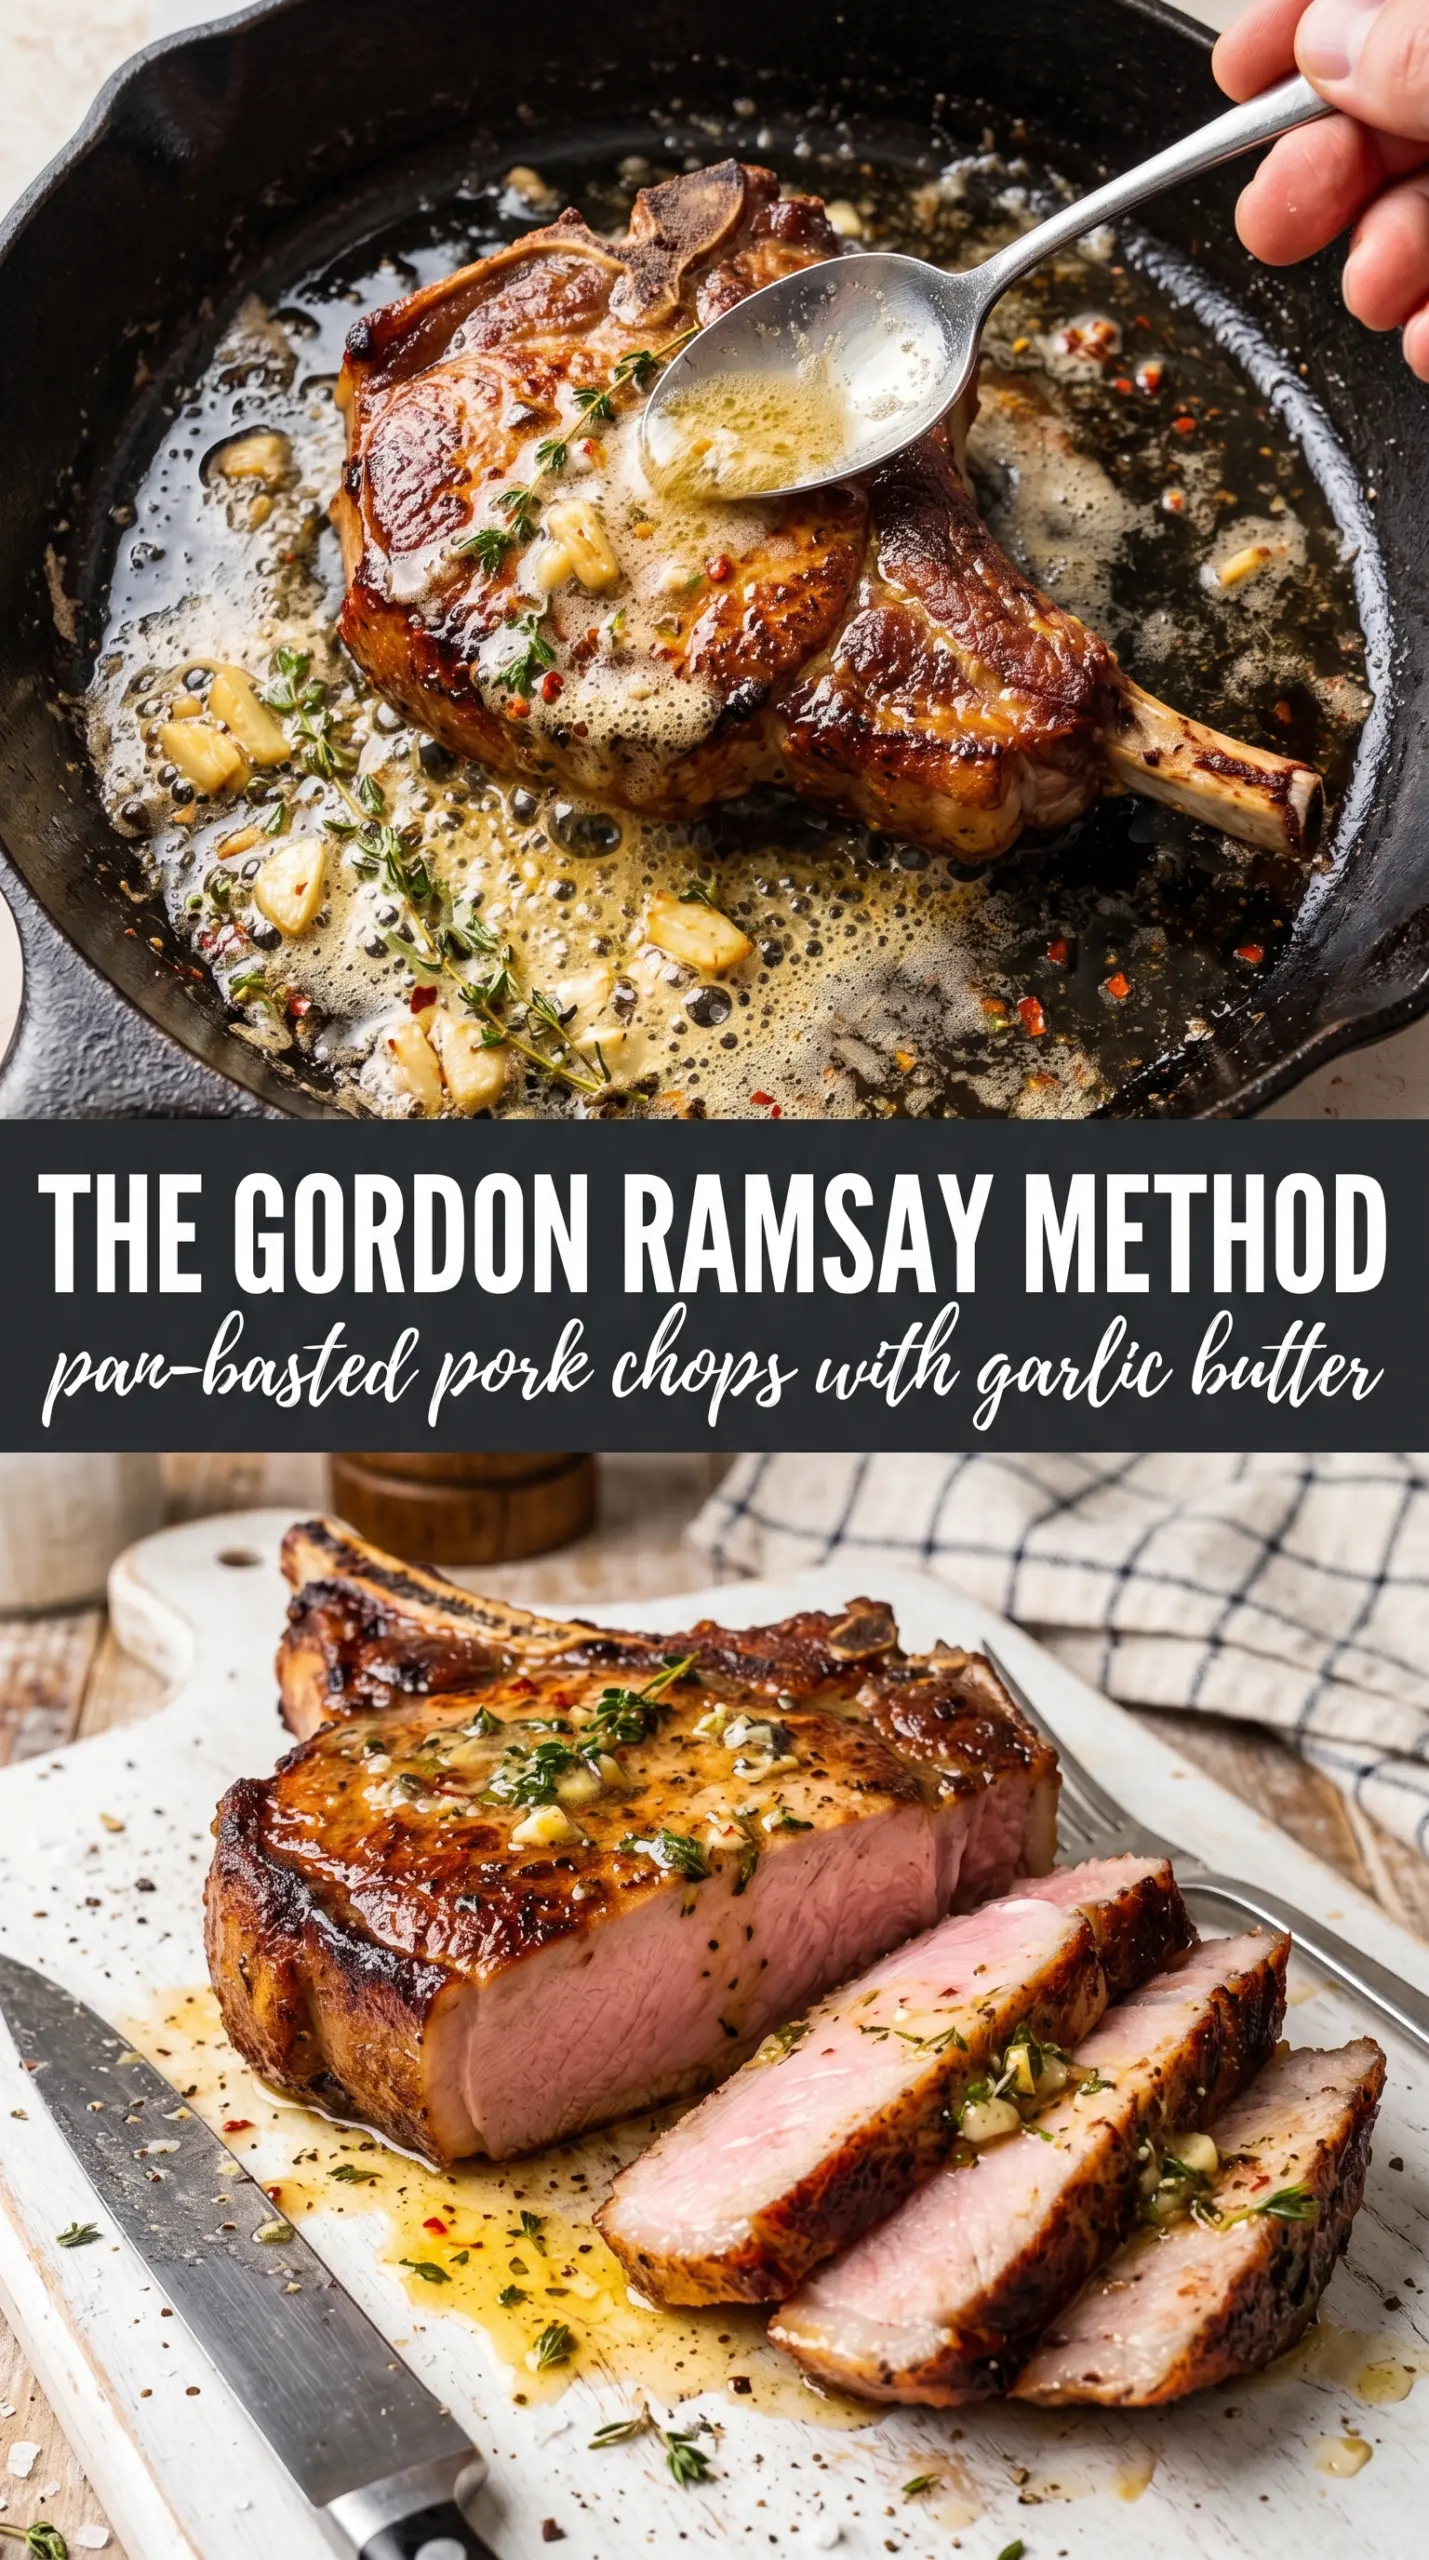
Pork chops: Thick bone-in chops give you enough time to build color outside without overcooking the middle. French-trimmed chops look elegant and the exposed bone helps them cook a little more evenly.
Vegetable oil: This is the high-heat insurance. Butter would brown too fast at the searing stage, so the neutral oil carries the initial crust-building without smoking up the kitchen.
Butter, garlic, thyme, and rosemary: This is the finishing move. The butter picks up the browned bits, the garlic sweetens in the foaming fat, and the herbs infuse the pan juices so every spoonful tastes layered instead of just salty.
Lemon juice: It wakes up the richness at the end. A small squeeze keeps the butter from tasting heavy and helps the pork read brighter on the plate.
Build the Crust Before the Oven Does the Rest
Dry, Season, and Let the Surface Change
Pat the pork completely dry before anything else. Moisture on the surface is the enemy of browning, and if the chops look damp they’ll spit and steam instead of forming a crust. Season them generously on both sides and along the fat edge, then let them sit out long enough to lose the chill. Thirty minutes is enough to take the edge off without letting the meat warm too far.
Render the Fat Edge First
Heat the oil until it just begins to smoke, then stand the chops upright on the fat cap. You should hear a sharp, steady sizzle, not a lazy hiss. If the chop won’t stay upright, use tongs and hold it there; those first two minutes are what turn chewy fat into crisp, savory crackling. Once the edge is golden, lay the chop flat and sear the first side without moving it.
Baste Only After the Brown Bits Exist
Butter, garlic, thyme, and rosemary go in after both sides have solid color. If you add them too soon, the butter burns before the pork is done and the whole pan turns bitter. Tilt the skillet and spoon the foaming butter over the chops for a couple of minutes until the garlic smells sweet and the herbs are singing in the fat. Then move the pan to the oven just long enough to finish the center to 145°F.
Rest on a Rack, Not a Plate
The rest matters here because the juices are still moving around after the oven. Put the chops on a wire rack so the bottom stays crisp instead of steaming in its own heat. Five minutes is enough for the juices to settle. Finish with the lemon juice right before serving so the crust stays sharp and the pan juices stay bright.
How to Change These Pork Chops Without Losing the Point
Use boneless chops when that’s what you have
Boneless chops work, but they cook faster and dry out sooner, so shorten the oven time and check the center early. You’ll still get a good crust, but you lose some of the insurance that the bone gives you against overcooking.
Make it dairy-free
Swap the butter for a high-quality dairy-free butter or finish with a spoonful of olive oil instead. You’ll lose a little of the classic foaming baste, but the garlic, thyme, and rosemary still carry plenty of flavor if the pan is hot enough.
Make it gluten-free without changing a thing
This recipe is already gluten-free as written, so the main job is protecting the sear. Keep the chops dry and don’t crowd the pan, and you won’t need any flour or thickener to get a proper finish.
Trade the herb mix for what’s in the fridge
Thyme and rosemary are the classic pair here because they stand up to high heat, but sage works well too if you want something a little earthier. Use fresh herbs when you can; dried herbs won’t give the same fragrant baste and can turn dusty in the butter.
Storage and Reheating
- Refrigerator: Store cooked pork chops for up to 3 days. The crust softens a little in the fridge, but the meat stays juicy if you cool it before sealing it up.
- Freezer: Freeze tightly wrapped chops for up to 2 months. Thaw overnight in the fridge so the outside doesn’t overcook before the center warms.
- Reheating: Warm them low and slow in a 300°F oven, covered loosely with foil, until just heated through. High heat dries out pork fast, and the goal is to warm it without cooking the center a second time.
Answers to the Questions Worth Asking
Gordon Ramsay-Style Pan-Seared Pork Chops with Herb Butter
Ingredients
Equipment
Method
- Take the pork chops out 30 minutes before cooking, then pat completely dry and season generously with salt and coarse black pepper for even browning.
- Heat vegetable oil in a heavy cast iron skillet over high heat until just smoking, indicating it’s ready for a hard sear.
- Place the chops in the pan and sear the fat cap first by holding vertically for 2 minutes so the fat turns deeply golden and crisp.
- Lay the chops flat and sear 3–4 minutes per side until a dark, caramelized crust forms.
- Add butter, garlic, thyme, and rosemary, then tilt the pan and baste the chops continuously for 2–3 minutes as the butter foams.
- Transfer the pan to a 400°F oven for 4–5 minutes until the pork reaches 145°F internally for a juicy center.
- Rest the pork chops 5 minutes on a wire rack so juices settle and the crust stays crisp.
- Squeeze fresh lemon juice over the chops right before serving to brighten the herb-butter flavor.