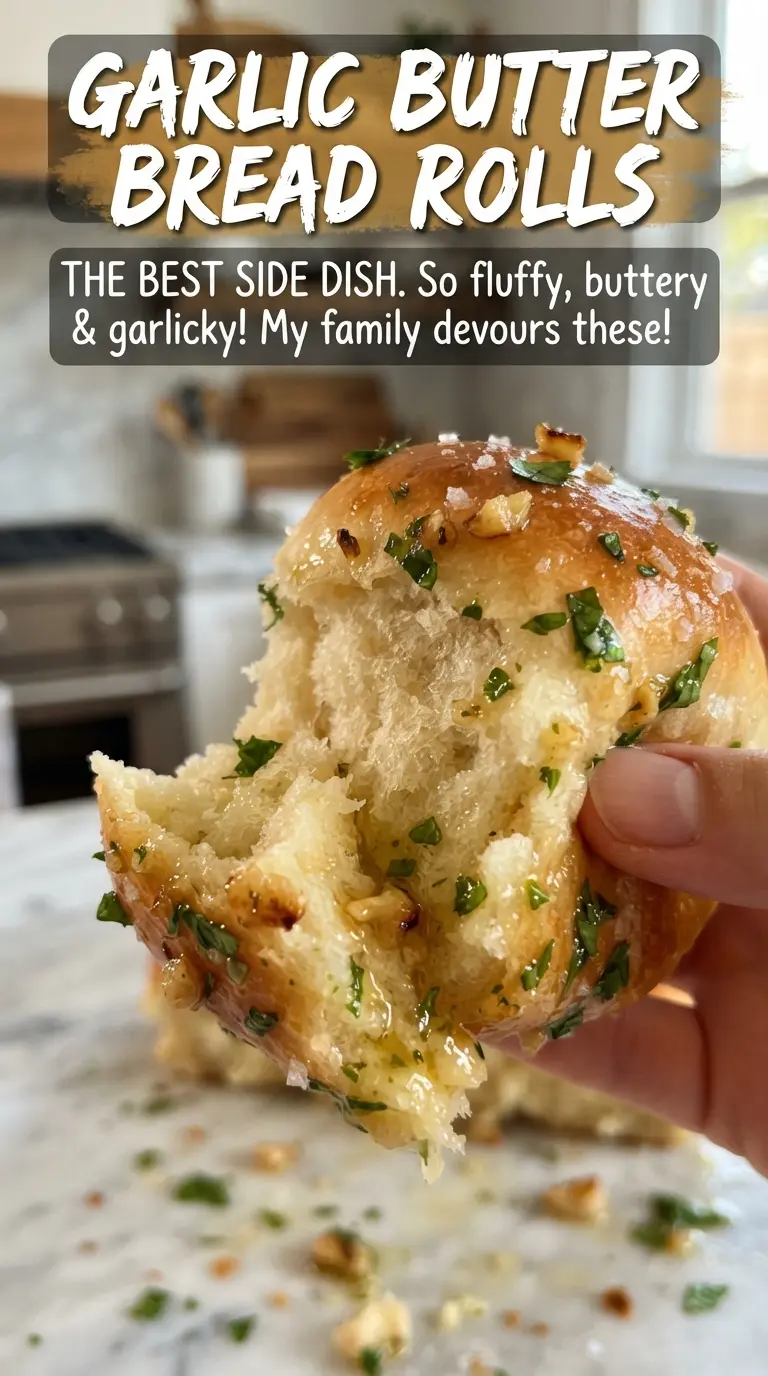
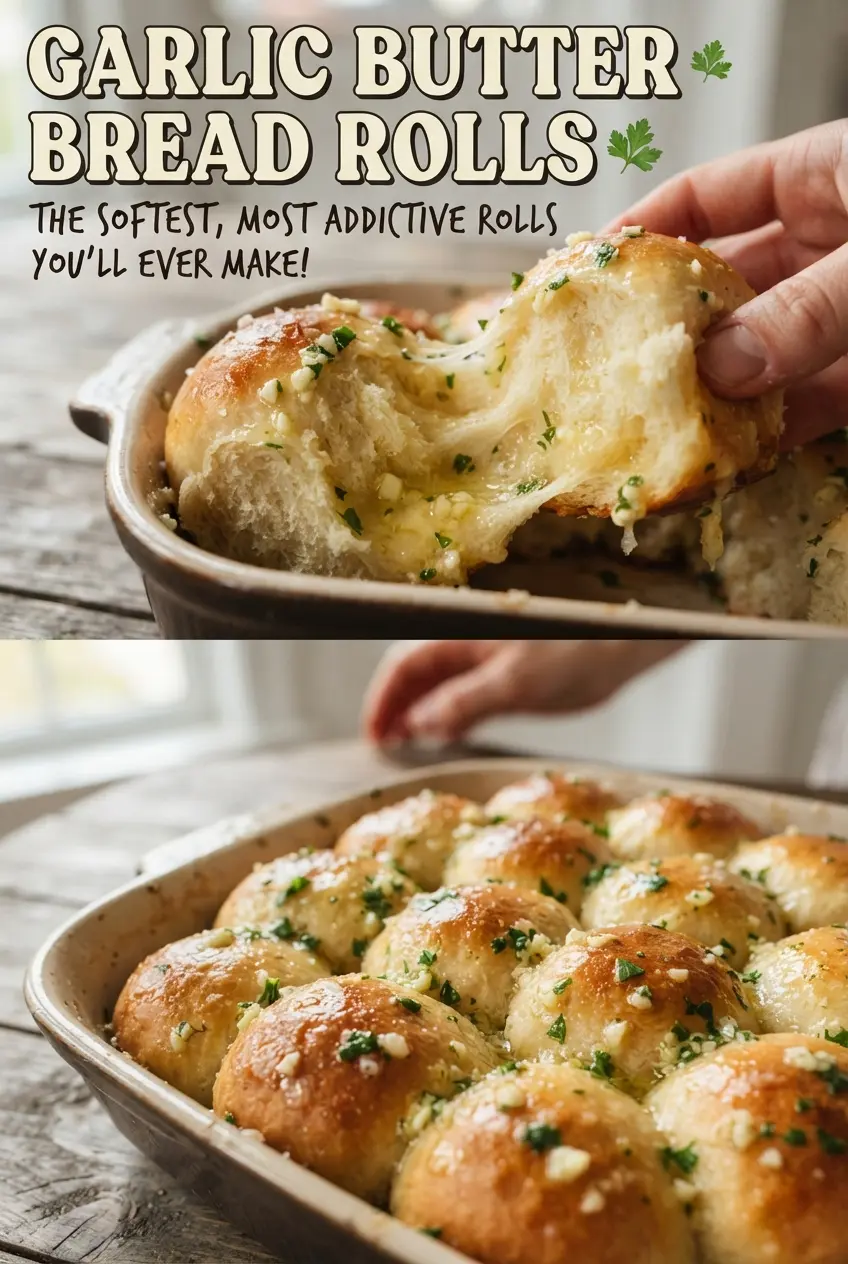
Garlic butter bread rolls come out soft, pull-apart tender, and glossy with butter the moment they leave the oven. The centers stay fluffy instead of dense, and the top gets that shiny, savory finish that makes people reach for a second roll before they’ve finished the first. These are the kind of rolls that disappear fast, especially when they’re brushed with garlic butter while still hot enough to soak in every bit of flavor.
What makes this version work is the balance in the dough and the timing on the topping. Warm milk helps the yeast move quickly, while the egg and butter keep the crumb rich without turning it heavy. The rolls bake best in a snug pan, where they rise into each other and stay soft on the sides instead of drying out. Then the garlic butter goes on after baking, not before, so the garlic stays fragrant and the parsley keeps its fresh color.
Below, I’ve included the small details that matter most: how to tell when the dough is kneaded enough, why the second rise matters, and how to get that buttery finish without making the tops greasy. If you’ve ever had rolls come out pale, dry, or a little too bready, this version fixes that.
The dough was soft and easy to shape, and the garlic butter soaked into the tops without making them soggy. I liked that the rolls stayed fluffy even after sitting on the table for dinner.
Save these garlic butter bread rolls for the next time you need a soft, pull-apart side with a golden top and plenty of buttery garlic flavor.
The Dough Needs the Right Kind of Soft Before It Rises
Roll dough fails most often because people stop kneading too early or add too much flour when the dough feels sticky. For these rolls, the dough should be soft, smooth, and slightly tacky, but it shouldn’t cling hard to clean hands once it’s been kneaded for long enough. That texture gives you rolls that bake up tender instead of tight and dry.
The first rise matters because it builds flavor and gives the yeast time to make the dough airy. If your kitchen is cool, the dough may need closer to the full hour, and that’s normal. Watch the dough, not the clock. It should look doubled and feel puffy when you press two fingers into it.
What Each Ingredient Is Doing in These Rolls
- Warm milk — This gives the yeast a comfortable starting point and adds a softer crumb than water would. Keep it around 110F; hot milk can slow or kill the yeast, and cold milk won’t wake it up fast enough.
- Instant yeast — This makes the dough rise efficiently and gives you a lighter roll in less time. If you only have active dry yeast, bloom it in the warm milk for a few extra minutes before adding the rest of the ingredients.
- Butter in the dough — The butter keeps the rolls rich and tender. Melted butter works well here because it disperses evenly and keeps the dough supple.
- All-purpose flour — This gives enough structure without making the rolls chewy. Add the last bit gradually so you don’t end up with dry dough; the exact amount can vary a little depending on how humid your kitchen is.
- Garlic, parsley, and flaky salt — The garlic butter topping is what makes these rolls stand out. Fresh parsley adds color and a clean finish, and flaky salt gives the tops a little crunch instead of just more richness.
Building the Rolls So They Stay Light, Not Heavy
Mixing the Dough
Start by whisking the warm milk, yeast, and sugar until the surface looks foamy. That foam tells you the yeast is awake. Add the egg, melted butter, salt, and flour, then knead until the dough turns smooth and elastic, about 6 to 8 minutes by hand or with a mixer. If the dough tears easily or feels rough, it needs a little more kneading; if it slumps like batter, it needs a touch more flour.
Letting the Dough Rise
Cover the bowl and let the dough rise until doubled. Don’t rush this part, because under-proofed dough bakes up dense and splits awkwardly in the oven. A warm spot helps, but not a hot one. Too much heat can make the dough rise too fast and collapse later.
Shaping and Pan-Rising
Divide the dough into 12 even pieces and roll each one into a smooth ball. Place them in a greased 9×13-inch pan so they’re close enough to touch as they rise. That close fit is what gives you pull-apart rolls instead of individual buns with dry edges. Let them puff for about 30 minutes; they should look fuller and feel light when you gently tap the top.
Baking Until Golden
Bake at 375F until the tops are deeply golden, about 18 to 20 minutes. If the rolls brown too quickly, your oven may run hot, and a loose sheet of foil on top for the last few minutes will slow the color without hurting the bake. Pull them when the tops are set and the centers still feel soft beneath the crust.
Brushing on the Garlic Butter
Stir the melted butter with garlic and parsley, then brush it generously over the hot rolls the moment they come out. Hot bread drinks in the butter instead of letting it pool on top. Finish with flaky sea salt while the surface is still warm so it sticks well and gives each roll a little pop of texture.
How to Adapt These Rolls Without Losing the Soft Crumb
Dairy-Free Rolls
Use unsweetened plain non-dairy milk and a plant-based butter that melts smoothly. The rolls will still rise and bake up soft, though the flavor will be a little less rich and the topping won’t have quite the same buttery depth.
Garlic Herb Dinner Rolls
Swap part of the parsley for finely chopped chives or rosemary. Chives keep the flavor mild and fresh, while rosemary gives a stronger, more savory roll that works well next to soups and roasts.
Make-Ahead Rolls for a Crowd
Shape the dough balls and place them in the pan, then cover and refrigerate overnight. Let them sit at room temperature until puffy before baking. This stretches the timeline without sacrificing the soft texture, and it’s the easiest way to serve fresh rolls with a big meal.
Storage and Reheating
- Refrigerator: Store covered for up to 3 days. The tops soften a bit in the fridge, but the rolls stay usable for sandwiches or reheating.
- Freezer: Freeze baked rolls tightly wrapped for up to 2 months. Thaw at room temperature, then warm before serving. You can also freeze the shaped dough balls before the final rise.
- Reheating: Warm in a 300F oven, covered loosely with foil, for 8 to 10 minutes. The biggest mistake is microwaving too long, which turns the crumb rubbery instead of soft.
Questions I Get Asked About This Recipe
Garlic Butter Bread Rolls
Ingredients
Equipment
Method
- Whisk warm milk, instant yeast, and sugar together, then let sit 5 minutes until foamy. Visual cue: bubbles and a creamy layer form on top.
- Add the large egg, melted butter, salt, and all-purpose flour, then knead 6-8 minutes until smooth and elastic. Visual cue: the dough looks cohesive and springs back when pressed.
- Cover the dough and let rise 1 hour until doubled in size. Visual cue: it expands and fills the bowl.
- Divide the dough into 12 balls, place them in a greased 9x13-inch pan, cover, and rise 30 minutes until puffy. Visual cue: the rolls look swollen and touch each other slightly.
- Preheat the oven to 375F, then bake the rolls 18-20 minutes until golden brown. Visual cue: the tops turn deep golden and the rolls look set.
- Stir the melted butter with the minced garlic and chopped parsley, then brush generously over the hot rolls. Visual cue: the tops glisten as the butter soaks in.
- Sprinkle flaky sea salt over the rolls and serve warm. Visual cue: bright specks of salt remain visible on the surface.