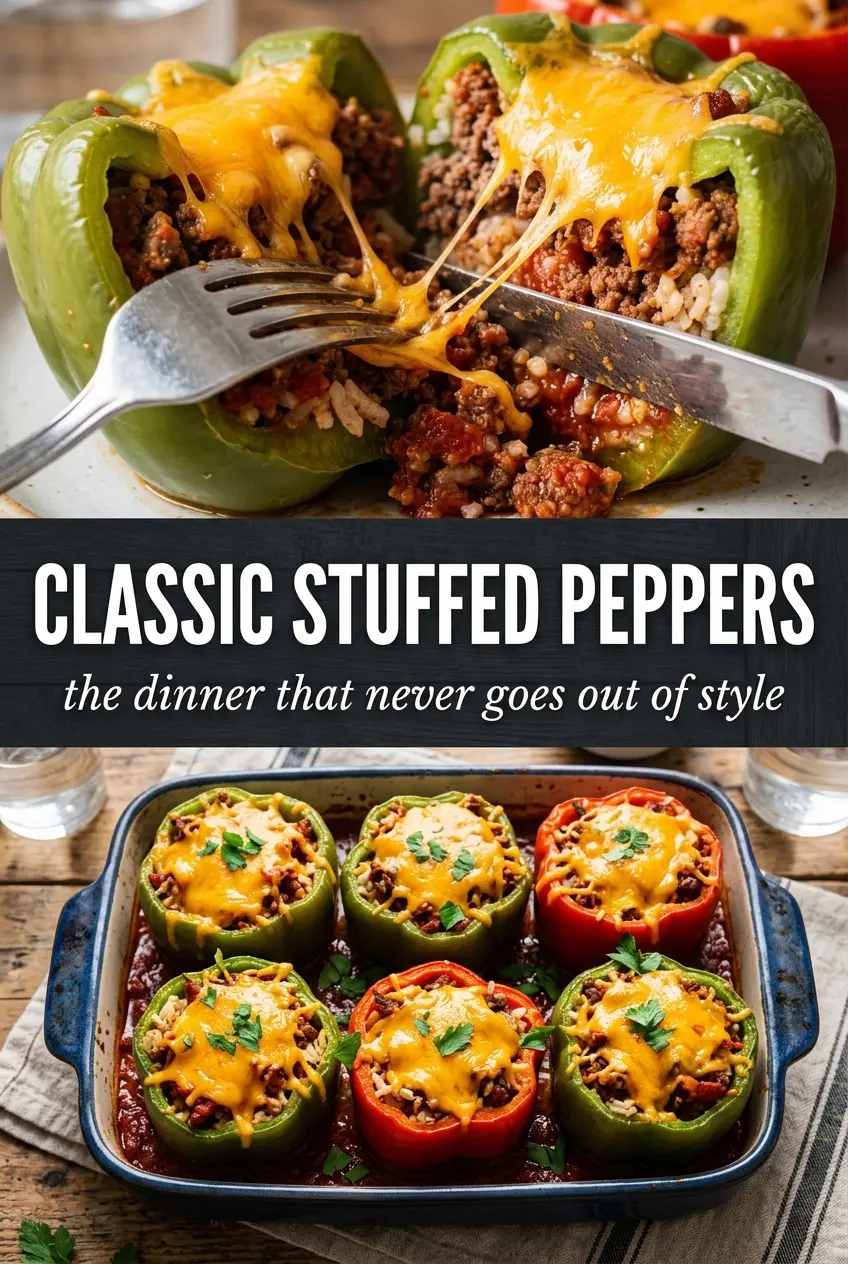
Classic stuffed peppers hit that sweet spot between comforting and fresh: tender bell peppers, a savory beef-and-rice filling, and a layer of melted mozzarella that pulls everything together. When they’re done right, the peppers hold their shape without turning mushy, and the filling stays juicy instead of dry or crumbly.
The part that makes this version work is the balance. The beef gets browned first for flavor, the rice is already cooked so it doesn’t steal moisture from the filling, and most of the tomato sauce goes into the mixture before the peppers ever hit the oven. That keeps the center cohesive and seasoned all the way through. The final bake uncovered is what gives you that bubbling cheese on top without overcooking the peppers underneath.
Below, I’ve included the small details that matter here: how to keep the peppers from tipping over, what to do if your filling seems loose, and the easiest swaps if you need to stretch the filling a little farther.
The peppers held their shape and the filling stayed juicy all the way through. I used the extra sauce on top like you suggested and the mozzarella browned up perfectly.
Classic stuffed peppers with juicy beef, rice, and melty mozzarella are worth keeping close for an easy baked dinner.
The Trick Most Stuffed Peppers Miss: Pre-Cooking the Filling
The biggest mistake with stuffed peppers is treating the filling like it will cook from raw inside the pepper. By the time the peppers are tender, the beef can still taste flat and the rice can turn uneven. Browning the meat with the onion first builds flavor, and stirring in the rice before stuffing gives you a filling that’s already cohesive and seasoned.
The sauce matters for the same reason. A dry filling turns sandy once it bakes, and too much sauce makes the peppers collapse into a puddle. This version uses tomato sauce in two places: most of it goes into the filling so every bite tastes balanced, and the rest goes over the tops so the peppers braise gently instead of drying out in the oven.
- Bell peppers — Use large, sturdy peppers with flat bottoms so they stand in the baking dish. Red, yellow, or orange peppers give you a sweeter result than green.
- Ground beef — An 85/15 or 90/10 blend works best. Leaner beef can work, but if it’s too lean the filling tastes drier unless you keep the tomato sauce generous.
- Cooked white rice — The rice has to be fully cooked before it goes in. Uncooked rice won’t hydrate evenly in this amount of bake time, and you’ll end up with crunch in the center.
- Tomato sauce — This is what binds the filling and keeps everything moist. If you only have crushed tomatoes, simmer them a few minutes first so the mixture isn’t watery.
- Mozzarella — Shredded mozzarella melts cleanly and gives you that familiar stretchy top. A low-moisture version browns better than fresh mozzarella, which can release too much liquid.
What Each Ingredient Is Actually Doing in This Recipe

- Primary ingredient (the star) — Quality matters most. Choose the best you can find.
- Cooking medium (oil, butter, or broth) — This carries flavors and prevents dryness.
- Seasonings (salt, pepper, spices, herbs) — Layer flavors so nothing overpowers. Build depth gradually.
- Aromatics (garlic, onion, herbs) — Cook with fat to bloom flavors. Become the foundation.
- Supporting ingredients — Complement the main ingredient without overpowering it.
- Sauce or liquid (if applicable) — Brings flavors together. Balance richness with acid.
- Acid (lemon, vinegar, wine, or other) — Brightens and prevents flat-tasting results.
- Final finish (garnish, glaze, or sauce) — Prevents one-dimensional taste and adds visual appeal.
Building the Filling So It Stays Juicy in the Oven
Start with a Solid Pepper Base
Cut the tops off the peppers, remove the seeds, and set them snugly in your baking dish. If a pepper wobbles, trim a tiny slice from the bottom only if needed so it sits flat; don’t cut too much or the filling will leak. A tight fit helps the peppers support one another while they bake.
Brown the Beef for Real Flavor
Cook the beef and onion over medium-high heat until the meat loses its pink color and the onion turns soft and glossy. If you rush this stage and stop too soon, the filling tastes boiled instead of savory. Drain the fat after browning so the finished peppers don’t turn greasy.
Mix the Filling While It’s Still Warm
Stir in the garlic, seasoning, Worcestershire sauce, cooked rice, diced tomatoes, and most of the tomato sauce while the beef is still warm. The heat helps the flavors come together and loosens the rice just enough to absorb the sauce. If the mixture looks too loose, let it sit for a few minutes before stuffing; it thickens as it rests.
Bake in Two Stages
Cover the dish with foil for the first part of the bake so the peppers steam and soften without drying out. Once they’re nearly tender, uncover them, add the mozzarella, and bake until the cheese melts and turns lightly golden at the edges. If the tops brown before the peppers are tender, the oven is running hot; keep them covered a little longer next time.
How to Adapt These Stuffed Peppers Without Losing the Balance
Use Ground Turkey Instead of Beef
Ground turkey works well, but it needs help because it has less fat and less built-in flavor than beef. Add the onion, garlic, Worcestershire, and tomato sauce exactly as written, and don’t skip draining any excess liquid after browning. The result is lighter but still hearty.
Make It Gluten-Free
This recipe is naturally close to gluten-free, but Worcestershire sauce can be the one ingredient to check carefully. Use a certified gluten-free version, then keep the rest of the ingredients unchanged. The texture and bake time stay the same.
Swap in Brown Rice
Brown rice gives the filling a nuttier bite, but it has to be fully cooked before it goes in. Undercooked brown rice won’t soften enough in the oven, and the filling will feel gritty. Use the same amount by volume and expect a slightly firmer texture.
Storage and Reheating
- Refrigerator: Store leftovers in an airtight container for up to 4 days. The peppers soften a little more as they sit, but the flavor deepens nicely.
- Freezer: They freeze well. Wrap individually or place in a freezer-safe container for up to 3 months, then thaw overnight before reheating for the best texture.
- Reheating: Reheat covered in a 350°F oven until hot in the center, or microwave in short bursts if you’re in a hurry. The common mistake is blasting them uncovered, which dries out the filling before the middle warms through.
Questions I Get Asked About This Recipe
Classic Stuffed Peppers
Ingredients
Equipment
Method
- Preheat the oven to 375°F. Cut tops off the bell peppers and remove seeds, then place them in a baking dish.
- Brown the ground beef with diced onion over medium-high heat, then drain the fat. Add the minced garlic, Italian seasoning, Worcestershire sauce, salt, and pepper and cook until fragrant.
- Stir in the cooked white rice, diced tomatoes, and 3/4 of the tomato sauce until combined. Make sure the mixture looks evenly coated.
- Spoon the filling into each pepper, then top with the remaining tomato sauce. Cover the dish with foil.
- Bake for 30 minutes at 375°F with the foil on, then uncover the dish. Bake 15 more minutes until the peppers are tender and the mozzarella is golden, bubbling on top.