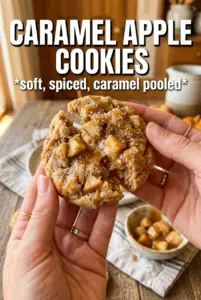
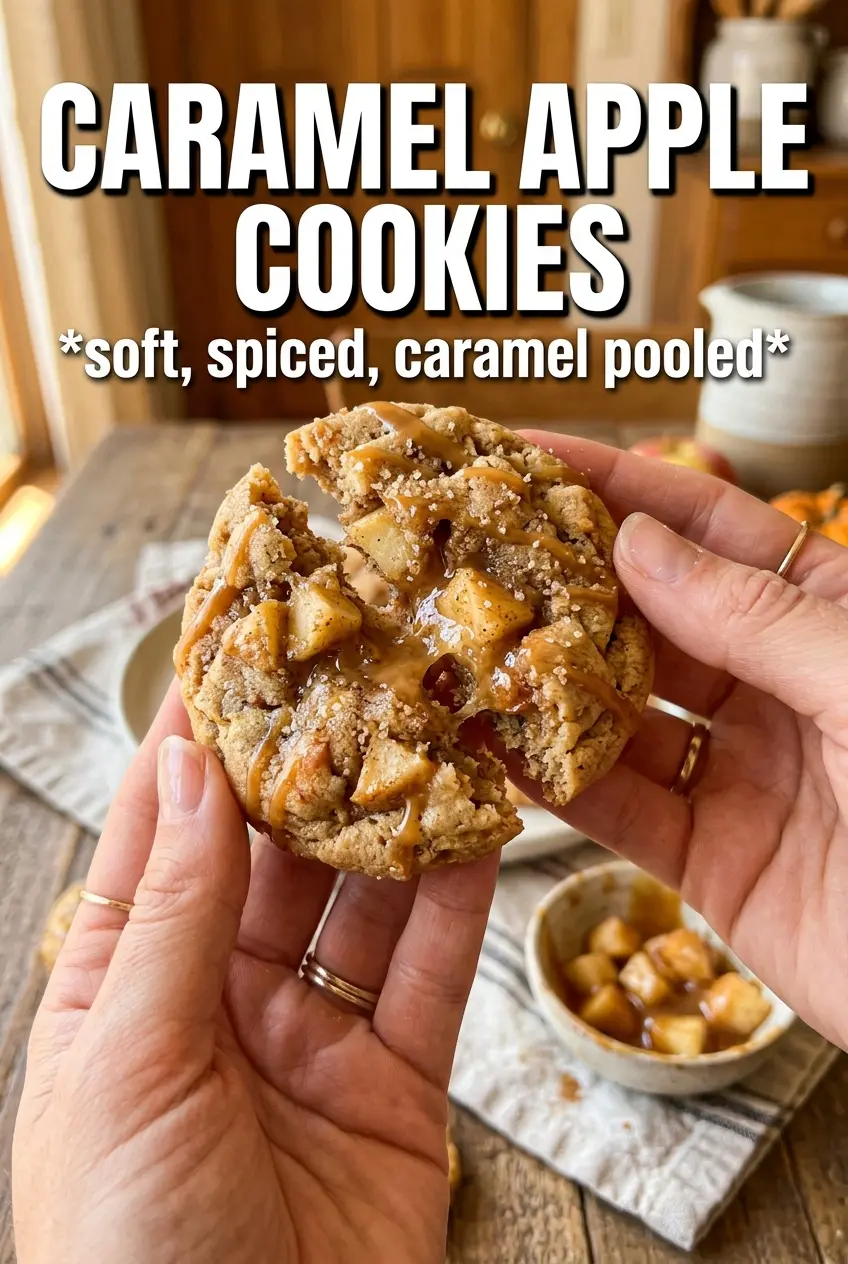
Caramel apple cookies bake up soft, chewy, and full of those little pockets that make a cookie worth reaching for twice. The edges set into a light golden rim while the centers stay tender, and every bite gives you warm cinnamon, sweet apple, and melty caramel in the same mouthful. The caramel drizzle and flaky salt on top pull everything together without making the cookies overly sweet.
The trick is in how the apples are handled. They need to be peeled, diced very small, and patted dry until they stop feeling damp, because extra moisture can turn the dough into a cake-like mess and make the cookies spread unpredictably. The caramel bits help too: they melt into soft pockets instead of disappearing the way a loose caramel sauce would inside the dough.
Below, I’m breaking down the one step that matters most for keeping these cookies soft instead of wet, plus a few smart swaps and storage notes so you know exactly what to expect once they come out of the oven.
The apples stayed tender without making the cookies wet, and the caramel bits gave these little gooey pockets instead of melting into nothing. I chilled the dough for 15 minutes and they baked up thick and perfect.
Love these soft caramel apple cookies with warm spice and gooey caramel pockets? Save them to Pinterest for the next time you want a bakery-style fall cookie at home.
The Apples Have to Stay Dry or the Dough Gets Heavy
Most apple cookies fail for the same reason: the fruit leaks moisture into the dough after it’s mixed, and the cookies bake up pale, bready, or strangely wet in the middle. Finely dicing the apples helps, but drying them completely is what keeps the texture right. You want tiny apple pieces that soften in the oven, not chunks that steam the dough from the inside.
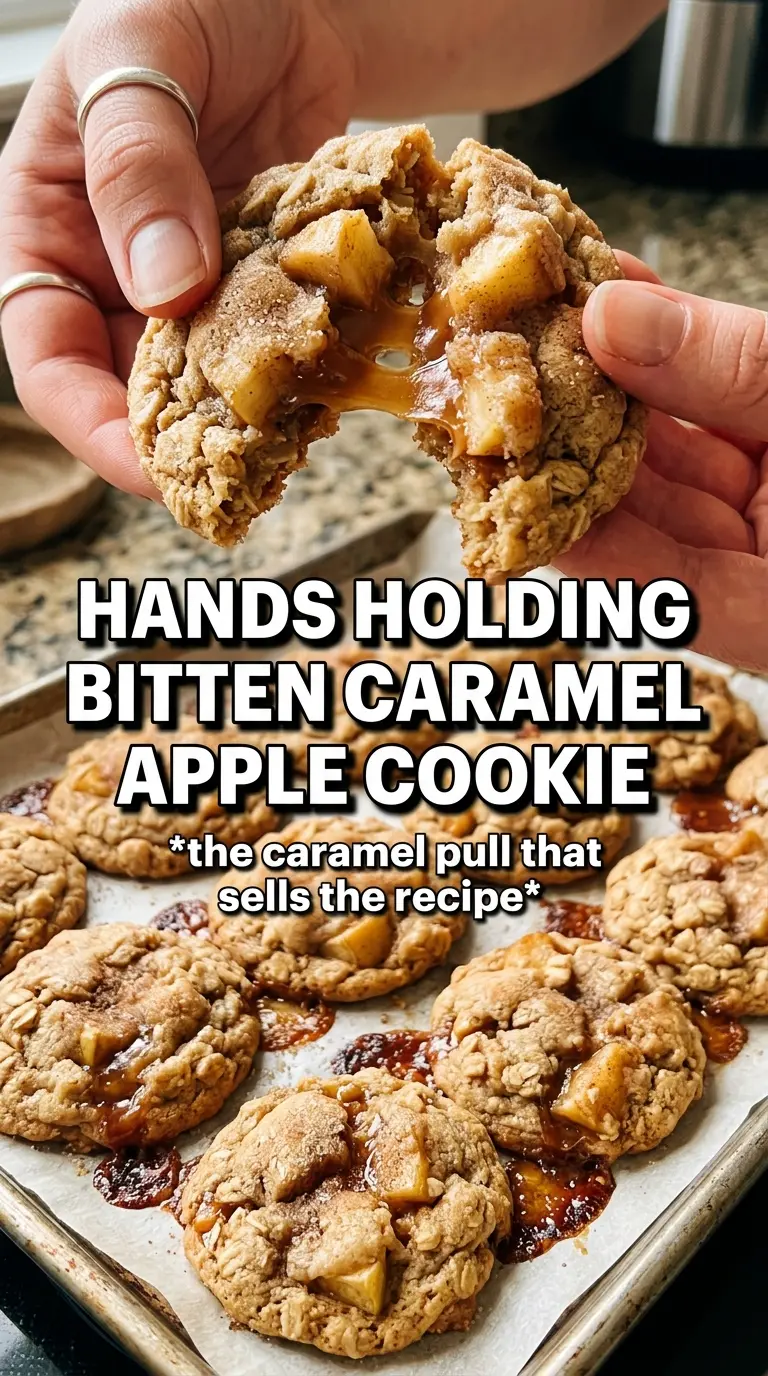
The other thing that matters here is how the caramel behaves. Caramel bits give you little pockets that soften and melt without flooding the dough. If you use soft caramels, chop them small and dust them lightly in flour before folding them in so they stay distributed instead of sinking or clumping.
- Dry apples are non-negotiable — blot them until the paper towel comes away nearly dry. If they still feel slick, keep going.
- Small dice matters more than looks — the pieces should disappear into the cookie, not read like apple chunks.
- Flour helps the caramel stay put — if your caramel bits are sticky, toss them with a spoonful of the dry flour mixture before adding them.
- Don’t overbake for color — these cookies finish setting as they cool, and waiting for deep brown edges will take them past soft and chewy.
What Each Ingredient Is Actually Doing in These Cookies
- All-purpose flour gives the cookies enough structure to hold the apple pieces without turning cakey. A spooned-and-leveled measure works best here, because too much flour makes them dry and dense.
- Brown sugar plus granulated sugar is the balance that keeps the texture chewy but not sticky. Brown sugar adds moisture and depth, while granulated sugar helps the edges set and gives a little lift.
- Butter carries the spice and helps the cookies spread just enough. Softened butter matters; melted butter will make the dough looser and the cookies flatter.
- Caramel bits or chopped soft caramels create the gooey pockets. If you only have wrapped soft caramels, unwrap and chop them while cold, then let them sit for a few minutes so they’re easier to mix in.
- Very finely diced apples should be firm, not mealy. Any sweet-tart apple works, but one with good flavor like Honeycrisp or Granny Smith keeps the cookie from tasting one-note.
Getting the Dough Mixed, Scooped, and Baked Before the Apples Soften Too Much
Mix the butter and sugars until fluffy
Beat the softened butter with both sugars until the mixture looks pale and fluffy, not greasy. That step gives the cookies their lift and helps the texture stay soft instead of heavy. Add the eggs and vanilla only after the butter and sugar are fully combined, or the dough can look curdled and uneven before the flour goes in.
Fold in the dry ingredients without overworking the dough
Once the flour mixture goes in, stir just until the last streaks disappear. Overmixing builds too much structure and tightens the crumb, which works against the soft, tender bite you want here. Fold in the dried apples and caramel bits at the end so they stay intact and the dough doesn’t break down from too much stirring.
Bake until the edges set and the centers still look soft
Scoop the dough into 2-tablespoon portions and give them space on the parchment-lined sheet. Bake just until the edges are lightly golden and the centers still look a touch underdone; that’s the point where they finish on the pan without drying out. If you wait until the tops look fully baked, they’ll cool into firmer cookies than this recipe is meant to make.
Finish while the cookies are warm
Drizzle the caramel sauce over the warm cookies so it settles into the surface instead of just sitting on top. Add a small pinch of flaky salt right away, while the caramel is still tacky, so it sticks cleanly and sharpens the sweetness. Let them cool on the pan long enough to firm up before moving them, because hot caramel will smear if you rush them.
How to Adapt These Cookies for Different Pantries and Preferences
Make them gluten-free
Use a 1:1 gluten-free baking blend that includes xanthan gum. The cookies will still spread and brown, but the texture will be a little more fragile, so let them cool completely before lifting them from the pan.
Use pears instead of apples
Firm pears work in place of apples if you want a softer, more floral result. They hold less tartness, so the cookies taste sweeter and a little gentler; a pinch more cinnamon helps keep the flavor grounded.
Make them nut-free and school-lunch friendly
This recipe is already nut-free as written, which makes it an easy one to pack or share. Just check your caramel bits and caramel sauce labels, since some brands are processed in facilities that also handle nuts.
Storage and Reheating
- Refrigerator: Store in an airtight container for up to 4 days. The apple pieces keep the cookies soft, so they’ll stay tender but can lose a little of their fresh-baked edge.
- Freezer: Freeze baked cookies without the caramel drizzle for up to 2 months. Layer parchment between them so the caramel pockets don’t stick together, then thaw at room temperature.
- Reheating: Warm a cookie for 8 to 10 seconds in the microwave or a few minutes in a low oven. Long reheating makes the caramel harden and pushes the cookies from soft to dry.
Answers to the Questions Worth Asking
Caramel Apple Cookies
Ingredients
Equipment
Method
- Preheat oven to 375F and line baking sheets with parchment. Arrange racks so cookies bake evenly and remove sheets easily.
- Dice the apple very finely and blot completely dry with paper towels. This prevents soggy cookies after baking.
- Whisk the all-purpose flour, baking soda, cinnamon, nutmeg, allspice, and salt together. Whisk until the spices are evenly distributed.
- Beat the softened unsalted butter, granulated sugar, and brown sugar until fluffy. Mix thoroughly for a tender cookie texture.
- Add the eggs and vanilla extract, then beat just until combined. Stop mixing as soon as the batter looks smooth.
- Fold in the flour mixture, then fold in the dried apple and caramel bits. Mix only until no dry streaks remain.
- Scoop dough into 2-tablespoon rounds and place on the lined baking sheets. Leave space between cookies for spreading.
- Bake at 375F for 10-12 minutes, until the edges are golden. Pull the tray when centers still look slightly soft.
- Drizzle with caramel sauce and sprinkle with flaky sea salt while warm. Finish right after baking so the toppings cling to the cookies.