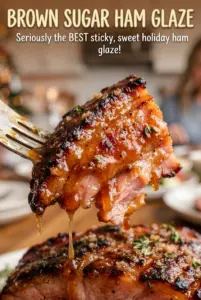
Pork tenderloin wrapped in bacon and brushed with brown sugar glaze lands on the table with the kind of contrast people notice right away: crisp, salty edges, a caramelized crust, and a center that stays juicy and pink if you pull it at the right moment. The bacon shields the lean meat while the glaze turns glossy in the oven, so every slice gets a little crunch and a little sweetness.
The trick is keeping the glaze thin enough to brush on before the bacon goes around the meat, then letting the oven finish the job. Dijon gives the sugar some backbone, soy sauce adds depth, and smoked paprika keeps the whole thing from tasting one-note sweet. Pork tenderloin cooks fast, which is exactly why this works for a weeknight dinner that still feels special enough for company.
Below, you’ll find the small details that matter most here: how tight the bacon should be, when to stop roasting, and what to do if your bacon is browning faster than the pork inside.
The bacon crisped up evenly and the brown sugar glaze turned sticky without burning. I sliced it after the rest and the center was still perfectly juicy.
Save this bacon-brown sugar pork tenderloin for the night you want crispy bacon, a caramelized glaze, and dinner on the table fast.
The Mistake That Keeps Bacon From Crisping on Pork Tenderloin
Pork tenderloin is lean and cooks quickly, which is why bacon-wrapped versions often fail in one of two ways: the bacon stays soft, or the pork overcooks while you wait for the bacon to catch up. The answer is a hot oven and a tight wrap. Bacon needs direct contact with the pork and enough heat to render its fat before the tenderloin dries out.
That 400°F oven temperature is doing important work here. It pushes the bacon toward crispness fast enough that the pork still has time to stay tender, and the glaze can caramelize instead of just soaking into the meat. If the bacon looks pale at the end, the pan was crowded or the strips were wrapped too loosely. If the pork reads much past 145°F, it stayed in the oven too long waiting for a color that wasn’t going to come.
What Each Ingredient Is Actually Doing in This Dish
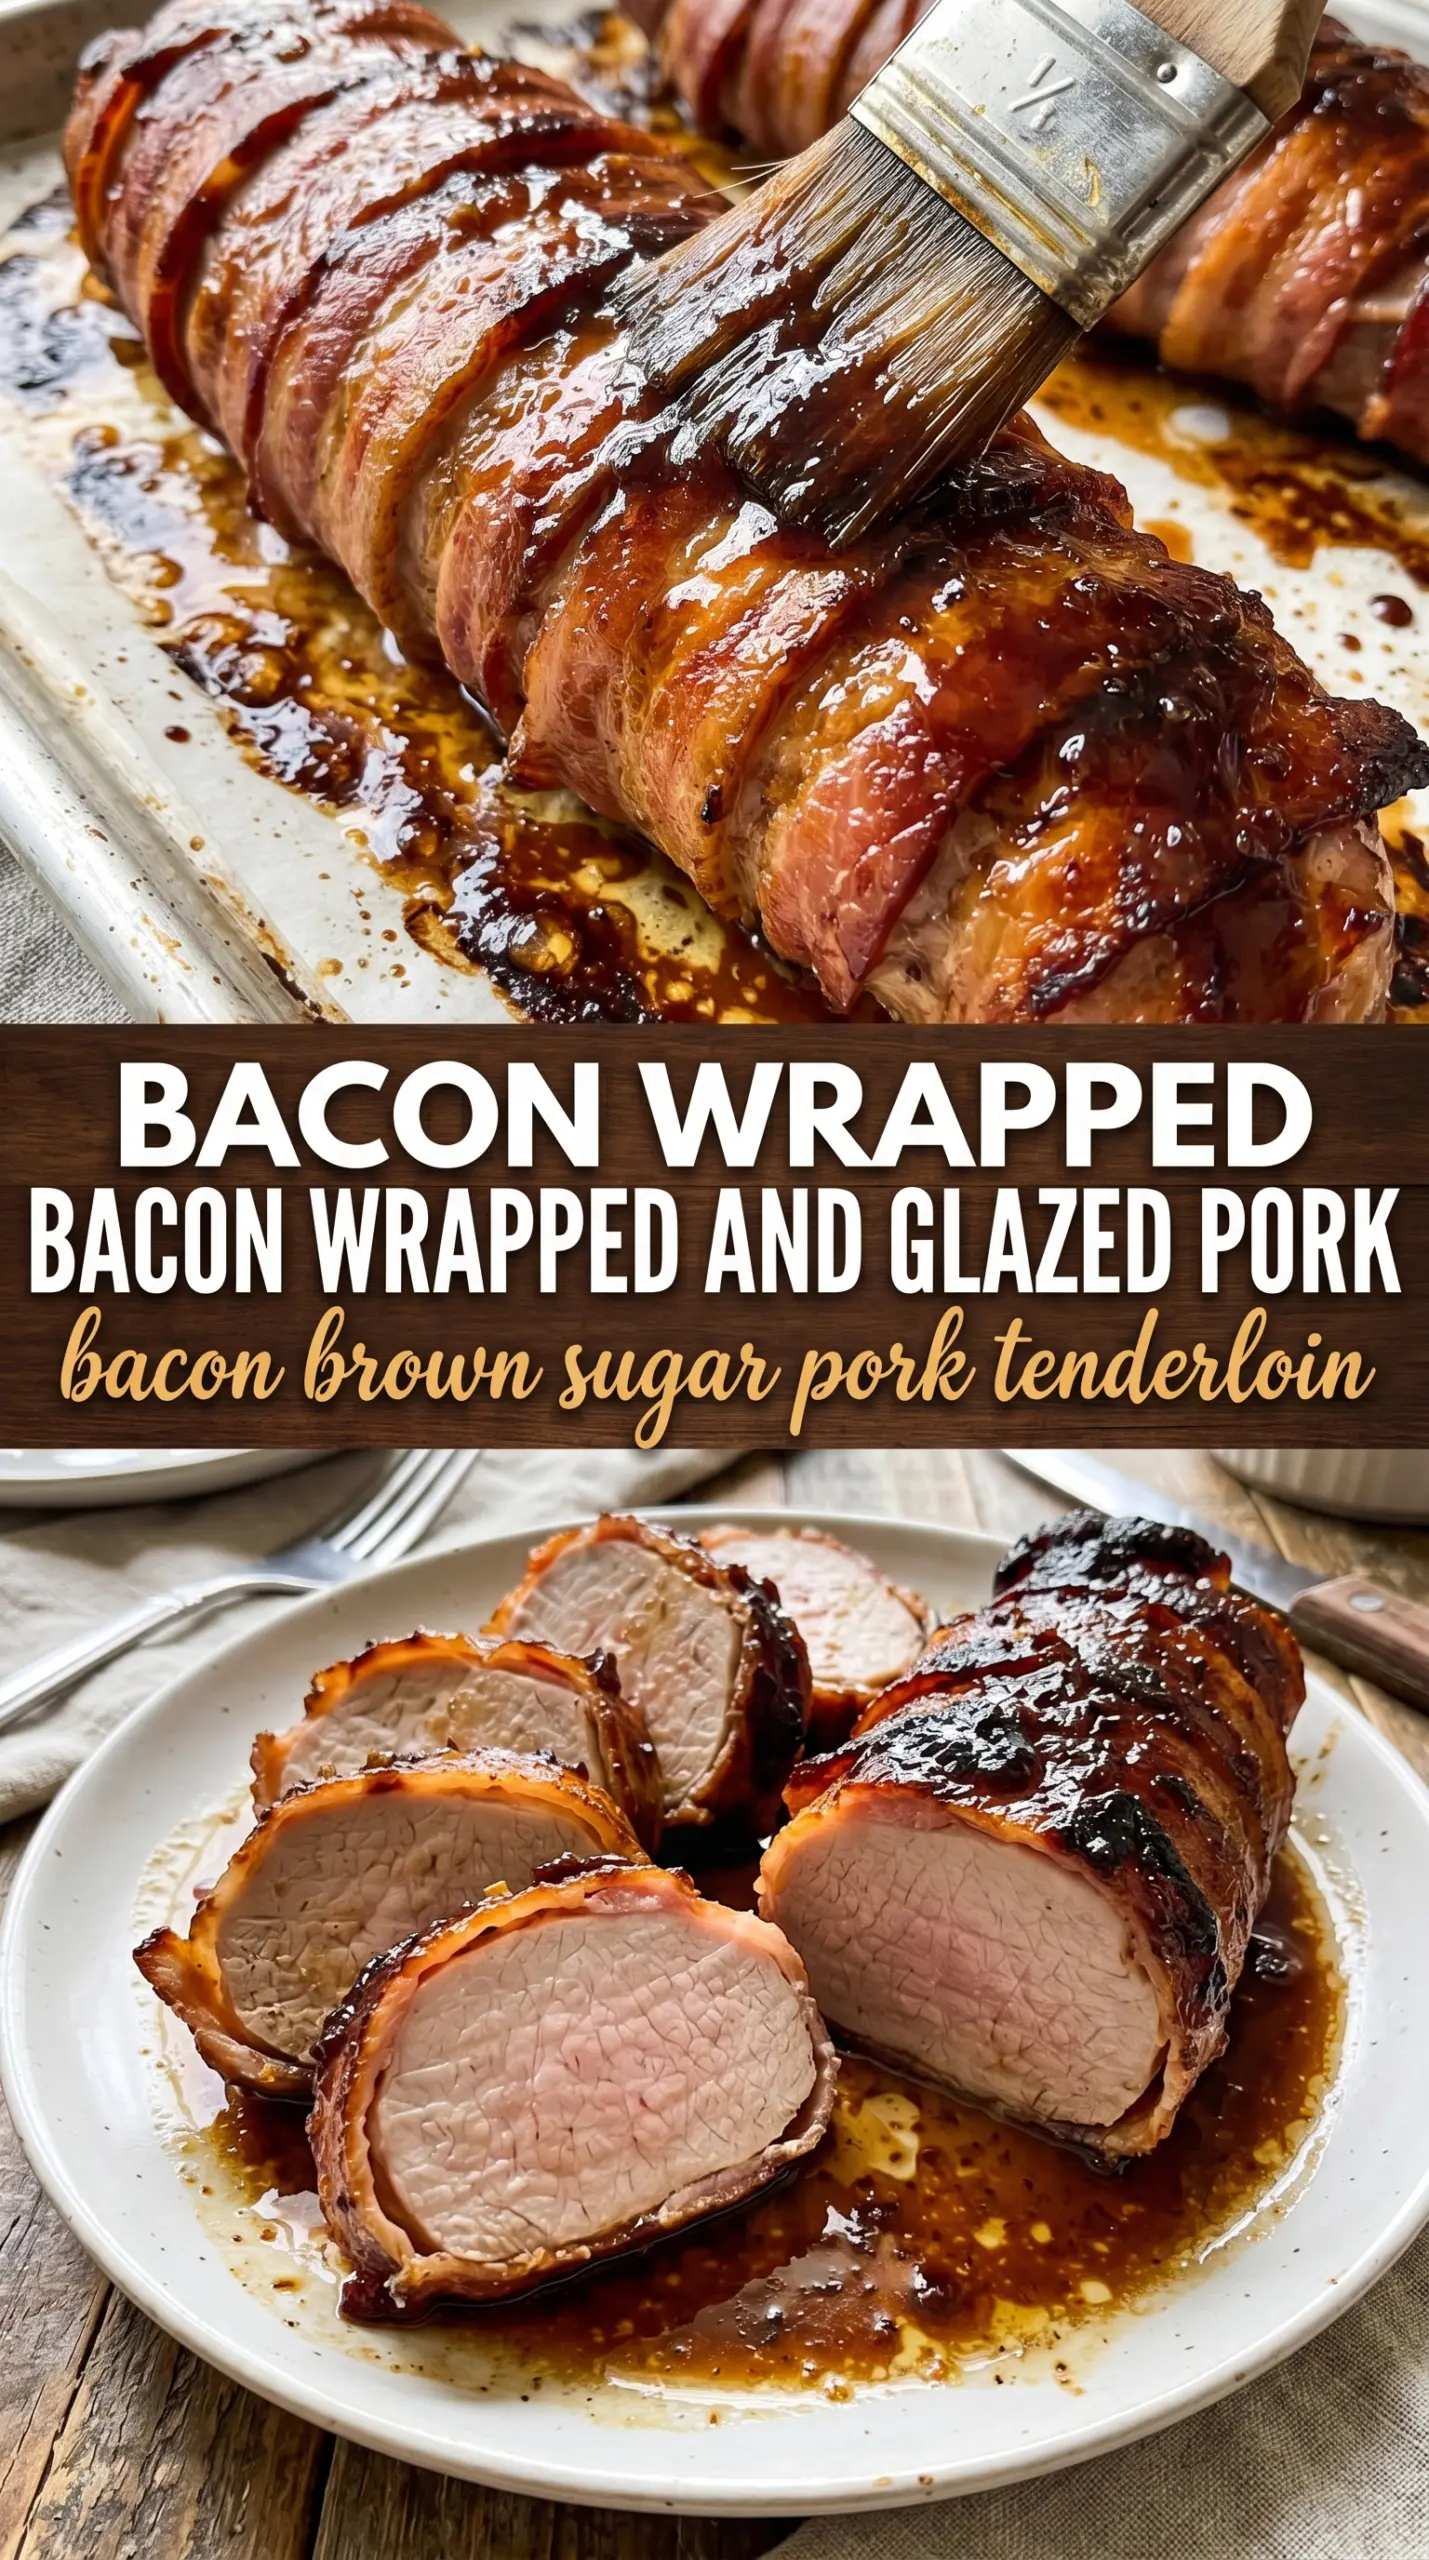
- Pork tenderloin — This is the right cut because it stays tender with a short roast. Don’t swap in pork loin without adjusting the time; loin is thicker and needs longer, which can dry out the bacon before the meat is done.
- Bacon — Thin to regular-cut bacon works best because it renders and crisps in the same window the pork needs. Thick-cut bacon can work, but it often stays chewy unless you give it more time, which risks overshooting the tenderloin.
- Brown sugar — This gives the glaze its sticky finish and helps the bacon caramelize. Light brown sugar is fine; dark brown sugar brings a deeper molasses note if you want the glaze less sweet and more rounded.
- Dijon mustard — Dijon keeps the glaze from tasting flat and helps it cling to the meat. Yellow mustard won’t give the same sharpness or depth.
- Soy sauce — A small amount adds salt and umami, which matters because pork and brown sugar can turn cloying without it. Use low-sodium if that’s what you keep on hand, then season the pork lightly and taste your glaze balance before brushing.
- Smoked paprika and garlic powder — These two seasonings make the glaze taste finished instead of just sweet. Fresh garlic isn’t the right move here because it can burn on the bacon; garlic powder blends into the glaze and disappears into the roast.
Wrapping, Roasting, and Pulling It at the Right Moment
Season the Pork First
Start by patting the tenderloins dry, then season them with salt and pepper before any glaze goes on. Dry meat browns better, and seasoning at this stage keeps the pork itself from tasting bland under the bacon. If the surface is wet, the glaze slides off and the bacon won’t cling as well.
Brush on the First Layer of Glaze
Mix the brown sugar, Dijon, soy sauce, garlic powder, and smoked paprika until smooth, then brush about half over the pork. This first coat seasons the meat under the bacon, which matters because the outside is going to carry most of the visible flavor. Don’t pile it on too thick or it will puddle in the pan instead of caramelizing.
Wrap Tightly and Overlap Slightly
Wrap each tenderloin with bacon strips so the edges overlap just enough to hold together. The bacon needs to touch itself in places, or it can shrink and open gaps while roasting. Secure loose ends with toothpicks, and place the seam side down if it helps the wrap stay put.
Roast Until the Bacon Is Crisp and the Center Is 145°F
Brush the remaining glaze over the bacon, then roast until the bacon looks crisp and the pork reaches 145°F in the thickest part. That temperature is the difference between juicy slices and dry ones, so trust the thermometer more than the clock. If the bacon is almost done before the pork is ready, keep roasting and watch closely; if needed, move the pan higher in the oven for the last few minutes to finish the top.
Rest Before Slicing
Let the pork rest for 5 minutes before removing the toothpicks and slicing. That short rest keeps the juices from running out the second your knife hits it. Slice too soon and you’ll lose the moisture that makes tenderloin worth cooking in the first place.
Three Ways to Bend This Recipe Without Breaking It
Dairy-Free and Gluten-Free as Written
This recipe already fits both diets if your soy sauce is gluten-free tamari or certified gluten-free soy sauce. There’s no dairy in the glaze, so the main thing to watch is the bacon label and the soy sauce bottle. The texture and finish stay the same.
Make It a Little Less Sweet
Cut the brown sugar back to 2 tablespoons and add a pinch more smoked paprika. You’ll still get caramelization, but the glaze will lean more savory and the bacon flavor will come forward instead of the sugar.
Use Thick-Cut Bacon for a Heavier Crust
Thick-cut bacon gives you a meatier bite and a more substantial shell, but it usually needs a few extra minutes in the oven. Watch the thermometer, not the clock, because the pork can still be done before the bacon is as crisp as you want it.
Turn It Into a Bigger Holiday Roast
Double the glaze and roast the tenderloins on a larger pan with space between them so steam doesn’t soften the bacon. Crowding the pan is the fastest way to lose crispness, especially when you scale this up for guests.
Storage and Reheating
- Refrigerator: Store leftovers in an airtight container for up to 3 days. The bacon softens a bit, but the pork stays juicy if it wasn’t overcooked.
- Freezer: It freezes well for up to 2 months if you slice it first and wrap it tightly. Freeze in portions so you can reheat only what you need.
- Reheating: Reheat covered in a 300°F oven until warmed through. The common mistake is using the microwave, which turns the bacon rubbery and pushes the pork past tender.
Answers to the Questions Worth Asking
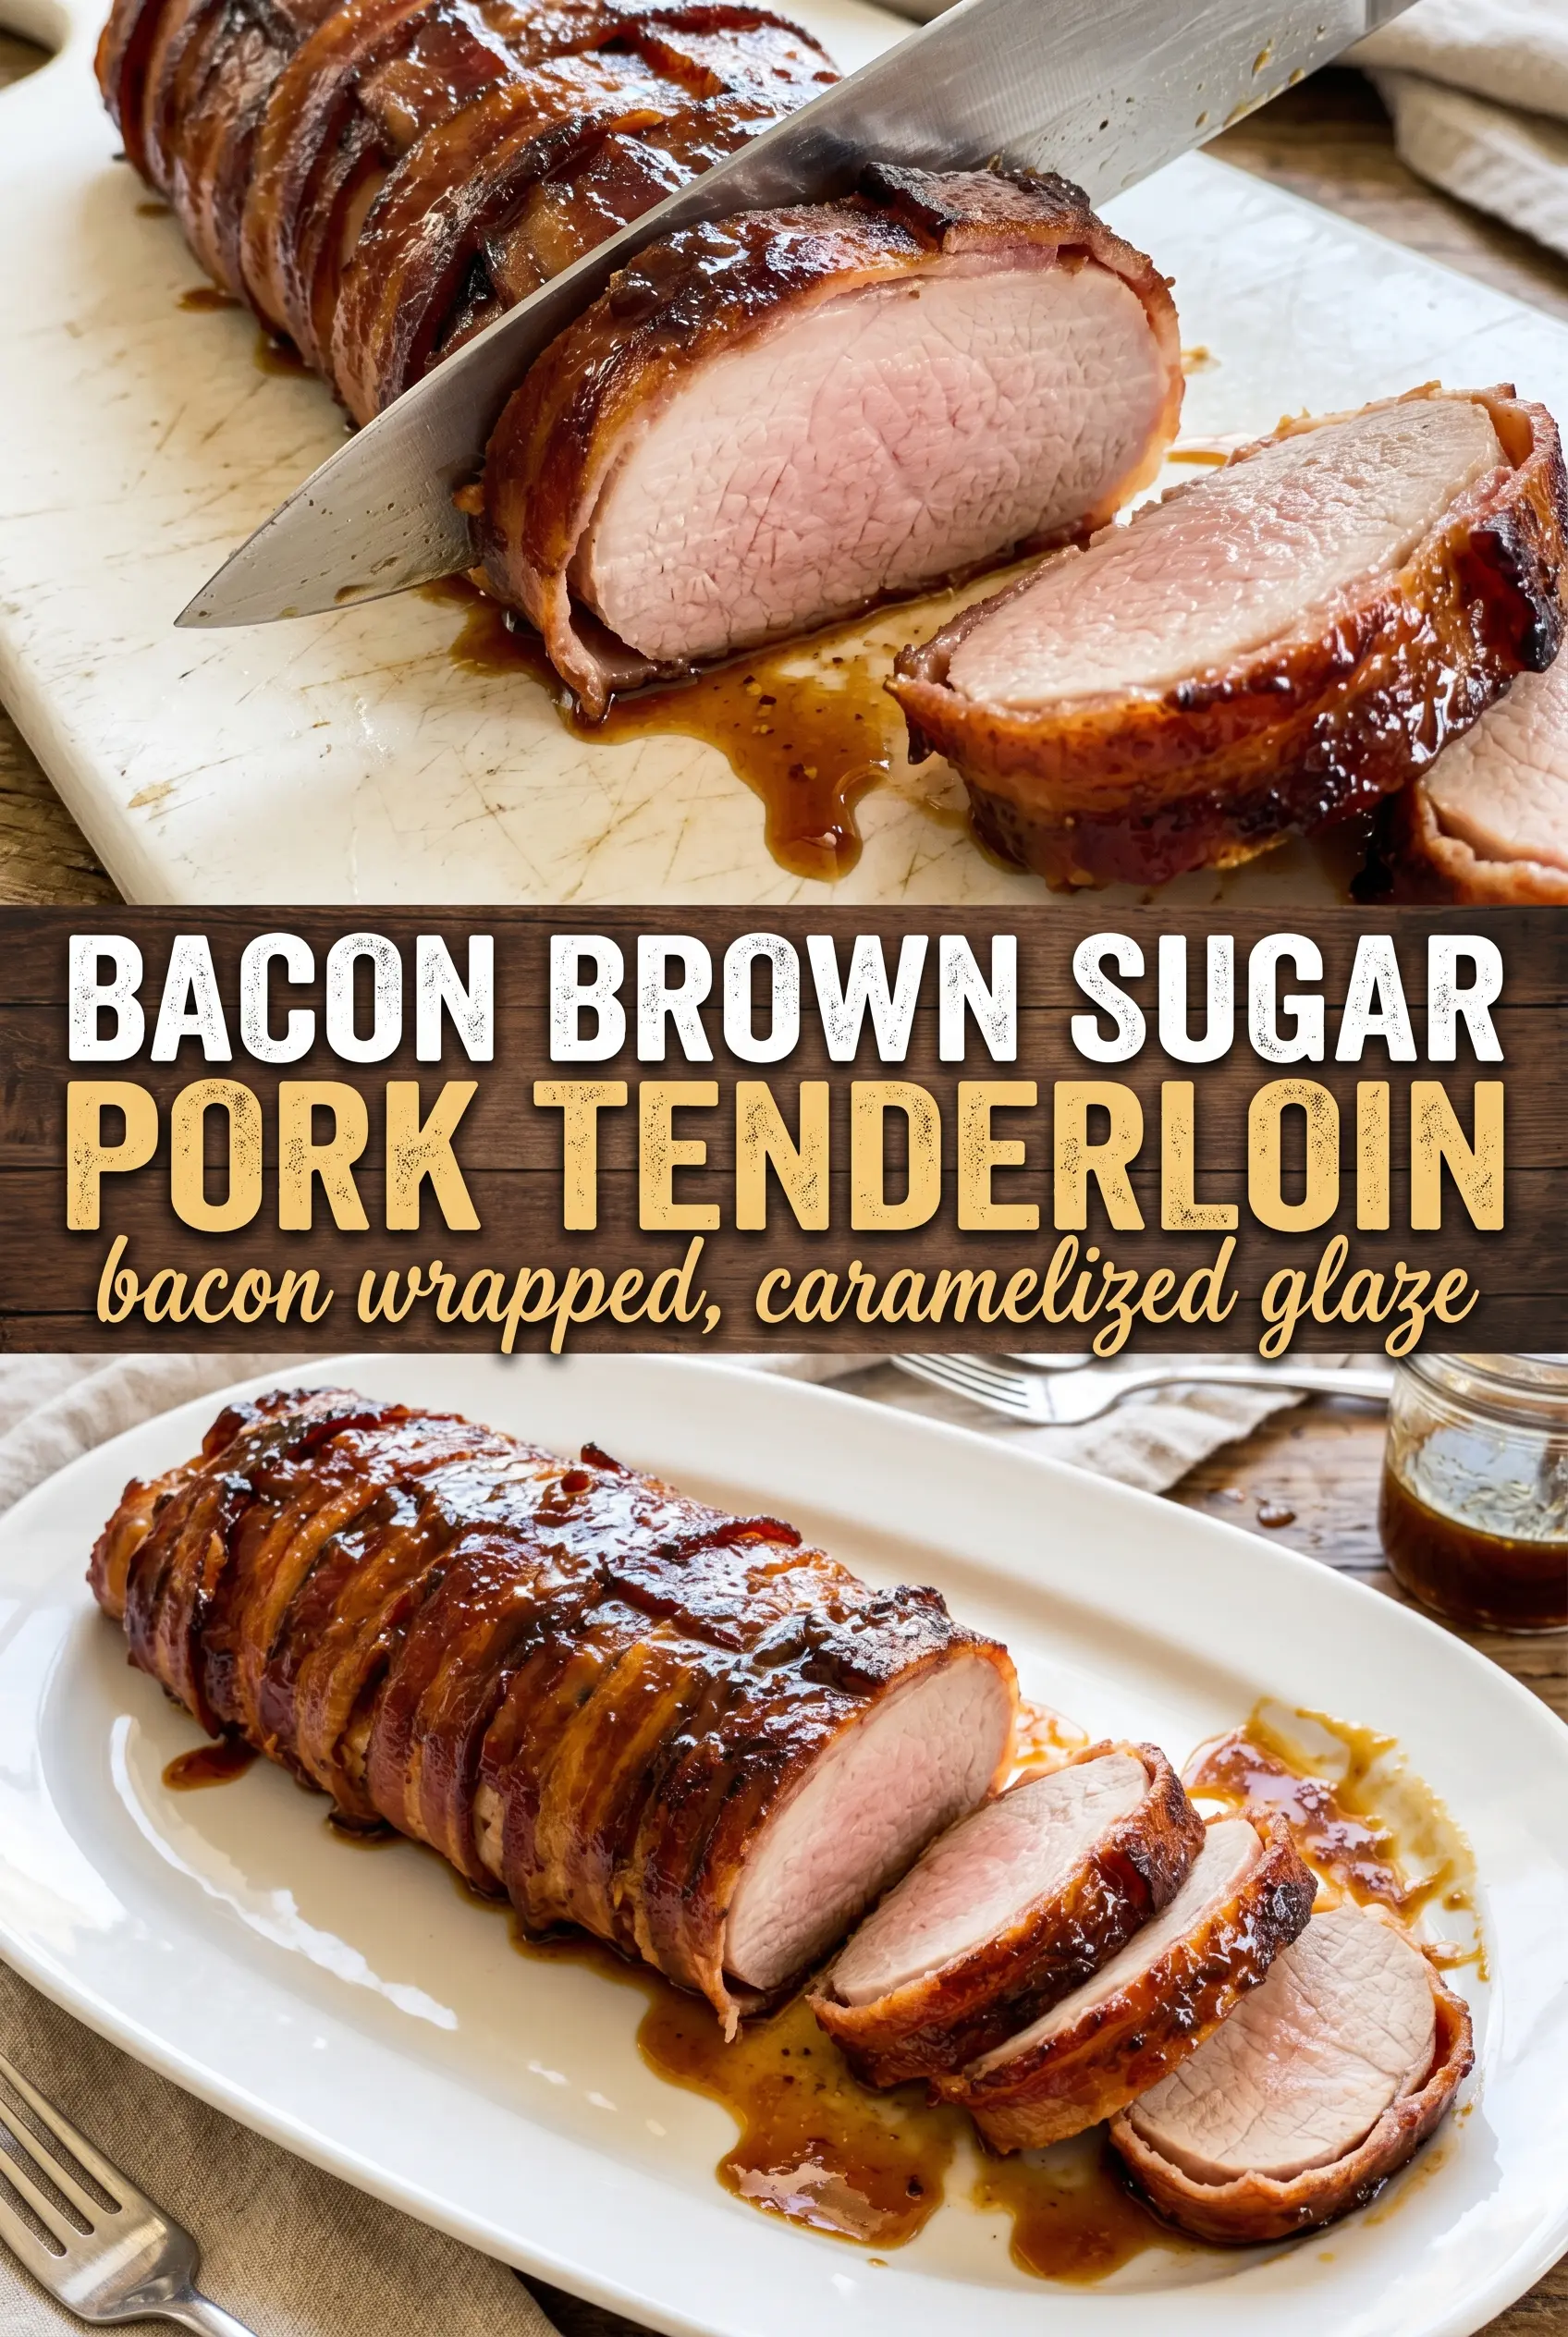
Bacon-Brown Sugar Pork Tenderloin
Ingredients
Equipment
Method
- Preheat the oven to 400°F.
- Season the pork tenderloins with salt and pepper.
- Mix the brown sugar glaze ingredients, then brush half over the pork.
- Wrap each tenderloin tightly in bacon strips, overlapping slightly, and secure the ends with toothpicks.
- Place the bacon-wrapped tenderloins in a roasting pan and brush the remaining glaze over the bacon.
- Roast for 25–30 minutes at 400°F, until the bacon is crispy and the internal temperature reaches 145°F, with the glaze visibly caramelized and glossy.
- Rest the tenderloins for 5 minutes so the juices reabsorb, then remove toothpicks and slice.