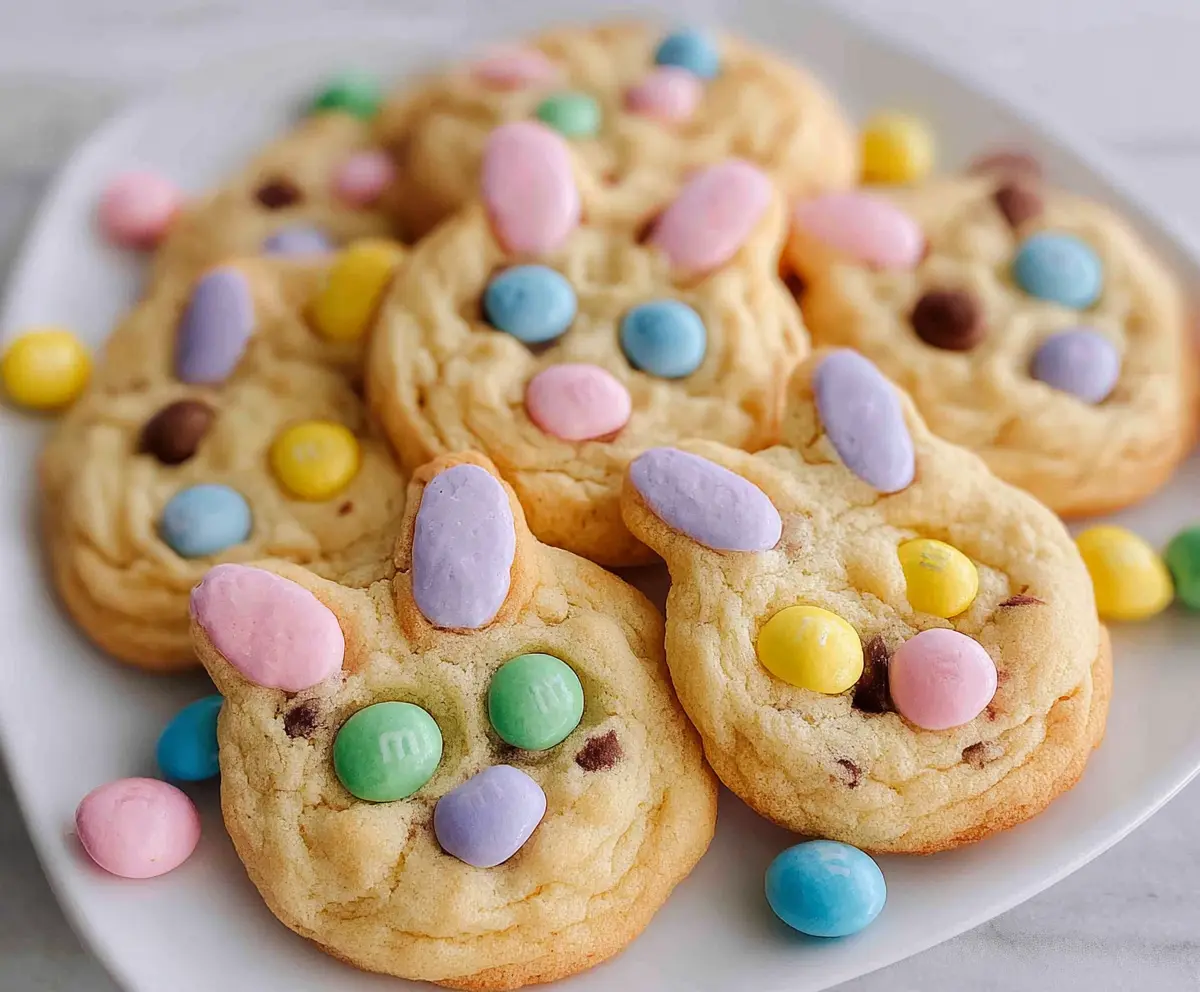
If you’re looking for a sweet treat to celebrate, these Easter Bunny M&M’s Cookies are perfect! They’re soft, chewy, and filled with colorful M&M’s that bring a festive touch.
Baking these cookies is a joyous task, especially when the kids help add the M&M’s. I can’t resist sneaking one (or two!) right out of the oven. Perfect with a glass of milk!
Key Ingredients & Substitutions
Butter: Unsalted butter is essential for controlling the cookie’s flavor. If you’re out, you can substitute with margarine or coconut oil, but the taste might differ slightly. I prefer using butter for a rich, creamy flavor.
Sugars: Mixing granulated and brown sugar gives the cookies nice texture and sweetness. If you’re looking to cut down on sugar, you could replace some with a sugar alternative like stevia or monk fruit, but adjust the amount carefully!
Eggs: These bind the dough together and add moisture. If you need an egg substitute, try using applesauce (1/4 cup per egg) or flaxseed meal (1 tablespoon of flaxseed mixed with 2.5 tablespoons of water). Both work well!
Flour: All-purpose flour provides structure. For a gluten-free option, you can use a 1:1 gluten-free flour blend. I’ve found these blends to work well without sacrificing too much texture.
M&M’s: Easter-themed pastel M&M’s are perfect for decoration. If you can’t find these, regular M&M’s work just as well. You might even consider using chocolate-covered pretzels for a fun twist!
How Do You Get the Cookies to Rise and Stay Chewy?
The key to achieving soft, chewy cookies is in the mixing and baking process. Here are some tips:
- When creaming the butter and sugars, ensure they are light and fluffy but don’t overmix. This helps incorporate air for rising.
- Add the eggs one at a time and mix until just combined to prevent overmixing. It’s okay if the batter looks slightly lumpy.
- Don’t skip chilling the dough; if possible, refrigerate for about 30 minutes. This helps control spread and keeps the centers soft.
- Why do you want the edges golden? They add a bit of crunch while keeping the middle soft, so keep an eye on them during the last couple of minutes.

Easter Bunny M&M’s Cookies
Ingredients You’ll Need:
For the Cookie Dough:
- 1 cup unsalted butter, softened
- 3/4 cup granulated sugar
- 3/4 cup packed brown sugar
- 2 large eggs
- 1 teaspoon vanilla extract
- 2 1/4 cups all-purpose flour
- 1 teaspoon baking soda
- 1/2 teaspoon salt
- 1 cup mini chocolate chips (optional)
For Decoration:
- Easter-themed colored M&M’s (pastel colors) – about 2 cups
How Much Time Will You Need?
This delightful recipe will take about 15 minutes to prepare and 10-12 minutes to bake. With a cooling time of around 5 minutes on the baking sheet, you can expect to serve these yummy cookies in about 30-35 minutes from start to finish. Keep that timer handy!
Step-by-Step Instructions:
1. Preheat and Prepare:
Start by preheating your oven to 350°F (175°C). While your oven is warming up, line your baking sheets with parchment paper or silicone baking mats to make cleanup easier and prevent the cookies from sticking.
2. Creaming the Butters and Sugars:
In a large mixing bowl, combine the softened butter, granulated sugar, and brown sugar. Use a hand mixer or a sturdy spoon to mix them together until the mixture is light and fluffy. This step is important for getting the right texture!
3. Mixing in the Eggs and Vanilla:
Add the eggs one at a time to the butter and sugar mixture. Make sure to beat well after each addition. After that, stir in the vanilla extract for a lovely flavor boost!
4. Combining Dry Ingredients:
In a separate bowl, whisk together the flour, baking soda, and salt. This helps to evenly distribute the baking soda and salt, which are essential for the cookies’ rise.
5. Mixing Wet and Dry Ingredients:
Gradually add the dry ingredients to the wet mixture. Stir until just combined; you want to avoid overmixing to keep the cookies soft!
6. Adding Chocolate Chips:
If you’re using mini chocolate chips, fold them into the dough now so every bite can have a little surprise of chocolate.
7. Shaping the Cookies:
Using a cookie scoop or a tablespoon, scoop out portions of dough (about 2 tablespoons each) and roll them into balls. Place them nicely on your prepared baking sheets, leaving some space between them.
8. Decorating the Cookies:
Before they go into the oven, it’s time to decorate with the pastel M&M’s! Gently press two M&M’s into the dough for eyes, one M&M for a nose, and two more on top for the bunny ears. Get creative with the colors!
9. Baking Time:
Pop the cookies into the oven and bake for 10-12 minutes. Keep an eye on them; they’re ready when the edges are just turning golden, but the centers should remain soft for that perfect chewy texture.
10. Cooling Off:
Once baked, take your cookies out of the oven and let them cool on the baking sheet for about 5 minutes. Then, transfer them to a wire rack to cool completely. This allows them to set properly and prevents them from becoming too soft.
11. Time to Enjoy:
Now that your Easter Bunny M&M’s Cookies are ready, serve them up and enjoy your delicious creations with family and friends. Happy baking!
Can I Use Margarine Instead of Butter?
Yes, you can use margarine as a substitute for unsalted butter. However, the flavor and texture might differ slightly. For the best results, stick with unsalted butter if you can!
Can I Make These Cookies Without Eggs?
Absolutely! You can substitute each egg with 1/4 cup of unsweetened applesauce or 1 tablespoon of flaxseed meal mixed with 2.5 tablespoons of water. Both options work well to bind the dough.
How Should I Store Leftover Cookies?
Store any leftover cookies in an airtight container at room temperature for up to 3 days. For longer-lasting freshness, you can refrigerate them. Just be sure to let them come to room temperature before enjoying!
Can I Freeze the Cookie Dough?
Yes! You can freeze cookie dough balls before baking. Just scoop and shape them, then place them on a baking sheet until frozen solid. Transfer them to a freezer bag for up to 3 months. When you’re ready to bake, simply bake from frozen, adding a couple of extra minutes to the baking time.


