These sauteed green beans land in that sweet spot between crisp and tender, with blistered spots on the outside and enough bite left in the middle to keep them from going limp. The garlic turns golden in the butter, the lemon wakes everything up, and the toasted almonds bring the kind of crunch that makes this side dish feel finished, not just cooked.
The trick is getting the beans into the skillet over enough heat to blister before the butter and garlic go in. If you add the garlic too early, it can burn before the beans pick up any color. A quick hit of lemon zest and juice at the end keeps the flavor bright, while the butter rounds out the edges without making the pan heavy.
Below, I’ve included the timing that keeps the beans crisp-tender instead of soft, plus a few swaps that still give you a polished result when you’re short on one of the finishing ingredients.
The beans stayed crisp and the garlic browned just enough without turning bitter. I added the lemon at the end like you suggested, and the whole pan tasted fresh instead of greasy.
Save these blistered sauteed green beans with lemon, garlic, and almonds for the nights when you want a fast side that still tastes carefully made.
The Heat Window That Keeps Green Beans Crisp
Green beans go from bright and snappy to dull and soft fast, and the difference usually comes down to heat. You want the skillet hot enough that the beans blister and pick up color before they start steaming in their own moisture. If the pan is crowded, they’ll soften before they ever brown, so a wide skillet matters here.
The other timing mistake is adding the butter and garlic too early. Garlic burns faster than the beans cook, and burnt garlic will take the whole pan with it. Let the beans get most of the way there first, then lower the heat and finish with butter, garlic, and the seasoning.
- Fresh green beans — Fresh beans hold their snap and blister nicely. If you use thinner beans, shave a minute or two off the cook time. Very thick beans need closer to 8 minutes before they soften enough to finish.
- Olive oil and butter — Oil gives you the higher-heat start, and butter adds roundness at the end. You need both because butter alone would brown too early, while oil alone leaves the finish a little flat.
- Garlic — Thin slices give you golden edges and bigger flavor than minced garlic. If you only have minced garlic, add it for the last 30 seconds and keep it moving so it doesn’t scorch.
- Lemon zest and juice — The zest brings the bright aroma, and the juice sharpens the final bite. Don’t skip the zest if you can help it; juice alone tastes more one-note and less polished.
- Toasted almonds — These add the crunch that makes the dish feel complete. Buy them pre-sliced and toast them yourself if you can, because store-bought toasted nuts lose their edge quickly once they sit in the pantry.
What Each Ingredient Is Doing in the Pan
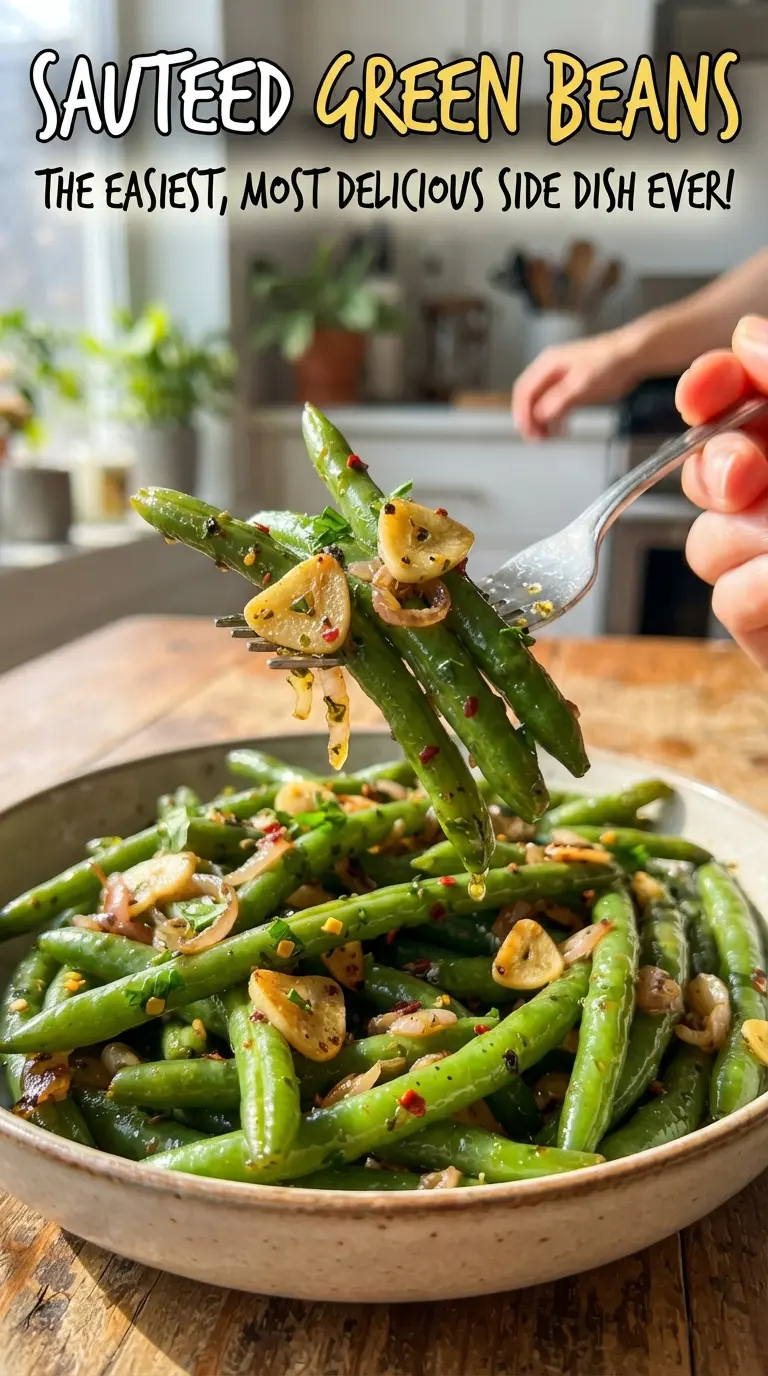
Green beans are the backbone, so start with ones that are firm and deep green, not limp or bent. Trimming the stem ends evenly helps them cook at the same pace. If your beans are especially slender, reduce the sear time a little so they stay crisp.
Butter and olive oil work as a team, not a substitute for each other. The oil handles the higher heat, and the butter gives the finish a richer taste and better cling. If you use only butter, it can brown before the beans are ready.
Garlic, lemon, and almonds are the finishing layer. Garlic should turn just golden, not dark brown, because it keeps cooking after you pull the pan off the heat. Lemon juice goes in at the end so it stays fresh instead of turning harsh, and almonds should be toasted before they ever touch the skillet.
Building the Sear Before the Butter Goes In
Heat the skillet first
Set a large skillet over medium-high heat and let the oil get hot before the beans go in. You want the beans to hit a lively surface so they blister instead of just warming through. If you hear almost nothing when they land, the pan isn’t hot enough yet.
Drive off the raw edge
Add the beans and toss them often for 6 to 8 minutes, until the skins spot with brown blisters and the color turns brighter green. They should still have resistance when you bite one. If the pan looks dry before the beans are tender, that’s normal; the goal here is color and texture, not a glossy sauce yet.
Finish with the butter and garlic
Lower the heat to medium, then add the butter and sliced garlic. Stir until the garlic turns pale gold and smells nutty, which takes just 1 to 2 minutes. If the garlic starts getting deep brown, pull the pan off the heat right away because bitter garlic can’t be fixed once it’s burned.
Brighten and serve immediately
Season with salt, pepper, and red pepper flakes, then toss with lemon zest, lemon juice, and toasted almonds. The lemon should smell fragrant the moment it hits the hot pan. Serve right away while the beans are still crisp and the almonds still crunchy.
How to Adapt These Green Beans Without Losing the Point
Dairy-Free Version
Use all olive oil instead of the butter. You’ll lose a little richness, but the lemon and garlic stay clean and bright, and the beans still blister well. Add a tiny pinch more salt at the end to help the flavor feel finished.
Nut-Free Finish
Leave out the almonds and finish with extra lemon zest for lift, or add toasted breadcrumbs for crunch. You won’t get the same nutty bite, but you keep the contrast that makes the dish feel complete.
No Fresh Lemon on Hand
A small splash of white wine vinegar can stand in for the juice, though it tastes sharper and less rounded. If you go this route, skip extra acid from anywhere else and keep the amount modest so the beans don’t turn tart.
Making It Ahead for Dinner
You can trim the beans, slice the garlic, and toast the almonds ahead of time, then cook everything right before serving. These beans are best hot from the skillet; if they sit too long, the steam softens the blistered edges.
Storage and Reheating
- Refrigerator: Store leftovers in an airtight container for up to 3 days. The beans soften a little as they sit, but the flavor stays good.
- Freezer: I don’t recommend freezing these. The beans lose their crisp texture and turn watery after thawing.
- Reheating: Warm them in a skillet over medium heat just until hot. The microwave makes the beans soft and the almonds lose their crunch.
Answers to the Questions Worth Asking
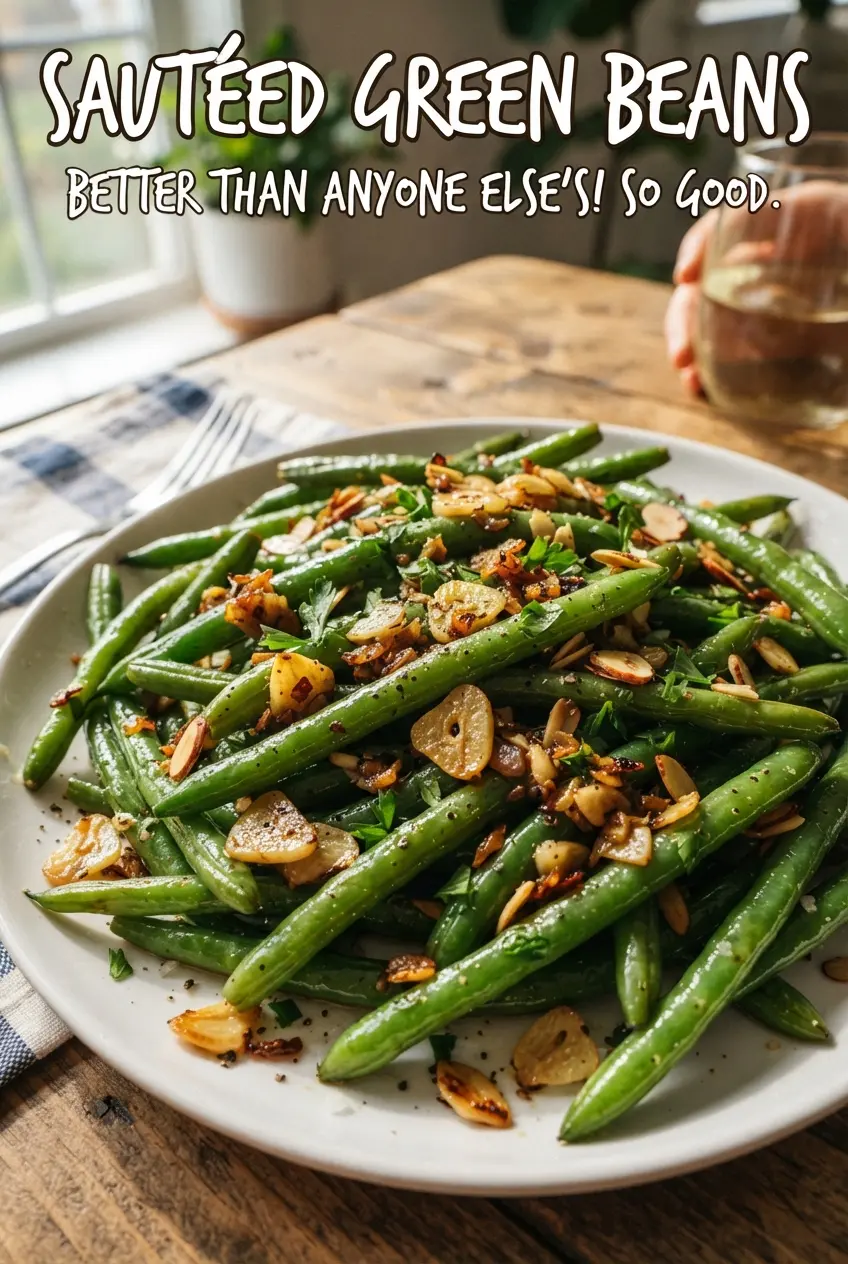
Sauteed Green Beans
Ingredients
Equipment
Method
- Heat olive oil in a large skillet over medium-high heat until shimmering, about 1 minute. You should see a light sheen across the pan before adding the beans.
- Add the green beans and cook 6-8 minutes, tossing occasionally, until blistered and crisp-tender. Aim for wrinkled, lightly charred spots on the surface.
- Reduce heat to medium, then add butter and garlic and cook 1-2 minutes until golden. Keep tossing so the garlic browns without burning.
- Season with salt, black pepper, and red pepper flakes. Toss well so the seasoning coats every bean.
- Toss with lemon zest and lemon juice until the beans look glossy. The pan should smell bright and citrusy as you toss.
- Add the toasted sliced almonds and toss to combine, then serve immediately. The almonds should stay crisp with visible golden flecks.