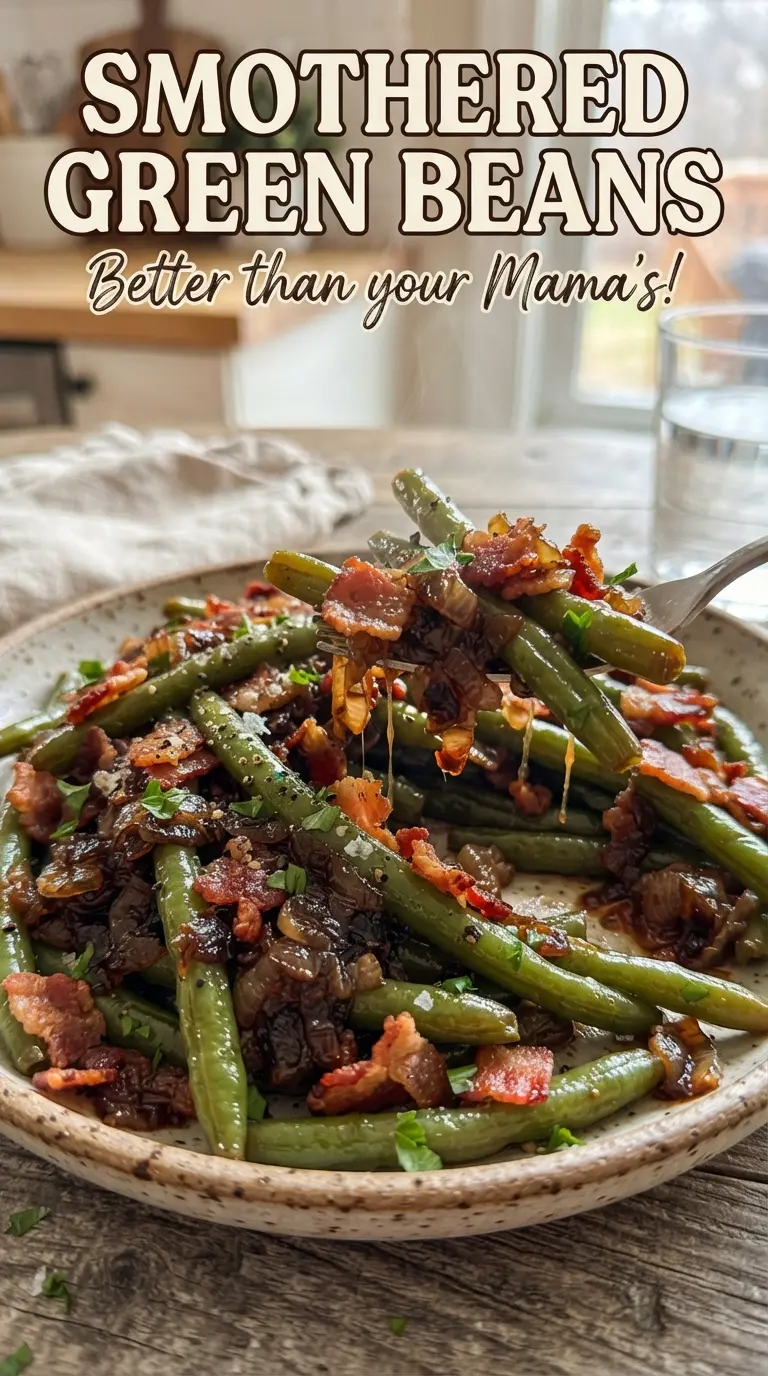
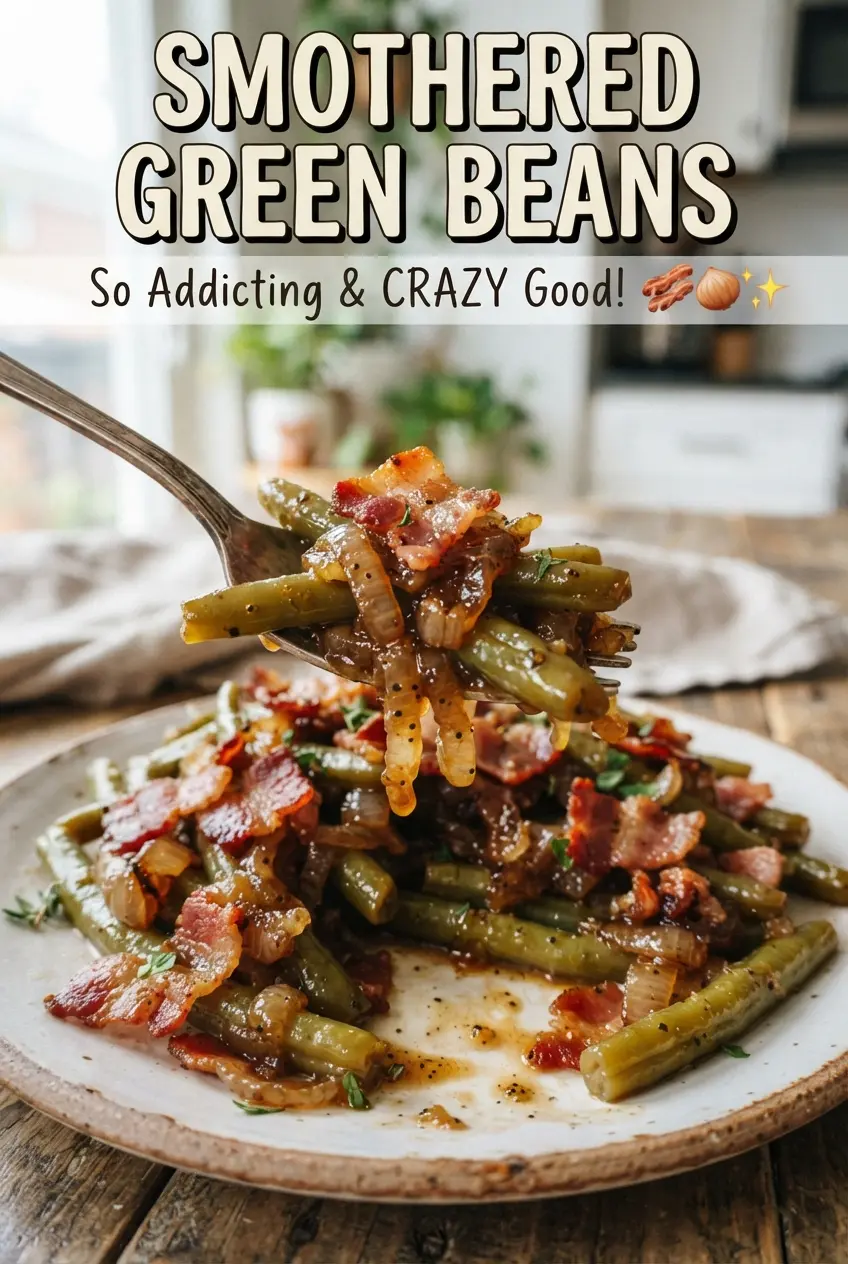
Smothered green beans come out tender, glossy, and deeply savory with just enough sweetness to keep every bite interesting. The bacon seasons the whole dish, the onions melt into the sauce, and the brown sugar-butter glaze turns the beans into something people keep spooning onto their plates long after the main course is gone.
This version works because the beans are baked right in the bacon drippings instead of being treated like an afterthought. Draining the skillet would strip out the flavor that carries the dish. The soy sauce adds a quiet salty depth that keeps the brown sugar from tasting flat, and covering the pan for most of the bake helps the sauce cling instead of reducing too far.
Below, I’ll walk through the small details that keep the sauce glossy and the beans from turning mushy, plus a few smart swaps if you need to adjust for what’s in your pantry.
The sauce turned glossy instead of watery, and the bacon flavor soaked all the way through the beans. I stirred once halfway through and it came out perfect with no burnt sugar on the edges.
Save these smothered green beans for the kind of side dish that comes out glossy, bacon-studded, and ready to steal the meal.
Why the Beans Need the Bacon Drippings, Not a Separate Sauce
The biggest mistake with smothered green beans is treating the sauce and the beans like two different jobs. They aren’t. The bacon drippings hold the browned onion flavor and carry that savory edge through the whole casserole dish, which is why the recipe tells you not to drain the skillet. Once the beans go into the baking dish, those drippings help coat every bean before the sweet glaze even hits the pan.
Another thing that matters here is moisture control. Canned green beans already bring liquid, so if you uncover the dish too early, the sauce can reduce into a sticky mess before the beans get fully heated through. Foil keeps the steam in long enough for everything to marry together, then a final stir helps the glaze settle evenly instead of pooling on top.
- Bacon drippings — This is the backbone of the dish. If you drain them off, the beans taste sweeter and flatter.
- Canned green beans — Canned works best here because they stay soft and absorb the sauce. Fresh green beans need a longer cook and won’t give you the same smothered texture.
- Brown sugar — Packed brown sugar gives the sauce its sticky finish. Light or dark both work; dark brown sugar brings a deeper molasses note.
- Soy sauce — This adds salt and umami without making the dish taste overtly Asian. It’s the ingredient that keeps the sweetness in check.
What Each Ingredient Is Actually Doing in This Recipe
- Primary ingredient (the star) — Quality matters most. Choose the best you can find.
- Cooking medium (oil, butter, or broth) — This carries flavors and prevents dryness.
- Seasonings (salt, pepper, spices, herbs) — Layer flavors so nothing overpowers. Build depth gradually.
- Aromatics (garlic, onion, herbs) — Cook with fat to bloom flavors. Become the foundation.
- Supporting ingredients — Complement the main ingredient without overpowering it.
- Sauce or liquid (if applicable) — Brings flavors together. Balance richness with acid.
- Acid (lemon, vinegar, wine, or other) — Brightens and prevents flat-tasting results.
- Final finish (garnish, glaze, or sauce) — Prevents one-dimensional taste and adds visual appeal.
How to Keep the Sauce Glossy Instead of Gritty
Cooking the Bacon and Onion Together
Start the bacon in a skillet and let it cook with the onion until the bacon is mostly crisp and the onion is softened and a little golden around the edges. That little bit of browning matters because it gives the finished dish a deeper flavor than soft, pale onion ever could. Don’t rush this stage over high heat or the bacon will toughen before the onion has time to soften. The goal is rendered fat with a few crisp edges, not fully brittle bacon chips.
Building the Glaze
Whisk the brown sugar, melted butter, soy sauce, garlic powder, and black pepper until the mixture looks smooth and pourable. If the butter is too hot, the sugar can clump and refuse to dissolve evenly, so let it cool for a minute after melting if needed. You want a loose glaze that pours in a ribbon, not a thick paste. That texture helps it seep between the beans instead of sitting in one sticky layer on top.
Baking Until Everything Merges
Cover the dish with foil and bake until the sauce looks glossy and the beans are hot all the way through, stirring once halfway through. That stir is important because it brings the beans from the bottom up into the sauce and keeps the sugar from concentrating in one corner. If the top looks dry before the time is up, the foil is probably tucked too loosely and too much steam escaped. A tightly covered dish is what gives you that smothered finish.
What to Change When You Need to Work Around the Pantry
Use fresh green beans for a firmer bite
Blanched fresh green beans will hold their shape better than canned, but they won’t soak up the sauce the same way. If you go this route, blanch them first so they don’t stay too crisp in the oven, then bake a little longer until the glaze clings to the beans.
Make it dairy-free without losing the finish
The recipe already fits naturally into a dairy-free pattern if you use a plant-based butter with a clean flavor. Keep the bacon and soy sauce the same, and the dish still comes out glossy and rich. Just choose a butter substitute that melts smoothly so the glaze doesn’t separate.
Skip the bacon for a vegetarian version
You can leave out the bacon and cook the onion in butter instead, but the dish will lose the smoky, salty backbone that makes it taste fully smothered. Add a pinch of smoked paprika and a little extra soy sauce to replace some of that depth. The result is sweeter and softer, but still good alongside a big holiday plate.
Storage and Reheating
- Refrigerator: Store leftovers in an airtight container for up to 4 days. The sauce will thicken as it chills.
- Freezer: It freezes, but the beans soften more after thawing. Freeze in a tightly sealed container for up to 2 months if you don’t mind a looser texture.
- Reheating: Warm gently in a covered dish at 325F or in the microwave in short bursts, stirring once or twice. High heat can dry out the beans and make the sugar sauce separate at the edges.
Questions I Get Asked About This Recipe
Smothered Green Beans
Ingredients
Equipment
Method
- Preheat oven to 350F.
- Chop the bacon and dice the onion so they’re ready for the skillet.
- Cook bacon and onion in a skillet for 8 minutes, until bacon is mostly crisp, and do not drain.
- Place green beans in a 9x13-inch baking dish, then top with bacon, onion, and drippings.
- Whisk brown sugar, melted butter, soy sauce, garlic powder, and black pepper until smooth, then pour over the beans.
- Cover with foil.
- Bake covered for 35-40 minutes, stirring once during baking, until the sauce is glossy.
- Stir and serve warm.