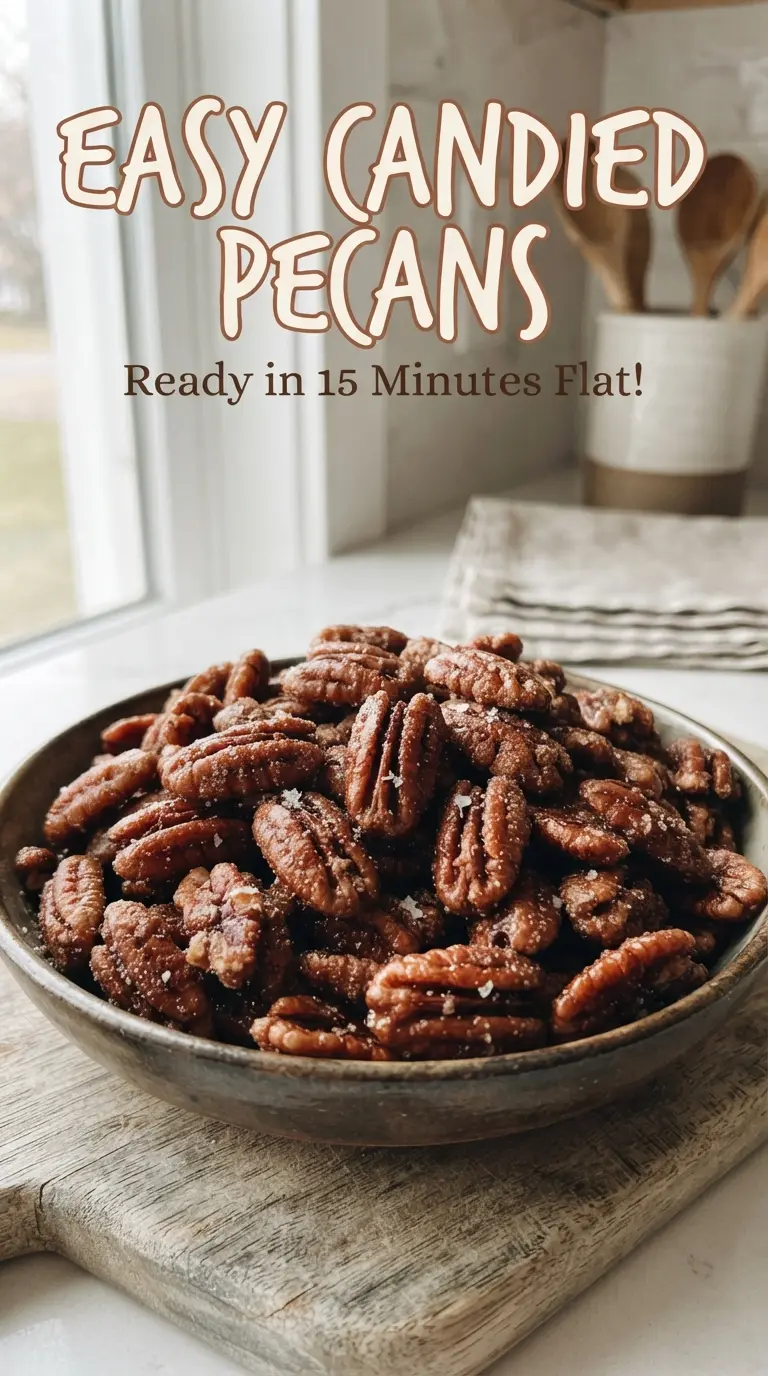
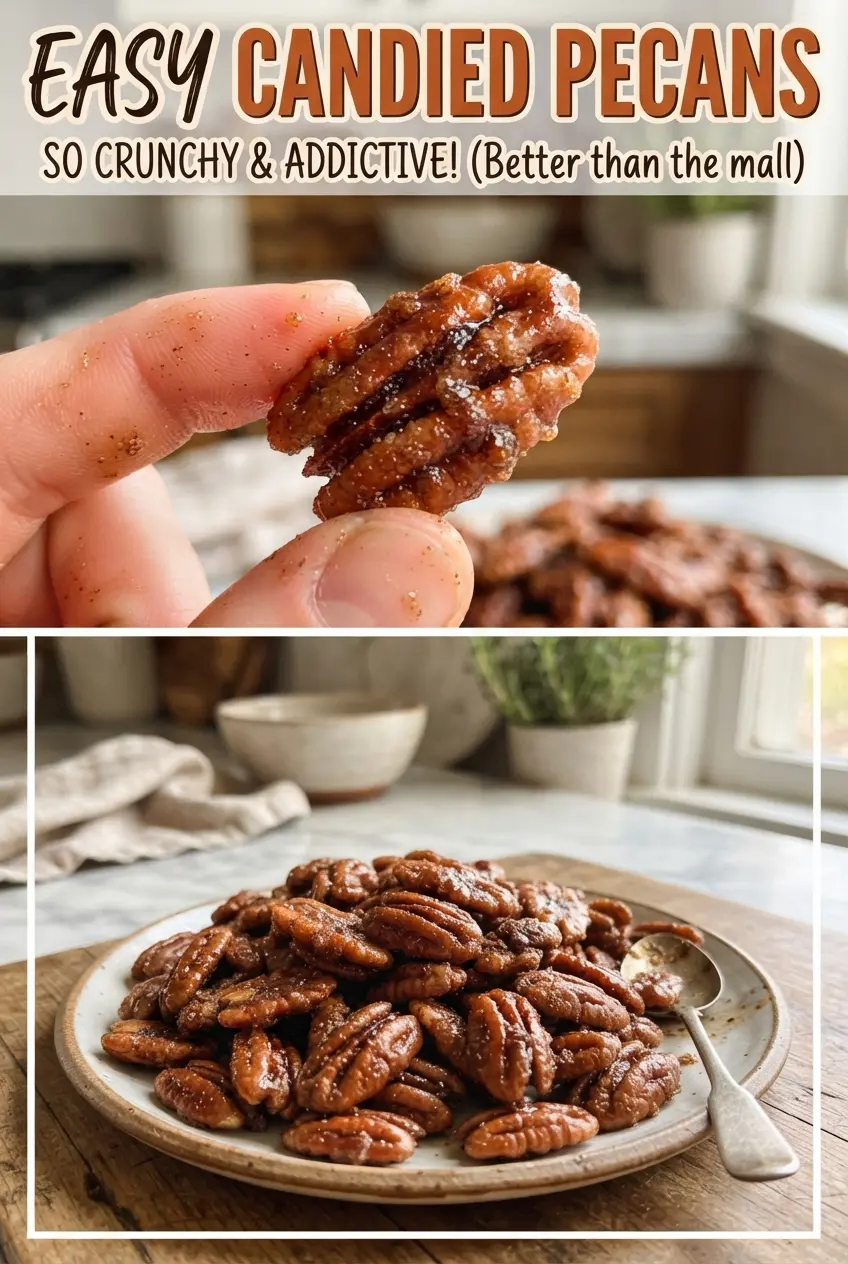
Crunchy, glossy candied pecans with a cinnamon-sugar shell have a way of disappearing before they ever make it to a serving bowl. The coating bakes onto each nut in a thin, crackly layer, so you get sweetness first and then that deep, toasty pecan flavor underneath. They’re just as welcome on a snack board as they are tucked into salads, packed into jars for gifting, or eaten by the handful over the counter.
The trick is baking them low and slow. A hot oven will brown the sugar before the nuts have time to dry out, but 250°F gives the egg white mixture time to set into a crisp coating while the pecans toast gently underneath. Stirring every 15 minutes matters here too; it keeps the sugar from clumping in one sticky mass and helps each pecan get an even, sandy crust before the final crunch sets up as they cool.
Below, you’ll find the small details that keep the coating glossy instead of grainy, plus a few smart swaps if you want to change the spice, skip the cinnamon, or store a batch for later.
The coating set up perfectly and the pecans came out crunchy all the way through, not sticky. I stirred them every 15 minutes like you said and they were gone before they cooled completely.
Like these crunchy cinnamon-sugar candied pecans? Save them to Pinterest for snack boards, salads, and edible gifts.
The Secret to Candied Pecans That Stay Crunchy Instead of Sticky
The biggest mistake with candied pecans is rushing the bake. If the oven is too hot, the sugar coating can harden in patches before the nuts dry out, which leaves you with sticky spots instead of an even shell. Low heat gives the egg white mixture time to coat each pecan, and the long bake slowly turns that coating from foamy and wet into crisp and brittle.
Stirring is part of the structure here, not just a nice extra. Every stir redistributes the sugar mixture, breaks up any clumps, and exposes new surfaces so the coating dries evenly. If you skip the stirring, the pecans on the edges finish at a different pace than the ones in the middle, and the batch won’t have that same clean snap when it cools.
- Egg white — This is what helps the sugar cling in a thin layer. It whips into a frothy coating that dries into that classic crackly shell, and there isn’t a great substitute if you want the same texture.
- Vanilla — A small amount rounds out the cinnamon and keeps the sugar from tasting flat. Use pure vanilla if you have it; the imitation version will work, but the flavor is less warm.
- Pecan halves — Halves give you the best crunch and the most even coating. Pecan pieces work in a pinch, but they’ll finish faster and can over-toast before the sugar fully dries.
- Ground cinnamon — This is the spice that makes the pecans taste bakery-style instead of just sweet. If you want a gentler spice note, cut it back slightly rather than swapping it out completely.
What Each Ingredient Is Actually Doing in This Recipe
- Primary ingredient (the star) — Quality matters most. Choose the best you can find.
- Cooking medium (oil, butter, or broth) — This carries flavors and prevents dryness.
- Seasonings (salt, pepper, spices, herbs) — Layer flavors so nothing overpowers. Build depth gradually.
- Aromatics (garlic, onion, herbs) — Cook with fat to bloom flavors. Become the foundation.
- Supporting ingredients — Complement the main ingredient without overpowering it.
- Sauce or liquid (if applicable) — Brings flavors together. Balance richness with acid.
- Acid (lemon, vinegar, wine, or other) — Brightens and prevents flat-tasting results.
- Final finish (garnish, glaze, or sauce) — Prevents one-dimensional taste and adds visual appeal.
Building the Coating in the Oven, Not on the Counter
Whisking the Binder
Whisk the egg white, water, and vanilla until the mixture looks frothy and loose, almost like a thin foam. You don’t need stiff peaks; you want enough air in it to coat the nuts without turning them soggy. If the egg white is still streaky, keep whisking for another few seconds before adding the pecans, because uneven mixing shows up later as patchy sugar coverage.
Coating the Pecans Evenly
Add the pecans and toss until every surface looks lightly wet. That thin layer is what helps the sugar mixture stick without forming hard lumps. If the bowl looks dry in spots, the sugar will fall off in the pan instead of baking into the nuts, so keep turning them until they look evenly glossed.
Baking and Stirring for an Even Crunch
Spread the nuts on parchment in a single layer and bake for 1 hour, stirring every 15 minutes. The first stir will look messy and sticky; that’s normal. By the final stir, the coating should look drier and grainier, and the pecans will separate more easily. Don’t pull them early just because they smell done — they only turn crunchy after they cool completely on the pan.
Maple Cinnamon Pecans
Swap half the sugar for maple sugar if you want a deeper, almost caramel-like sweetness with a more rustic finish. The coating will be a little less glossy and a touch more delicate, but the flavor leans warmer and less sharp.
Gluten-Free and Naturally Crossover-Friendly
These candied pecans are naturally gluten-free as written, which makes them an easy fit for snack boards and holiday trays. Just check that your vanilla is cleanly labeled if you’re cooking for someone with celiac disease, since the nuts themselves don’t bring any gluten into the recipe.
Less Sweet, More Toasty
Cut the sugar back by 2 to 3 tablespoons if you want a lighter coating that puts more emphasis on the nutty flavor. The crust will be a little thinner and less candy-like, but it still crisps up well if you keep the baking time the same and let them cool fully.
Storage and Reheating
- Refrigerator: Store in an airtight container at room temperature for up to 2 weeks. The coating stays crisp best in a dry cupboard, not the fridge.
- Freezer: Freeze in a sealed bag or container for up to 3 months. Let them thaw uncovered so condensation doesn’t soften the sugar shell.
- Reheating: These don’t need reheating, but if they lose a little crunch, spread them on a sheet pan and warm at 250°F for 5 to 8 minutes. Let them cool again before eating; the crisp texture returns as they come back to room temperature.
Answers to the Questions Worth Asking
Easy Candied Pecans
Ingredients
Equipment
Method
- Preheat the oven to 250F and line a sheet pan with parchment so the pecans won’t stick as the coating sets.
- Whisk the egg white, water, and vanilla until frothy, using a glossy foam as the coating base.
- Toss the pecan halves in the egg-white mixture until evenly coated, looking for every nut to have a thin film.
- Mix the sugar, ground cinnamon, and salt, then toss the coated pecans with the cinnamon sugar until no dry spots remain.
- Spread the pecans in a single layer on the prepared sheet pan for even roasting and a crackly finish.
- Bake for 1 hour, stirring every 15 minutes, until the coating looks glossy and dry at the edges.
- Cool completely on the pan until crunchy, then break apart and store airtight for maximum crispness.