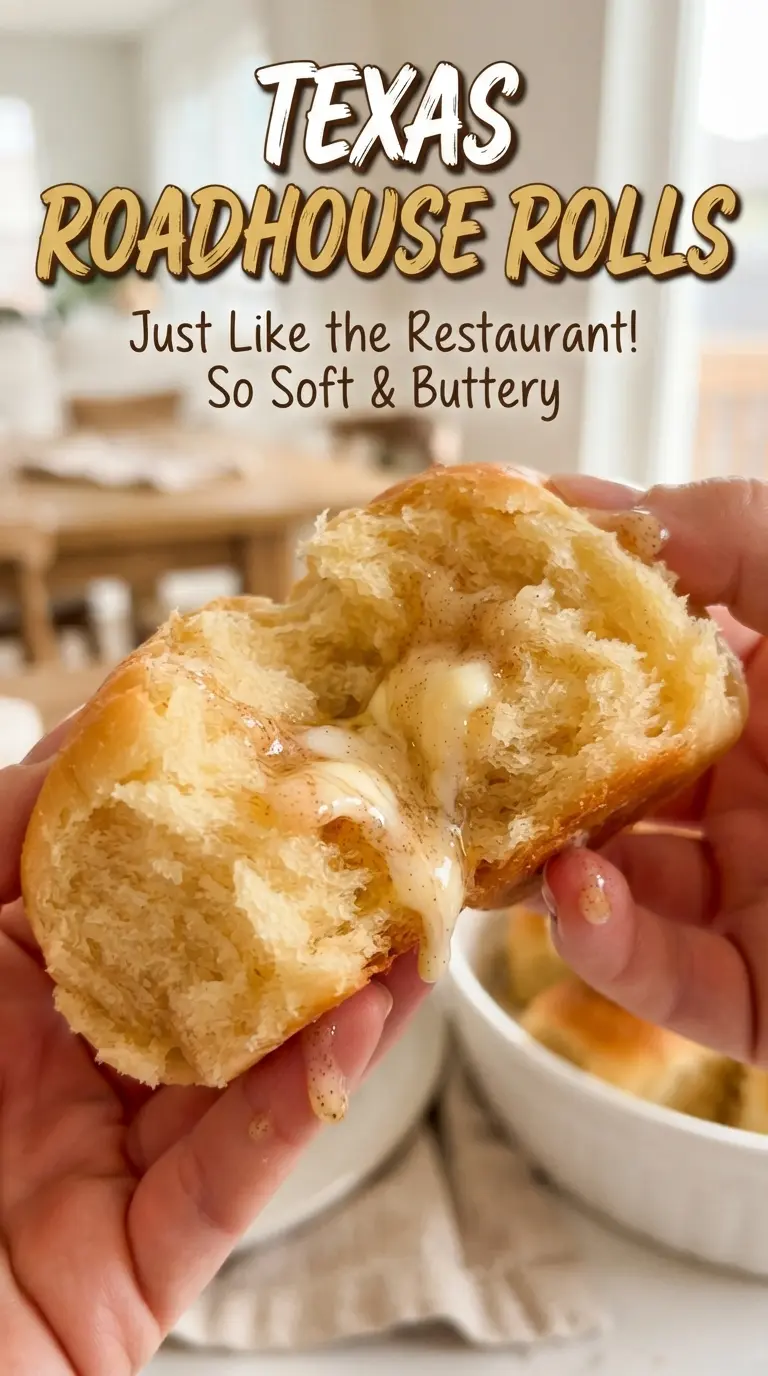
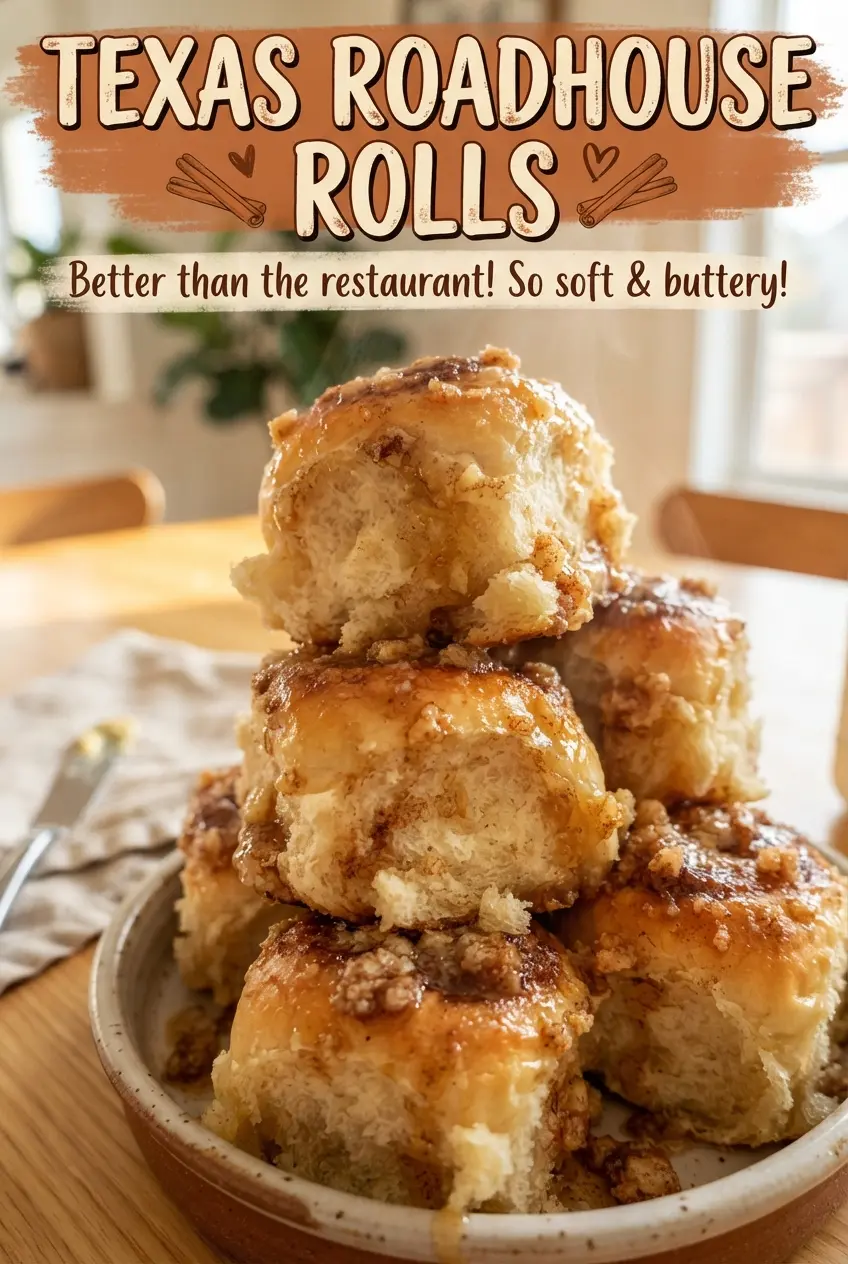
Texas Roadhouse rolls are all about that soft, pillowy pull-apart center and the thin, buttery top that glows when it comes out of the oven. The square shape gives them that familiar bakery look, but the texture is what keeps people reaching back into the basket. They’re tender enough to tear with almost no effort, yet sturdy enough to split and fill with whipped cinnamon honey butter without collapsing.
What makes this version work is the balance in the dough. Warm milk gives the rolls a richer crumb than water alone, and the first little bit of sugar wakes up the yeast fast without making the dough heavy. The folded-and-cut shaping also helps create those soft layers instead of a tight, round dinner-roll feel. A final brush of melted butter keeps the tops plush instead of dry, which matters more here than a deep browned crust.
Below, I’ve laid out the small details that make the difference: when the dough should feel smooth, how puffy the second rise should be, and why the honey butter tastes better when it’s whipped until light.
The rolls came out exactly like the restaurant ones — super soft, and the honey butter was fluffy enough to spread without tearing them. I let the second rise go the full hour, and that made a huge difference in how light they baked up.
Save these Texas Roadhouse rolls for the nights when you want soft, buttery square rolls with cinnamon honey butter on the side.
The Dough Needs More Time Than the Clock Suggests
Soft rolls live or die by fermentation and shaping. If the first rise is rushed, the dough stays tight and bakes up dense instead of airy. If the second rise is too short, the squares spring unevenly in the oven and you lose that light, pull-apart texture that makes these rolls recognizable.
The other trap is adding too much flour during kneading. This dough should feel smooth and a little tacky, not dry and stiff. Once it’s elastic and springs back slowly when pressed, it’s ready. That’s the cue that the gluten has developed enough to hold the shape without turning chewy.
- Warm milk — This adds richness and helps the yeast get moving. Keep it around 110F; hotter milk can kill the yeast, and colder milk slows everything down.
- Active dry yeast — The foaming step tells you it’s alive before you commit the rest of the ingredients. If it never bubbles, start over with fresh yeast.
- Butter — Melted butter goes into the dough for tenderness, while softened butter becomes the base of the honey butter. Those two jobs are different, and this is one place where the distinction matters.
- All-purpose flour — This gives the rolls enough structure without making them bready. Add it gradually if your kitchen is humid, because too much flour is the fastest way to lose the softness.
What Each Ingredient Is Doing in the Roll Basket
- Milk and water — The milk brings tenderness and a little sweetness to the crumb, while the water keeps the dough from feeling heavy. If you only use milk, the rolls can get a little too rich and sluggish.
- Sugar — A small amount feeds the yeast and gives the rolls that lightly sweet bakery taste. Don’t cut it too far or the dough loses both rise support and flavor.
- Egg — The egg adds color and softness. It also gives the dough a little extra richness so the rolls stay tender the next day.
- Powdered sugar, honey, and cinnamon — This is the whipped butter finish, and the powdered sugar keeps it light instead of grainy. Honey smooths out the cinnamon and makes the spread taste rounder, not just sweet.
Shaping and Baking So the Rolls Stay Feather-Light
Building the Dough
Mix until the dough comes together, then knead until it turns smooth and stretchy, about 8 minutes by hand or mixer. It should clear the sides of the bowl but still feel soft. If it looks shaggy after kneading, it needs more time; if it’s stiff, you’ve added too much flour and the rolls will bake up dry.
First Rise and Fold
Let the dough double before shaping. That rise builds flavor and keeps the crumb open. When you roll it into a rectangle and fold it in half, you’re creating the layered texture that makes the squares so tender once baked. Cut clean squares with a sharp knife or bench scraper so the edges rise evenly.
Second Rise and Oven Time
Arrange the squares with a little space on the sheet, then let them get puffy before baking. They should look soft and slightly swollen, not fully doubled again. Bake just until the tops turn light golden; if you wait for deep color, the centers lose their softness. Brush on butter the second they come out so it sinks into the crust while the rolls are still hot.
Whipping the Honey Butter
Beat the softened butter, powdered sugar, honey, and cinnamon until pale and fluffy. That air is what makes it spreadable instead of dense. If the butter is too cold, it stays lumpy; if it’s melted, the spread turns greasy and won’t hold its shape on warm bread.
How to Adapt These Rolls for Different Tables
Dairy-Free Rolls
Use an unsweetened non-dairy milk with some body, like oat milk, and swap in a plant-based butter that bakes well. The rolls will still be soft, but the flavor will be a little less rich and the honey butter topping will taste cleaner and lighter.
Making the Dough Ahead
After the first rise, cover the dough and refrigerate overnight. The cold slows fermentation and makes the flavor a little deeper, but let the shaped rolls come back to puffy before baking or they’ll stay tight in the oven.
Less-Sweet Version
Cut the sugar in the dough slightly and reduce the powdered sugar in the butter. The rolls will still rise and stay tender, but they’ll read more like a classic dinner roll and less like a copycat bakery sweet roll.
Freezer-Friendly Batch
Bake the rolls, cool them completely, then freeze them in a sealed bag. Thaw at room temperature and warm briefly in the oven; freezing before baking tends to slow the rise unevenly and gives less reliable texture.
Storage and Reheating
- Refrigerator: Store in an airtight container for up to 3 days. The rolls firm up a little in the fridge, especially once the butter cools.
- Freezer: Freeze baked rolls for up to 2 months. Wrap them well so they don’t pick up freezer odors or dry out.
- Reheating: Warm at 300F until just heated through, or microwave one roll for a few seconds wrapped in a barely damp paper towel. Overheating makes the crumb tough and steals the softness you worked for.
Questions I Get Asked About These Rolls
Texas Roadhouse Rolls
Ingredients
Equipment
Method
- Combine whole milk, warm water, active dry yeast, and 1 tablespoon sugar in a bowl, then let stand 5 minutes until foamy.
- If the mixture isn’t foamy after 5 minutes, let it stand up to 2 more minutes before continuing.
- Add the remaining sugar, large egg, melted butter, salt, and all-purpose flour, then knead about 8 minutes until the dough is soft and smooth.
- Cover the dough and let rise for 1 hour until doubled in size.
- Roll the dough into a 1/2-inch thick rectangle, then fold in half and cut into 2-inch squares.
- Place the squares on a parchment-lined sheet, cover, and let rise for 1 hour until puffy.
- Preheat the oven to 350F, then bake for 12-15 minutes until golden.
- Brush the hot rolls with melted butter right after baking.
- Whip softened butter, powdered sugar, honey, and ground cinnamon until fluffy.
- Serve the whipped cinnamon honey butter with the warm rolls.