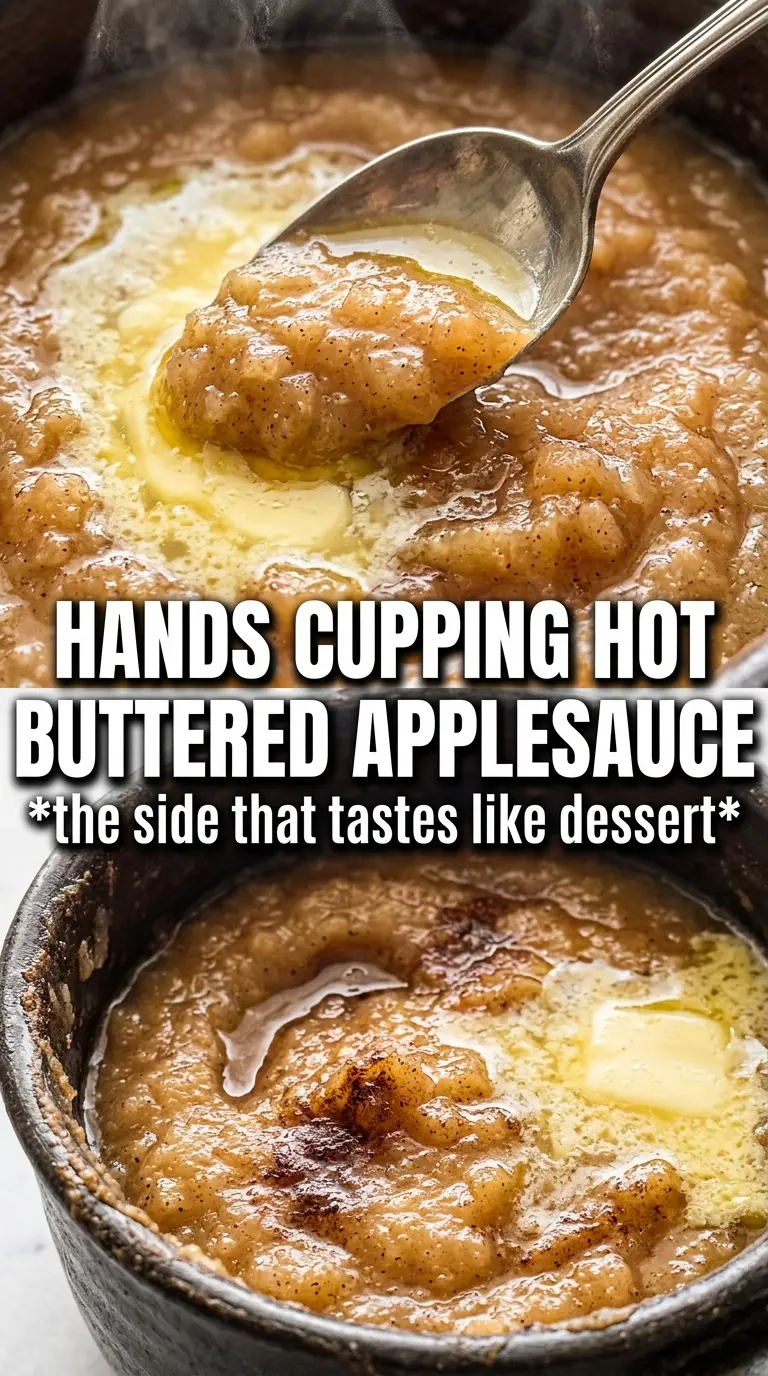
Hot buttered applesauce lands with a softness that tastes richer than the ingredient list suggests. The apples cook down into a silky, spoonable base, and the browned butter gives the whole bowl a toasted, almost caramel edge that plain applesauce never has. Cinnamon and nutmeg round it out without burying the fruit, so every bite still tastes like apples first.
What makes this version worth making is the timing. The butter browns just enough to add depth before the apples go in, which keeps the flavor layered instead of flat. A splash of cider or juice gives the apples enough liquid to soften without turning the pot watery, and the vanilla goes in at the end so it stays fragrant instead of cooking off. If you like your applesauce chunky, stop mashing early. If you want it smooth, an immersion blender makes it velvety in seconds.
The apples broke down into the smoothest applesauce, and that browned butter at the end made it taste like something from a bakery instead of a jar. I loved that it thickened up without needing extra sugar.
Save this hot buttered applesauce for a warm side dish with browned butter, cinnamon, and nutmeg.
The Browning Window That Gives This Applesauce Its Depth
The butter needs to go from melted to lightly browned before the apples hit the pan. That small head start adds a toasted note that survives the simmer, while apples dropped into plain melted butter can taste flat by comparison. The trick is to watch for a nutty smell and tiny amber flecks, then add the fruit right away so the butter doesn’t race past browned into burnt.
After that, the pot should stay at a gentle simmer under a lid. If it boils hard, the apples can scorch before they fully collapse, especially if you’re using a sweeter variety like Honeycrisp or Fuji. A covered simmer traps just enough steam to soften the fruit evenly and keeps the cider from evaporating too fast.
- Honeycrisp, Fuji, or McIntosh apples — These all soften well, but they break down a little differently. Honeycrisp stays bright and lightly structured, Fuji leans sweeter, and McIntosh turns the softest fastest. A mix of sweet-tart apples works too if you want more depth.
- Browned butter — This is the flavor anchor. Regular melted butter will still work, but it won’t give you that toasted finish. Pull it off the heat as soon as you smell nuttiness and see amber bits at the bottom of the pan.
- Apple cider or apple juice — Cider gives a fuller apple flavor, while juice makes the sauce a touch sweeter and cleaner tasting. Either one is fine here because it’s only there to start the steam and help the fruit soften.
- Vanilla extract — Add it after the apples are cooked. If it goes in too early, the aroma fades and you lose the fresh, round finish that makes the sauce taste homemade.
What Each Ingredient Is Actually Doing in This Recipe
- Primary ingredient (the star) — Quality matters most. Choose the best you can find.
- Cooking medium (oil, butter, or broth) — This carries flavors and prevents dryness.
- Seasonings (salt, pepper, spices, herbs) — Layer flavors so nothing overpowers. Build depth gradually.
- Aromatics (garlic, onion, herbs) — Cook with fat to bloom flavors. Become the foundation.
- Supporting ingredients — Complement the main ingredient without overpowering it.
- Sauce or liquid (if applicable) — Brings flavors together. Balance richness with acid.
- Acid (lemon, vinegar, wine, or other) — Brightens and prevents flat-tasting results.
- Final finish (garnish, glaze, or sauce) — Prevents one-dimensional taste and adds visual appeal.
Cooking the Apples Until They Collapse, Not Just Soften
Building the Brown Butter Base
Melt the butter in a large saucepan over medium heat and keep your eyes on the color, not just the clock. You want it to foam, then turn golden with a nutty smell and a few brown specks on the bottom. The moment that happens, add the apples right away so the residual heat stops the butter from darkening further. If you wait too long, the difference between browned and burnt happens fast.
Steaming the Apples Down
Once the apples are in, stir them with the cider, sugar, cinnamon, nutmeg, and salt, then cover the pan and let them simmer until they slump apart. You want the fruit to look glossy and tender, not still holding sharp edges. Lift the lid once or twice and give everything a stir so the bottom layer doesn’t catch. If the pan looks dry before the apples are soft, add a small splash of cider or water.
Mashing to the Texture You Want
When the apples are completely soft, mash them with a potato masher for a rustic texture or blend them for a smooth finish. For a chunky sauce, stop as soon as most of the big pieces are gone. For silky applesauce, an immersion blender makes the texture even without having to transfer hot fruit. Blend carefully and stay below the surface so it doesn’t splash.
Finishing With Vanilla and Warm Butter
Stir in the vanilla after the apples are off the heat, then taste it before deciding on more sweetness. The sauce should taste like cooked apple first, with cinnamon and nutmeg sitting in the background. Spoon it into bowls warm and finish each serving with a small pat of brown butter and a dusting of cinnamon. That last bit makes the top taste as good as the first spoonful from the center.
How to Change the Sweetness, Spice, or Texture Without Losing the Good Part
Make it less sweet
Cut the brown sugar back to 1 tablespoon or skip it entirely if your apples are sweet enough. The sauce will taste more like pure cooked apple, with the butter and spices taking the lead instead of the sweetness.
Use maple syrup instead of sugar
Maple syrup gives the applesauce a deeper, woodsy sweetness and blends in smoothly. It also keeps the texture slightly looser than brown sugar, so if you want a thicker sauce, simmer uncovered for a few extra minutes at the end.
Make it dairy-free
Use a plant-based butter that browns well, or use olive oil if you don’t need the browned-butter note. You’ll lose some of the toasted richness, but the apples, cinnamon, and nutmeg still carry the dish cleanly.
Keep it chunky instead of smooth
Mash by hand and stop while there are still visible pieces of apple. This version works well if you want something spoonable next to pork, pork chops, or breakfast oats, because the texture holds its own instead of turning into a puree.
Storage and Reheating
- Refrigerator: Store in an airtight container for up to 5 days. It thickens as it chills, so expect a firmer texture straight from the fridge.
- Freezer: It freezes well for up to 3 months. Cool it completely, portion it into freezer-safe containers, and leave a little room at the top for expansion.
- Reheating: Warm it gently on the stove over low heat or in the microwave in short bursts, stirring between rounds. Add a splash of cider or water if it seems too thick. High heat can make the sugars stick and darken the flavor.
Questions I Get Asked About This Recipe
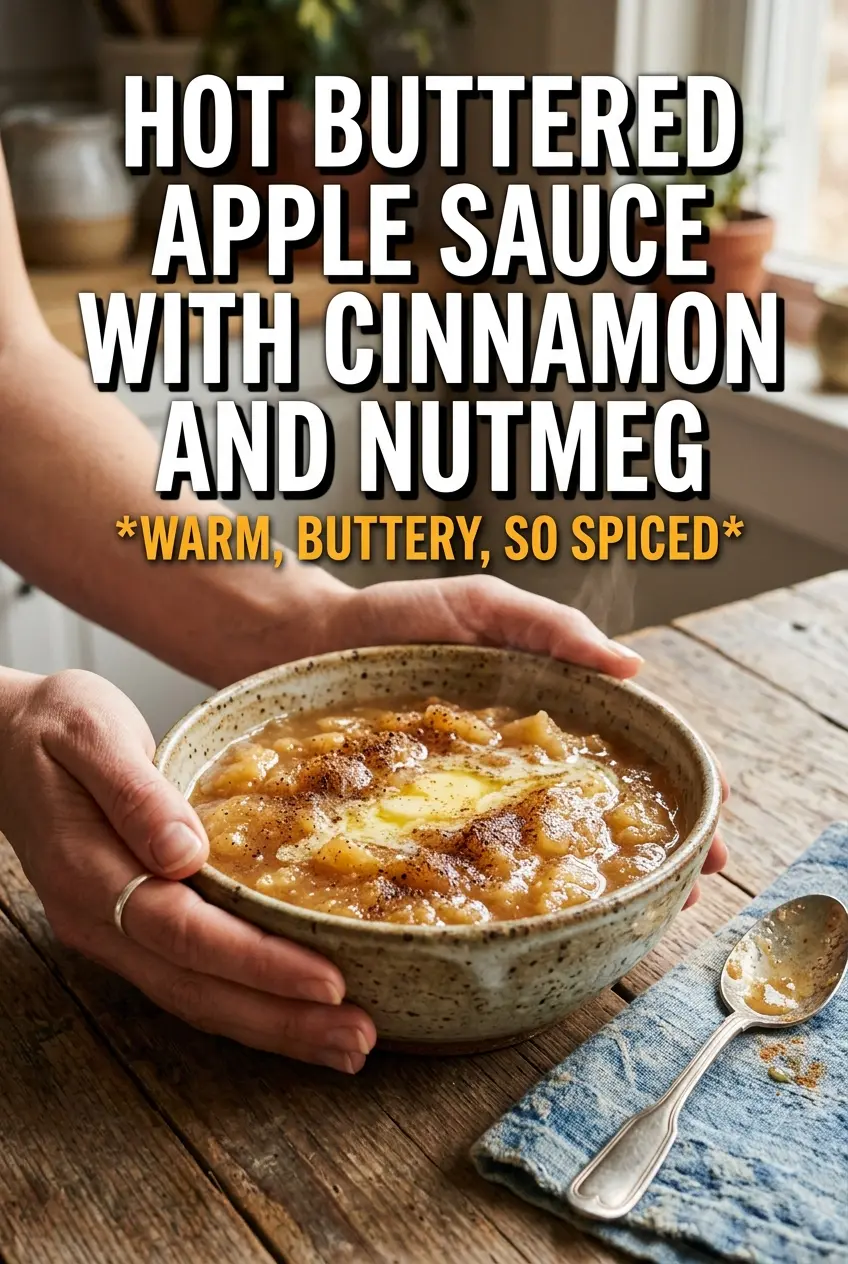
Hot Buttered Apple Sauce With Cinnamon And Nutmeg
Ingredients
Equipment
Method
- Melt 3 tablespoons unsalted butter in a large saucepan over medium heat until it is just starting to brown, then add the chopped apples right away. Look for a nutty aroma and light golden-brown butter before the apples go in.
- Cook the apples for 3-4 minutes without stirring much. Let them begin to soften and gloss while the butter continues to brown.
- Add apple cider or apple juice, brown sugar or maple syrup, cinnamon, nutmeg, and salt to the pan. Stir to coat the apples evenly.
- Cover and simmer for 20-25 minutes over medium heat until the apples are completely soft. You should be able to mash them easily with a fork.
- Mash the apples to your desired texture, chunky or smooth. Stop when it looks right for your preferred consistency.
- For smooth applesauce, blend with an immersion blender until silky. Pause occasionally to scrape down any thicker bits.
- Stir in vanilla extract and taste, then adjust sweetness if needed. Mix until the color and flavor are uniform.
- Serve warm with an extra pat of additional brown butter and a dusting of cinnamon. The butter should melt on top as it hits the applesauce.