Biscoff Cookie Butter Cake has that rare combination of soft, plush layers and a frosting that tastes like spiced caramel spread in cake form. Every bite brings brown sugar depth, a little cinnamon warmth, and the unmistakable flavor of Biscoff without turning heavy or cloying. The crushed cookies on the outside aren’t just for looks either — they add a little crunch that keeps the whole cake from feeling too soft.
What makes this version work is the balance. Cookie butter goes into both the cake and the frosting, but the cake batter is held together with buttermilk and a careful mix of baking powder and baking soda, so the crumb stays tender instead of greasy. Browning and flavor are coming from real cake structure, not just a pile of sweet spread. That matters with Biscoff, because it’s easy for the flavor to get muddy if you overload the batter.
Below, I’ll walk through the small details that keep the layers even and the frosting smooth, plus a few smart swaps if you need to adjust for what’s in your kitchen.
The cake layers baked up level and stayed incredibly moist, and the frosting set up enough to spread cleanly without sliding. The crushed Biscoff on the outside gave it the best little crunch.
Save this Biscoff Cookie Butter Cake for the days when you want a spiced layer cake with creamy frosting and a cookie-crunch finish.
The Trick to Keeping Biscoff Flavor Bold Without a Greasy Crumb
Biscoff spreads beautifully into cake batter, but too much of it can weigh the crumb down and make the texture dense in a way that feels more oily than rich. The fix is to use it as part of the flavor, not the whole flavor. Here, the brown sugar, cinnamon, and butter build a sturdy base, while the cookie butter adds that signature caramel-spice note without taking over the structure.
The other thing that matters is temperature. Softened butter creams properly with brown sugar, which traps air and gives the cake lift. If the butter is too warm, the batter loosens and the cake bakes up flatter. If it’s cold, you’ll never get that fluffy base, and the layers will feel tight instead of tender.
- Brown sugar — This deepens the flavor and keeps the cake moist. White sugar won’t give the same caramel note or the same soft crumb.
- Buttermilk — It brings tang and helps the cake stay plush. If you don’t have it, use whole milk mixed with 1 tablespoon lemon juice or vinegar per cup and let it sit for 5 minutes.
- Cinnamon — It supports the cookie butter instead of competing with it. The cake should taste warmly spiced, not like a spice cake with Biscoff added as an afterthought.
- Crushed Biscoff cookies — These add texture and a stronger cookie flavor on the outside. Don’t swap in fine crumbs if you want that decorative crunch; pulse them just enough to leave a little variation.
Building the Layers So They Bake Up Soft, Not Heavy
Start With the Butter and Sugar
Beat the softened butter and brown sugar until the mixture looks pale and a little fluffy. This is where the cake gets its lift before it ever goes into the oven. If you rush this stage, the cake can turn dense because there isn’t enough air worked into the batter. Add the eggs one at a time so the mixture stays smooth instead of looking broken.
Mix the Biscoff in With the Wet Ingredients
Stir in the Biscoff spread, vanilla, and buttermilk until the batter looks evenly blended. The cookie butter should disappear into the mixture without leaving streaks. If it’s clumping, your spread is too cold, so warm it slightly until it loosens but doesn’t melt. That keeps the batter uniform and helps the flavor spread through every slice.
Fold, Don’t Overwork
Add the dry ingredients and fold just until no flour streaks remain. The batter will be thick, and that’s normal. Overmixing here is the fastest way to end up with tough layers, especially in a cake that already has a rich ingredient like cookie butter. Divide it evenly between the pans so the layers bake at the same rate and stack neatly later.
Watch for the Clean-Edge Finish
Bake until the tops spring back lightly and a toothpick comes out with a few moist crumbs, not wet batter. The edges should pull just slightly from the pan. If the center still looks glossy, give it a few more minutes; if you pull it too early, the middle may collapse while cooling. Let the layers cool completely before frosting or the buttercream will slide.
What the Frosting Is Doing Beyond Sweetening the Cake
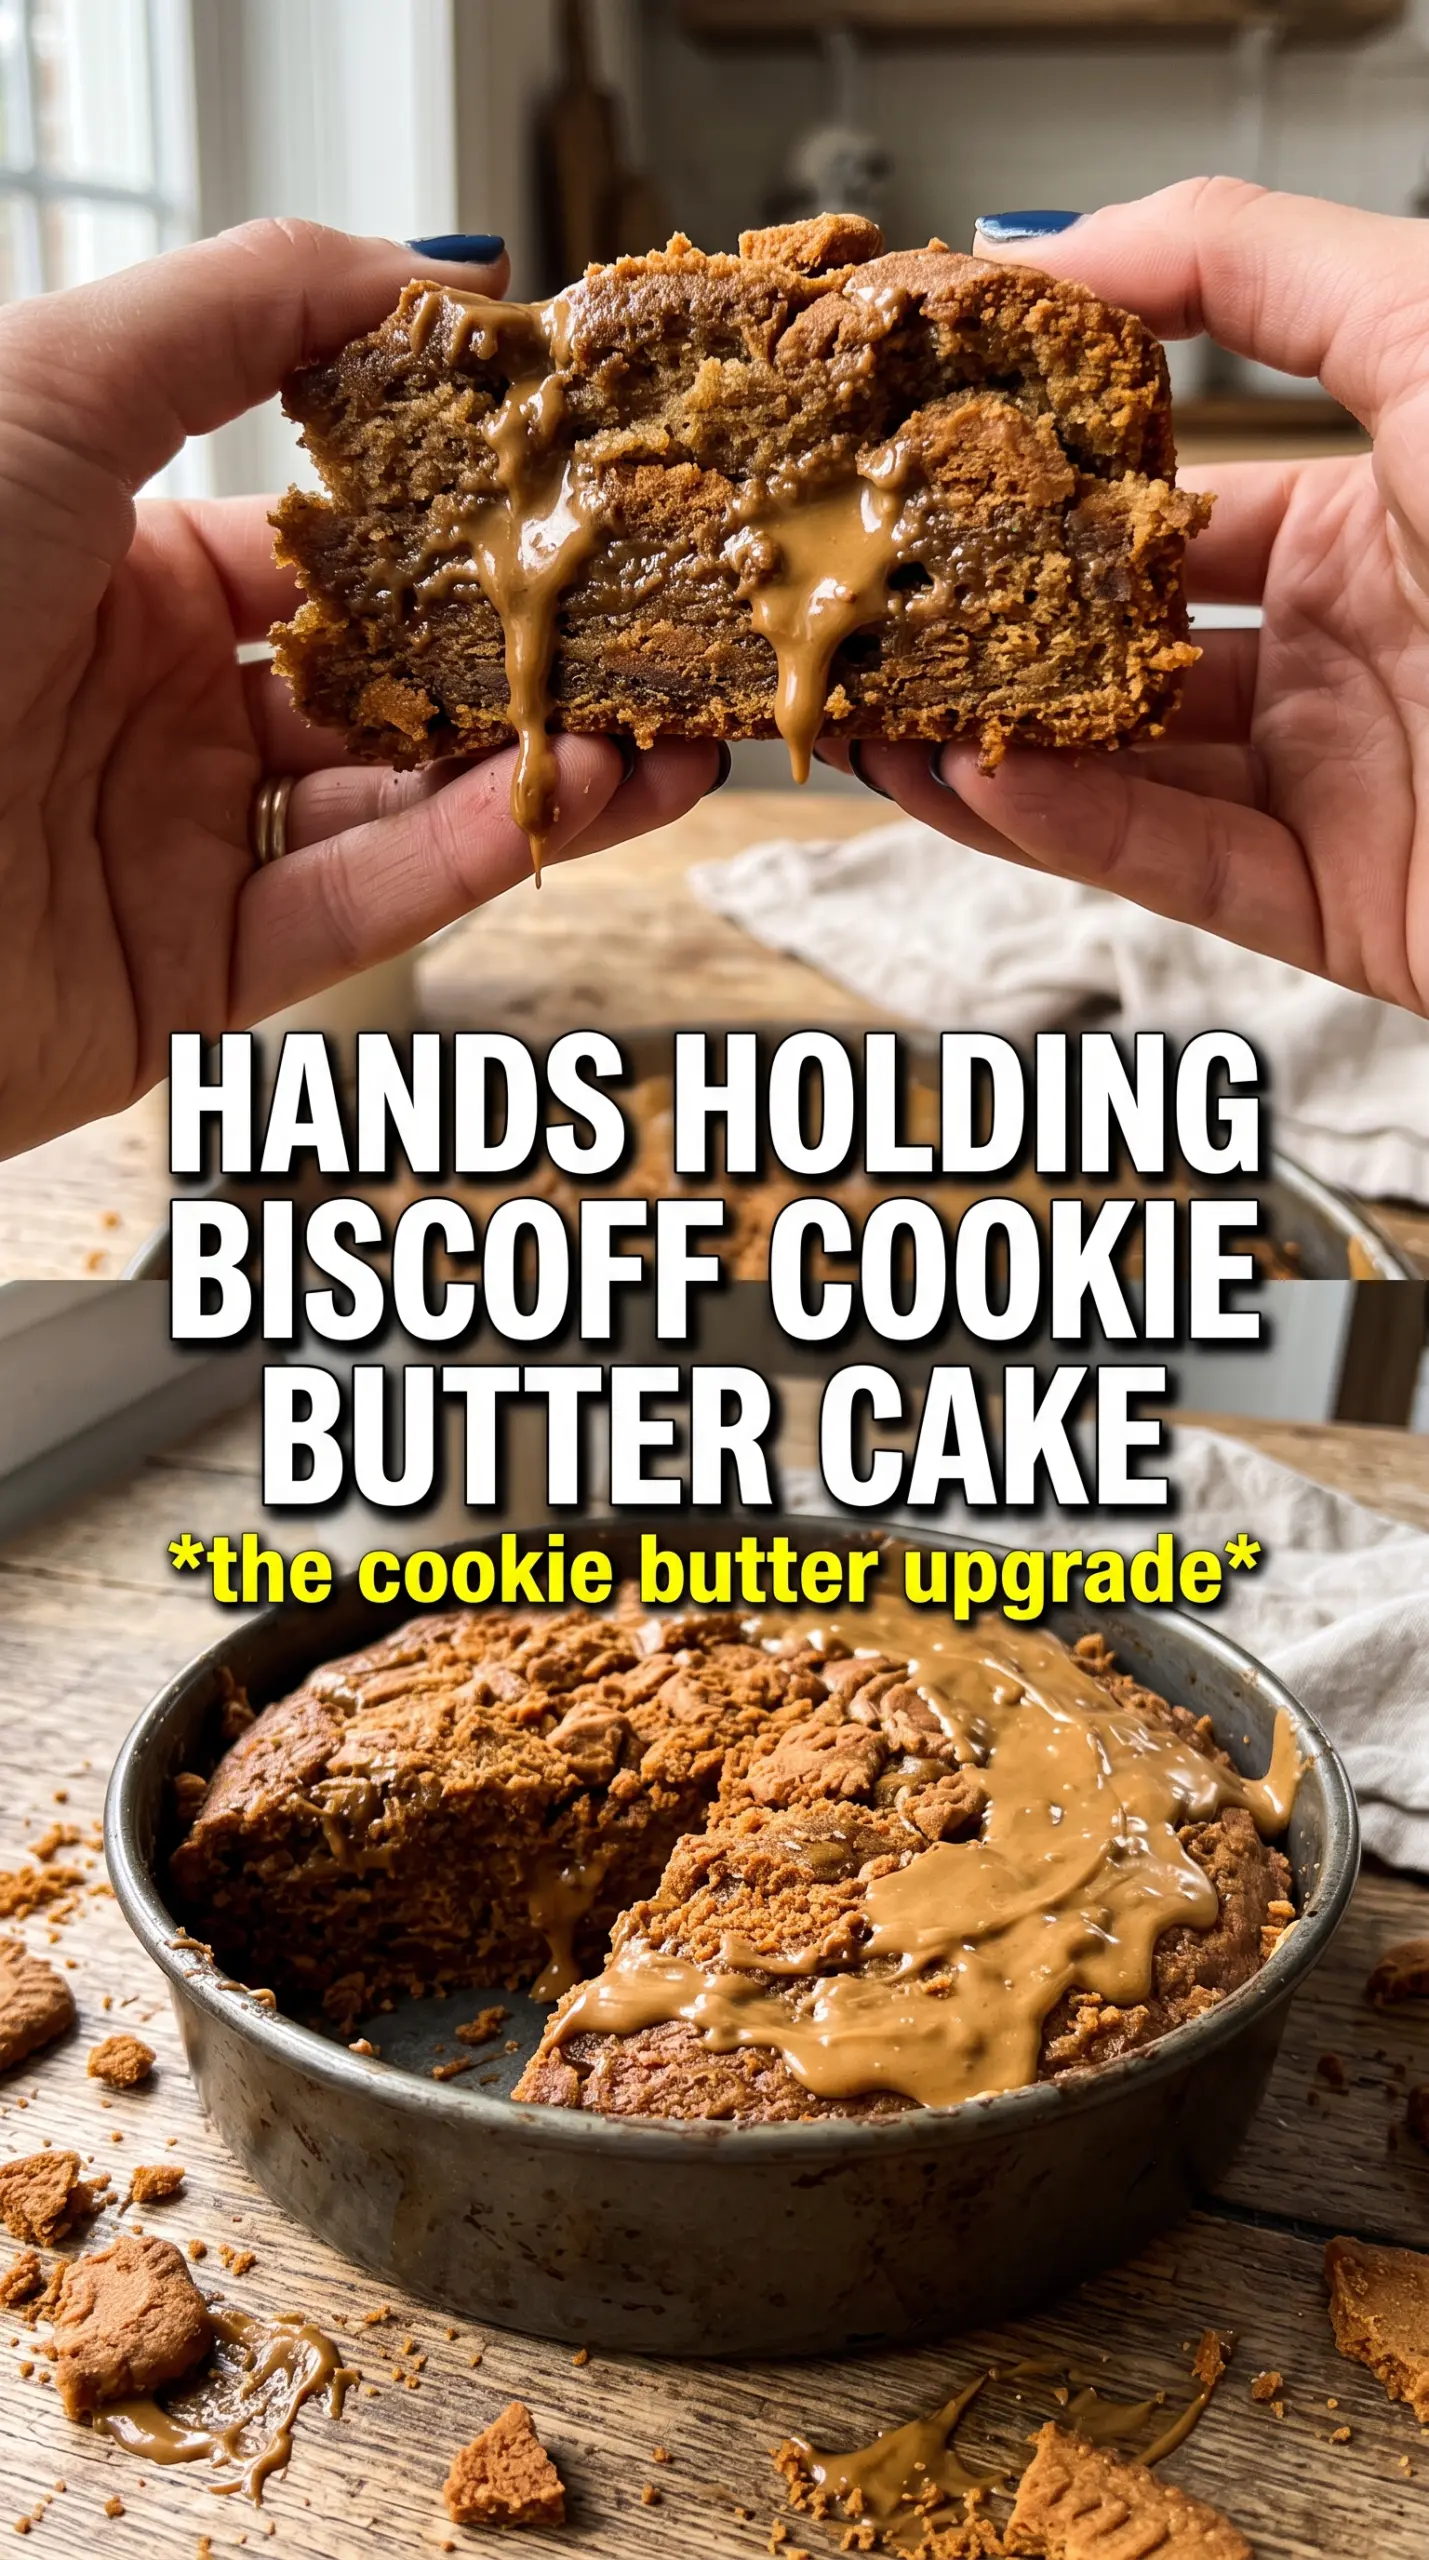
The frosting here is part structure, part flavor. Butter gives it body, cookie butter gives it that unmistakable Biscoff taste, and powdered sugar gives it the stability to hold between layers and around the sides. Cream is there for adjustment, not volume — add just enough to make the frosting spreadable and fluffy.
- Biscoff cookie butter — Use the real spread here, not a generic cookie spread, because the flavor is the point of the cake. If yours is stiff, warm it just enough to stir smoothly before mixing it into the frosting.
- Butter — Quality matters because it carries the frosting. Salted butter can work, but unsalted gives you more control over the final balance.
- Powdered sugar — This gives the frosting structure. If the frosting feels too loose, add a little more; if it feels too stiff, a teaspoon or two of cream smooths it out.
- Crushed cookies — Press them into the frosting after the cake is fully frosted so they stick cleanly. Add them too early and they can soften before serving.
Turning It Into a Sheet Cake
Bake the batter in a greased 9×13-inch pan instead of three layers. The cake will be a little easier to serve and the frosting can go on in a thicker, more casual layer. Start checking a few minutes early because the center may finish sooner than a stacked cake.
Dairy-Free Adjustment
Use a plant-based butter that bakes and creams well, plus an unsweetened dairy-free milk mixed with a little lemon juice in place of the buttermilk. The cake will still be soft, though the flavor will lose a bit of the tang that makes the original version feel balanced. For the frosting, choose a dairy-free butter that holds its shape at room temperature.
Gluten-Free Version
Swap in a 1:1 gluten-free baking flour blend that includes xanthan gum. The cake should still rise well, but the crumb may be slightly more delicate, so let the layers cool fully before moving them. Use gluten-free cookies for the decoration if needed.
Storage and Reheating
- Refrigerator: Store covered for up to 4 days. The frosting firms up in the fridge, but the cake stays moist.
- Freezer: Freeze unfrosted layers tightly wrapped for up to 2 months, or freeze slices of frosted cake in a single layer before wrapping. The cookie topping softens a bit after thawing, so add extra fresh crumbs if you want more crunch.
- Reheating: Bring slices to room temperature before serving. If you warm it, do it for just a few seconds in the microwave; too much heat will melt the frosting and blur the layers.
Answers to the Questions Worth Asking
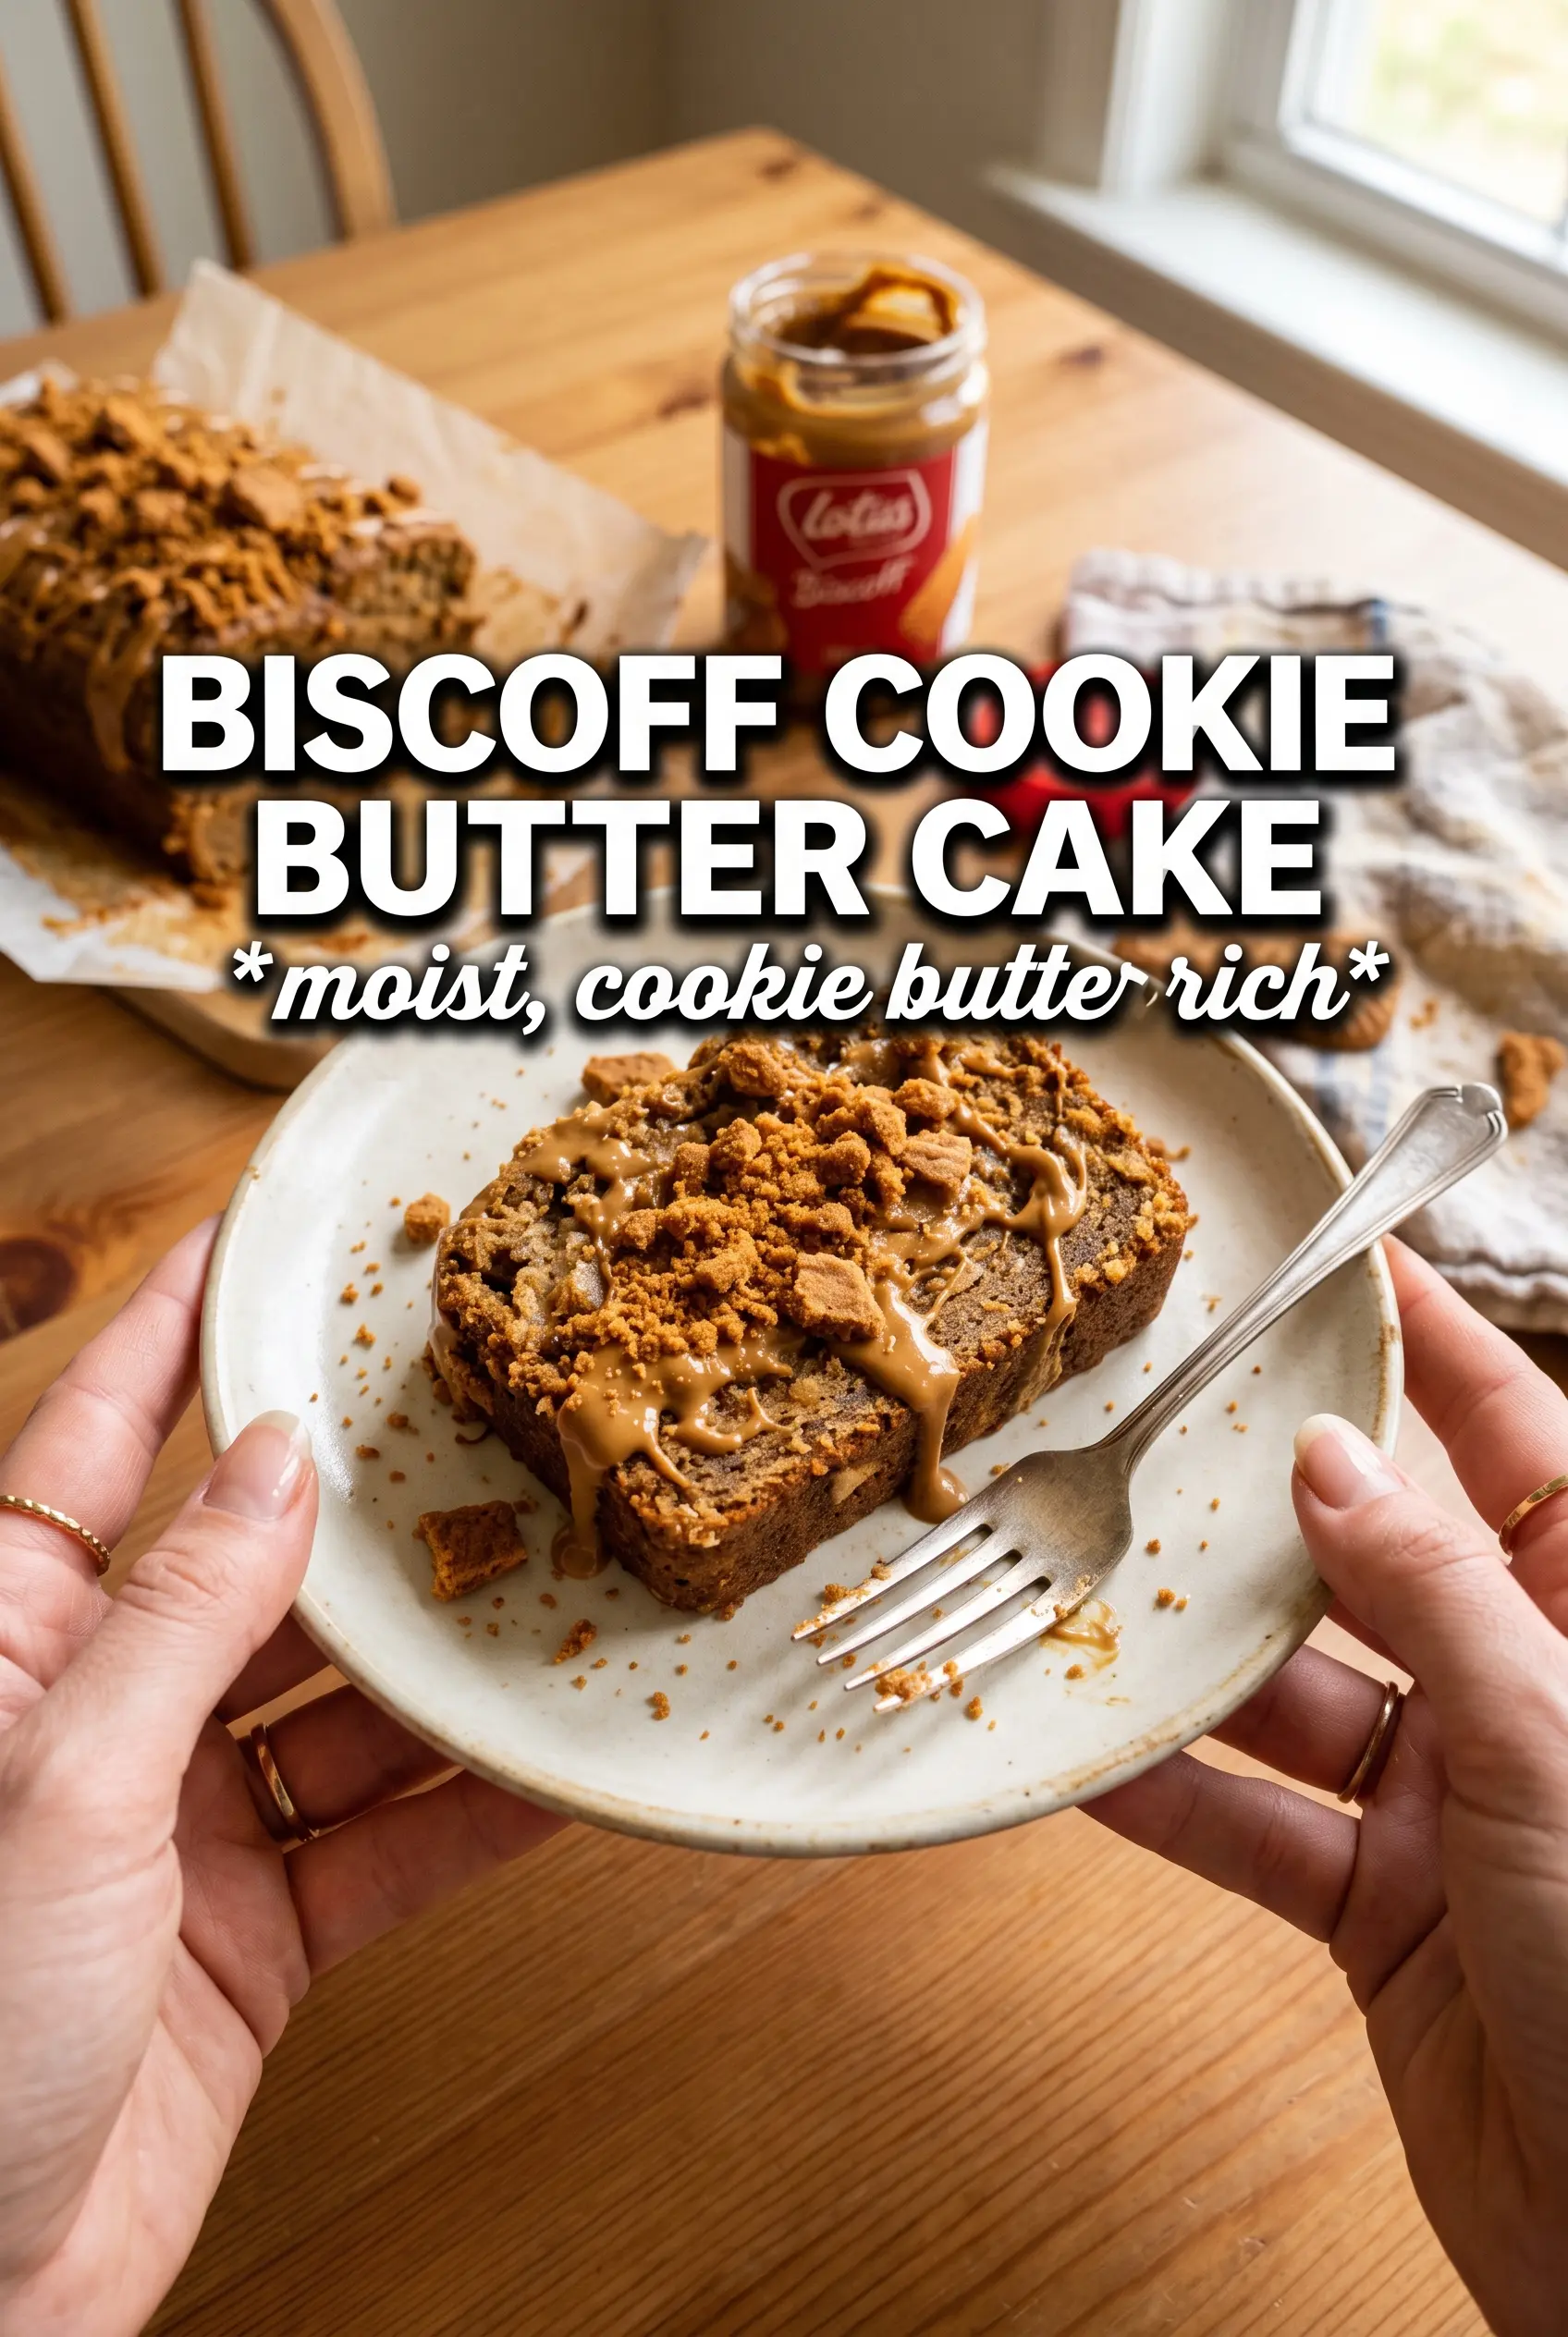
Biscoff Cookie Butter Cake
Ingredients
Equipment
Method
- Preheat the oven to 350°F and grease three 8-inch round pans.
- Whisk all-purpose flour, baking powder, baking soda, cinnamon, and salt in a bowl until evenly combined.
- Beat butter and brown sugar until fluffy, then add eggs, Biscoff cookie butter, vanilla, and buttermilk.
- Fold the flour mixture into the batter until just combined.
- Divide the batter evenly between the three pans.
- Bake for 30-35 minutes, until a toothpick in the center comes out clean.
- Cool the cakes completely before frosting.
- Beat the frosting mixture (butter, Biscoff spread, powdered sugar, cream, and vanilla) until fluffy.
- Spread frosting between the layers and over the top of the cake.
- Press crushed Biscoff cookies onto the frosting on the sides for decoration.