Pasta coated in a velvety cream sauce with seasoned ground beef is one of those dinners that disappears fast because it hits all the right notes: rich, savory, and comforting without needing a second pan. The sauce clings to every piece of penne or rigatoni, and the tomatoes keep it from tasting flat or heavy. A handful of parmesan at the end pulls everything together into something that feels bigger than the effort it takes.
What makes this version work is the order. The beef and onion build the base first, then the pasta cooks right in the broth and cream so it absorbs flavor instead of tasting like plain noodles stirred into sauce at the end. Drained diced tomatoes add just enough acidity to keep the cream from turning dull, and the parmesan goes in off the heat so it melts smoothly instead of turning grainy.
Below, I’ll walk through the one part that matters most for texture, how to keep the sauce silky, and a few smart swaps if you need to stretch what’s in the pantry.
The pasta came out perfectly tender and the sauce thickened just enough to coat everything without getting gluey. My husband went back for a second bowl and kept talking about the parmesan flavor.
Save this stovetop creamy ground beef pasta for the nights when you want a thick, glossy sauce and a full dinner in one pot.
The Part That Keeps Creamy Beef Pasta from Turning Heavy
The difference between a silky skillet pasta and a thick, muddled one comes down to two things: the broth-to-cream ratio and how long the pasta simmers. Too little liquid and the noodles grab the pan before they soften. Too much heat and the cream tightens up before the pasta has a chance to cook through. This recipe keeps enough liquid in the pot for the starch to work for you, which is what gives the sauce that coated, spoonable finish.
Draining the beef fat matters too. A little fat adds flavor, but leaving too much behind makes the sauce taste greasy instead of creamy. The diced tomatoes do their own quiet job here, cutting through the richness so each bite still tastes lively after the parmesan goes in.
- Ground beef — An 80/20 blend gives you the best flavor, but anything leaner still works if you drain the pan well. If you use very lean beef, add a teaspoon of olive oil with the onion so the base doesn’t taste dry.
- Beef broth — This is the cooking liquid, so it has to taste good on its own. Water will work in a pinch, but the sauce will lose depth and need more salt at the end.
- Heavy cream — Half-and-half can replace it, but the sauce will be a little thinner and less plush. Keep the heat at a steady simmer, not a hard boil, so the dairy stays smooth.
- Parmesan — Grate it fresh if you can. Pre-shredded cheese often contains anti-caking agents that keep it from melting as cleanly.
What Each Ingredient Is Actually Doing in This Recipe
- Primary ingredient (the star) — Quality matters most. Choose the best you can find.
- Cooking medium (oil, butter, or broth) — This carries flavors and prevents dryness.
- Seasonings (salt, pepper, spices, herbs) — Layer flavors so nothing overpowers. Build depth gradually.
- Aromatics (garlic, onion, herbs) — Cook with fat to bloom flavors. Become the foundation.
- Supporting ingredients — Complement the main ingredient without overpowering it.
- Sauce or liquid (if applicable) — Brings flavors together. Balance richness with acid.
- Acid (lemon, vinegar, wine, or other) — Brightens and prevents flat-tasting results.
- Final finish (garnish, glaze, or sauce) — Prevents one-dimensional taste and adds visual appeal.
How the Sauce Turns Creamy Without Breaking
Brown the Beef and Build the Flavor Base
Start by cooking the ground beef with the onion until the meat loses its pink color and the onion turns soft and translucent. You want some browned bits on the bottom of the pot, because that’s where the flavor lives. If the pan is crowded or the heat is too low, the beef steams instead of browns, and the final sauce tastes flatter. Drain off the excess fat before the garlic goes in so the sauce finishes clean, not greasy.
Let the Pasta Cook in the Sauce, Not Beside It
Once the broth, cream, tomatoes, seasoning, and pasta are in the pot, bring everything to a boil, then lower it to a steady medium simmer and cover. Stir every few minutes so the pasta doesn’t stick to the bottom or clump together. The sauce should look loose at first; it thickens as the pasta releases starch. If it looks dry before the noodles are tender, add a splash of broth, not more cream.
Finish with Parmesan Off the Heat
When the pasta is tender and the sauce has thickened around it, pull the pot off the burner before adding the parmesan. Cheese melts smoothly when the heat is gentle, but it can turn grainy if the sauce is boiling hard. Stir until the sauce looks glossy and coats the pasta in a thin, even layer. A final taste for salt and pepper matters here because parmesan adds salt fast.
Make It a Little Spicier
Increase the red pepper flakes to 1 teaspoon or add a pinch of cayenne with the seasoning. The heat stays in the background and keeps the creamy sauce from tasting too rich, but it won’t overpower the beef.
Make It Gluten-Free
Use a sturdy gluten-free short pasta and watch the simmer closely, because gluten-free noodles soften faster and can go mushy if left too long. Add an extra splash of broth if the pot tightens before the pasta finishes cooking.
Use Ground Turkey Instead
Ground turkey works well, but it needs a little help because it’s leaner and milder than beef. Add a tablespoon of olive oil with the onion and don’t skip the parmesan, since the cheese brings back the savory depth turkey doesn’t have on its own.
Stretch It for a Bigger Batch
Add another 1/2 cup of broth and a small splash more cream if you want to feed a few extra people. The sauce should still look slightly loose before the parmesan goes in, because it tightens as it sits.
Storage and Reheating
- Refrigerator: Store leftovers in an airtight container for up to 4 days. The pasta will absorb some of the sauce and thicken as it sits.
- Freezer: It freezes, but the cream sauce loses a little of its silky texture after thawing. For best results, freeze in portions and thaw overnight in the fridge.
- Reheating: Warm it gently on the stove over low heat with a splash of broth or milk. High heat can make the sauce separate and can push the pasta past tender into soft.
Questions I Get Asked About This Recipe
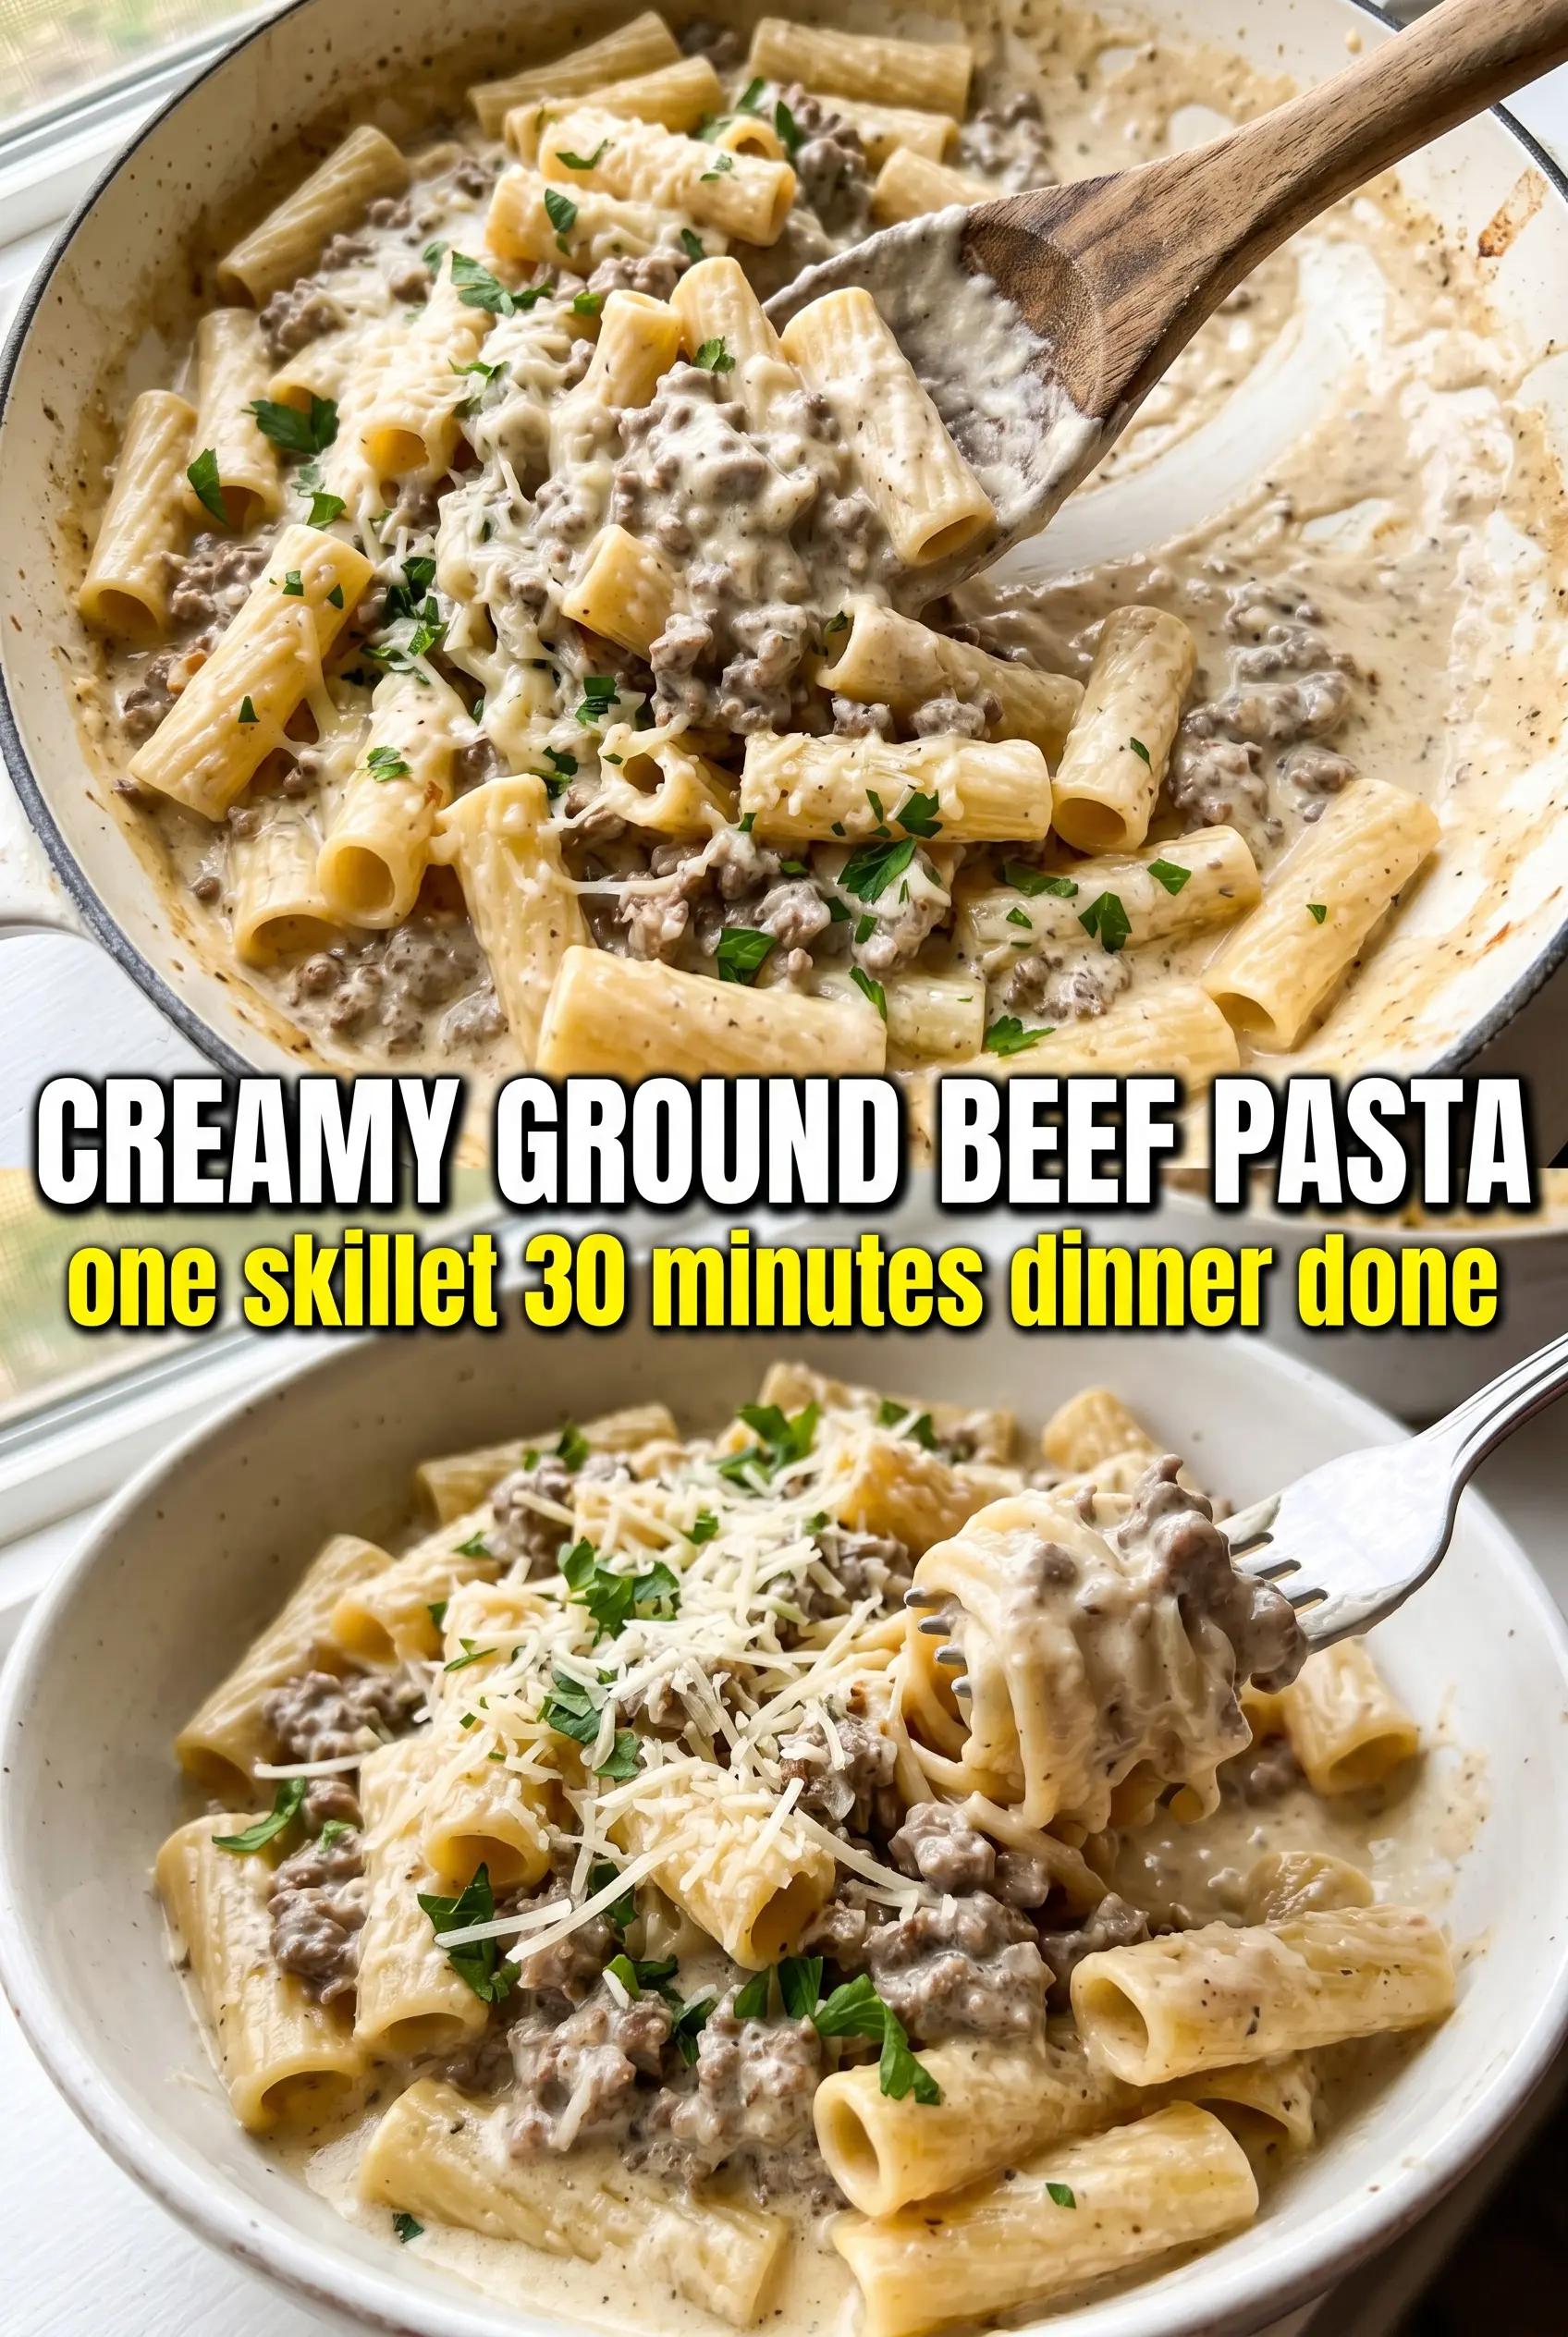
Stovetop Creamy Ground Beef Pasta
Ingredients
Equipment
Method
- Heat a large pot over medium-high heat and brown the ground beef with the diced onion, stirring until the beef is cooked through; then drain excess fat. Add the minced garlic and cook for 30 seconds, stirring constantly to avoid browning.
- Stir in the uncooked penne or rigatoni, beef broth, heavy cream, drained diced tomatoes, Italian seasoning, red pepper flakes, salt, and pepper. Bring to a boil, reduce heat to medium, cover, and cook for 12–14 minutes, stirring occasionally, until the pasta is tender.
- Remove from heat and stir in the grated parmesan until the sauce is creamy and coats the pasta. Adjust seasoning to taste, garnish with fresh parsley, and serve immediately.