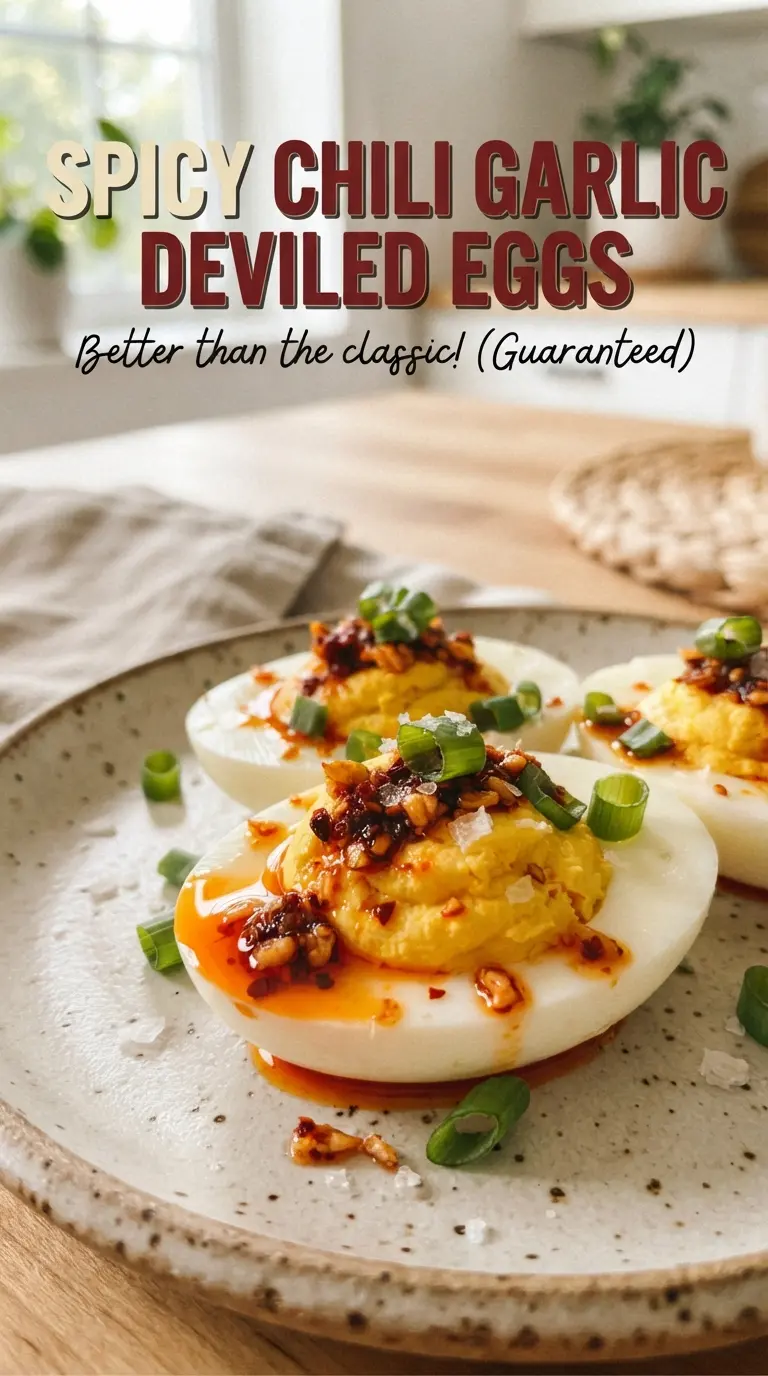
Spicy Chili Garlic Deviled Eggs hit that sweet spot between familiar and impossible to stop eating. The filling stays silky and rich, but the chili garlic sauce, soy, rice vinegar, and sesame oil push it into sharper, brighter territory. Then the chili crisp on top brings the crunch and heat that regular deviled eggs never quite manage on their own.
What makes this version work is the balance. Kewpie mayonnaise gives the yolks a smoother, more custardy base than standard mayo, and the little splash of rice vinegar keeps the filling from tasting heavy. The yolks get mashed until completely smooth before anything goes into the whites, which matters more than people think — lumpy filling tastes rustic, but it also pipes badly and looks sloppy on the platter.
Below, I’ve included the one detail that keeps the eggs from turning watery, plus a few smart swaps if you want to adjust the heat or make them ahead. If you’ve ever had deviled eggs that looked great for ten minutes and then slid apart, this version fixes that.
The filling was super smooth and the chili crisp stayed crunchy on top even after I chilled them for an hour. The sesame oil and rice vinegar gave it that takeout-style flavor my husband kept talking about.
Save these spicy chili garlic deviled eggs for the appetizer tray that needs a little heat, crunch, and sesame-forward flavor.
The Trick Is Keeping the Yolks Smooth Before the Heat Does the Work
Deviled eggs go wrong when the filling gets overworked in the wrong way or underworked in the right way. You want the yolks mashed until they look almost like paste before the mayonnaise goes in, because once the mayo and seasonings are added, the mixture turns silky fast. If the yolks stay grainy, the filling won’t pipe cleanly and it’ll taste heavier than it should.
The other place people lose this dish is moisture. Too much acid or too much chili crisp stirred into the filling can make it loose, which is fine for spooning but not for a neat presentation. Keep the chili crisp for the top, where its oil and crunchy bits can shine without softening the filling underneath.
- Eggs — Older eggs peel more cleanly than super-fresh ones, which matters here because torn whites make neat filling look messy. If yours are fresh, the ice bath helps, but it won’t fix every bad peel.
- Kewpie mayonnaise — This is worth using if you can find it. It’s richer and a little tangier than regular mayo, and it gives the filling that smooth, almost whipped texture.
- Chili garlic sauce — This brings heat and garlicky backbone to the yolk mixture. If yours is particularly salty, back off the soy sauce a touch.
- Chili crisp — Keep this as a topping, not a mix-in. Stirring it into the filling dulls the crunch and can make the eggs look oily instead of glossy.
What Each Ingredient Is Actually Doing in This Recipe
- Primary ingredient (the star) — Quality matters most. Choose the best you can find.
- Cooking medium (oil, butter, or broth) — This carries flavors and prevents dryness.
- Seasonings (salt, pepper, spices, herbs) — Layer flavors so nothing overpowers. Build depth gradually.
- Aromatics (garlic, onion, herbs) — Cook with fat to bloom flavors. Become the foundation.
- Supporting ingredients — Complement the main ingredient without overpowering it.
- Sauce or liquid (if applicable) — Brings flavors together. Balance richness with acid.
- Acid (lemon, vinegar, wine, or other) — Brightens and prevents flat-tasting results.
- Final finish (garnish, glaze, or sauce) — Prevents one-dimensional taste and adds visual appeal.
Building the Filling So the Heat Stays Bright, Not Muddy
Cooking and Peeling the Eggs
Put the eggs in a pot, cover them with cold water, and bring the water to a boil before turning off the heat and covering the pot. That gentle finish gives you set yolks without a chalky ring. After 12 minutes, move them straight to an ice bath for about 10 minutes so the cooking stops and the shells release more easily. If the whites tear while peeling, the eggs were either too warm or not chilled long enough.
Mashing the Yolks Until They Turn Creamy
Split the eggs lengthwise and pop the yolks into a bowl. Mash them first on their own until they look dry and crumbly, then add the mayonnaise, chili garlic sauce, soy sauce, rice vinegar, and sesame oil. Stir until the filling looks smooth and glossy with no visible yellow bits left behind. If it seems too thick to pipe, add a small spoonful more mayo; if it feels loose, stop and chill it for a few minutes before filling the whites.
Filling and Topping the Eggs
Spoon or pipe the filling back into the egg whites, building it just above the edges for a tidy look. Then add a small spoonful of chili crisp over each egg instead of stirring it in. Finish with toasted sesame seeds and sliced green onions so the first bite gives you creamy yolk, a little heat, and a crisp, savory top.
How to Adjust the Heat, Salt, or Make-Ahead Plan Without Breaking the Texture
Milder Deviled Eggs
Cut the chili garlic sauce to 1/2 teaspoon and use just a light drizzle of chili crisp on top. You’ll still get the sesame-garlic note and the signature crunch, but the heat lands in the background instead of taking over the bite.
Dairy-Free and Naturally Gluten-Free
This recipe is already dairy-free and gluten-free as written, as long as your chili garlic sauce and chili crisp are labeled that way. The filling doesn’t need any dairy to taste rich because the egg yolks and Kewpie mayo handle the creaminess on their own.
Make-Ahead for Parties
Boil, peel, and halve the eggs a day ahead, then mix the filling and store it separately from the whites. Fill and garnish them close to serving time so the tops stay neat and the chili crisp keeps its crunch. If you assemble them too early, the sesame seeds and green onions lose their freshness and the filling can dry at the edges.
Extra-Savory Version
Add a pinch of MSG or a few drops of toasted sesame oil more if you want a stronger umami finish, but go slowly. Too much sesame oil takes over fast, and the eggs start tasting perfumed instead of savory.
Storage and Reheating
- Refrigerator: Store assembled deviled eggs in a single layer, covered, for up to 2 days. The filling stays tasty, but the chili crisp softens a bit after the first day.
- Freezer: Don’t freeze deviled eggs. The whites turn rubbery and watery once thawed, and the filling loses its smooth texture.
- Reheating: These are best served cold from the fridge. Let them sit out for 10 to 15 minutes before serving so the yolk filling softens slightly; warming them changes the texture and can make the tops weep.
Questions I Get Asked About This Recipe
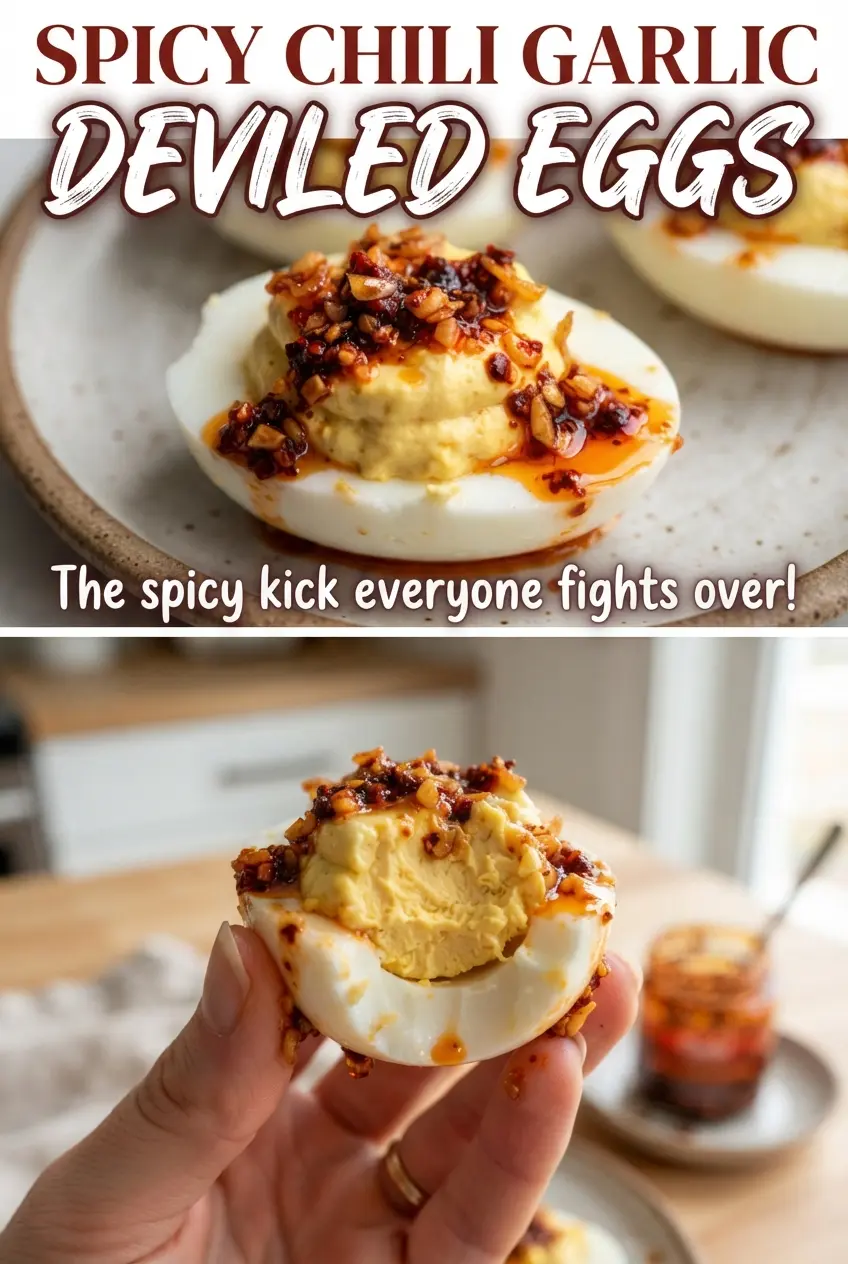
Spicy Chili Garlic Deviled Eggs
Ingredients
Equipment
Method
- Place large eggs in a pot, cover with cold water, and bring to a boil; cover and remove from heat, then let stand 12 minutes.
- Chill the eggs in an ice bath for 10 minutes, then peel and halve lengthwise.
- Mash the yolks with Kewpie mayonnaise, chili garlic sauce, soy sauce, rice vinegar, and sesame oil until smooth.
- Pipe the filling into the egg whites for neat, uniform mounds.
- Spoon a little chili crisp over each egg so the top looks glossy and textured.
- Sprinkle with toasted sesame seeds and sliced green onions, then serve.