Dark chocolate cupcakes with a soft crumb, a gooey caramel center, and a thick salted caramel frosting earn their place fast. These are the kind of cupcakes that disappear before the tray has even fully cooled, because every bite gives you something different: tender cake, sticky filling, and that sweet-salty finish on top.
What makes this version work is balance. The cocoa batter stays moist with buttermilk, the butter and sugar are beaten long enough to build structure, and the caramel goes in after baking so it stays bold instead of sinking into the crumb. The frosting leans rich and pipeable, not sugary and loose, which matters when you want tall swirls that hold their shape under a caramel drizzle.
Below, I’ll walk through the one step that keeps the cupcakes from getting gummy, plus the best way to core and fill them without tearing up the cake. There are also a few smart swaps if you need to work with what’s in your kitchen.
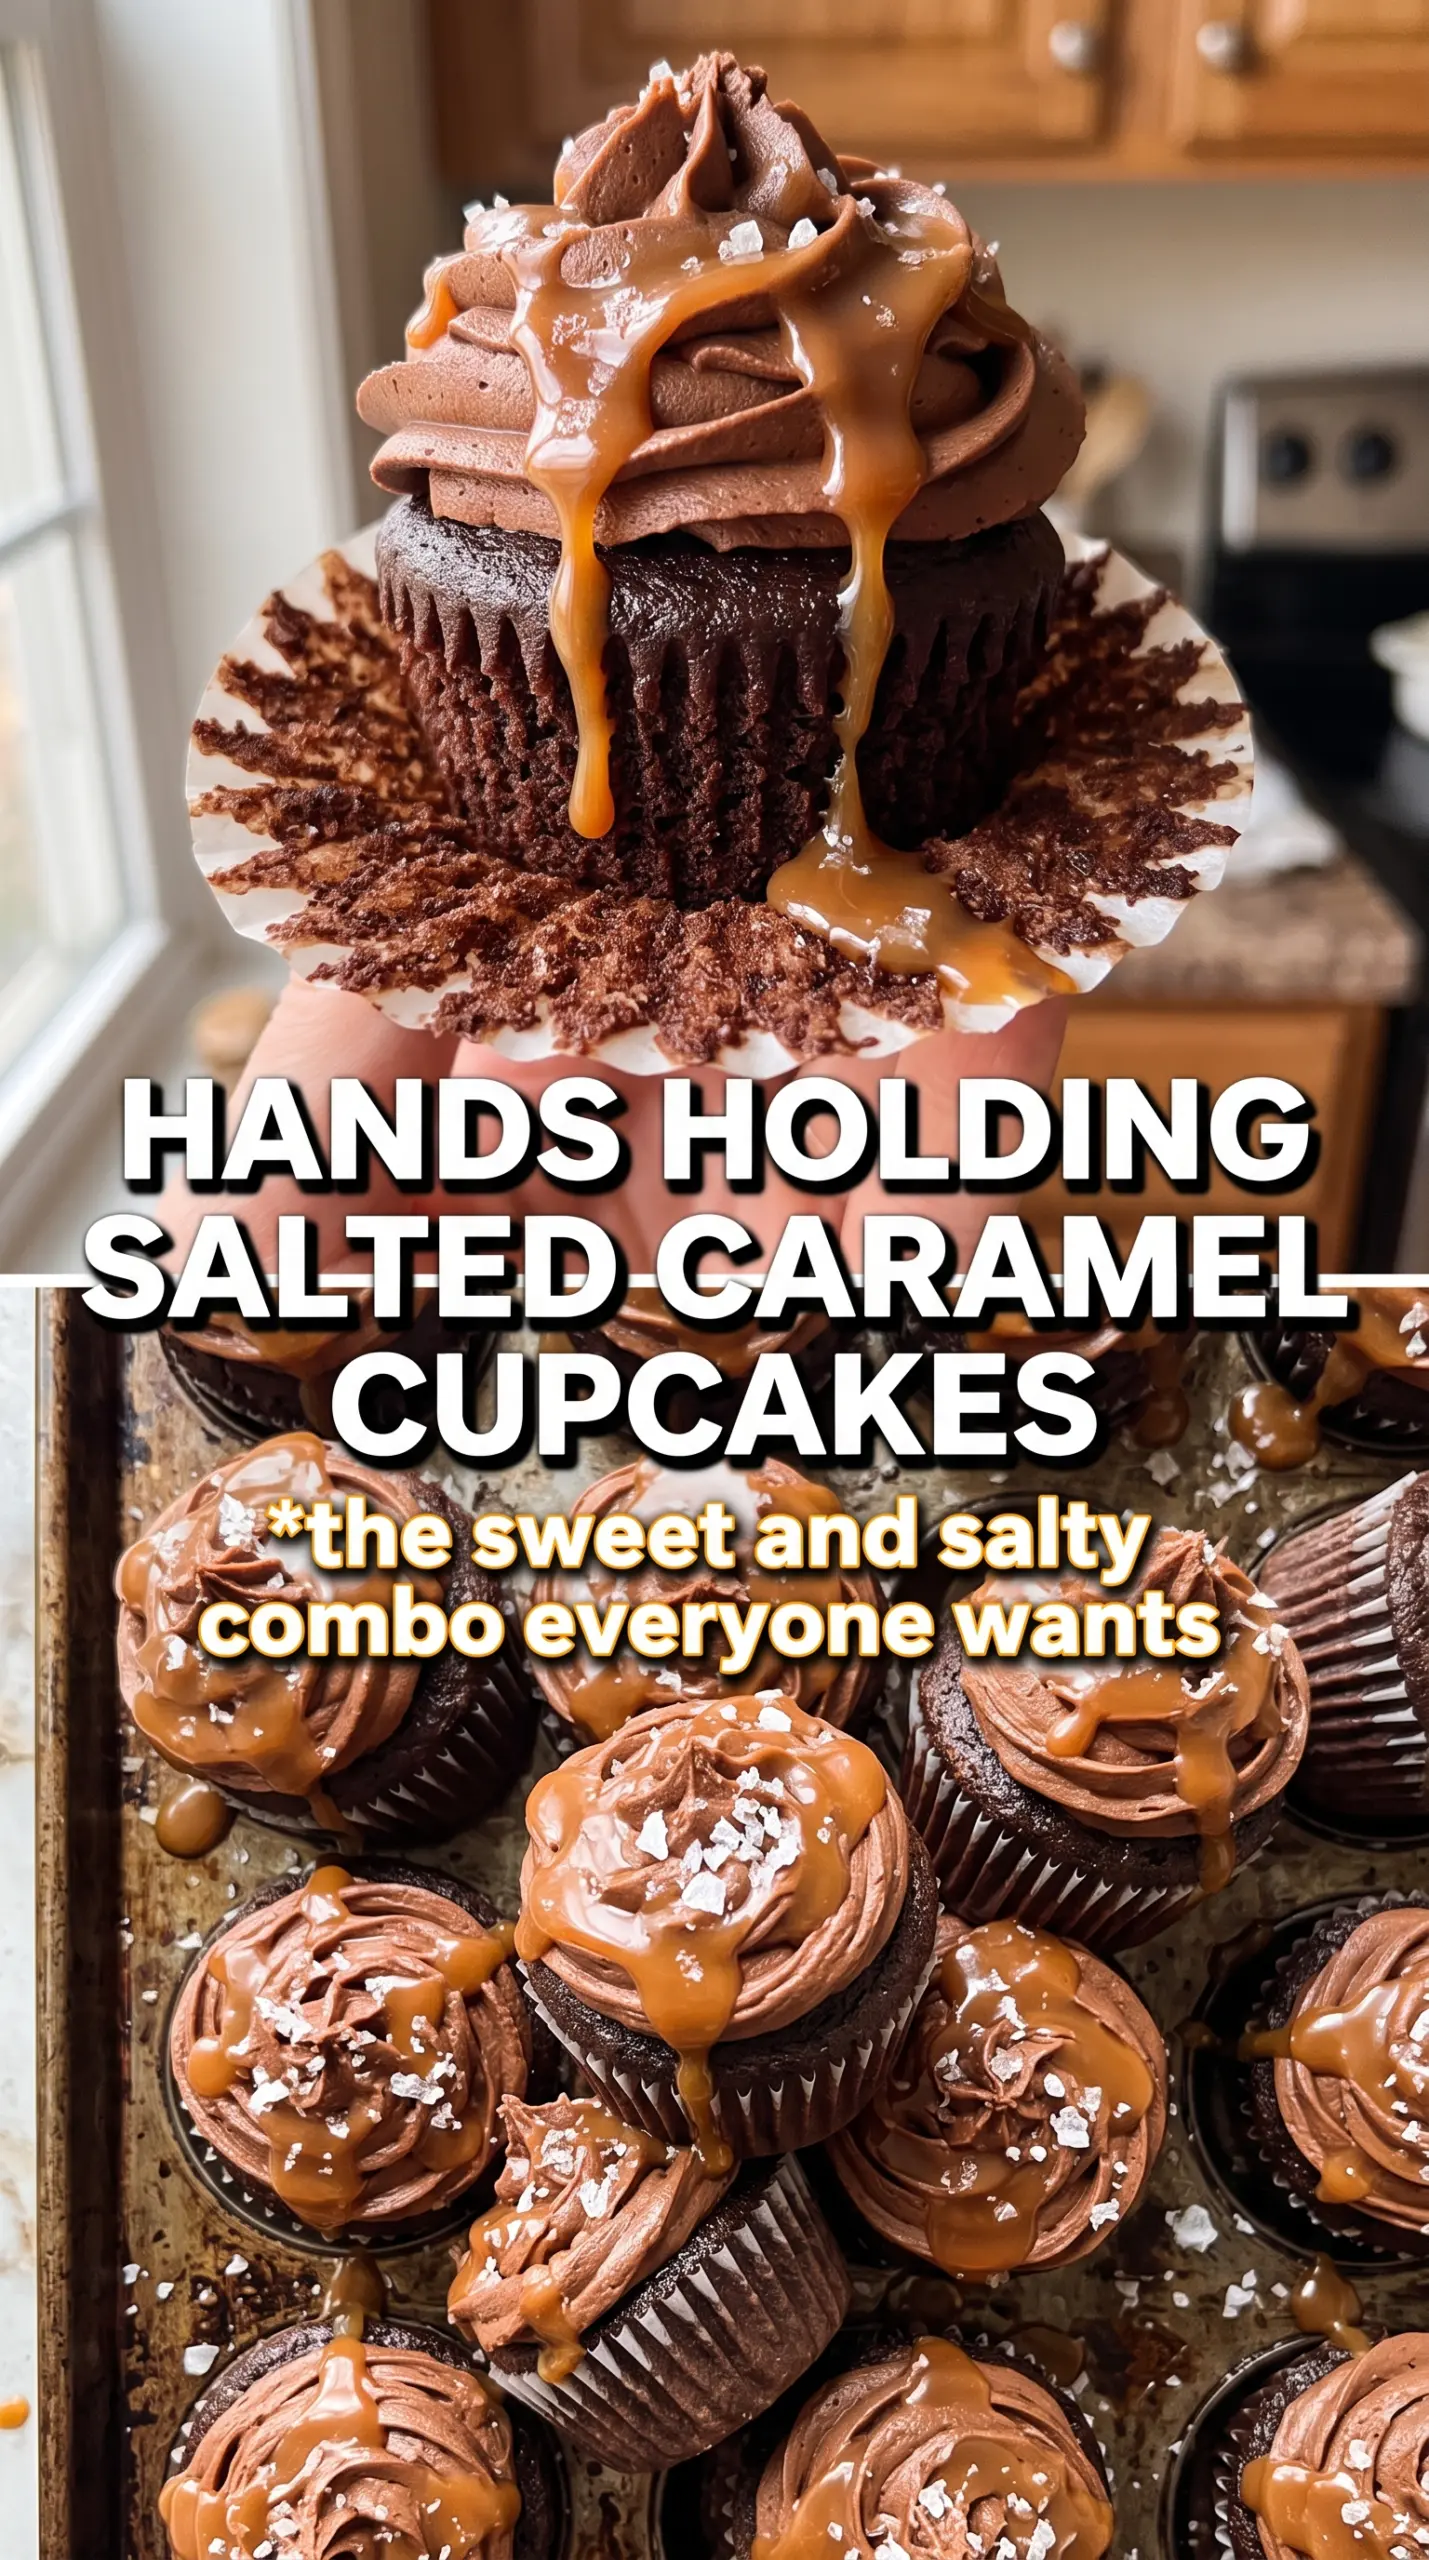
The cupcakes baked up with a really tender crumb, and the caramel center stayed thick instead of soaking into the cake. I used a piping bag for the frosting and the caramel drizzle over the top made them look bakery-level.
These salted caramel chocolate cupcakes are worth saving for birthdays, bake sales, or any time you want that caramel-filled center with a dramatic chocolate swirl on top.
The Batter Needs Structure Before You Add the Caramel
The mistake most people make with chocolate cupcakes is chasing tenderness so hard that the crumb turns fragile. Here, the butter and sugar need enough beating to trap air, because that gives the cupcakes the lift they need to hold a heavy frosting and a center cut out later. The buttermilk and cocoa keep the cake moist, but the baking powder and baking soda are doing the work that keeps it from feeling dense.
- Don’t rush the butter and sugar step. When it turns pale and fluffy, you’ve built the base that keeps the cupcake from baking up flat.
- Use buttermilk if you can. It gives the crumb a softer texture and helps the cocoa taste deeper, not chalky.
- Mix only until the flour disappears. Overmixing tightens the crumb, and a tight crumb tears when you core the cupcakes.
- Let them cool fully before filling. Warm cake melts the caramel and turns the center messy instead of gooey.
What Each Ingredient Is Doing in the Cupcake, Filling, and Frosting
- All-purpose flour — This gives the cupcakes enough structure to support the caramel center. Cake flour will make them softer, but it also makes them more delicate when you core them.
- Cocoa powder — Use unsweetened cocoa for a deep chocolate base. Natural cocoa keeps the flavor sharp; Dutch-process will taste smoother and darker if that’s what you have.
- Buttermilk — This is the ingredient that keeps the crumb moist without making it heavy. If you don’t have it, stir 1 tablespoon vinegar or lemon juice into 1 cup milk and let it sit a few minutes.
- Thick caramel sauce — Thicker is better here because it stays in the center instead of soaking into the cake. Thin ice cream topping-style caramel will disappear into the crumb.
- Butter in the frosting — Butter gives the frosting body and a clean pipeable finish. Margarine won’t hold the same structure and the frosting will feel softer.
- Flaky salt — This isn’t just garnish. It cuts the sweetness and makes the caramel taste fuller, which is what keeps the cupcake from tasting one-note.
Build the Cupcakes in the Right Order So the Filling Stays Put
Whisk the dry ingredients first
Start by whisking the flour, cocoa, baking powder, baking soda, and salt until the color looks completely even. That keeps the leaveners from clumping in one spot, which can leave a bitter pocket or a cupcake that rises unevenly. Cocoa likes to hide in the corners of the bowl, so scrape the sides once before you move on.
Beat the butter and sugar until it looks fluffy
The mixture should look lighter in color and feel slightly airy, not greasy. That step matters because it builds the kind of structure chocolate cupcakes need once the filling is added later. Add the eggs one at a time and beat in the vanilla before alternating the dry ingredients with the buttermilk. If the batter looks split for a moment, keep going; it usually comes back together as the flour goes in.
Bake until the tops spring back
Fill the tins about two-thirds full and bake until the tops are set and spring back when lightly touched. A toothpick should come out with a few moist crumbs, not wet batter. Pull them out too late and they dry out fast, which makes coring difficult and the filled cupcakes crumbly.
Core, fill, and frost after cooling
Use a small knife or cupcake corer to remove the center without cutting all the way to the bottom. Spoon in the caramel sauce until the cavity is full, but stop before it spills over the top. Beat the frosting until smooth and pipe it over the cupcakes, then finish with a caramel drizzle and flaky salt. If the frosting feels too loose, it usually needs another minute of beating or a brief chill before piping.
How to Adjust These Cupcakes Without Losing the Caramel Center
Dairy-Free Version
Swap the butter for a plant-based butter that behaves like real butter in baking, and use an unsweetened non-dairy milk soured with vinegar in place of the buttermilk. The cupcakes will still bake up tender, but the frosting may be a little softer, so chill it before piping if needed. Use a dairy-free caramel sauce that is labeled thick enough for filling.
Gluten-Free Swaps
A cup-for-cup gluten-free baking blend works best here because the cupcakes need enough structure to hold the caramel. The texture will be a little softer and more delicate, so let them cool completely before filling. Don’t use almond flour alone; it won’t give you the same cake-like crumb.
Extra Gooey Center
If you want a bigger caramel hit, add a little extra caramel to the center after coring, then cap the hole with a small spoonful of frosting before piping the top. That keeps the caramel from leaking into the frosting and gives you a cleaner bite when the cupcake is cut open.
Storage and Reheating
- Refrigerator: Store in an airtight container for up to 4 days. The frosting will firm up, but the cake stays moist.
- Freezer: Freeze unfrosted, unfilled cupcakes for up to 2 months. Thaw at room temperature, then fill and frost after they’re fully defrosted for the cleanest texture.
- Reheating: These are best served at room temperature, not warm. If they’ve been chilled, let them sit out 20 to 30 minutes so the caramel softens again and the frosting isn’t stiff.
Answers to the Questions Worth Asking
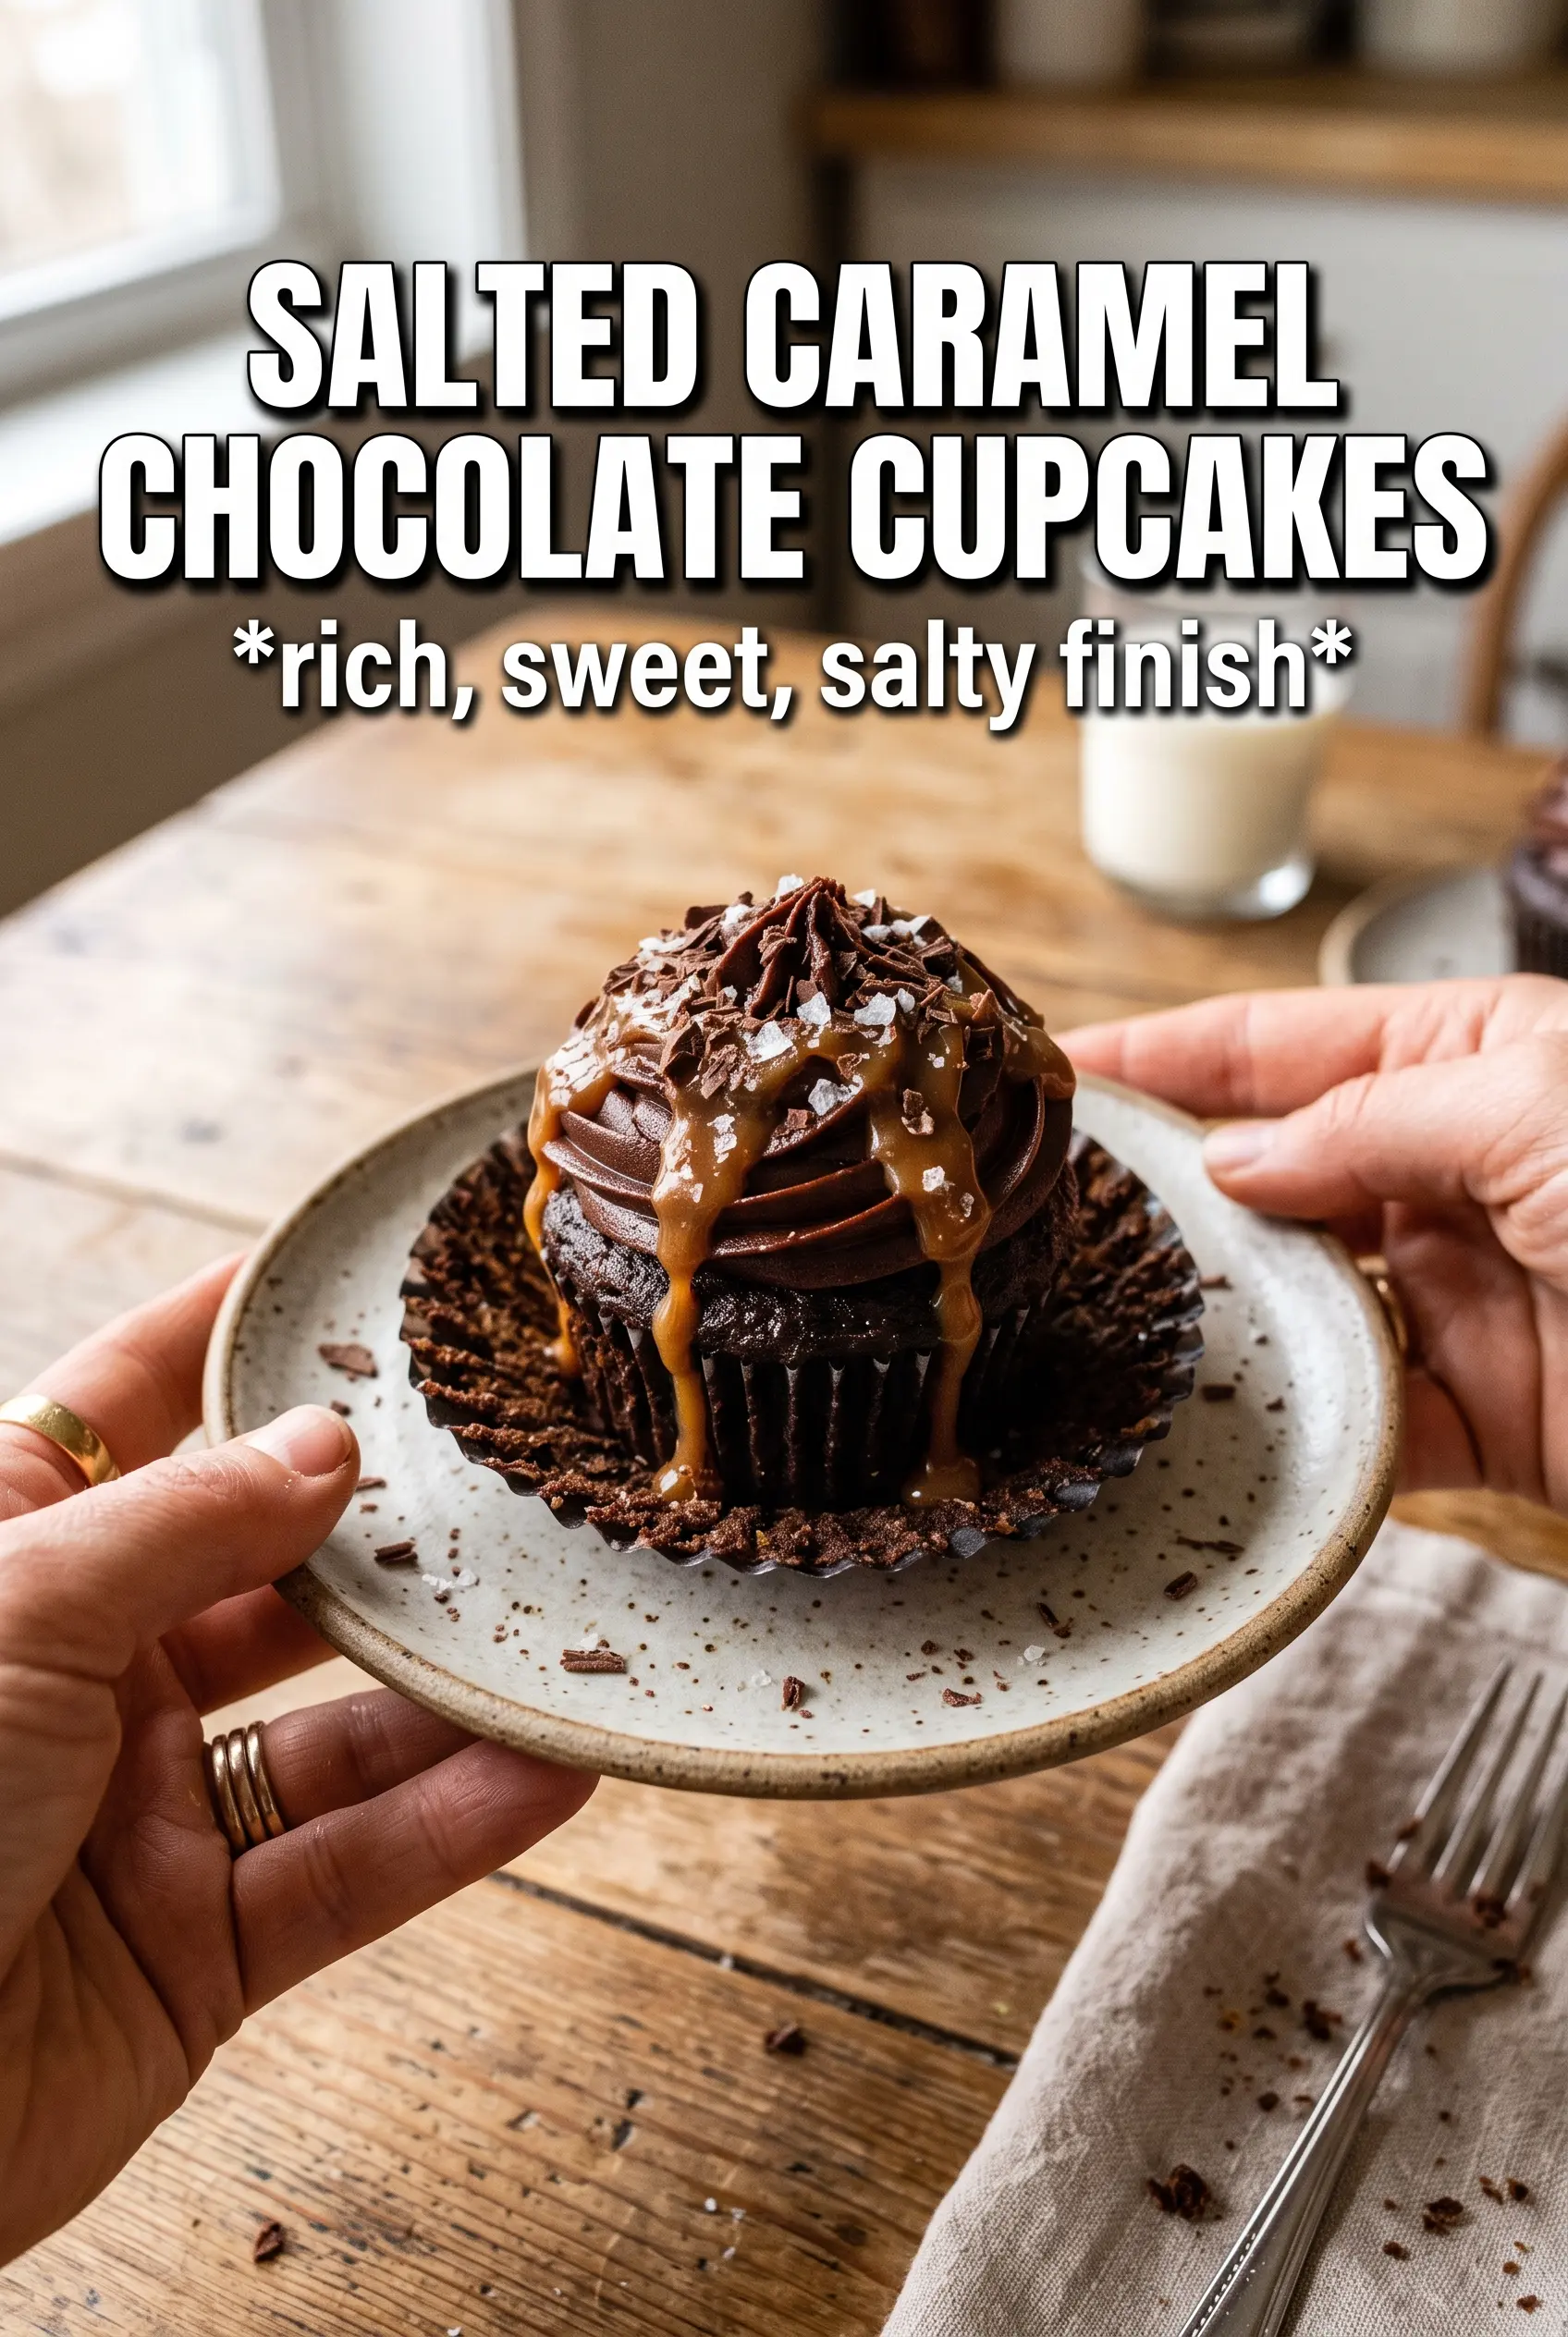
Salted Caramel Chocolate Cupcakes
Ingredients
Equipment
Method
- Preheat the oven to 350F and line cupcake tins.
- Whisk together all-purpose flour, cocoa powder, baking powder, baking soda, and salt.
- Beat butter and granulated sugar until fluffy, about 2-3 minutes.
- Add eggs and vanilla, mixing until smooth.
- Alternate adding the dry ingredients and buttermilk, mixing just until combined.
- Fill each liner about 2/3 full.
- Bake for 18-20 minutes, until a toothpick comes out with a few moist crumbs.
- Cool cupcakes completely.
- Core each cupcake and fill the centers with thick caramel sauce.
- Beat the frosting smooth using butter, cocoa powder, powdered sugar, caramel sauce, and cream.
- Pipe frosting onto each cupcake.
- Drizzle with caramel sauce and sprinkle with flaky salt.