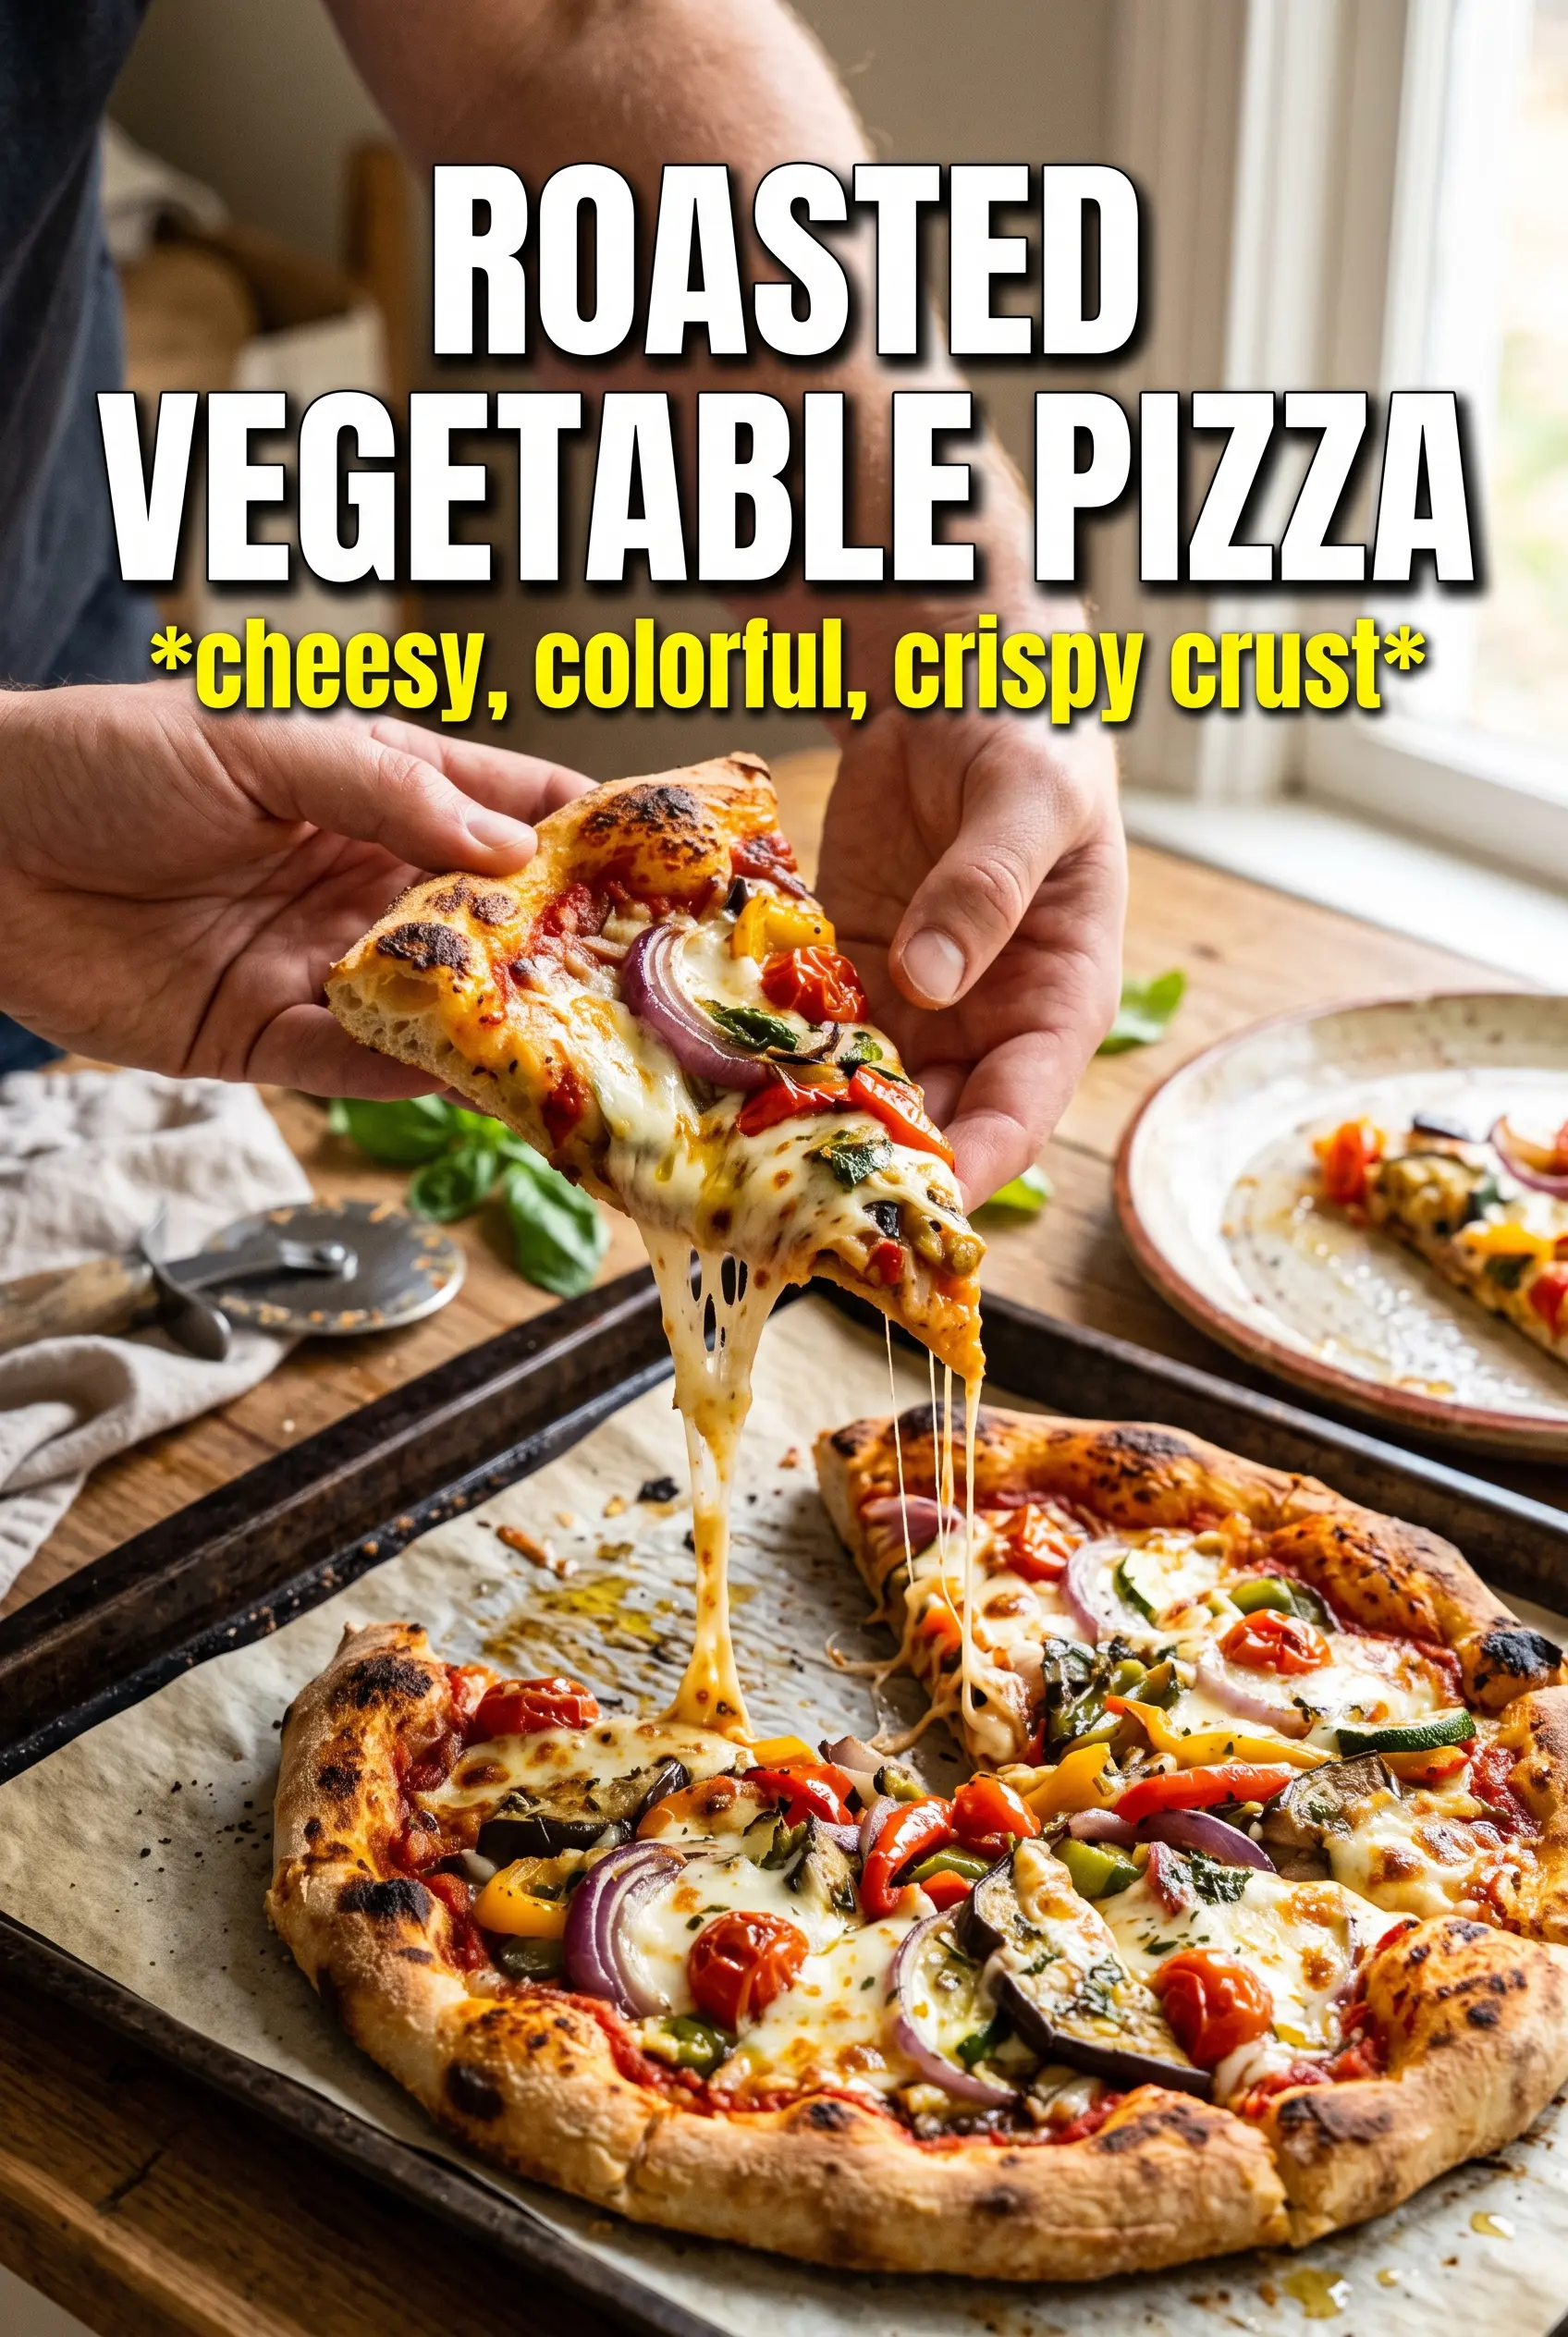
Roasted vegetable pizza lands with the kind of contrast that keeps you going back for another slice: a crisp, blistered crust, melted mozzarella, sweet caramelized vegetables, and a tangy finish of basil and balsamic glaze. Roasting the vegetables first is the move that makes this version worth making. Raw vegetables can leak water onto the dough and leave the center soft; roasted vegetables cook down, concentrate their flavor, and hold their shape on the pizza.
The other thing that matters here is restraint. A thin layer of sauce, a moderate amount of cheese, and vegetables that have already lost some moisture all help the crust bake through instead of going limp. I’ve made enough vegetable pizzas to know that the difference between great and soggy is usually just a little bit of oven discipline.
Below, I’ll walk through the part that matters most: how to roast the vegetables so they caramelize instead of steam, and how to build the pizza so every bite has a clean, balanced finish.
Roasting the zucchini and peppers first made all the difference. The crust stayed crisp on the bottom, and the balsamic glaze at the end pulled everything together.
Save this roasted vegetable pizza for the nights when you want a crisp crust, caramelized vegetables, and a balsamic finish.
The Step That Keeps Vegetable Pizza Crisp Instead of Soggy
The mistake that ruins most vegetable pizzas happens before the dough ever goes in the oven: too much moisture on top. Zucchini, tomatoes, and onions all release liquid as they cook, and if you pile them onto raw dough, that liquid soaks straight into the crust. Roasting the vegetables first fixes that problem and gives you better flavor at the same time, because the edges brown and the natural sweetness comes forward.
Another thing worth paying attention to is how you distribute the toppings. A heavy layer of sauce or an overloaded mound of vegetables can turn the center soft before the crust has a chance to set. Keep the layer even and a little lighter than you think you need.
- Roasting first — This is what changes the whole pizza. The vegetables shrink, deepen in flavor, and lose enough moisture to sit nicely on the dough.
- Par-baking is not necessary here — A hot oven and parchment-lined sheet are enough as long as the toppings aren’t wet.
- Italian seasoning goes on top — It blooms in the oven and tastes better than mixing it into the sauce, where it can disappear.
What Each Ingredient Is Actually Doing in This Pizza

- Pizza dough — Homemade dough gives you more control, but a good store-bought dough works fine here. What matters most is letting it come to room temperature so it stretches without snapping back.
- Zucchini — This softens fast and can turn watery if sliced too thin. Keep the slices on the thicker side so they roast into tender pieces instead of collapsing.
- Red bell pepper and red onion — These bring sweetness and a little edge. The onion caramelizes beautifully, and the pepper adds color and bite.
- Cherry tomatoes — They burst during roasting and add little pockets of acidity. Halve them so they release some juice in the oven instead of rolling around the pan whole.
- Mozzarella and parmesan — Mozzarella gives the melt, parmesan gives the salty finish. Pre-shredded mozzarella works, but freshly shredded melts more cleanly.
- Olive oil and garlic — Olive oil helps the vegetables brown and keeps the dough from drying out. Garlic goes in the roast, not the sauce, so it stays fragrant instead of getting buried.
- Balsamic glaze — This is the final lift. It adds a sweet-tart finish that makes the vegetables taste even more roasted.
Building the Pizza So the Crust Catches Up With the Toppings
Roasting the Vegetables First
Toss the zucchini, bell pepper, red onion, and cherry tomatoes with olive oil, salt, and pepper until everything is lightly coated. Spread them out in a single layer on a baking sheet. If they’re crowded, they’ll steam instead of brown. Roast them at 450°F until the edges are caramelized and the tomatoes are starting to collapse, then let them sit for a minute so extra steam can escape before they go on the dough.
Stretching the Dough and Keeping the Center Thin
Roll or stretch the dough on parchment paper and aim for an even thickness, especially in the center. The middle needs to be thin enough to bake through under the toppings, while the outer edge can stay a little thicker for structure. Brush the surface with olive oil before sauce goes on; that thin film helps protect the crust and adds a better bottom bake.
Layering Without Overloading
Spread the sauce in a thin layer. You want enough for flavor, not enough to flood the dough. Add the roasted vegetables next, then the mozzarella and parmesan so the cheese melts around the vegetables instead of burying them under a wet layer. If the pizza looks crowded before it bakes, it will only get heavier in the oven.
The Final Bake and Finish
Bake until the crust is golden and the cheese is bubbling with a few browned spots. Don’t pull it too early just because the cheese looks melted; the bottom needs time to set. Finish with fresh basil after baking so it stays bright, then drizzle balsamic glaze over the top. That last step makes the whole pizza taste finished instead of just assembled.
How to Adapt This Pizza for Different Diets and Weeknights
Make It Dairy-Free
Use a good melting dairy-free mozzarella and skip the parmesan, or replace it with a dairy-free hard cheese alternative. You’ll lose a little of the salty depth that parmesan brings, so finish with an extra pinch of salt and a little more balsamic glaze to sharpen the flavor.
Gluten-Free Crust Swap
Use your favorite gluten-free pizza dough, but give it a little more space on the pan and bake until the edges feel firm before slicing. Gluten-free dough often needs that extra minute or two to set cleanly, especially under a moist vegetable topping.
Use What’s in the Vegetable Drawer
Broccoli florets, mushrooms, or sliced eggplant can stand in for one or two of the vegetables here. Just roast them until they’ve lost some moisture and have browned edges; if you skip that step, they’ll bring too much water to the pizza.
Make It Ahead for Faster Dinner
Roast the vegetables up to 2 days ahead and keep them chilled. When dinner time comes, you’re only assembling and baking, which keeps the crust from sitting under wet toppings too long.
Storage and Reheating
- Refrigerator: Store leftovers in an airtight container for up to 3 days. The crust softens a bit, but it still reheats well.
- Freezer: Freeze baked slices wrapped tightly for up to 2 months. They’re best frozen in a single layer first so the cheese doesn’t smear.
- Reheating: Reheat in a 375°F oven or a dry skillet until the crust crisps back up. The mistake people make is using the microwave, which makes the bottom limp and the vegetables mushy.
Questions I Get Asked About This Recipe
Roasted Vegetable Pizza
Ingredients
Equipment
Method
- Preheat your oven to 450°F, then toss the zucchini, red bell pepper, red onion, and cherry tomatoes with 2 tablespoons olive oil, salt, and pepper until evenly coated.
- Spread the vegetables on a sheet pan in a single layer and roast for 15-18 minutes until caramelized.
- Roll out the pizza dough on a parchment-lined sheet and brush with the remaining olive oil.
- Spread pizza sauce or marinara over the dough, then top with the roasted vegetables.
- Sprinkle the shredded mozzarella and grated parmesan over the vegetables.
- Sprinkle Italian seasoning evenly over the pizza, then bake for 12-15 minutes at 450°F until the crust is golden and the cheese is bubbly.
- Finish with fresh basil and drizzle with balsamic glaze before slicing and serving.