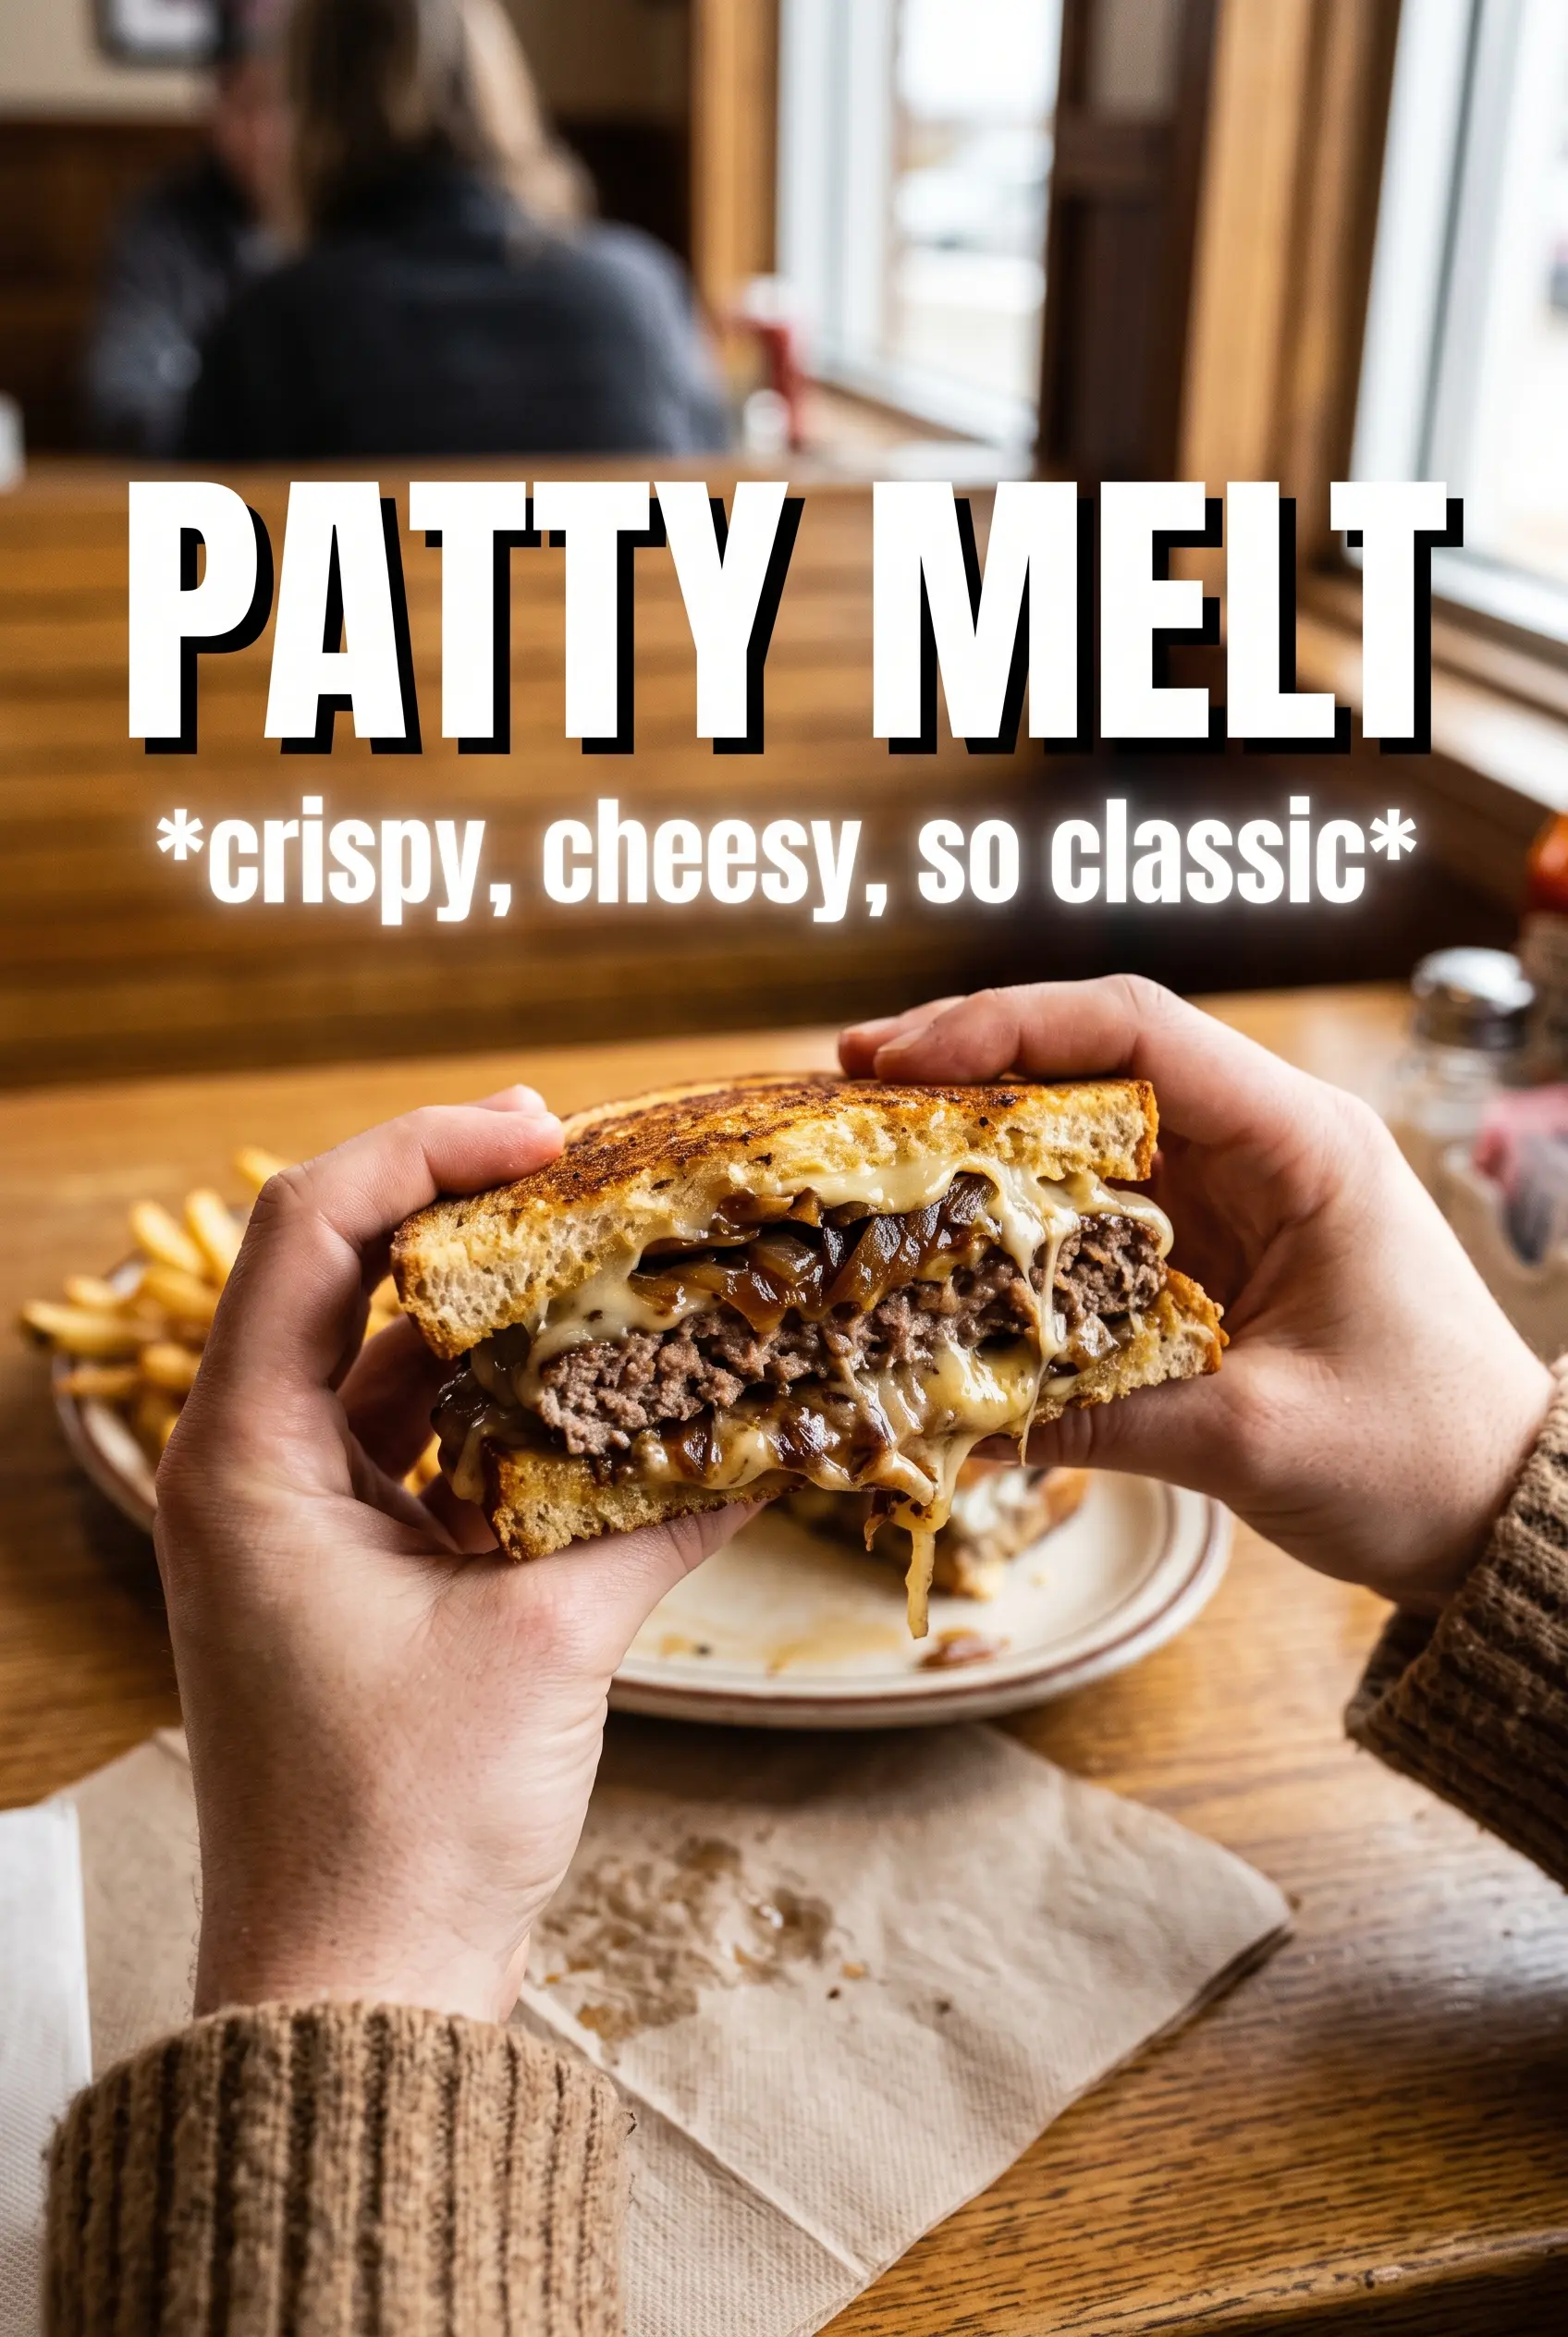
Golden rye, a crusty smash-style beef patty, and that slow pile of sweet onions make a patty melt feel like diner food done right at home. The bread gets deeply buttered and crisp, the cheese melts into the meat instead of sitting on top of it, and every bite gives you crunch, salt, and a little tang from the sauce. It’s the kind of sandwich that disappears fast and leaves the skillet looking suspiciously empty.
The difference here is in the order of things. Caramelizing the onions first gives them time to turn soft, jammy, and sweet without rushing them into the pan with the beef. Using a hot skillet for the patties creates those lacy, browned edges that hold up under the cheese, and the mix of Swiss plus sharp American or cheddar keeps the melt creamy without tasting flat. Rye matters too; it has enough character to stand up to the filling.
Below, I’ve included the exact points that matter most: how to keep the onions from scorching, how thin to smash the patties, and what to do if you want to swap the bread or cheese without losing the spirit of the sandwich.
The onions turned out sweet and jammy, and the rye got that perfect buttery crust without falling apart. My husband said it tasted like a diner patty melt, only better.
Love the buttery rye, melty cheese, and caramelized onions? Save this patty melt for the night you want diner-style comfort without leaving home.
The Reason the Onions Go First, Not Last
Patty melts live or die on the onions. If they’re pale or rushed, the sandwich tastes flat. If they’re cooked until deep golden and soft, they bring the sweetness that balances the beef, cheese, and rye without turning the sandwich sugary. That’s why the onions get the pan first and the full 25 to 30 minutes they need.
The other thing that matters is heat control. Medium-low gives the onions time to release moisture and soften before they color, while the high heat used later belongs to the beef. If you try to do both jobs at once, the onions scorch before they taste finished and the patties never get the sear that makes this sandwich worth eating.
- Onions — Yellow onions work best because they soften and sweeten evenly. Slice them thin and keep the heat moderate; if you crowd the pan, they’ll steam instead of browning.
- Worcestershire sauce — A little goes into the onions and the beef for savory depth. There isn’t a perfect substitute for the same tangy, concentrated flavor, but soy sauce with a splash of vinegar can stand in if that’s what you have.
- Rye bread — Rye gives the sandwich its classic diner edge and holds up to the fillings. If you swap it, choose a sturdy bread like sourdough or Texas toast so it doesn’t collapse when pressed.
- Swiss plus sharp American or cheddar — Swiss melts smoothly, while the second cheese adds punch and helps the middle stay creamy. Using only one cheese makes the melt less interesting and less stable.
What Each Ingredient Is Actually Doing in This Recipe
- Primary ingredient (the star) — Quality matters most. Choose the best you can find.
- Cooking medium (oil, butter, or broth) — This carries flavors and prevents dryness.
- Seasonings (salt, pepper, spices, herbs) — Layer flavors so nothing overpowers. Build depth gradually.
- Aromatics (garlic, onion, herbs) — Cook with fat to bloom flavors. Become the foundation.
- Supporting ingredients — Complement the main ingredient without overpowering it.
- Sauce or liquid (if applicable) — Brings flavors together. Balance richness with acid.
- Acid (lemon, vinegar, wine, or other) — Brightens and prevents flat-tasting results.
- Final finish (garnish, glaze, or sauce) — Prevents one-dimensional taste and adds visual appeal.
Building the Smash and Melt Without Soggy Bread
Caramelizing the onions slowly
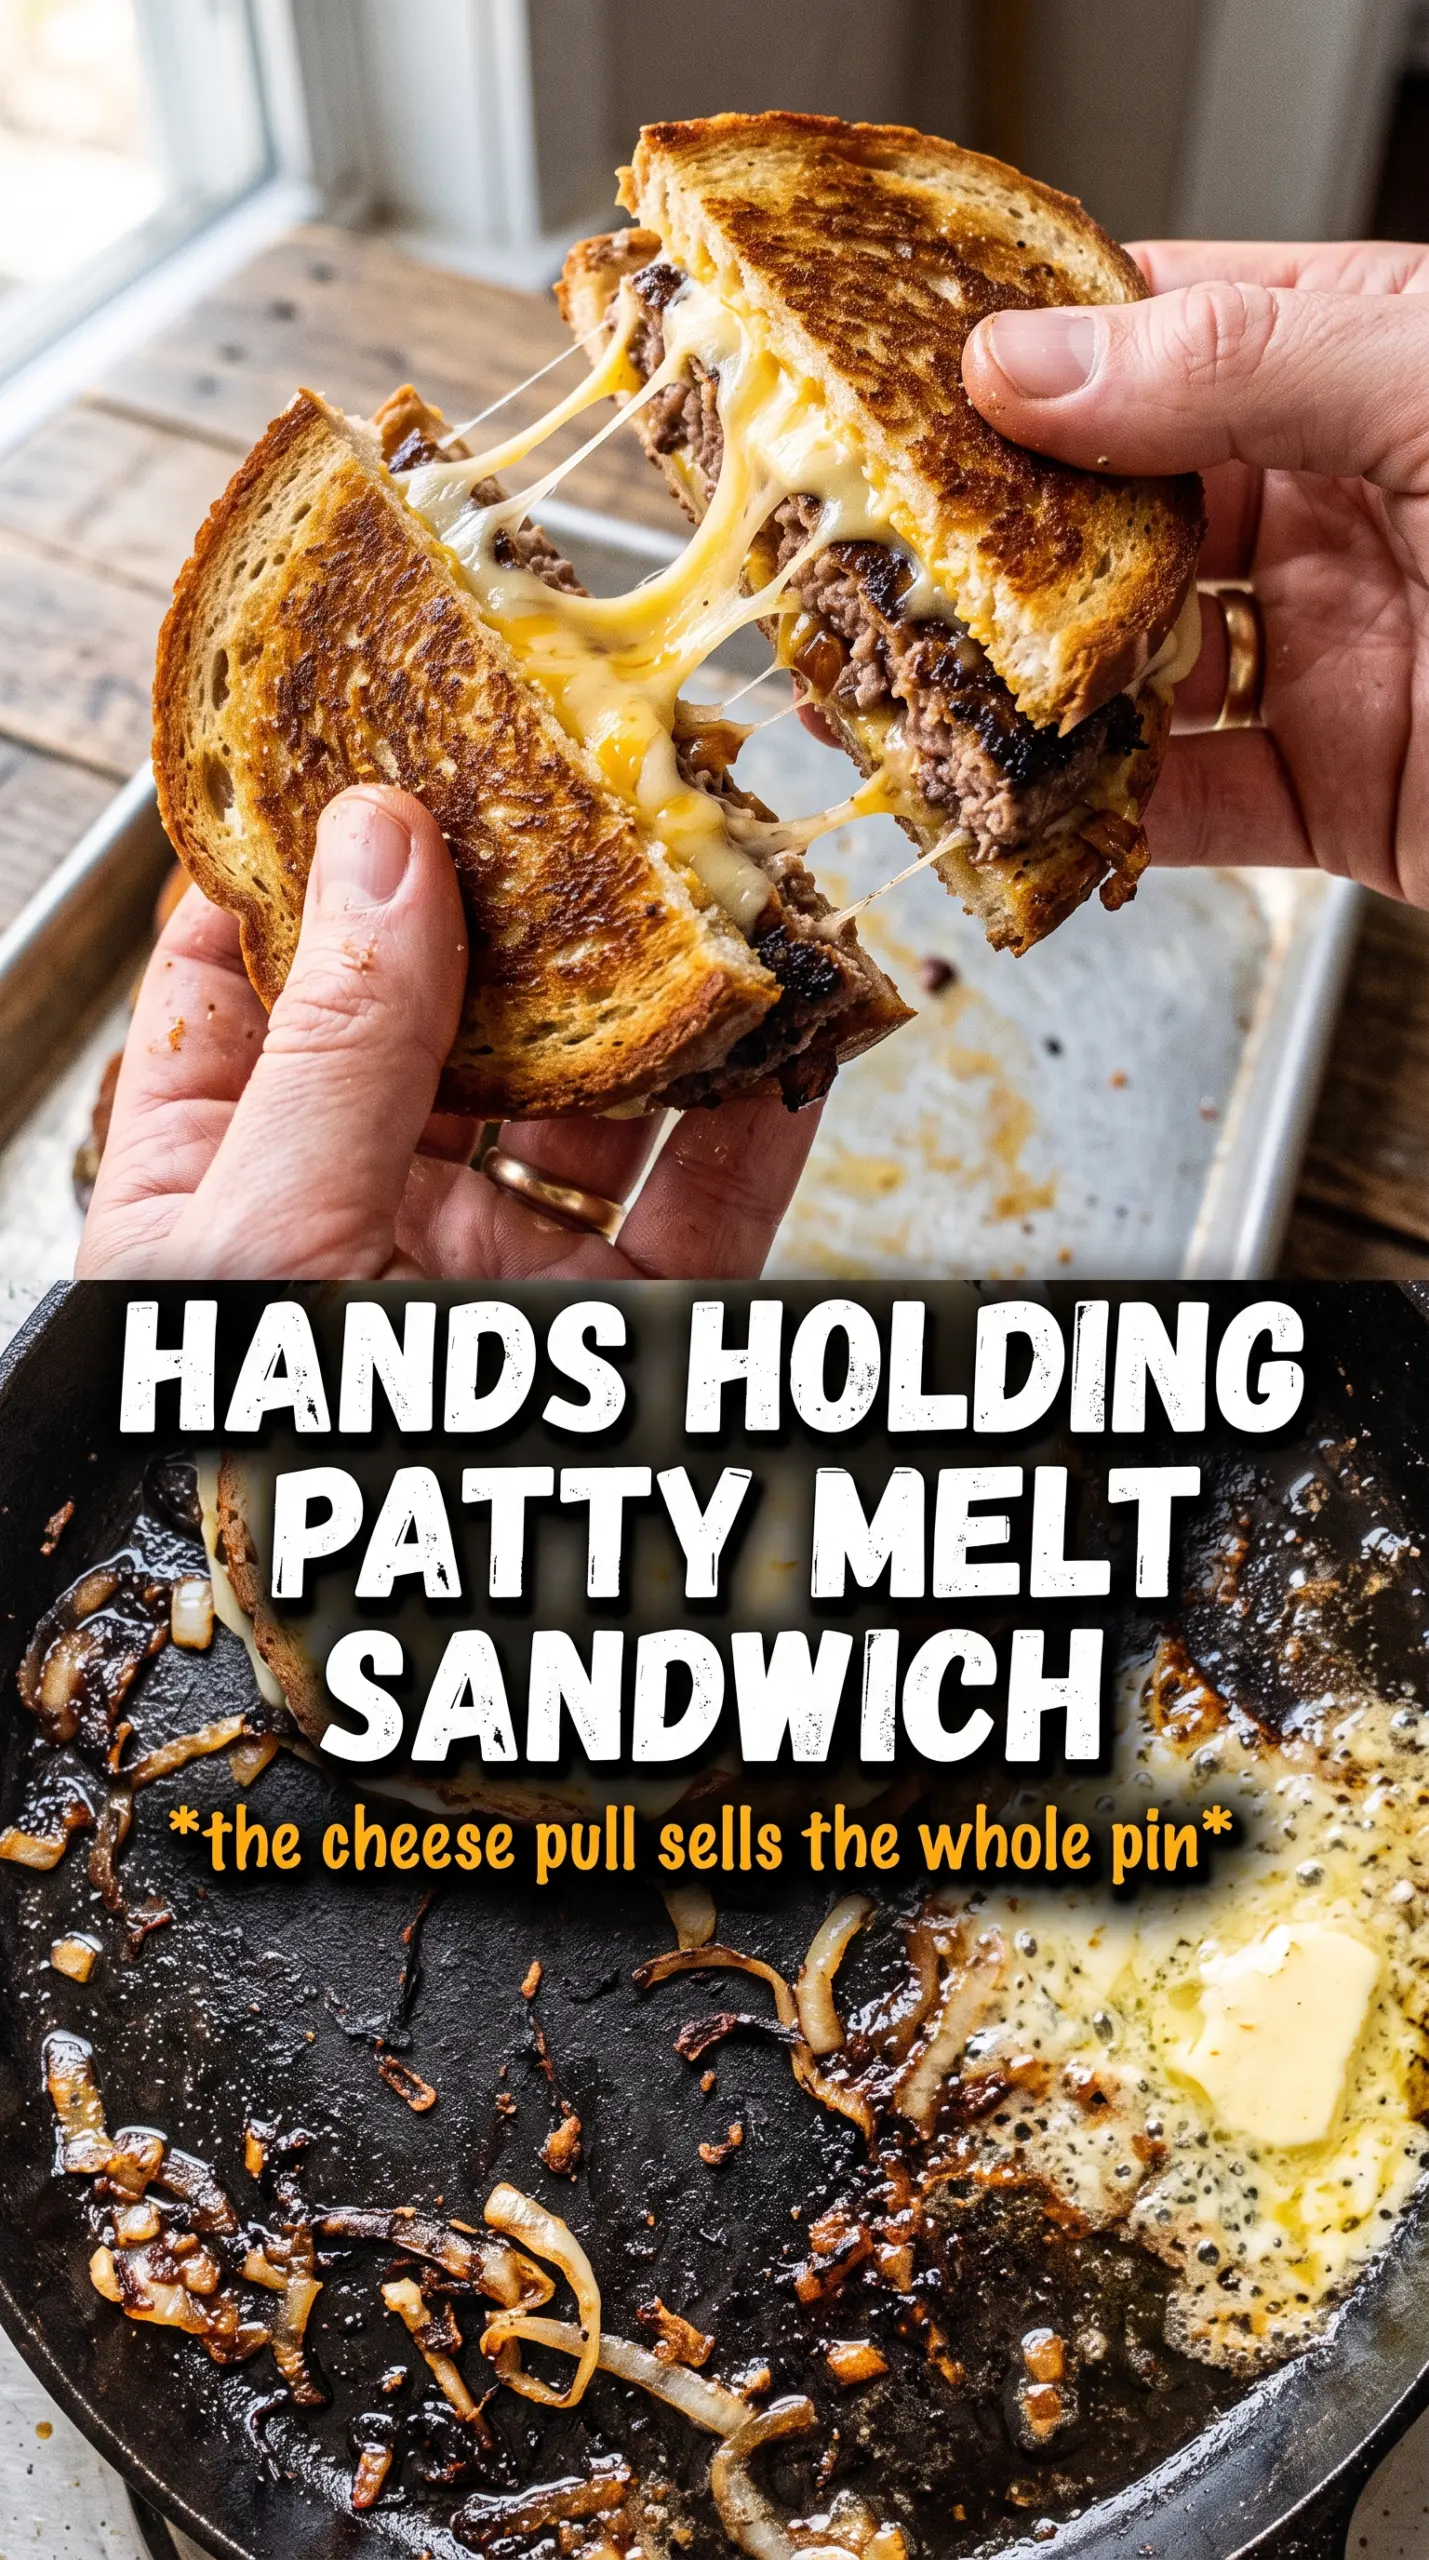
Start the onions in butter over medium-low heat and give them time to soften, then turn the heat up only if they need help browning at the end. Stir often enough that nothing sticks, but not so much that the onions never sit long enough against the pan to color. They should look deeply golden, glossy, and soft enough to collapse when pressed with a spoon. If they start to burn at the edges before they’re sweet, your heat is too high.
Smashing the beef while the skillet is ripping hot
Divide the beef into four loose balls and season them before they hit the pan. The skillet should be hot enough that the meat sizzles hard the second it lands; that’s what builds those thin, browned edges. Smash each portion fast and firmly, then leave it alone until the underside releases cleanly. If you keep pressing after the first smash, you’ll squeeze out the juices and lose the crust.
Toast first, then assemble, then press again
Butter the rye and toast it in the same skillet so it picks up flavor from the beef drippings. Assemble with sauce, onions, patty, both cheeses, more onions, and the top slice of toast. Return the sandwich to the skillet and press it just long enough for the cheese to melt and the bread to deepen in color. If the bread is browning before the cheese melts, lower the heat and give the sandwich a little more time under the press.
Three Ways to Make the Patty Melt Work for Your Kitchen
Gluten-Free Swap
Use a sturdy gluten-free sandwich bread with some structure, not a soft airy loaf. You won’t get the same rye flavor, so add a tiny pinch of caraway if you want that classic patty melt note. Toasting the bread well matters even more here because gluten-free slices can go from crisp to fragile fast.
Dairy-Free Version
Use dairy-free butter for the onions and toast, then choose a meltable plant-based cheese that softens under heat. The flavor will lean a little less rich, so don’t skip the Worcestershire and the caramelized onions. Press the sandwich gently; some dairy-free cheeses get oily if they’re hammered with high heat too long.
Swap the Beef for Turkey or Plant-Based Patties
Ground turkey makes a lighter sandwich, but it needs a little extra salt and a careful hand so it doesn’t dry out. A plant-based crumble or patty works too, though it won’t give you the same beefy crust; compensate with a hot skillet and a little extra sauce. Either way, the onions and cheese carry the sandwich, so the texture stays satisfying even with the swap.
Storage and Reheating
- Refrigerator: Store assembled sandwiches for up to 2 days, though the bread will soften a bit from the onions and sauce.
- Freezer: I don’t recommend freezing the finished sandwich. The onions and bread both change texture in a way that works against the crisp, pressed finish.
- Reheating: Reheat in a skillet over medium-low heat with a lid for a few minutes to warm the center, then uncover to re-crisp the bread. The mistake is blasting it over high heat, which burns the outside before the cheese softens again.
Answers to the Questions Worth Asking
Patty Melt
Ingredients
Equipment
Method
- Melt 2 tablespoons of butter in a cast iron skillet over medium-low heat and add the thinly sliced onions. Cook for 25-30 minutes, stirring occasionally, until deeply golden and soft with browned edges (visual cue: darker amber color).
- Season the onions lightly with salt and pepper during caramelizing as they darken. Continue cooking until they look sticky and caramel-browned, not pale.
- Divide the ground beef into 4 balls. Season each ball with Worcestershire sauce, garlic powder, salt, and pepper, then press/shape the portions for smashing.
- Heat the cast iron skillet over high heat until very hot. Smash each beef ball thin and cook for 2-3 minutes per side, pressing once or twice (visual cue: browned crust on the edges).
- Add the remaining butter to the skillet and toast the rye bread slices. Toast over the skillet heat until golden on the outside (visual cue: buttered surface looks crisp and browned).
- Stir together mayonnaise, ketchup, Dijon mustard, and Worcestershire sauce in a bowl. Keep mixing until smooth and glossy (visual cue: even pinkish-red color).
- Assemble each melt in this order: toasted rye, special sauce, caramelized onions, smashed patty, Swiss cheese, sharp American/cheddar cheese, more onions, and top with toasted rye. Layer the cheeses fully so they cover the patty.
- Return the sandwiches to the cast iron skillet and press lightly. Cook 1-2 minutes per side until the cheese is melted and the bread is crisp (visual cue: cheese stretches and the edges sizzle).