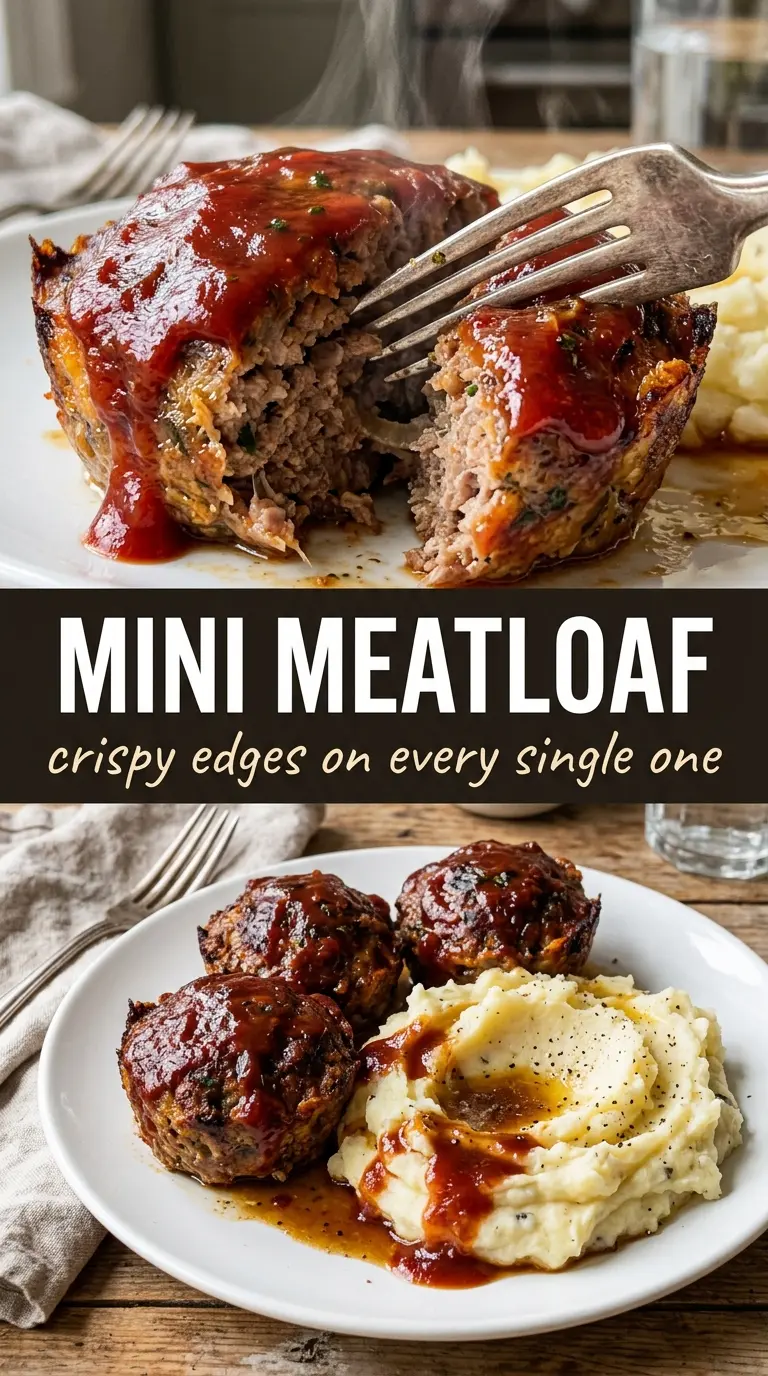
Mini meatloaves bake up with more caramelized edges, a better glaze-to-meat ratio, and a faster path to the table than a full loaf ever does. Each one holds together neatly, stays juicy in the center, and gets that glossy ketchup top that turns sticky and browned in the oven. If you’ve ever sliced into a big meatloaf and found the ends dry before the middle was done, this version fixes that problem without changing the comfort-food payoff.
The trick is in the balance. A little milk, breadcrumbs, and egg keep the texture tender, while the grated onion melts into the meat instead of leaving chunky bits that can make the mixture fall apart. The muffin tin does more than portion things out; it helps the sides brown all the way around, so every serving gets a little crust. The glaze goes on before baking, not after, which gives it time to bubble, set, and caramelize instead of just sitting on top like sauce.
Below you’ll find the exact reason this version stays moist, the ingredient swaps that still hold together, and the one mistake that can turn mini meatloaf dense instead of tender.
The mini meatloaves came out juicy with a caramelized top, and the muffin tin made serving dinner so much easier. The glaze set up perfectly in 25 minutes.
These mini meatloaves bake with crisp edges, juicy centers, and that glossy ketchup glaze everyone scrapes off the pan.
The Muffin Tin Fix for Meatloaf That Stays Juicy and Browns Better
The problem with standard meatloaf is that it often spends too long in the oven before the center is done, which is how you end up with dry edges and a pale top. Portioning the mixture into individual cups shortens the cook time and increases the surface area, so the meat browns faster and stays tender in the middle. You’re not just making it smaller; you’re changing the way it cooks.
That also means the mix has to be handled gently. Overmixing compresses the meat and makes the finished texture tight and springy instead of soft and sliceable. Grating the onion is worth the extra minute because it disappears into the mixture and gives you moisture without chunks that can pull the meat apart as it bakes.
- Ground beef — Use 80/20 if you can. Leaner beef works, but the meatloaves won’t have the same rich, juicy bite unless you’re very careful not to overbake them.
- Breadcrumbs and milk — This panade keeps the texture tender. If you need a substitute, crushed crackers or quick oats can work, but breadcrumbs melt into the mixture most evenly.
- Grated onion — Fresh onion brings moisture and sweetness that powder alone can’t match. Grating it is the key; diced onion won’t soften as completely in such a short bake time.
- Worcestershire sauce — This gives the meatloaf depth and that savory edge that keeps it from tasting flat. There isn’t a true one-to-one substitute, though soy sauce plus a little extra ketchup can cover some of the same ground.
What Each Ingredient Is Actually Doing in This Meatloaf or Meatballs
- Ground meat (the protein foundation) — Use 80/20 so it stays moist. Handle gently to keep texture tender instead of dense.
- Breadcrumbs or fillers (the binder) — These hold the meat together without making it dense. Soak in milk first so they add moisture.
- Egg (the structural binding agent) — This holds everything together during cooking. One egg per pound of meat is the right ratio.
- Onion and aromatics (the base flavor) — Mince finely so they distribute evenly. Raw onion softens as it cooks and becomes part of the texture.
- Seasonings (salt, pepper, Worcestershire, spices) — Build flavor boldly. The meat mixture carries the entire flavor profile.
- Milk or liquid (the moisture keeper) — This keeps the meatloaf tender instead of dense and dry. Don’t skip this step.
- Glaze or sauce (ketchup-based or other) — This adds sweetness, moisture, and flavor to the exterior. Apply strategically so it caramelizes.
- Resting time (the final step) — Let the meatloaf rest 10 minutes so it sets and slices cleanly. Cutting too soon makes it fall apart.
Building the Mixture So It Stays Tender in the Oven
Mix the Base Without Packing It Down
Combine the beef, breadcrumbs, eggs, milk, grated onion, garlic, Worcestershire, and seasonings in a large bowl and stir just until everything looks evenly distributed. Stop as soon as the mixture comes together. If it starts to look pasty or compact, you’ve gone too far and the finished meatloaf will turn dense. A light hand here gives you a softer texture and better slices after baking.
Portion for Even Cooking
Grease the muffin tin well, then divide the mixture evenly among the cups and press it in gently without smashing it flat. The tops should look rounded, not smooth and compressed. That loose shape helps the heat reach the center at the same time the outside browns, which keeps the texture balanced instead of overdone on the edges.
Glaze Before It Goes In
Mix the ketchup, brown sugar, and mustard, then spoon a small amount over each portion before baking. A thin layer is enough; too much glaze can slide off and puddle in the pan before it has a chance to caramelize. You want the tops to look glossy before they go in and sticky, browned, and slightly set when they come out.
Pull Them at the Right Temperature
Bake until the internal temperature reaches 160°F and the tops have darkened into a deep caramel color, usually 20 to 25 minutes. If the glaze browns before the meat is done, the oven is running hot, so check early rather than letting the tops dry out. Let the mini meatloaves rest for 5 minutes before removing them from the tin so the juices settle and they release cleanly.
How to Adapt Mini Meatloaf for Different Pans, Diets, and Leftovers
Muffin Tin or Freeform
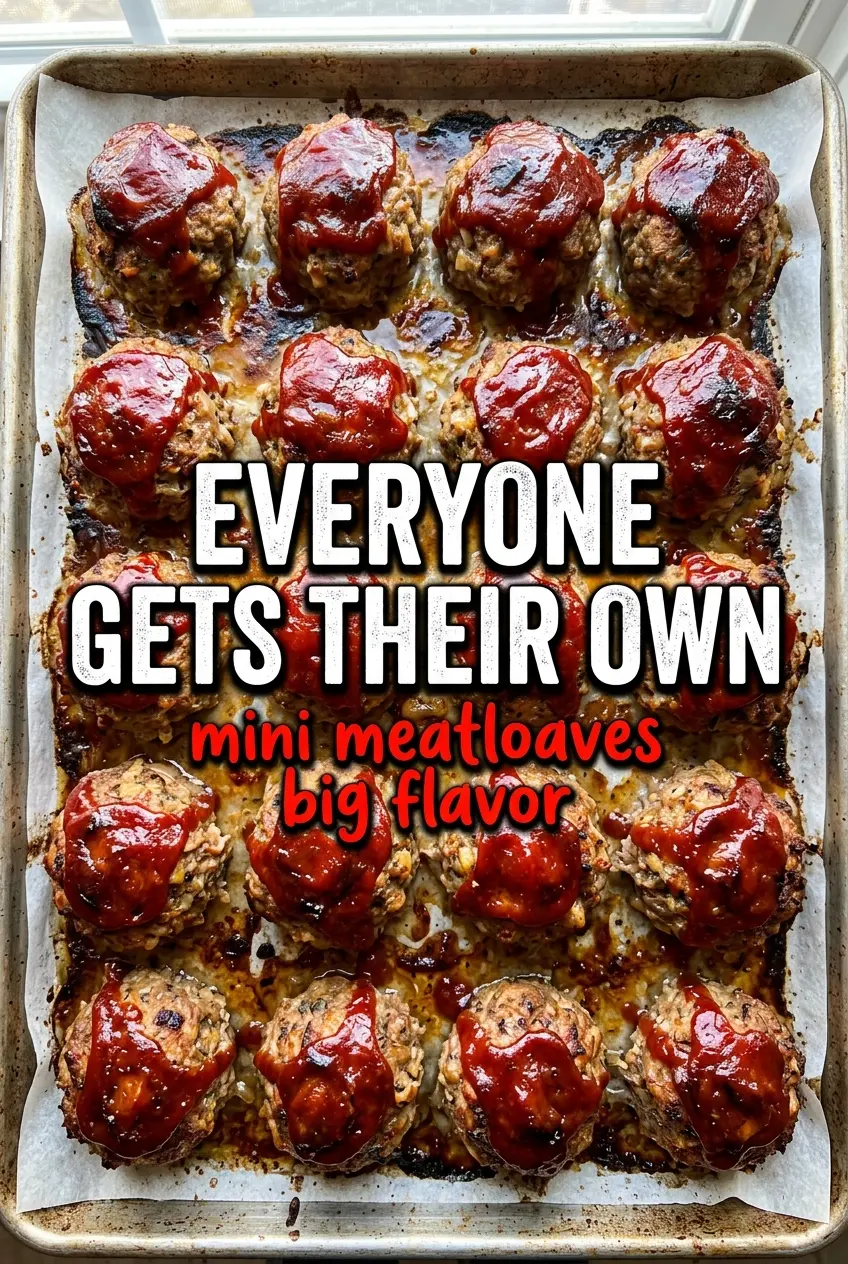
A muffin tin gives the best browning and the fastest cook time, but you can shape the mixture into 6 small oval loaves on a lined sheet pan if that’s what you have. Expect a little less structure and a few extra minutes in the oven. The tradeoff is softer sides and less defined portions.
Gluten-Free Version
Use gluten-free breadcrumbs in the same amount. The texture stays close to the original, especially if you still use milk and eggs to hold everything together. Keep an eye on the mixture; some gluten-free crumbs absorb a little less liquid, so it should hold shape without feeling wet.
Turkey Mini Meatloaf
Ground turkey works, but it needs the moisture from the onion and milk more than beef does. Don’t overbake it, and check the temperature early since turkey dries out faster. The flavor is a little lighter, so the glaze matters even more here.
Storage and Reheating
- Refrigerator: Store in an airtight container for up to 4 days. The glaze softens a little, but the meat stays tender.
- Freezer: These freeze well. Cool completely, wrap individually, and freeze for up to 3 months for easy lunches or quick dinners.
- Reheating: Warm in a 300°F oven, covered loosely with foil, until heated through. The biggest mistake is blasting them in the microwave, which dries out the edges before the center is warm.
Questions I Get Asked About This Recipe
Mini Meatloaf
Ingredients
Equipment
Method
- Preheat the oven to 375°F and grease a 12-cup muffin tin.
- Combine ground beef, breadcrumbs, eggs, whole milk, grated onion, minced garlic, Worcestershire sauce, garlic powder, onion powder, salt, and pepper until just mixed—do not overmix.
- Divide the meat mixture evenly among the muffin cups, pressing gently to pack.
- Mix ketchup, brown sugar, and mustard, then spoon about 1 teaspoon over each mini meatloaf.
- Bake 20–25 minutes at 375°F until the internal temperature reaches 160°F and the tops are caramelized.
- Rest 5 minutes before removing the mini meatloaves from the tin and serving.