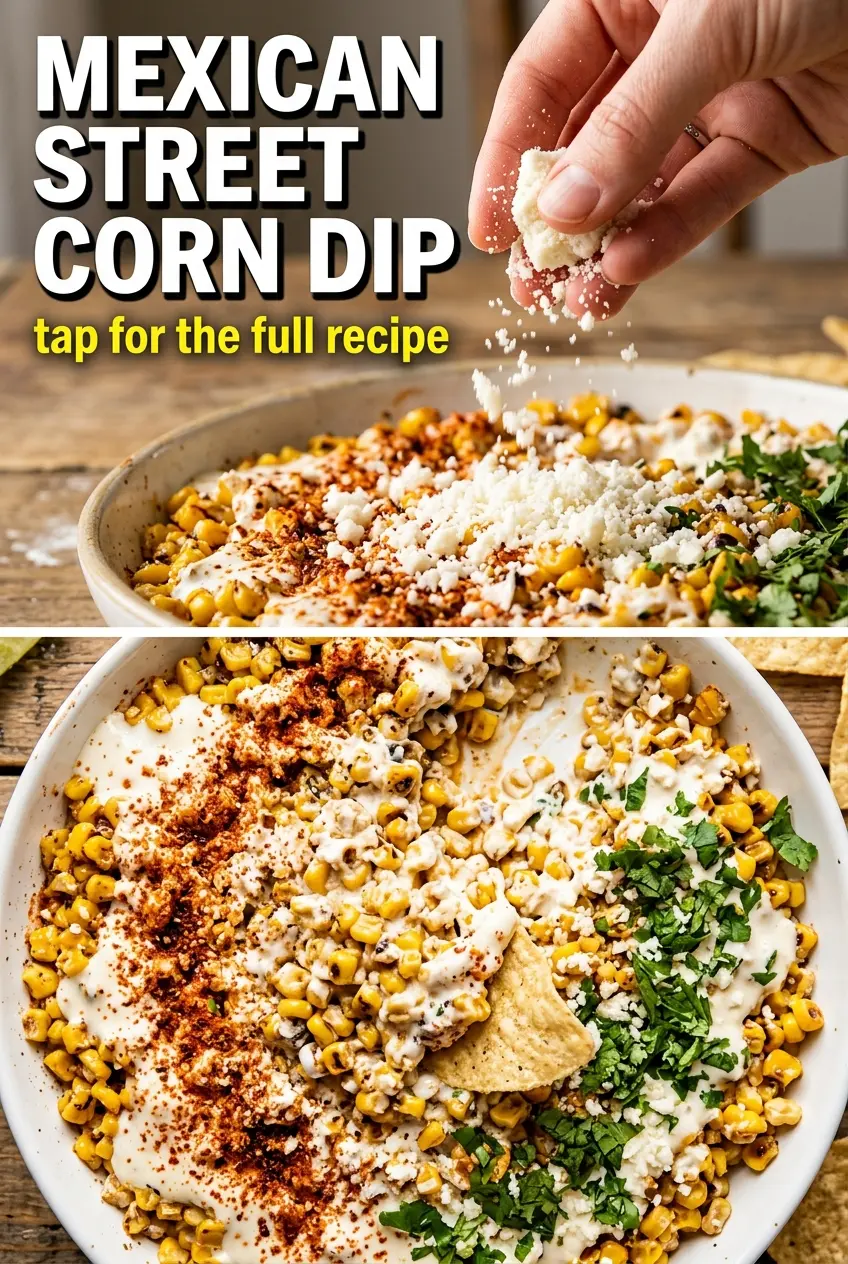
Mexican street corn dip brings all the best parts of elote into one warm, scoopable bowl: sweet corn, tangy cheese, lime, and just enough chili to keep every bite interesting. The magic is in the contrast. You get creamy, bubbling edges from the oven and little pops of charred corn in the middle, which keeps the dip from tasting flat or heavy.
This version starts by cooking the corn in a hot skillet so it picks up real color before it ever goes near the oven. That step matters. Charred kernels add depth, and the cream cheese-mayo base stays smooth because it’s mixed before the hot ingredients go in. Cotija gives the dip its salty finish, while lime juice and cilantro keep it bright enough that you’ll keep reaching for another chip.
Below, I’ve included the detail that makes the biggest difference in texture, plus a few swaps that still keep the dip balanced and scoopable. If you’ve ever had a street corn dip turn greasy or bland, this version fixes both problems.
The corn got those little browned edges first, and the dip came out creamy instead of runny. I brought it to a game night and the bowl was scraped clean in minutes.
Save this Mexican street corn dip for your next chip-and-dip night — the charred corn and creamy cotija topping make it disappear fast.
The Char on the Corn Is What Keeps This Dip From Tasting One-Dimensional
The biggest mistake people make with street corn dip is treating the corn like a mix-in instead of the main flavor builder. If the kernels go in raw or barely warmed, the dip ends up soft and bland. A quick skillet char changes that completely. Those browned spots add a little bitterness and sweetness at the same time, which is what makes the creamy base taste fuller.
Another thing that matters here is heat control when the dip bakes. You’re not trying to cook it hard in the oven. You’re just warming everything through until the edges bubble and the center is hot. Overbaking can make the mayonnaise separate and the cream cheese go a little oily, so pull it as soon as it looks loose around the edges and set in the middle.
- Fresh or frozen corn — Fresh corn gives the sweetest pop, but frozen corn works well once it hits a hot pan. Don’t thaw it fully first; straight from frozen can still char nicely if the skillet is hot enough.
- Cream cheese — This is what gives the dip its body. Soften it first so it blends smoothly; cold cream cheese leaves lumps that never fully disappear.
- Mayonnaise — Mayo keeps the texture silky and helps the dip bake into a spreadable, scoopable consistency. Full-fat mayo gives the best result here. Light mayo tends to thin out and can taste flat after baking.
- Cotija — Cotija brings the salty, crumbly finish that makes this taste like street corn instead of plain corn dip. If you can’t find it, feta is the closest swap, though it’s a little tangier and less mellow.
- Lime juice and cilantro — These are not garnish-only ingredients. They cut through the richness so the dip stays bright. Use fresh lime juice; bottled juice tastes dull against the cheese and corn.
Building the Dip So It Stays Creamy After Baking
Getting Color on the Corn First
Heat the oil in a skillet until it shimmers, then add the corn and leave it alone long enough to take on color before stirring. You want some kernels blistered and browned, not just warmed through. If the pan is crowded, the corn steams instead of chars, so use a wide skillet or cook in two batches. Season it with salt and pepper while it’s still in the pan so the flavor sticks to the kernels.
Mixing the Base Without Lumps
Stir the softened cream cheese and mayonnaise together until the mixture looks smooth and glossy before folding in anything else. That base should be easy to scoop and spread. If the cream cheese is too cold, stop and let it sit a few minutes longer rather than forcing it, because cold lumps will stay stubborn even after baking.
Baking Until the Edges Bubble
Fold in the charred corn, most of the cotija, cilantro, garlic, lime juice, and chili powder, then transfer everything to a baking dish. Bake at 375°F until the dip is hot throughout and the edges are bubbling, which usually takes 12 to 15 minutes. The center should look creamy and set, not dry or crusted. Finish with the remaining cotija and cilantro while it’s still hot so they cling to the surface.
How to Adapt This Dip Without Losing What Makes It Work
Make It Spicier with Jalapeño or Chipotle
Stir in a minced jalapeño with the garlic, or add a spoonful of chopped chipotle in adobo if you want smoke along with heat. Jalapeño keeps the dip bright and fresh; chipotle makes it deeper and a little richer. Either one works, but add it sparingly at first because the cotija and lime already bring a lot of personality.
Dairy-Free Version
Use dairy-free cream cheese and a rich vegan mayo, then finish with a dairy-free feta-style cheese if you can find one. The texture stays close to the original, though the flavor will be a little less tangy and salty than cotija. A pinch more lime juice helps wake it back up.
Serve It Cold Instead of Baking It
Skip the oven and chill the mixed dip for at least 30 minutes before serving. The flavor still works, but the texture shifts from warm and gooey to thick and spreadable. This version is best if you want something faster, though it loses the bubbling edges that make the baked dip stand out.
Storage and Reheating
- Refrigerator: Store leftovers in an airtight container for up to 4 days. The texture thickens as it chills, but the flavor holds up well.
- Freezer: I don’t recommend freezing this dip. The dairy base can separate and turn grainy after thawing.
- Reheating: Warm it in a 350°F oven until hot and bubbling at the edges, or microwave it in short bursts, stirring between each one. Don’t blast it on high heat or the mayonnaise can split and the dip can turn oily.
Questions I Get Asked About This Recipe
Mexican Street Corn Dip
Ingredients
Equipment
Method
- Heat the oil in a skillet over medium-high heat. Add corn and cook, stirring occasionally, until kernels begin to char, about 8 minutes, then season with salt and pepper.
- In a bowl, mix softened cream cheese and mayonnaise until smooth. Fold in charred corn, most of the cotija cheese, cilantro, garlic, lime juice, and chili powder.
- Transfer the mixture to a baking dish and bake at 375°F for 12-15 minutes until heated through and edges are bubbling. Top with the remaining cotija cheese and cilantro, then serve hot with tortilla chips.


