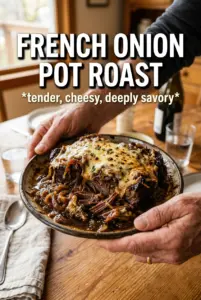
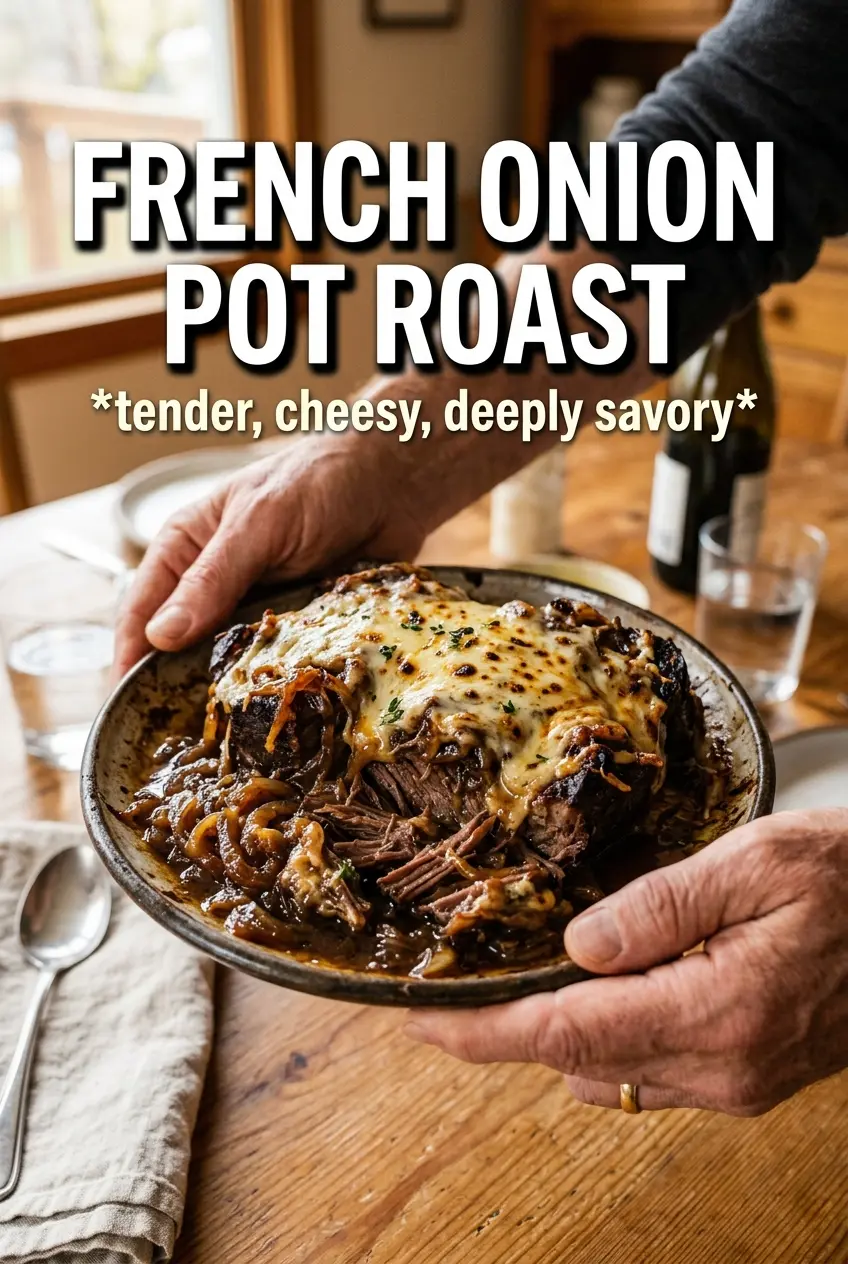
French onion pot roast turns a classic Sunday braise into something deeper, richer, and a little bit more luxurious than the usual beef-and-onions setup. The roast cooks until it falls apart at the touch of a spoon, and the broth picks up every bit of sweetness from the onions plus the savory backbone of beef, thyme, and wine. The toasted baguette and melted Gruyere on top finish it with the same pull-apart, brothy-cheesy comfort people love in French onion soup, only now it eats like a full meal.
What makes this version work is patience in the right places. The onions need time to go from sharp and pale to jammy and brown, because that’s where the base of the dish comes from. The roast also needs a hard sear before it braises; skipping that step leaves the broth flat and the beef one-note. Once everything is in the Dutch oven, the oven does the heavy lifting and the meat turns tender without drying out.
Below, I’ve broken down the part that matters most: how to get the onions truly caramelized, how to keep the braise flavorful, and how to finish it so the cheese turns bubbly instead of greasy.
The onions took the full 30 minutes, but it was worth it — the broth turned silky and the Gruyere on top browned without getting oily. My husband went back for a second bowl and scraped the pot clean.
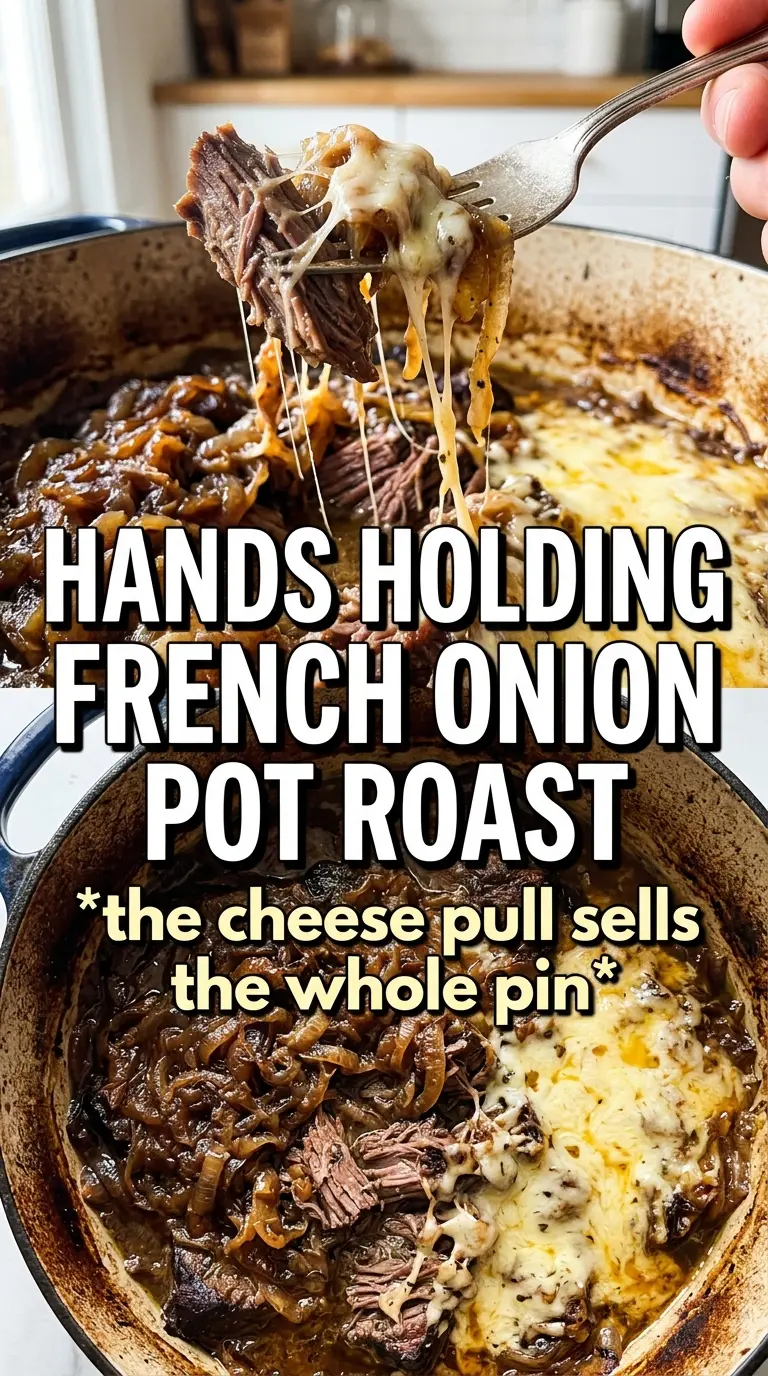
Like this French Onion Pot Roast? Save it to Pinterest for the nights when you want deeply caramelized onions, tender beef, and melted Gruyere on toasted baguette.
The Part Most Pot Roasts Get Wrong: The Onions Need Time, Not Heat
French onion pot roast lives or dies on the onions. If they only soften, the broth tastes thin and the whole dish ends up leaning on salt instead of depth. You want them cooked low and slow until they collapse, turn glossy, and take on a deep amber color around the edges.
This is not the stage to rush with higher heat. Fast browning gives you scorch marks, not sweetness, and scorched onions turn bitter once the broth goes in. Give them the full 30 to 35 minutes, scraping the pan often, and you’ll get the kind of base that makes the braise taste like it cooked all day.
- Chuck roast — This cut has enough fat and connective tissue to turn tender in the oven instead of stringy. A lean roast won’t give you the same silky texture.
- Onions — Yellow onions are the best choice here because they break down into a sweet, savory jam. Sweet onions work too, but they can go a little softer and less complex.
- Dry white wine or beef broth — Wine adds brightness and helps lift the browned bits from the pan. If you skip it, use broth and a small splash of vinegar at the end for balance.
- Gruyere — This cheese melts cleanly and gives you that nutty French onion finish. Swiss cheese can work in a pinch, but it won’t brown quite as beautifully.
- Baguette — Toast it well before topping the roast. Soft bread turns soggy in seconds; sturdy toast keeps the cheese on top instead of disappearing into the broth.
What Each Ingredient Is Actually Doing in This Recipe
- Primary ingredient (the star) — Quality matters most. Choose the best you can find.
- Cooking medium (oil, butter, or broth) — This carries flavors and prevents dryness.
- Seasonings (salt, pepper, spices, herbs) — Layer flavors so nothing overpowers. Build depth gradually.
- Aromatics (garlic, onion, herbs) — Cook with fat to bloom flavors. Become the foundation.
- Supporting ingredients — Complement the main ingredient without overpowering it.
- Sauce or liquid (if applicable) — Brings flavors together. Balance richness with acid.
- Acid (lemon, vinegar, wine, or other) — Brightens and prevents flat-tasting results.
- Final finish (garnish, glaze, or sauce) — Prevents one-dimensional taste and adds visual appeal.
How to Build the Braise So the Beef Stays Rich, Not Flat
Getting a Deep Sear on the Roast
Season the chuck roast generously with salt and pepper, then sear it in olive oil until the surface is dark brown on all sides. That crust is where a lot of the flavor comes from, and the pan will collect browned bits that help the braising liquid taste like beef instead of just broth. If the meat sticks at first, leave it alone; it will release when the crust is ready. Pull it out before you start the onions so it doesn’t overcook while the pan stays hot.
Caramelizing the Onions the Right Way
Melt the butter, add the sliced onions, and keep the heat at medium-low. They should soften first, then slowly turn golden and finally deep brown with a sweet, jammy texture. If they start to catch or blacken, the heat is too high and the dish will pick up bitterness, so add a splash of broth to the pan and keep going. Stir in the garlic near the end so it perfumes the onions without burning.
Turning the Pan Drippings Into the Braising Liquid
Pour in the wine and scrape every browned bit from the bottom of the pot. That’s the good stuff, and it disappears fast once the liquid hits the heat. Add the broth, Worcestershire, thyme, and bay leaves, then return the roast to the pot. The liquid should come partway up the meat, not drown it; too much liquid dilutes the flavor and gives you boiled beef instead of braised beef.
The Final Broil That Makes It Taste Like French Onion Soup
When the beef is fall-apart tender, shred it into the broth and remove the bay leaves. Ladle the mixture into bowls, float the toasted baguette on top, and cover with Gruyere. Broil just until the cheese melts and spots of gold appear at the edges. Walk away once the cheese starts to bubble; a minute too long and it can turn greasy instead of stretchy.
Make It Without Wine
Use beef broth instead of wine if you want to keep it alcohol-free. Add a teaspoon of red wine vinegar or sherry vinegar at the end to bring back the brightness that wine usually adds. The flavor will be a little deeper and less sharp, but still full and savory.
Dairy-Free Version
Swap the butter for olive oil and skip the Gruyere topping. The braise still works because the onions and beef carry the flavor, but you lose the rich, melty finish on top. If you want a little of that same comfort, serve it over mashed potatoes instead of bread.
Gluten-Free Serving Option
Leave out the baguette and spoon the roast over mashed potatoes or creamy polenta. You’ll still get the same oniony braise and melted cheese on top, just without the bread. Check your Worcestershire sauce if needed, since some brands contain gluten.
Storage and Reheating
- Refrigerator: Store the beef and broth together for up to 4 days. The onions deepen as they sit, so the leftovers taste even more savory.
- Freezer: The braised beef freezes well for up to 3 months, but freeze it without the baguette and cheese. Thaw overnight in the refrigerator before reheating.
- Reheating: Warm it gently on the stovetop over low heat or in a 325F oven covered until hot. Don’t boil it hard or the beef can dry out and the broth can turn greasy.
Answers to the Questions Worth Asking
French Onion Pot Roast
Ingredients
Equipment
Method
- Preheat oven to 325F. Pat the beef chuck roast dry, season with salt and pepper, then sear in olive oil inside a Dutch oven until deeply browned.
- Transfer the roast to a plate. Set aside while you caramelize the onions, leaving the browned bits in the pot.
- Add unsalted butter and sliced onions to the Dutch oven. Cook over medium-low heat for 30-35 minutes, stirring occasionally, until deeply caramelized with dark golden color.
- Add minced garlic and cook for about 30 seconds. Stir just until fragrant, then deglaze with dry white wine or beef broth while scraping up the browned bits.
- Pour in beef broth and stir in Worcestershire sauce, fresh thyme, and bay leaves. Bring the mixture to a gentle simmer so the flavors meld.
- Return the roast to the Dutch oven and spoon some onion broth over it. Cover with a lid.
- Braise at 325F for 3 to 3-1/2 hours until the beef is fall-apart tender. Check for bubbling through the lid and keep the roast mostly submerged.
- Remove bay leaves from the pot. Shred the beef in the broth so it soaks up the onion mixture.
- Ladle the pot roast and broth into bowls. Float toasted baguette on top of each bowl.
- Top with Gruyere and broil for 3-4 minutes at high heat until the cheese is golden and bubbly. Serve immediately while hot.