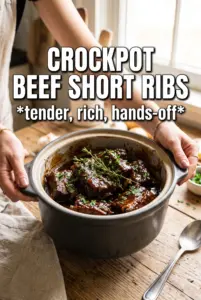
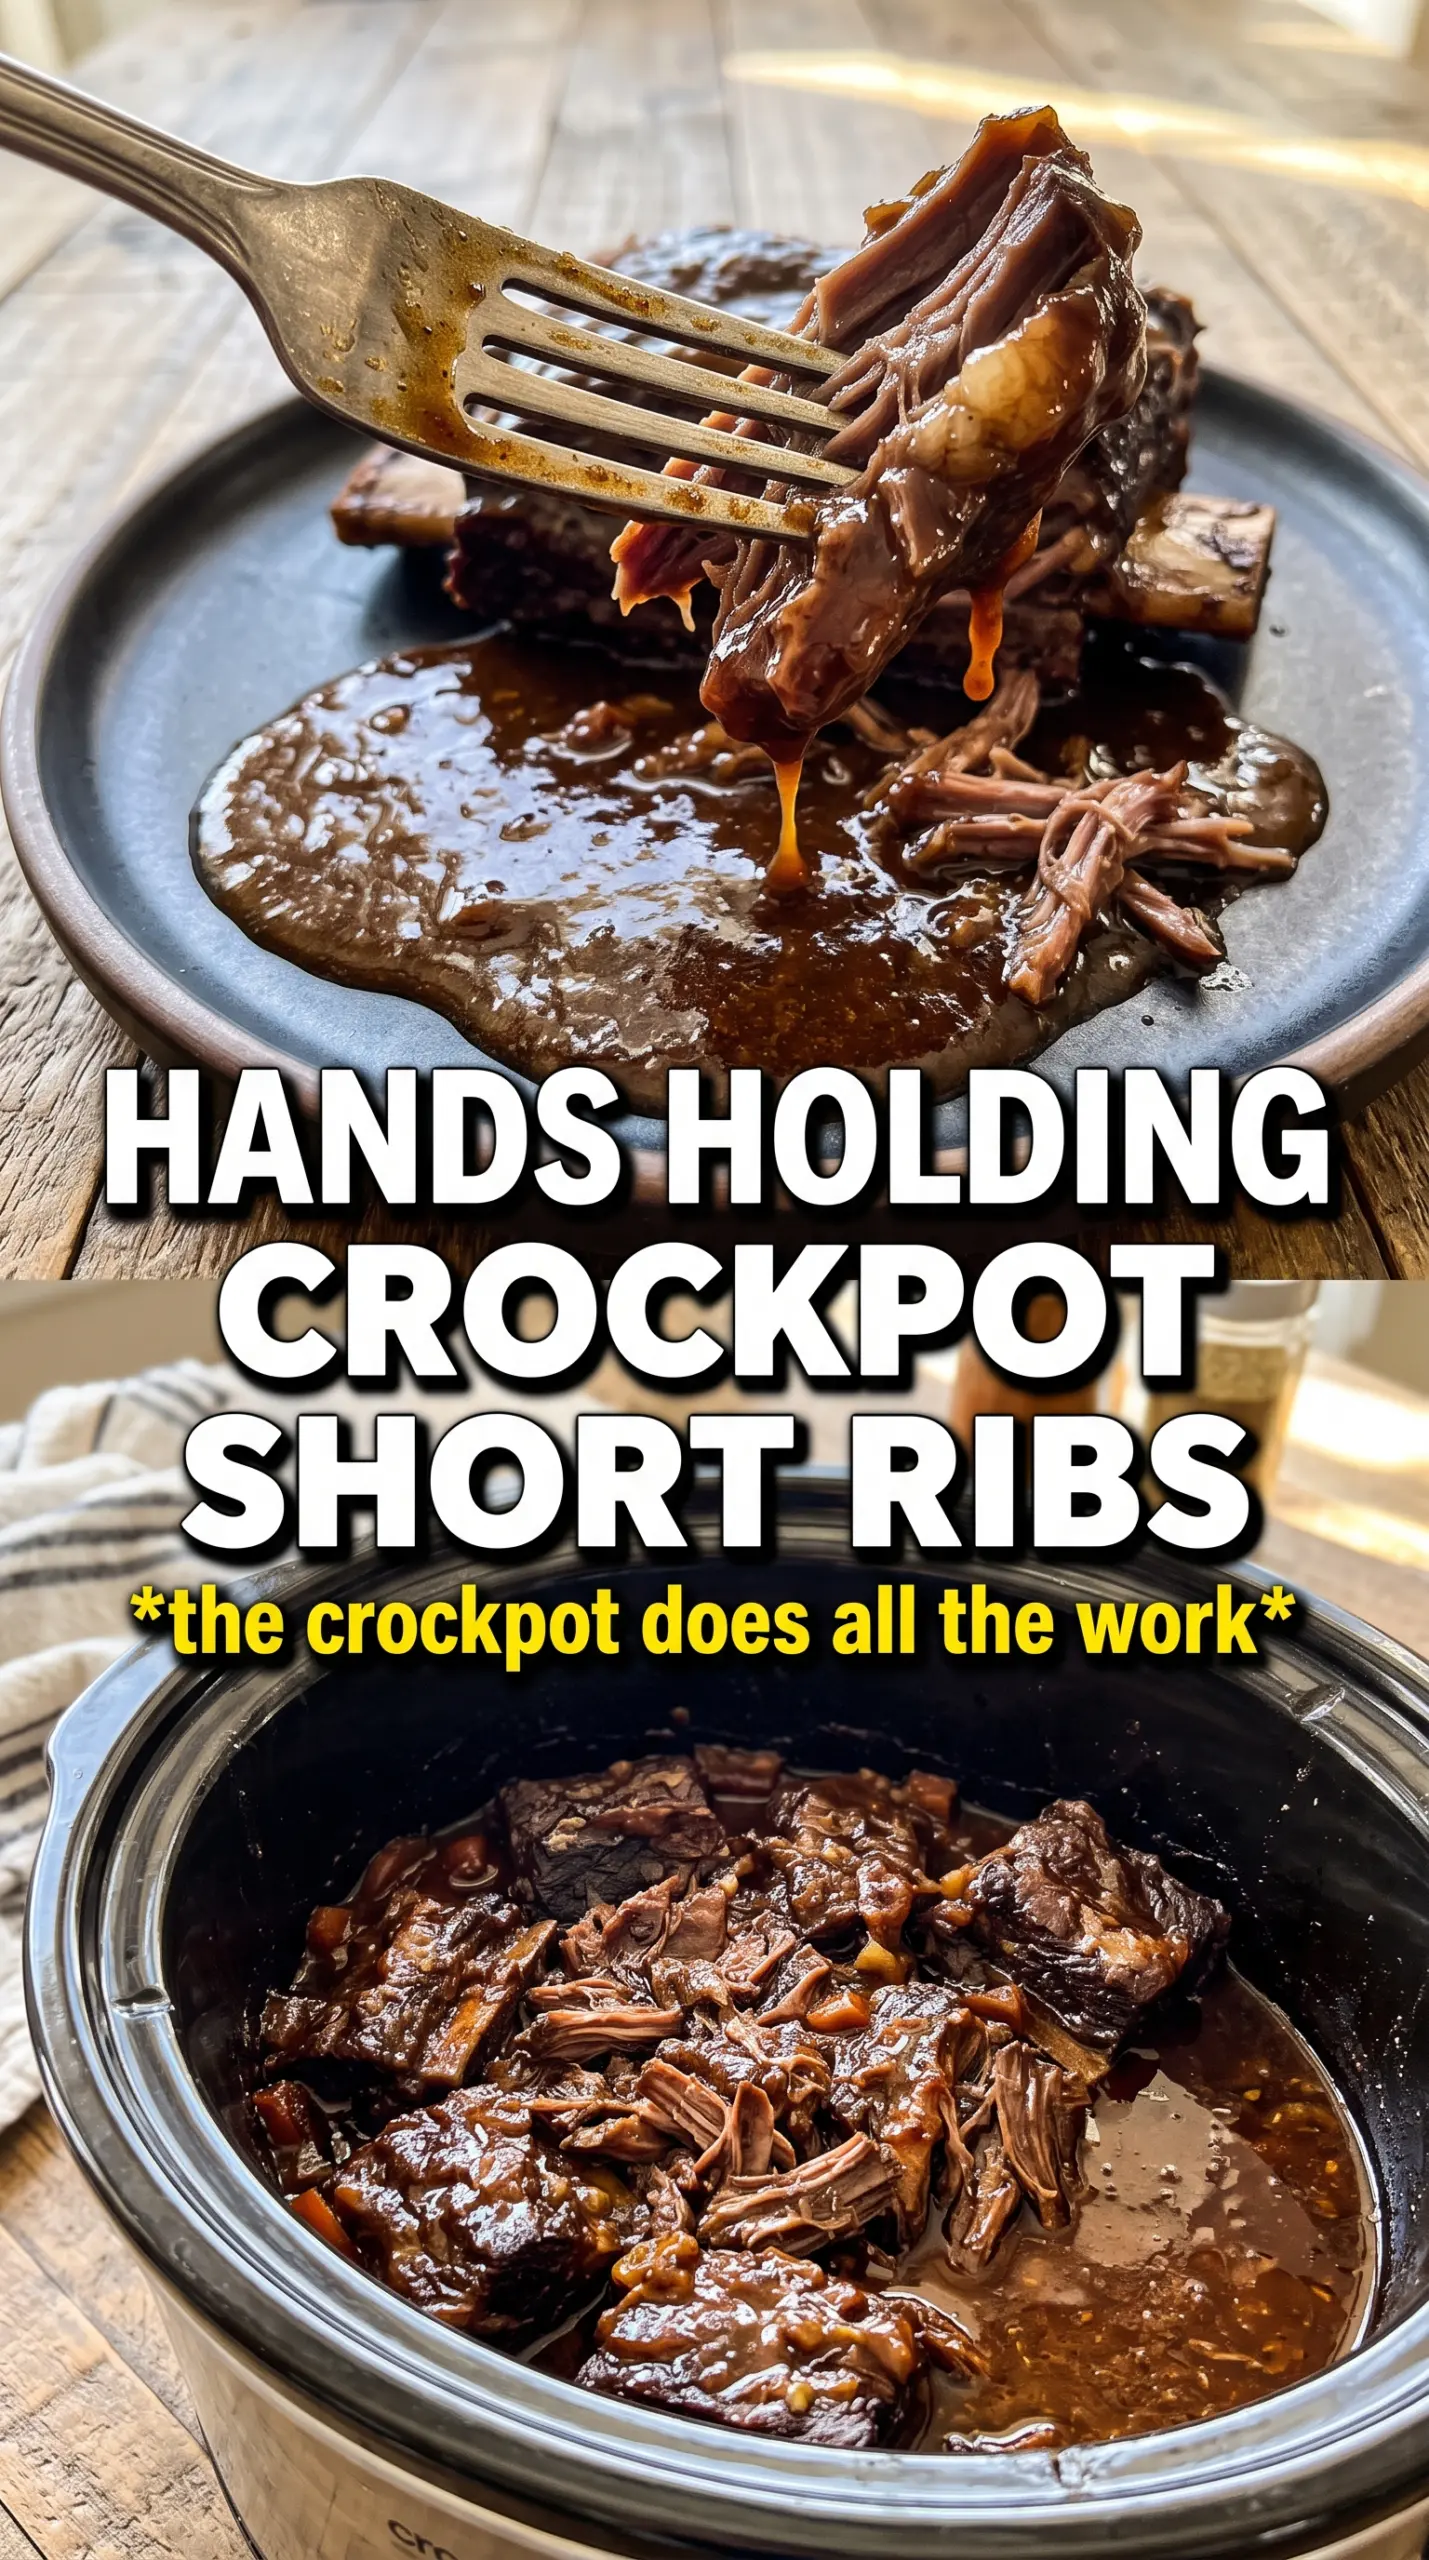
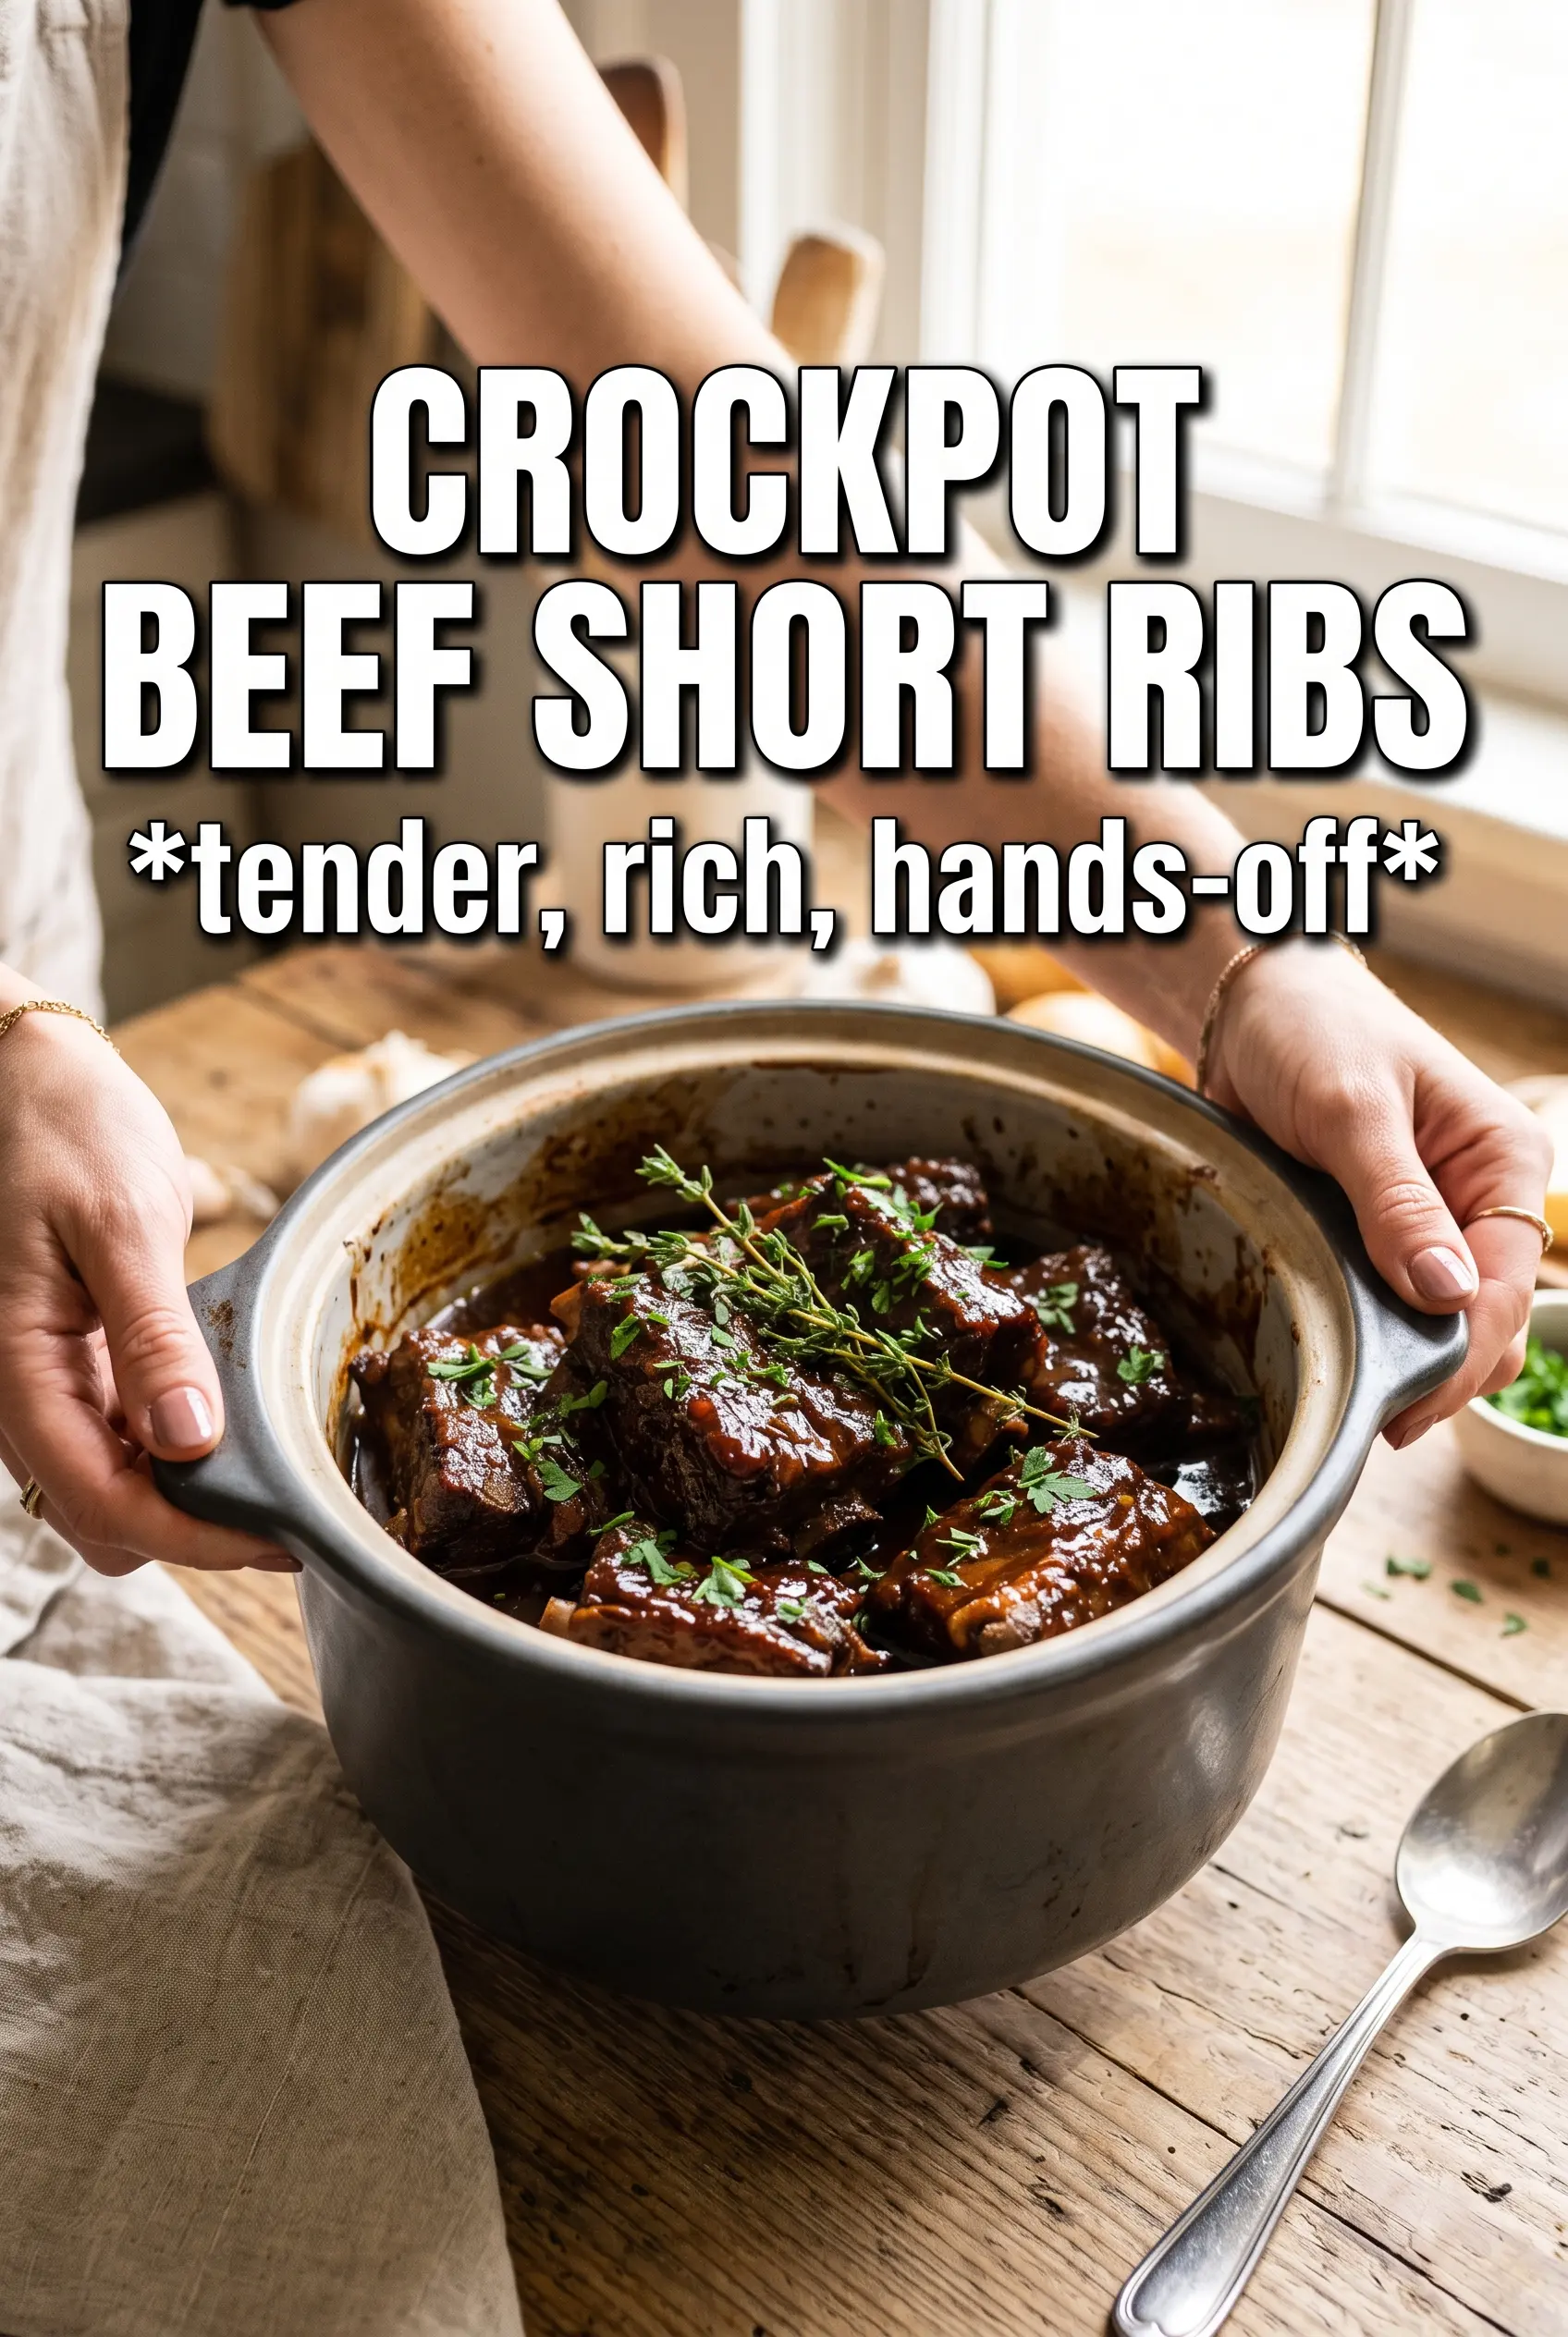
Fall-apart crockpot beef short ribs turn into something deep, rich, and spoon-tender when they spend the day braising in red wine, beef broth, and aromatics. The meat pulls cleanly from the bone, the sauce tastes like it simmered far longer than it did, and the mashed potatoes underneath catch every last bit of that glossy braising liquid.
What makes this version work is the balance: a hard sear up front for flavor, then a low, slow cook that keeps the ribs from drying out. The tomato paste adds body, the Worcestershire brings savory depth, and the carrots, celery, and onion melt into the sauce instead of just sitting there as filler. I also like to thicken the liquid at the end, after the ribs are out, so the sauce stays silky instead of muddy.
Below, I’ve included the small details that matter most, including how to keep the sauce from turning greasy and what to do if you want to make these ahead.
The ribs were fall-apart tender and the sauce thickened up beautifully at the end. I served them over mashed potatoes, and the whole pot was wiped clean.
Save these crockpot beef short ribs for a day when you want fork-tender meat and a red wine gravy that tastes like it took all weekend.
The Sear Is What Keeps These Ribs From Tasting Flat
The biggest mistake with short ribs in a slow cooker is assuming the long cook will create flavor on its own. It won’t. The Crockpot gives you tenderness, but the deep beefy taste starts in the skillet, where the ribs get a dark crust before they ever see the broth.
That browning step does two things at once: it builds flavor on the meat and leaves caramelized bits in the pan that can be stirred into the braising liquid. If the skillet isn’t hot enough, the ribs will steam and turn pale, and the sauce will taste one-note even after eight hours. You want a steady, confident sear on every side before they go into the Crockpot.
- Bone-in beef short ribs — Bone-in ribs bring more flavor and hold up better over a long cook than boneless pieces. Ask for well-marbled ribs with a deep red color, because that fat is what keeps the meat lush instead of stringy.
- Red wine — This adds acidity and depth, and it cuts through the richness of the ribs. Use a wine you’d actually drink; it doesn’t need to be expensive, but it shouldn’t taste sharp or thin.
- Tomato paste — A small amount gives the sauce body and a darker, fuller taste. Let it sit in the hot liquid for a moment so it loses that raw edge.
- Worcestershire sauce — This is the quiet ingredient that makes the braising liquid taste finished. There isn’t a perfect substitute for its savory tang, but soy sauce works in a pinch if that’s what you have.
What Each Ingredient Is Actually Doing in This Recipe
- Primary ingredient (the star) — Quality matters most. Choose the best you can find.
- Cooking medium (oil, butter, or broth) — This carries flavors and prevents dryness.
- Seasonings (salt, pepper, spices, herbs) — Layer flavors so nothing overpowers. Build depth gradually.
- Aromatics (garlic, onion, herbs) — Cook with fat to bloom flavors. Become the foundation.
- Supporting ingredients — Complement the main ingredient without overpowering it.
- Sauce or liquid (if applicable) — Brings flavors together. Balance richness with acid.
- Acid (lemon, vinegar, wine, or other) — Brightens and prevents flat-tasting results.
- Final finish (garnish, glaze, or sauce) — Prevents one-dimensional taste and adds visual appeal.
Building the Braise So the Sauce Stays Rich, Not Watery
Getting a Real Brown Crust
Season the ribs generously first, then sear them in a hot skillet with olive oil until they’re deeply browned on all sides. Don’t crowd the pan, or the meat will release moisture and lose that crust before it forms. A good sear should smell nutty and look almost mahogany at the edges. If the ribs are sticking hard, they need another minute; once they’re ready, they’ll release more cleanly.
Layering the Crockpot
Put the onion, garlic, carrots, and celery in the bottom of the Crockpot so they can soften under the meat. Nestle the ribs on top, then pour in the broth, wine, tomato paste, and Worcestershire mixture. The liquid should come partway up the ribs, not bury them completely. If the vegetables sit on top of the meat, they’ll dry out and the sauce won’t develop that rounded, braised flavor.
The Slow Cook That Does the Work
Add the thyme, rosemary, and bay leaves, then cook on Low for 7 to 8 hours until the meat slips from the bone with almost no resistance. Don’t rush this on High unless you have to; low heat gives the collagen time to melt without tightening the meat. When the ribs are done, they should be tender enough to lift carefully with tongs, but still intact enough to serve whole.
Finishing the Sauce
Remove the ribs and bay leaves, then skim off as much fat as you can from the surface of the braising liquid. Stir in the cornstarch slurry and cook on High for about 15 minutes until the sauce turns glossy and lightly coats a spoon. If the sauce stays thin, it usually means the slurry didn’t get a full hot minute to work. Keep the lid on while it thickens so the liquid doesn’t evaporate unevenly.
Make It Without the Wine
Replace the red wine with an equal amount of extra beef broth plus 1 tablespoon of red wine vinegar. You’ll lose a little of the deep, tannic background, but the ribs will still taste rich and balanced instead of heavy.
Gluten-Free and Still Thickened
The cornstarch slurry is already gluten-free, so this recipe fits easily as written if your broth and Worcestershire sauce are certified gluten-free. If you swap in flour, the sauce will turn a little cloudier and need a longer simmer to lose the raw flour taste.
For a Deeper Herb Finish
Add a sprig of fresh thyme near the end or finish the sauce with a small pinch of chopped rosemary. Fresh herbs brighten the final bowl, but use them lightly so they don’t fight the long-cooked flavor of the braise.
Storage and Reheating
- Refrigerator: Store the ribs and sauce in an airtight container for up to 4 days. The sauce will thicken as it chills, and the fat will firm up on top.
- Freezer: These freeze well for up to 3 months. Cool them completely first, then freeze the meat in sauce so the ribs stay moist when thawed.
- Reheating: Reheat gently on the stove or in a covered dish in a low oven until hot. Don’t boil the sauce hard, or the meat can turn dry and the sauce can separate.
Questions I Get Asked About This Recipe
Crockpot Beef Short Ribs
Ingredients
Equipment
Method
- Season the short ribs generously with salt and pepper, ensuring an even coating on all sides.
- Heat olive oil in a hot skillet over high heat and sear the short ribs until deeply browned on all sides.
- Place the onion, garlic, carrots, and celery in the crockpot, then nestle the seared ribs on top.
- Whisk the beef broth, red wine, tomato paste, and Worcestershire sauce until smooth, then pour over the ribs.
- Add thyme, rosemary, and bay leaves to the crockpot, arranging them so they’re in the braising liquid.
- Cook on Low for 7-8 hours, until the meat is falling off the bone, with the liquid bubbling gently around the edges.
- Remove the ribs and bay leaves, then skim excess fat from the braising liquid until it looks cleaner on top.
- Thicken with a cornstarch slurry on High for 15 minutes, stirring as the sauce turns glossy and slightly darker.
- Serve the ribs over mashed potatoes and spoon the rich braising sauce on top so the potatoes soak it up.