Sticky, salty-sweet crack green beans turn a plain side dish into the first thing people reach for at the table. The beans stay just-tender, the bacon adds smoky crunch, and that brown sugar soy glaze bakes down into something glossy and caramelized that clings to every bite.
The trick is getting the beans blanched before they ever go into the oven. That quick boil keeps them bright and tender instead of dull and soft, and it gives them a head start so they finish in the oven without turning limp. The bacon also gets cooked first, which keeps the fat from pooling in the dish and helps the topping stay crisp enough to balance the sweet glaze.
Below, I’ll show you how to keep the glaze from tasting flat, why the beans need that short blanch, and what to do if you want to make this dish ahead for a holiday meal or a busy weeknight.
The glaze got sticky and caramelized without making the beans soggy, and the bacon stayed crisp enough that everyone kept going back for “just one more spoonful.”
Crack green beans with sticky brown sugar soy glaze are worth saving for the next potluck or holiday dinner.
The Blanching Step That Keeps Green Beans Crisp After Baking
Green beans can go from bright and snappy to wrinkled and soft fast, and a long bake only makes that more likely. The short boil gives them enough head start to finish tender in the oven while keeping their shape. If you skip it, the beans need to stay in the oven longer, and that extra time is what turns them limp.
The other place people lose texture is in the baking dish itself. A 9×13-inch pan gives the glaze room to bubble around the beans instead of trapping them in a deep layer where they steam. Stir once during baking, not constantly, so the beans get a chance to caramelize at the edges.
What Each Ingredient Is Doing in the Glaze
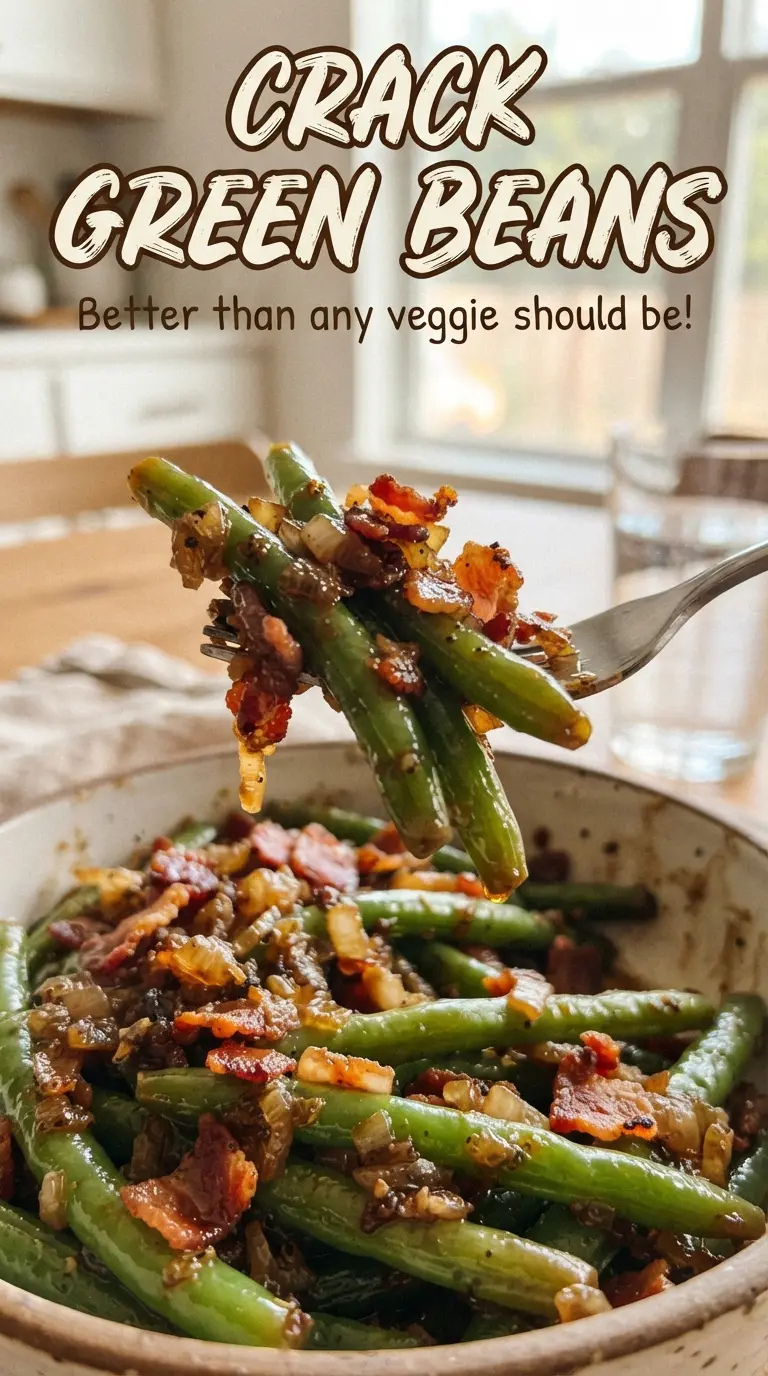
- Fresh green beans — Fresh beans hold their bite after the blanch and bake. Frozen beans can work in a pinch, but they soften faster and won’t give you the same clean snap.
- Bacon — This brings salt, smoke, and crunch. Cook it until mostly crisp before it goes in the dish, or it will soften in the glaze instead of staying pleasantly chewy around the edges.
- Brown sugar — This is what creates the sticky, lacquered finish. Packed brown sugar melts into a deeper caramel note than white sugar, which would taste flatter and thinner here.
- Soy sauce — It keeps the sweetness from tasting one-note and helps the glaze look glossy. Use regular soy sauce unless you need low sodium; low-sodium works fine, but the finish will taste a little less bold.
- Butter — Melted butter helps the sugar dissolve and gives the sauce body as it bakes. If you use a butter substitute, expect a thinner glaze and a less rich finish.
- Garlic — Fresh minced garlic gives the sauce a savory edge that cuts through the sugar. Garlic powder won’t give the same punch, but it can work if that’s what you have.
Building the Sweet-Savory Glaze So It Bakes, Not Burns
Blanching the Beans First
Bring a pot of water to a boil, drop in the trimmed beans, and cook them for 3 minutes. They should turn brighter green and lose that raw bite without going fully tender. Drain them well, because extra water in the baking dish thins the glaze and keeps it from coating properly. A quick shake in the colander goes a long way here.
Cooking the Bacon to the Right Point
Cook the chopped bacon until it’s mostly crisp but not brittle. It will continue cooking in the oven, and if you take it all the way to crunchy in the skillet, it can turn too hard by the time the beans are done. Drain it on paper towels so the glaze doesn’t end up greasy at the bottom of the pan.
Letting the Oven Do the Final Work
Whisk the brown sugar, melted butter, soy sauce, garlic, and pepper until the sugar starts to dissolve, then pour it over the beans and bacon. Bake uncovered at 350°F for 30 to 35 minutes, stirring once halfway through. The sauce should bubble thickly around the edges and look sticky, not watery, when it comes out. If it still seems loose, give it 5 more minutes; the glaze thickens as it cools.
How to Adapt These Beans for Different Tables
Make It Dairy-Free
Swap the butter for a plant-based butter that melts cleanly. The sauce will still caramelize, though it may taste a touch less rich than the original because butter adds a rounder finish.
Skip the Bacon for a Vegetarian Version
Leave out the bacon and add a pinch more salt plus a little smoked paprika if you want that savory depth back. You’ll lose the crispy, smoky bits, but the glaze still works and the beans stay the star.
Use Frozen Green Beans When That’s What’s in the Freezer
Frozen beans can replace fresh, but skip the blanch and thaw them first so they don’t dump extra water into the pan. The texture will be softer, yet the glaze still comes together nicely if you keep an eye on the last few minutes of baking.
Storage and Reheating
- Refrigerator: Store leftovers in an airtight container for up to 4 days. The beans soften a little, but the flavor holds up well.
- Freezer: This dish freezes, but the texture turns softer after thawing, so I only freeze it if I’m cooking for convenience, not for the best result. Cool completely and freeze in a sealed container for up to 2 months.
- Reheating: Reheat in a 325°F oven, covered loosely with foil, until warmed through. The biggest mistake is blasting it in the microwave, which makes the beans rubbery and the glaze separate.
Questions I Get Asked About This Dish
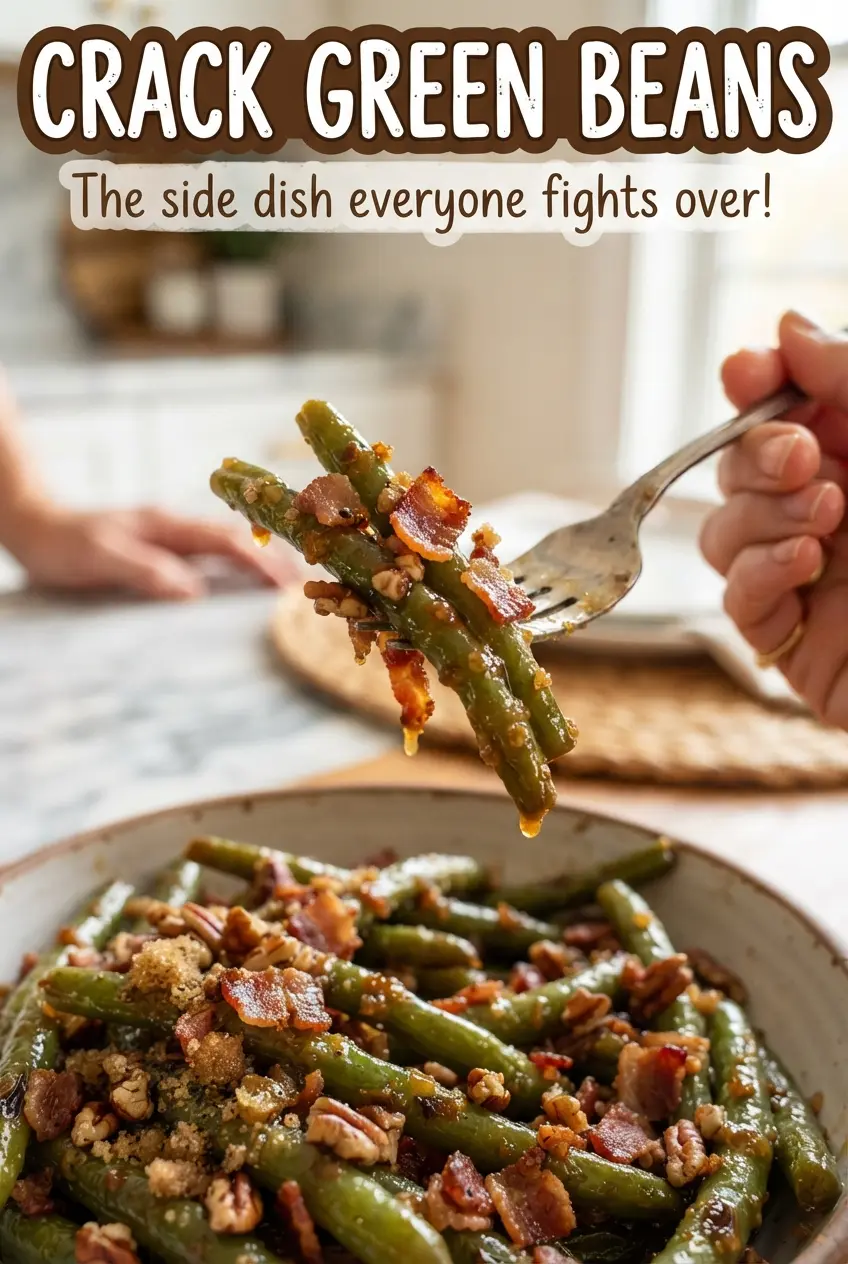
Crack Green Beans
Ingredients
Equipment
Method
- Preheat oven to 350F.
- Blanch green beans in boiling water for 3 minutes, then drain.
- Cook bacon until mostly crisp, then drain on paper towels.
- Place green beans in a 9x13-inch baking dish and top with bacon.
- Whisk brown sugar, melted butter, soy sauce, garlic, and black pepper until smooth.
- Pour the glaze over the beans.
- Bake uncovered for 30-35 minutes at 350F, stirring once midway, until the glaze is sticky and caramelized.