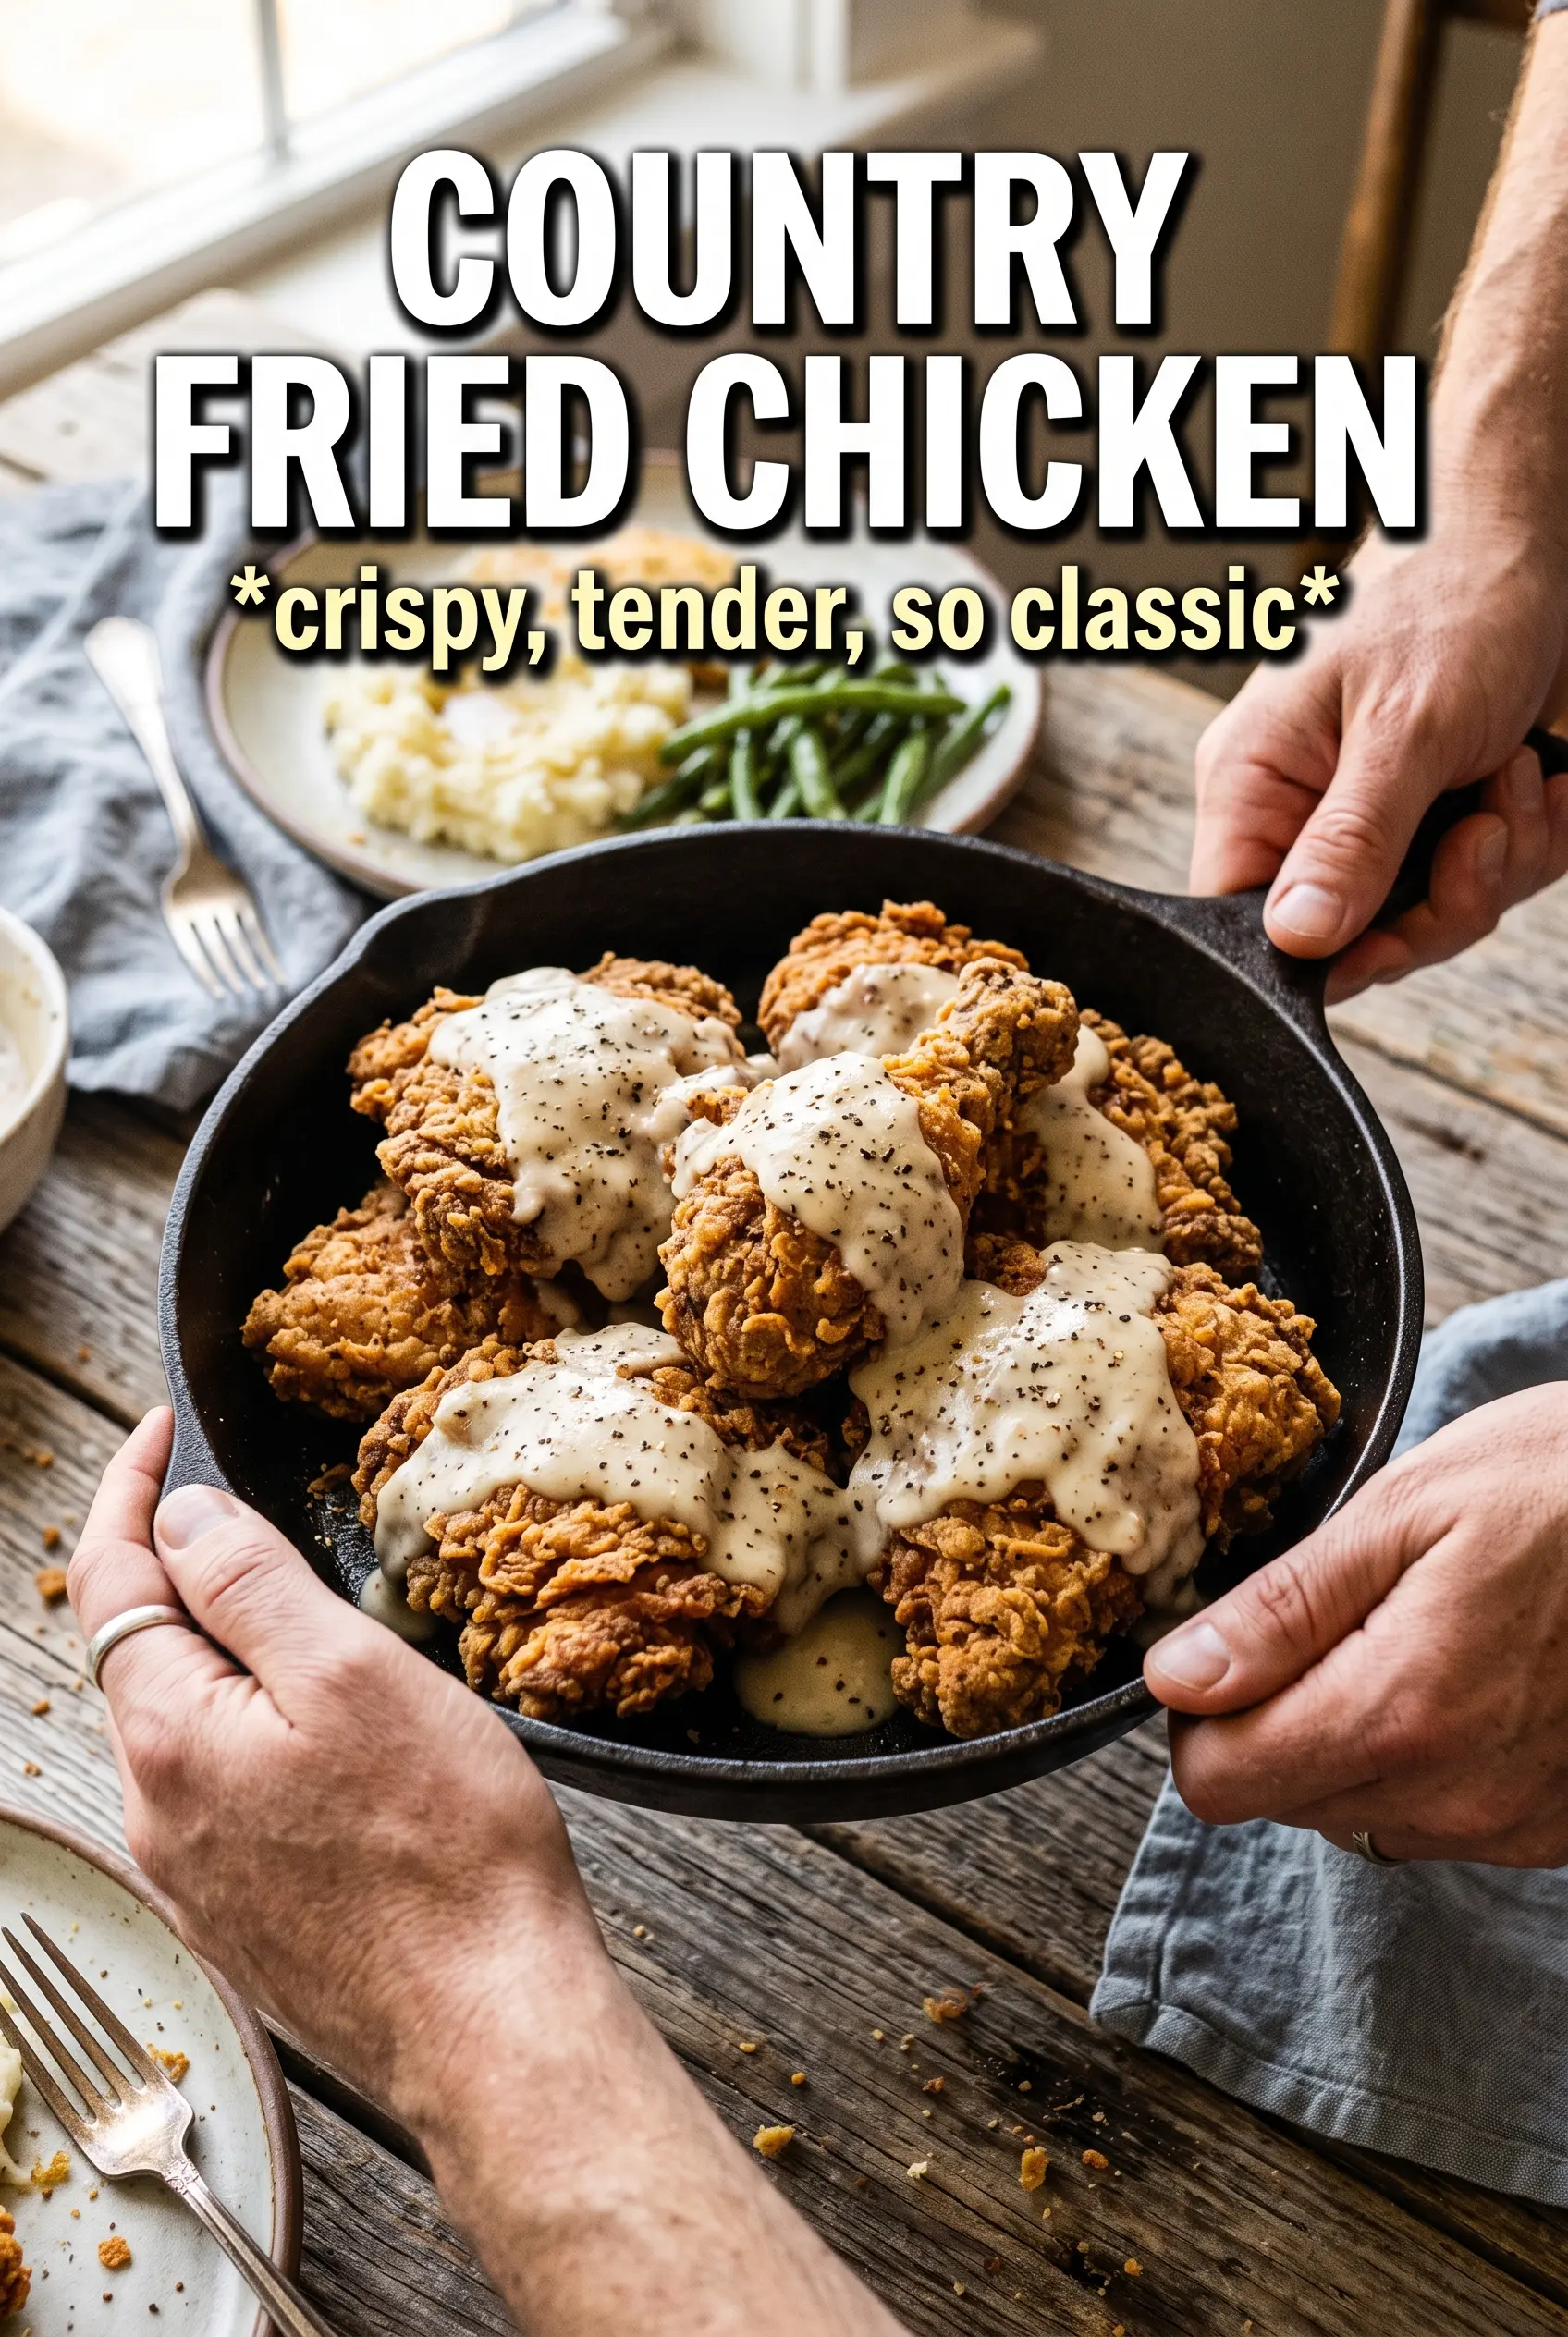
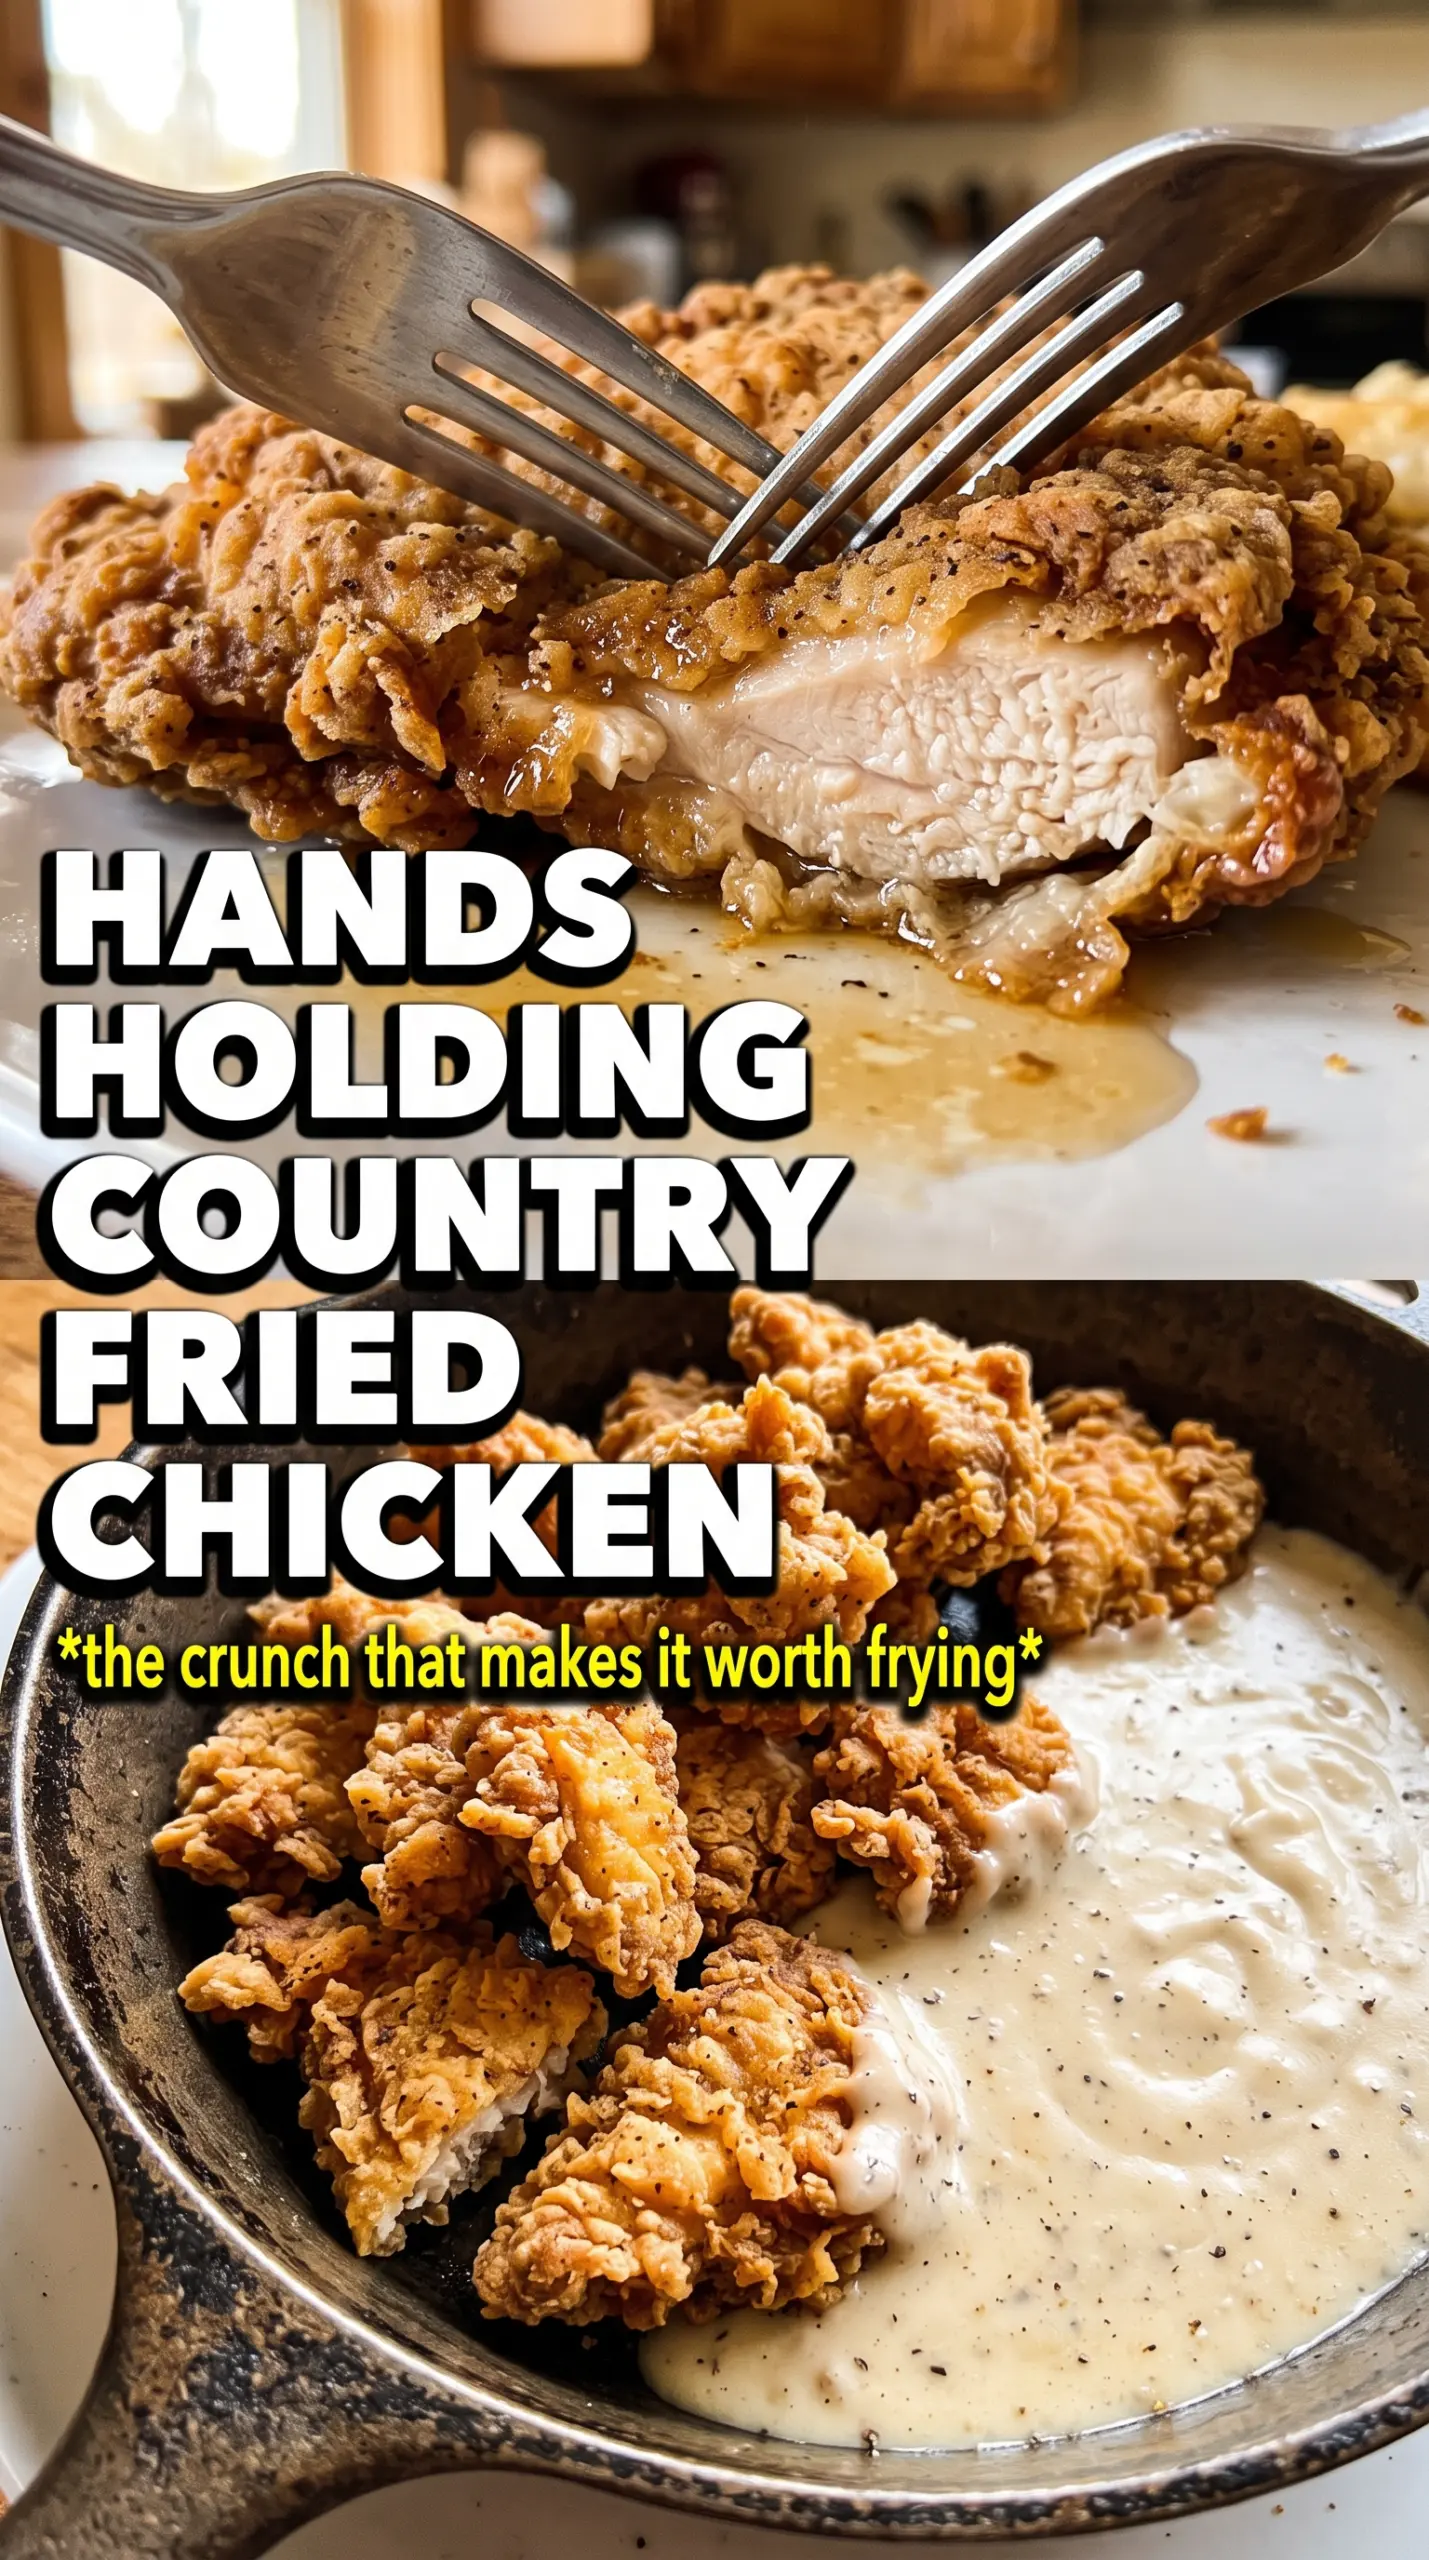
Country fried chicken earns its place on the table because the crust stays crisp under a blanket of peppery gravy instead of turning soft and greasy the second it hits the plate. The chicken tastes like a proper diner-style supper: deeply seasoned, juicy from the buttermilk soak, and fried to a shattering golden shell that gives way with a real crunch.
The trick is in the balance. Cornstarch lightens the dredge so it fries up craggy instead of bready, while the buttermilk marinade seasons the meat all the way through and helps the coating cling. The gravy uses the fried pan drippings in a controlled way, so it tastes rich and chicken-y without becoming gluey. Keep the oil at a steady 325°F and the crust will brown before the chicken dries out.
Below you’ll find the timing that keeps the breading attached, the small details that keep the gravy smooth, and a few smart swaps if you need to adjust for what you have on hand.
The crust stayed crisp even after I spooned the gravy over it, and the chicken was still juicy all the way to the bone. I let it rest on a rack for a few minutes like you said, and that made a huge difference.
Save this country fried chicken for the nights when you want a crackly crust, creamy pepper gravy, and a true Southern-style dinner.
The Secret Is in the Resting Time Before the Flour Hits
Country fried chicken falls apart when the coating slides off before it ever reaches the oil. The buttermilk soak needs enough time to season the meat and slightly loosen the surface protein, but the chicken also needs a moment to drip before dredging so the flour mixture can grab instead of turning paste-like. That thin tacky layer is what gives you those rough, craggy ridges that fry up extra crisp.
- Marinating time — One hour is enough to get flavor into the chicken, but overnight works if you want a deeper tang. Past that, the texture can start to get too soft on the outside.
- Cornstarch in the dredge — This is what keeps the crust lighter and crunchier than flour alone. Skip it and the coating gets heavier and a little more breadlike.
- Oil temperature — 325°F is the sweet spot. Hotter than that and the coating darkens before the chicken cooks through; cooler than that and the crust drinks up oil.
What Each Part of the Dredge Is Doing for the Crust
- Buttermilk — The acidity tenderizes the chicken just enough and helps the coating cling. Whole milk with a spoonful of vinegar works in a pinch, but it won’t coat the chicken quite as evenly.
- Hot sauce — You won’t taste heat, just a little backbone in the marinade. It rounds out the richness.
- Smoked paprika, garlic powder, onion powder, cayenne — These season the crust itself, which matters because country fried chicken tastes flat if all the flavor lives in the gravy. The cayenne doesn’t make it fiery here; it keeps the crust from tasting one-note.
- Flour plus cornstarch — Flour gives structure, cornstarch gives snap. Together they make the coating fry up with more crunch and less heft.
- Whole milk and chicken broth — The gravy needs both. Milk brings body, broth keeps it from tasting like plain white sauce.
Frying the Chicken Without Losing the Coating
Dredge With Pressure, Not Guesswork
Lift each piece from the marinade and let the extra buttermilk drip off for a few seconds. Press the chicken firmly into the flour mixture so the dry coating really sticks, then set it on a plate for a short rest before it goes into the oil. That rest matters because the flour hydrates and locks onto the surface instead of flaking off in the skillet.
Hold the Oil Steady
Use a heavy skillet and keep the oil at 325°F. If the temperature drops too fast, the chicken steams in its own coating and turns pale; if it climbs too high, the crust burns before the thicker parts cook through. Fry in batches if needed so the pan doesn’t get crowded and the temperature doesn’t crash.
Cook Until the Crust Is Deep Gold
Fry the chicken 12 to 15 minutes per side, turning only when the first side has a deep golden crust that releases on its own. If the chicken sticks, it isn’t ready yet. The safest check is internal temperature at the thickest part near the bone — 165°F means you’re done, and the juices should run clear, not pink.
Build the Gravy in the Same Pan
Melt the butter and whisk in the flour until it smells a little toasty. Gradually add the milk and broth, whisking until smooth and glossy, then simmer until it coats a spoon. If the gravy turns lumpy, the liquid went in too fast or the heat was too high; keep whisking over lower heat and it usually smooths out.
How to Adapt This for Spicier, Lighter, or Gluten-Free Plates
Make it gluten-free
Swap the all-purpose flour for a good 1:1 gluten-free flour blend and keep the cornstarch. The coating won’t be quite as rustic, but you’ll still get a crisp shell if you press it on well and let the breaded chicken rest before frying.
Dial up the pepper and cayenne
Add another 1/2 teaspoon cayenne to the dredge and finish the gravy with plenty of cracked black pepper. The heat stays in the crust and gravy instead of the marinade, which gives you more of a peppery Southern kick without changing the texture.
Use chicken breasts or cutlets
Boneless chicken cooks faster, so start checking early and pull it as soon as it reaches 165°F. The result is lighter and a little less old-school than bone-in pieces, but the crust still fries up beautifully if the pieces are an even thickness.
Storage and Reheating
- Refrigerator: Store chicken and gravy separately for up to 3 days. The crust softens once it’s chilled, but it still reheats well.
- Freezer: The fried chicken freezes decently without the gravy. Cool it fully, wrap tightly, and freeze for up to 2 months. Gravy doesn’t freeze as cleanly and can turn grainy when thawed.
- Reheating: Warm the chicken on a rack in a 375°F oven until hot and crisp again. Reheat the gravy slowly on the stove with a splash of milk or broth, whisking until smooth. Microwaving the chicken turns the crust limp, which is the fastest way to lose what makes this dish worth making.