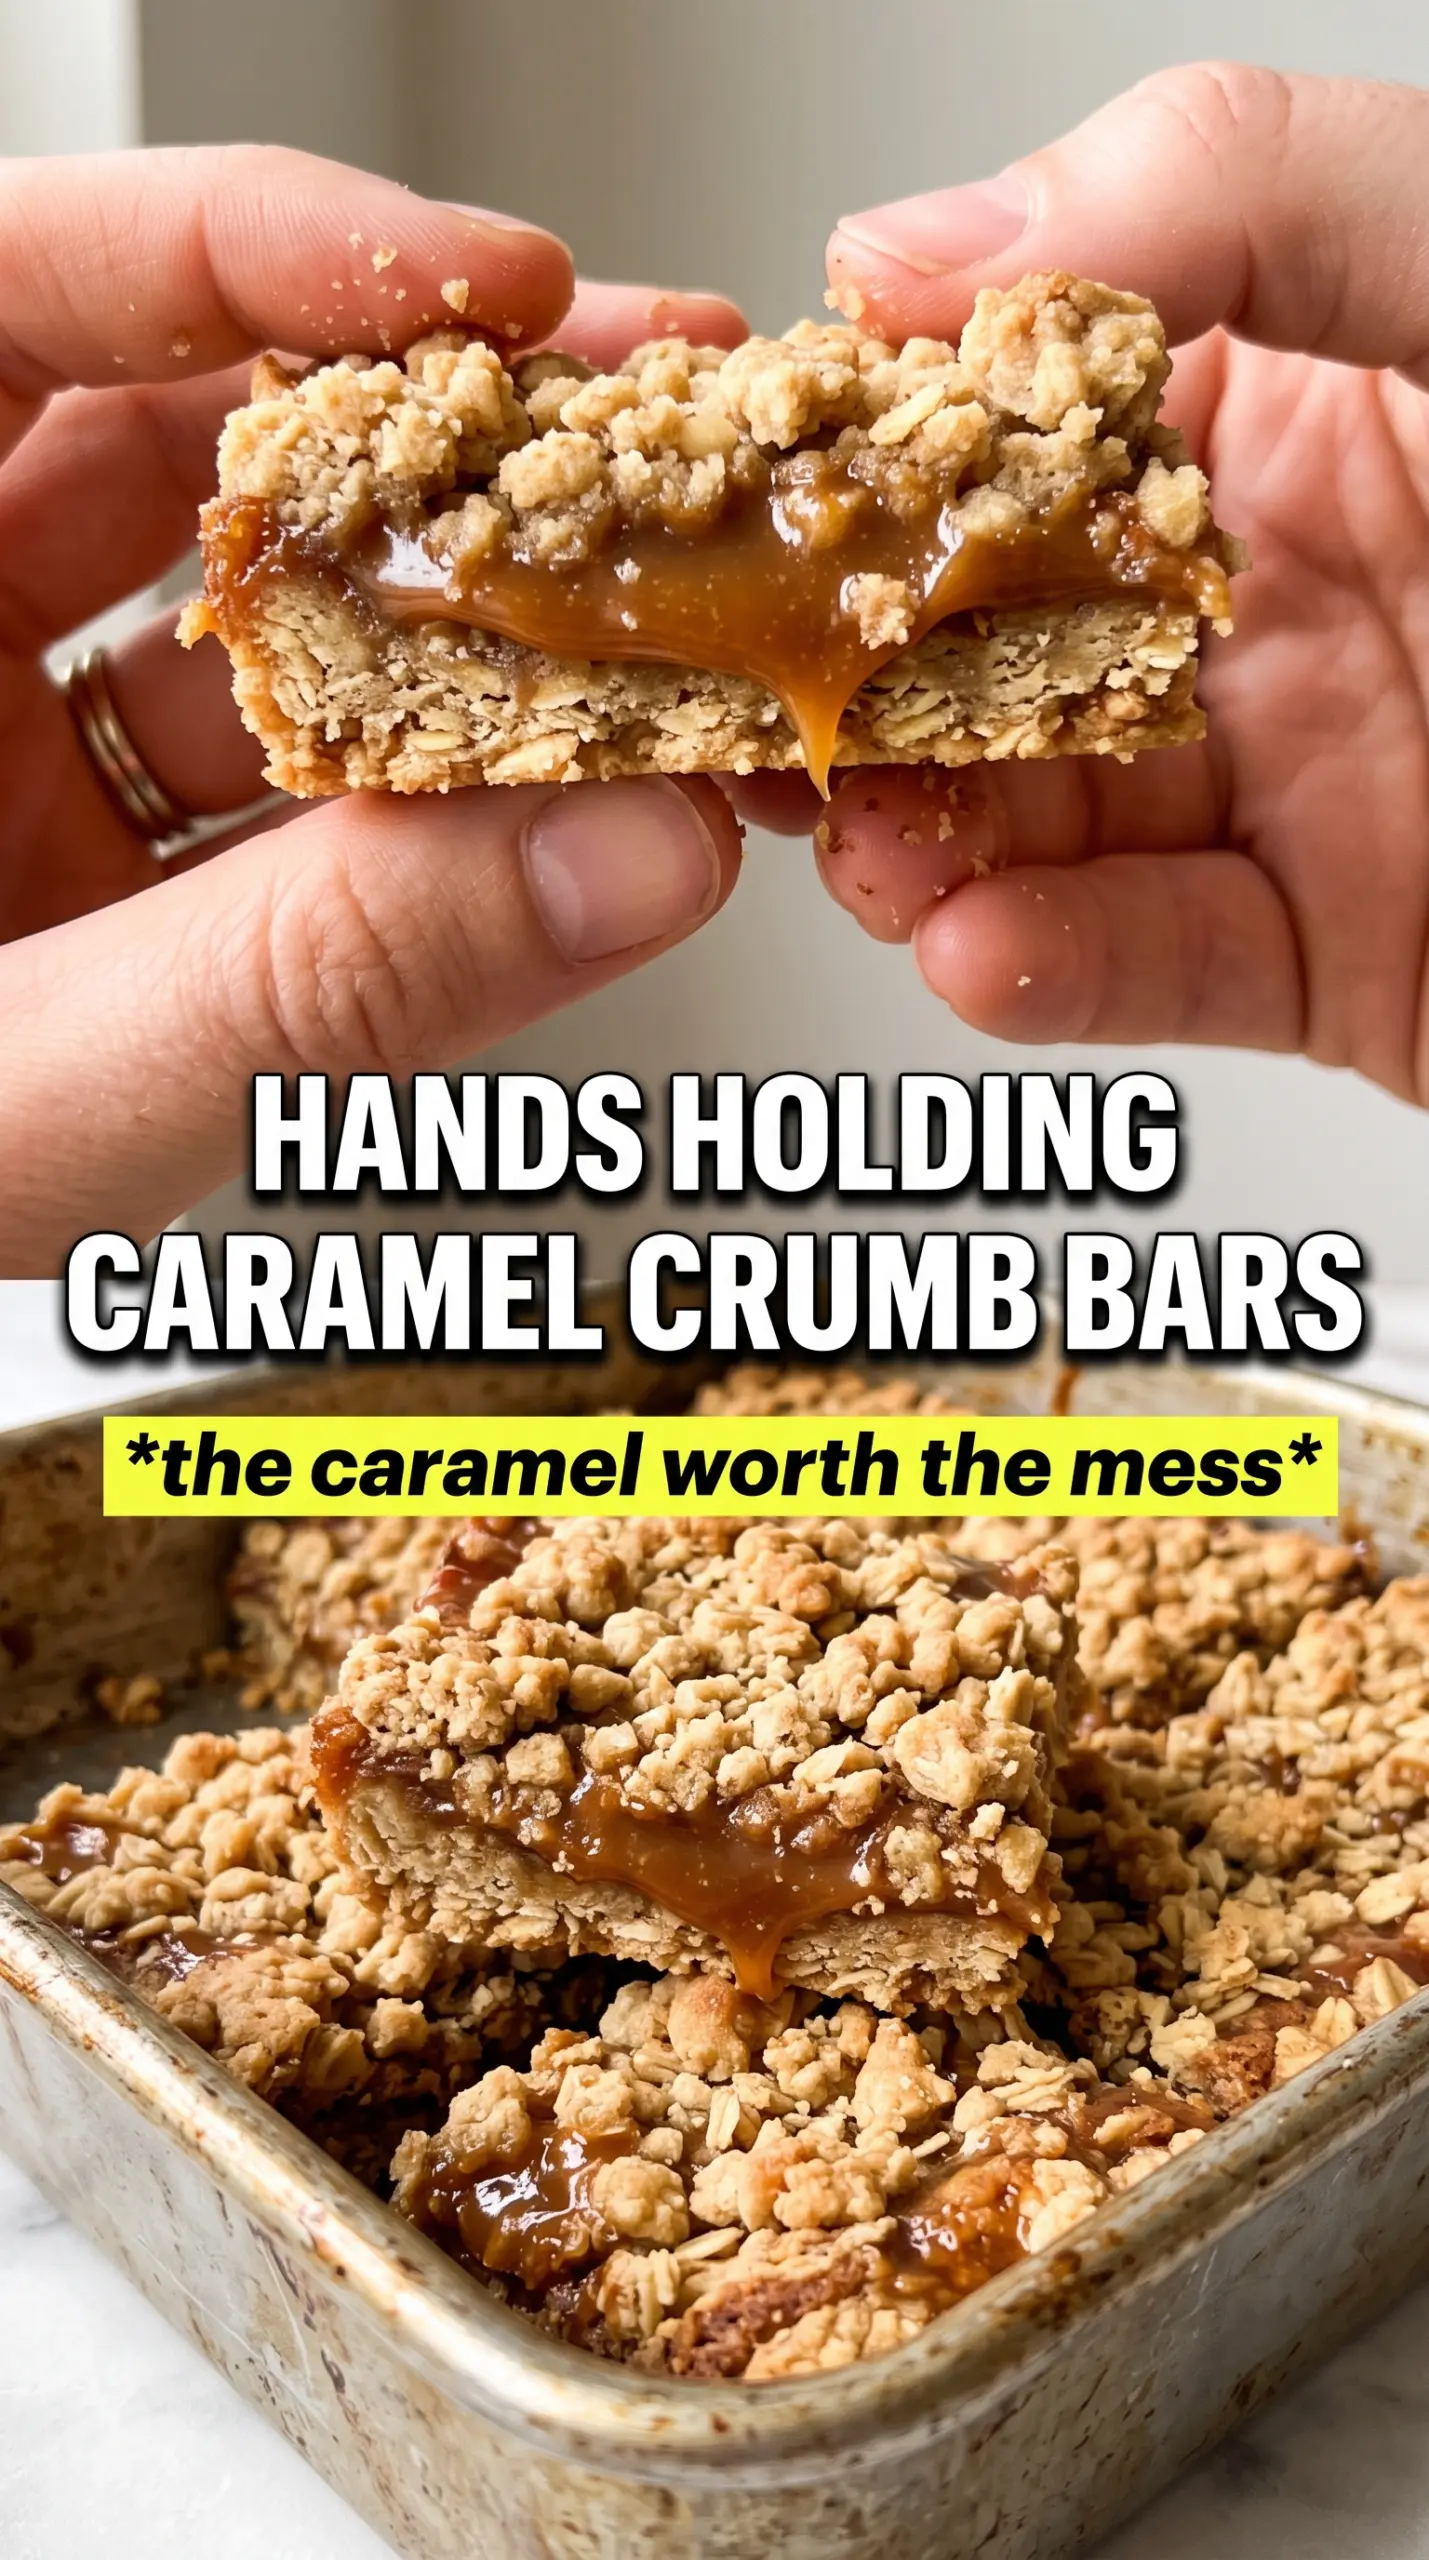
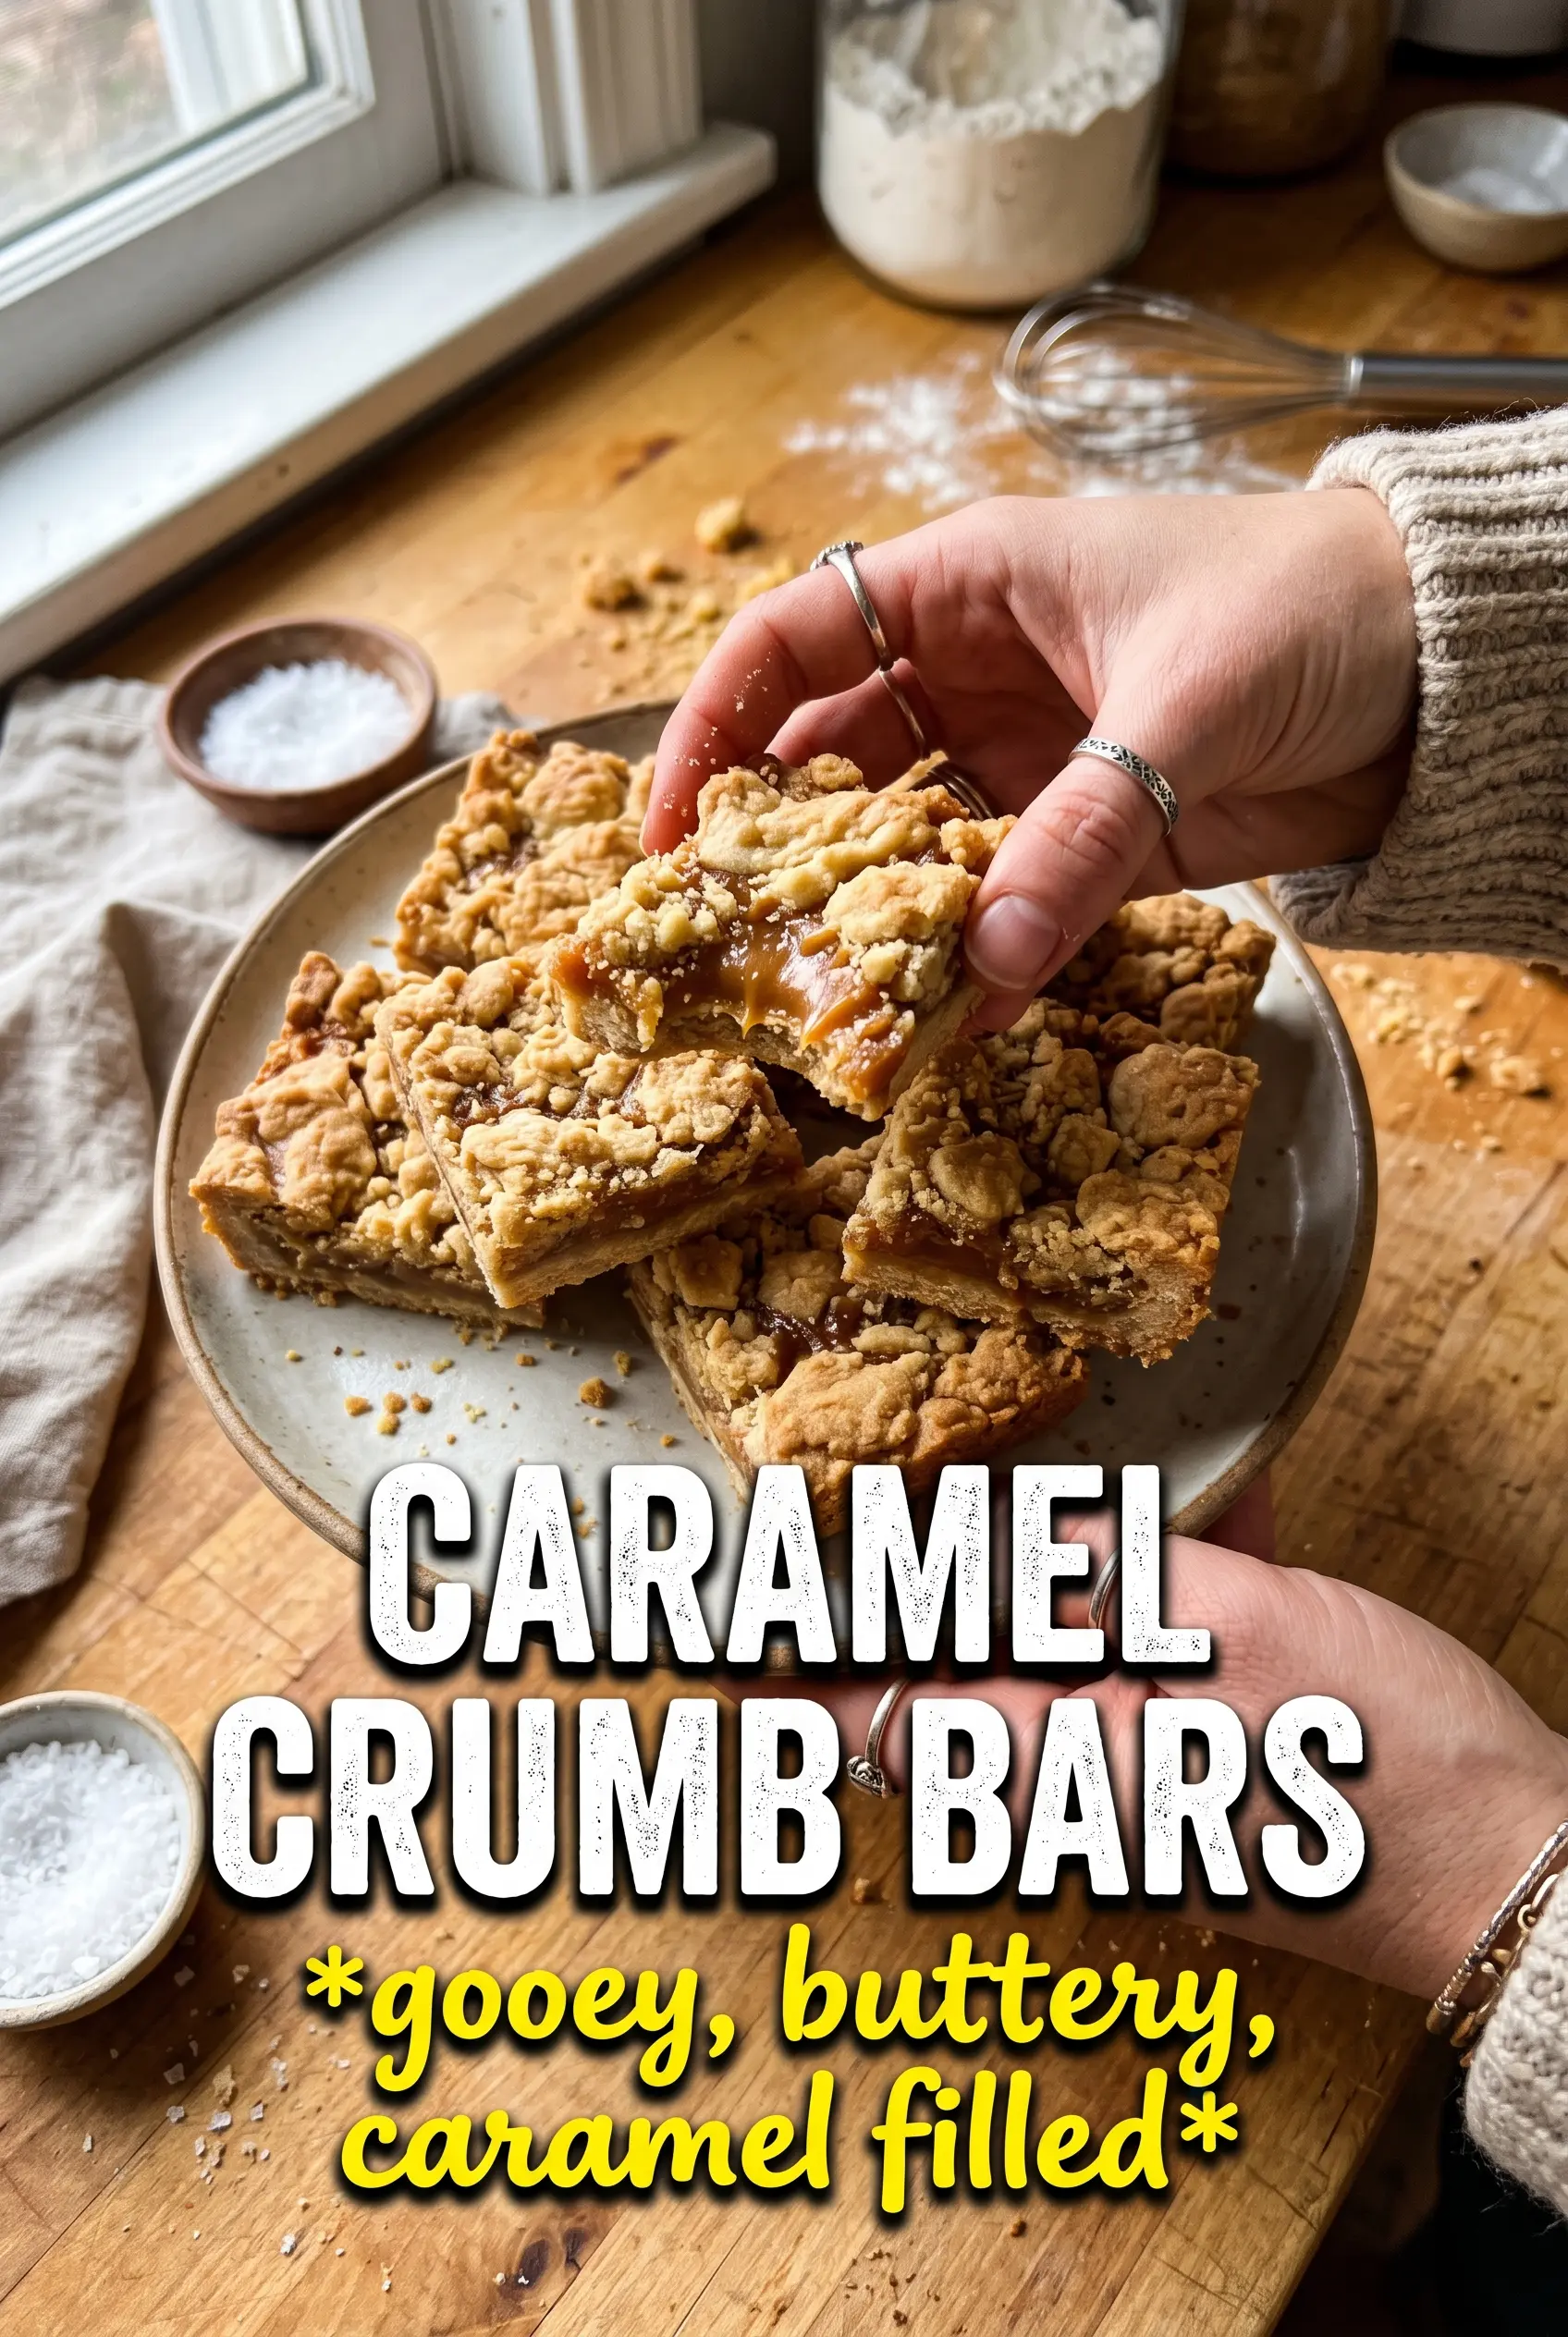
Caramel crumb bars hit that sweet spot between buttery cookie and gooey candy, with a toasted oat topping that stays tender instead of turning dry and sandy. The base bakes up sturdy enough to hold the caramel, but the top still gives a little when you bite into it, and that contrast is what keeps people reaching for a second square.
The trick is using the same crumb mixture for both the bottom and the top, then baking the base just long enough to set before the caramel goes on. The caramel itself is cooked to a real temperature, not just eyeballed, so it sets into a sliceable layer instead of leaking out when the bars cool. A little flaky salt at the end sharpens all that brown sugar and butter in the best way.
Below, I’ll walk through the part that matters most: how to keep the caramel soft and thick without making the bars messy to cut. I’ve also included the swaps I’d trust if you need to adjust for what’s in the pantry.
The caramel set up perfectly and the oat crumble stayed crisp around the edges even after chilling overnight. I cut them into neat bars for a bake sale and they disappeared first.
Love that gooey caramel layer and buttery oat crumble? Save these Caramel Crumb Bars for the next time you want a dessert that slices cleanly and still pulls apart at the center.
The Caramel Layer Is What Makes or Breaks These Bars
Most crumb bars fail for one of two reasons: the base is too loose, or the filling never gets hot enough to set properly. If you underbake the bottom crust, it turns soft under the caramel and the bars slump when you cut them. If you stop the caramel too early, it stays sticky and oozes out instead of holding that thick, chewy middle.
Cooking the caramel to 235F gives you a filling that firms up as it cools without turning hard like candy. That temperature matters more than the clock, because brown sugar mixtures can look done before they’ve actually thickened enough. The hot base also helps the caramel settle into one even layer instead of sinking into the crust.
- Pressing the base firmly keeps the crust dense enough to support the filling. Loose crumbs are fine on top, but the bottom needs real pressure.
- Using a thermometer for the caramel takes the guesswork out of the texture. Without it, the filling is much easier to undershoot.
- Letting the bars cool completely is what gives you clean edges. Cutting early will smear the caramel and make the whole pan look messy.
What Each Ingredient Is Actually Doing in These Bars
- Rolled oats give the crumb topping its chewy, toasty character. Quick oats will work in a pinch, but the texture gets tighter and less rustic.
- Cold butter for the crumble is what creates those sandy clusters that bake into a crisp-tender topping. If the butter softens too much before baking, the crumb turns pasty instead of crumbly.
- Brown sugar in both layers adds moisture and a deep caramel note that white sugar can’t match. Light or dark brown sugar both work; dark brown gives a stronger molasses finish.
- Heavy cream in the filling keeps the caramel rich and smooth. Half-and-half can work, but the caramel won’t feel quite as lush.
- Light corn syrup helps the caramel stay glossy and reduces the chance of graininess. It’s not there for sweetness alone; it keeps the sugar from crystallizing.
- Flaky sea salt isn’t optional in my kitchen. It cuts through the sweetness and makes the caramel taste fuller, not just sweeter.
Getting the Layers Set Without Losing the Gooey Center
Build the Crumb Mixture Until It Looks Like Wet Sand
Stir the dry ingredients first so the cinnamon and baking soda distribute evenly, then cut in the cold butter until the mixture forms clumps when you squeeze it. You want a texture that looks like coarse crumbs with some pea-sized pieces, not a smooth dough. If the butter starts melting into the flour, stop and chill the bowl for a few minutes before pressing the base. That extra pause keeps the topping from baking up greasy.
Prebake the Base Just Enough
Press about two-thirds of the mixture into the lined pan and compact it with the bottom of a measuring cup or your hands. Bake it until the surface looks set and the edges are just starting to color, but don’t wait for deep browning. The base will continue baking after the caramel goes on, and overbaking here makes the final bars dry around the edges.
Cook the Caramel to Temperature, Not Just Color
Melt the butter and brown sugar together, then add the cream and corn syrup and let the mixture bubble until it reaches 235F. The caramel should look thick, glossy, and slightly darker than when you started. If it smells scorched or turns grainy, the heat was too high or the sugar crystallized on the sides of the pan. Pull it off the heat, stir in the vanilla and salt, and pour it over the hot crust right away.
Finish With the Crumble and Give It Time
Scatter the remaining crumble over the caramel and bake until the top turns golden and the caramel peeks through in spots. A few darker edges are good here; they add flavor and a little crunch. Sprinkle with flaky salt while the bars are still warm, then let the pan cool completely before cutting. If you rush this part, the caramel will smear and the layers won’t stay neat.
How to Adapt These Bars for Different Kitchens and Pantries
Gluten-Free Version
Use a good 1:1 gluten-free flour blend in place of the all-purpose flour and check that your oats are certified gluten-free. The texture stays close to the original, though the crumble may be a touch more delicate when warm.
Dark Brown Sugar for a Deeper Caramel Note
Swap part or all of the light brown sugar for dark brown sugar if you want a richer, more molasses-forward flavor. The bars will taste a little deeper and slightly darker, which works beautifully with the salt on top.
Nutty Crunch Add-In
Fold up to 1 cup of chopped pecans or walnuts into the crumble mixture. They add a toasted crunch and make the bars taste a little more bakery-style, but they also make the top layer less uniform, so expect a rougher cut edge.
Storage and Reheating
- Refrigerator: Store in an airtight container for up to 5 days. The caramel firms up in the fridge, so the bars will be a little less gooey straight from cold.
- Freezer: These freeze well. Wrap individual bars tightly and freeze for up to 2 months, then thaw in the fridge so the caramel doesn’t weep.
- Reheating: Warm a bar for 10 to 15 seconds in the microwave if you want the caramel softer. Don’t heat too long or the filling will turn runny and the crumble will lose its texture.
Answers to the Questions Worth Asking
Caramel Crumb Bars
Ingredients
Equipment
Method
- Preheat oven to 350°F and line a 9x13 pan with parchment so the bars lift out cleanly.
- Combine all-purpose flour, rolled oats, brown sugar, cinnamon, baking soda, and salt in a bowl and mix until evenly colored.
- Cut in cold cubed unsalted butter until the mixture looks like coarse, crumbly sand.
- Press 2/3 of the crumble mixture firmly into the parchment-lined pan and smooth the surface with the back of your hand.
- Bake for 12 minutes at 350°F until set and lightly dry at the edges (visual cue: crumbs look set, not browned).
- Melt unsalted butter and brown sugar over medium heat, stirring until the mixture is smooth.
- Add heavy cream and light corn syrup and continue cooking until it reaches 235°F (visual cue: caramel thickens and steam bubbles become slower and thicker).
- Remove caramel from the heat and stir in vanilla and salt until fully combined and glossy.
- Pour the hot caramel over the baked base so it spreads into an even layer.
- Crumble the remaining oat mixture over the caramel in an even layer, leaving some caramel edges peeking through.
- Bake for 18–20 minutes at 350°F until the top is golden (visual cue: crumble is browned and smells toasty).
- Sprinkle flaky sea salt over the warm bars.
- Cool completely before cutting so the caramel sets and slices cleanly (visual cue: bars look firm throughout, not glossy in the center).