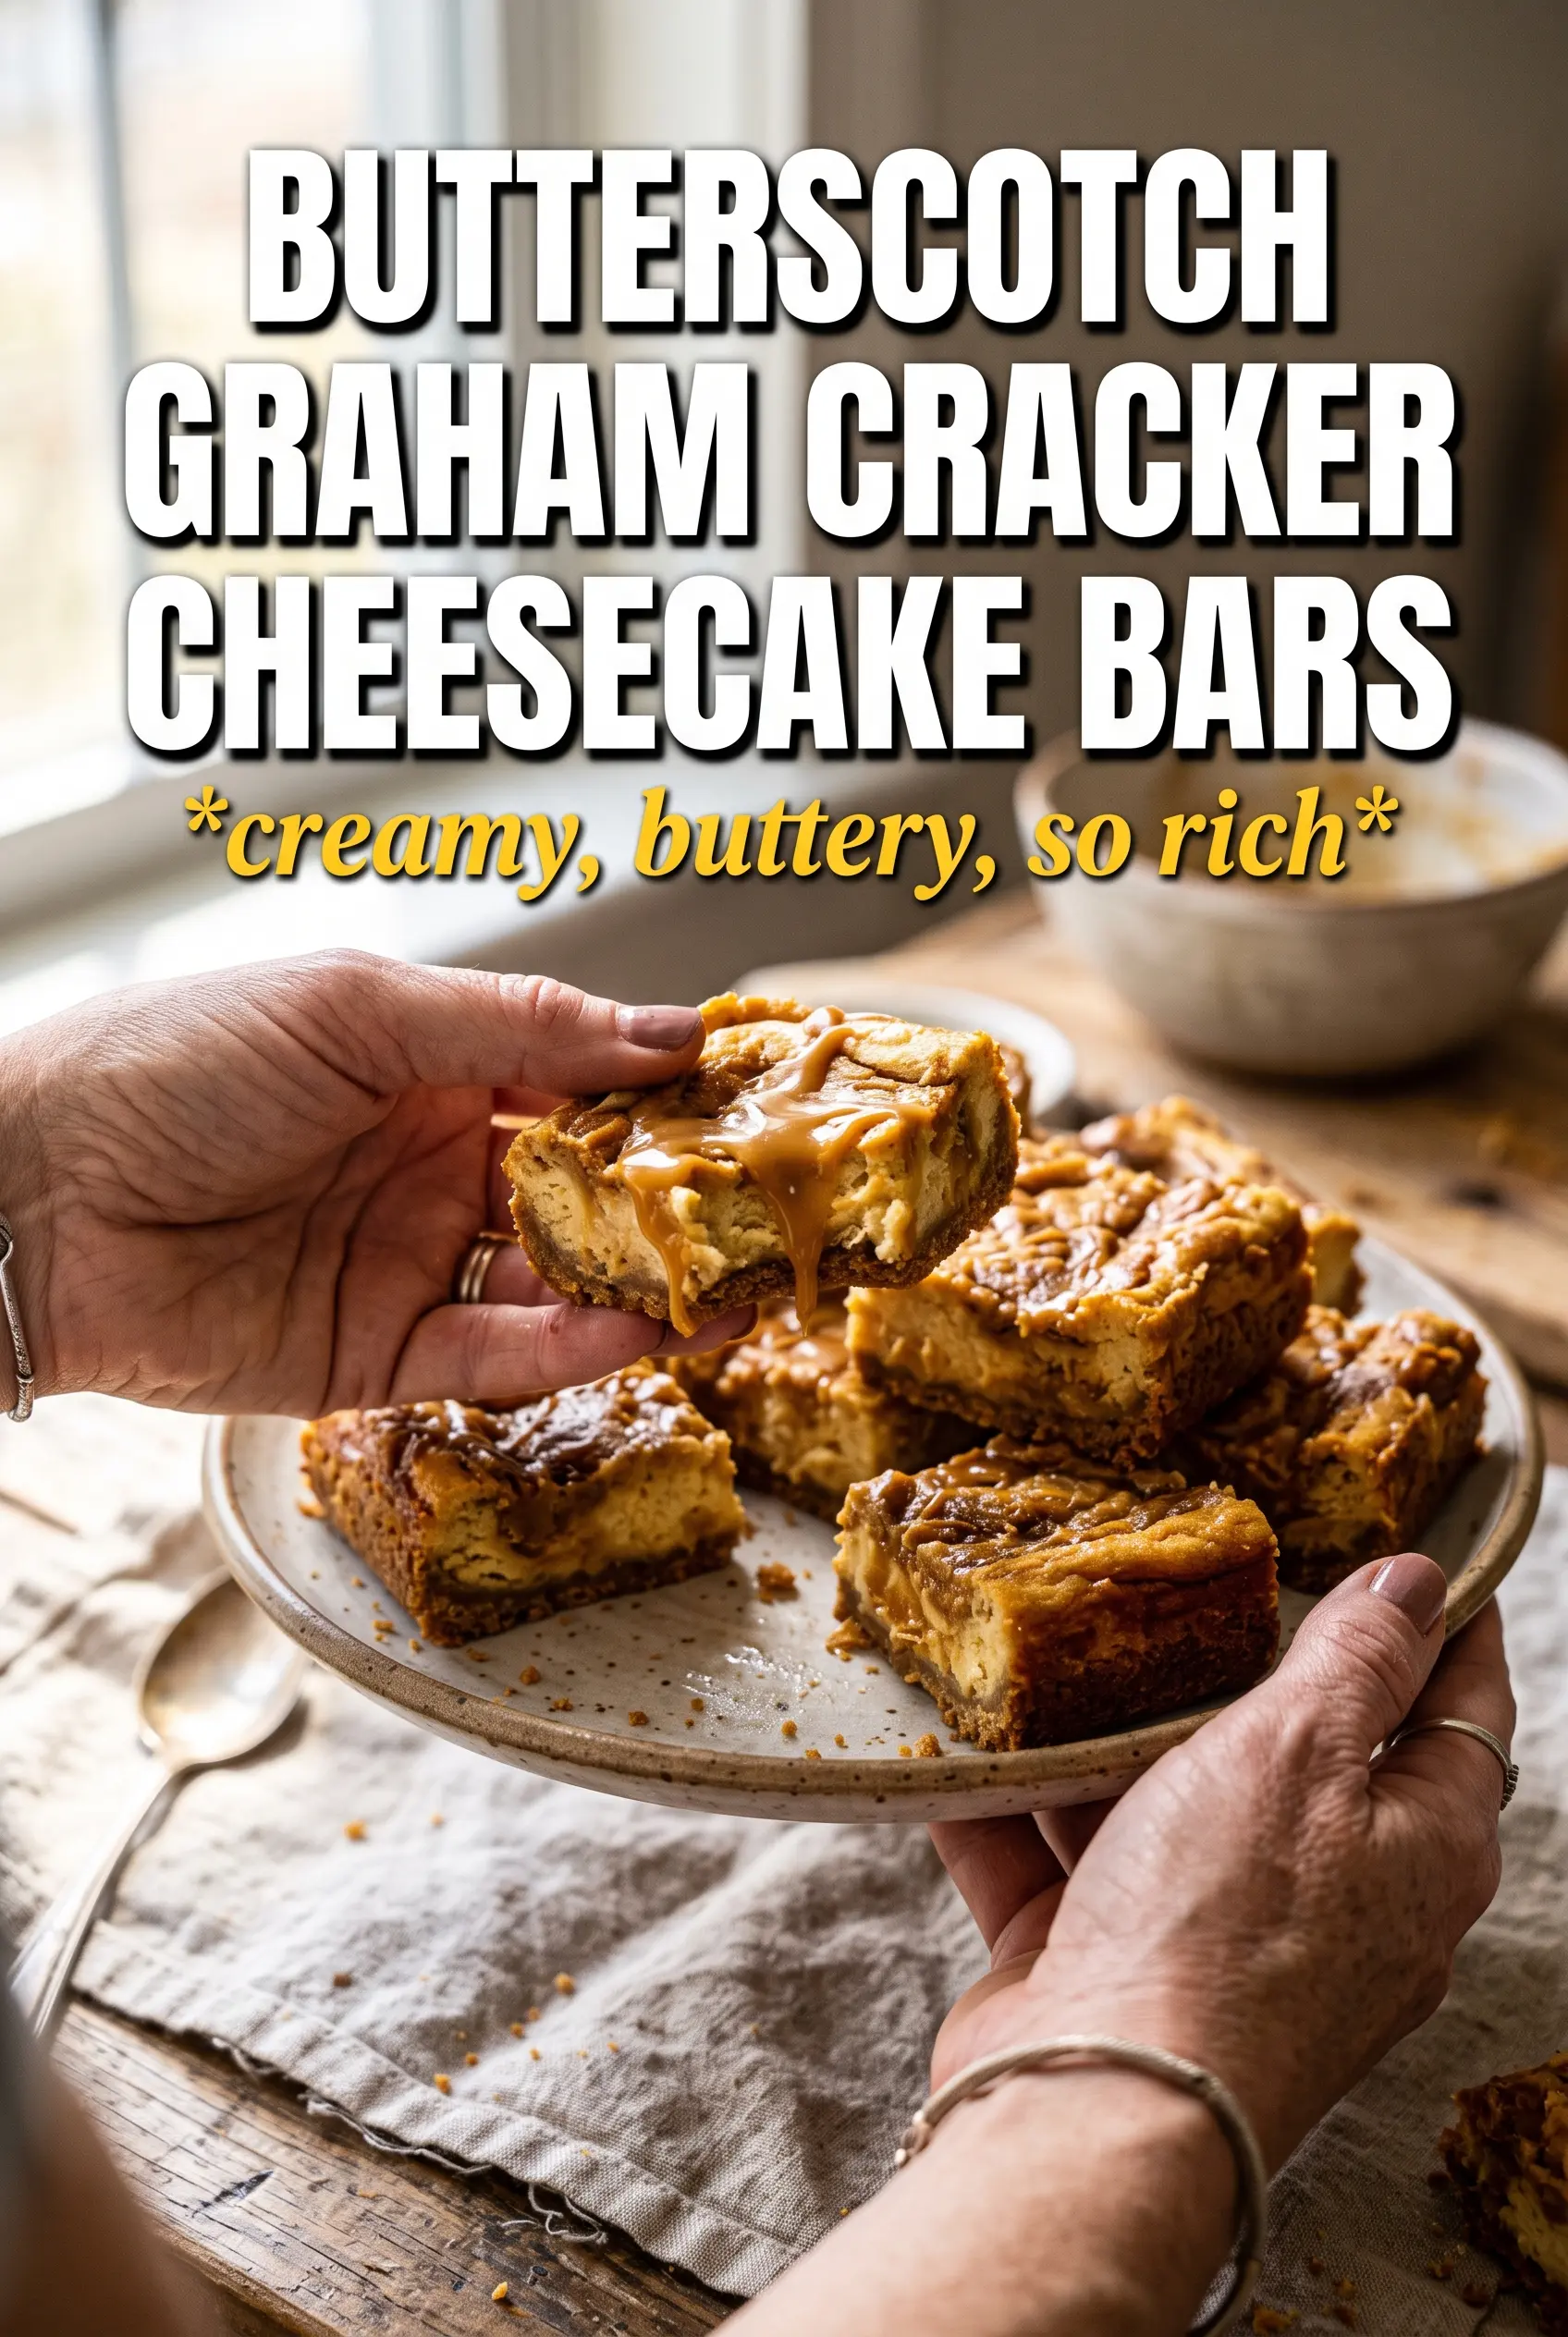
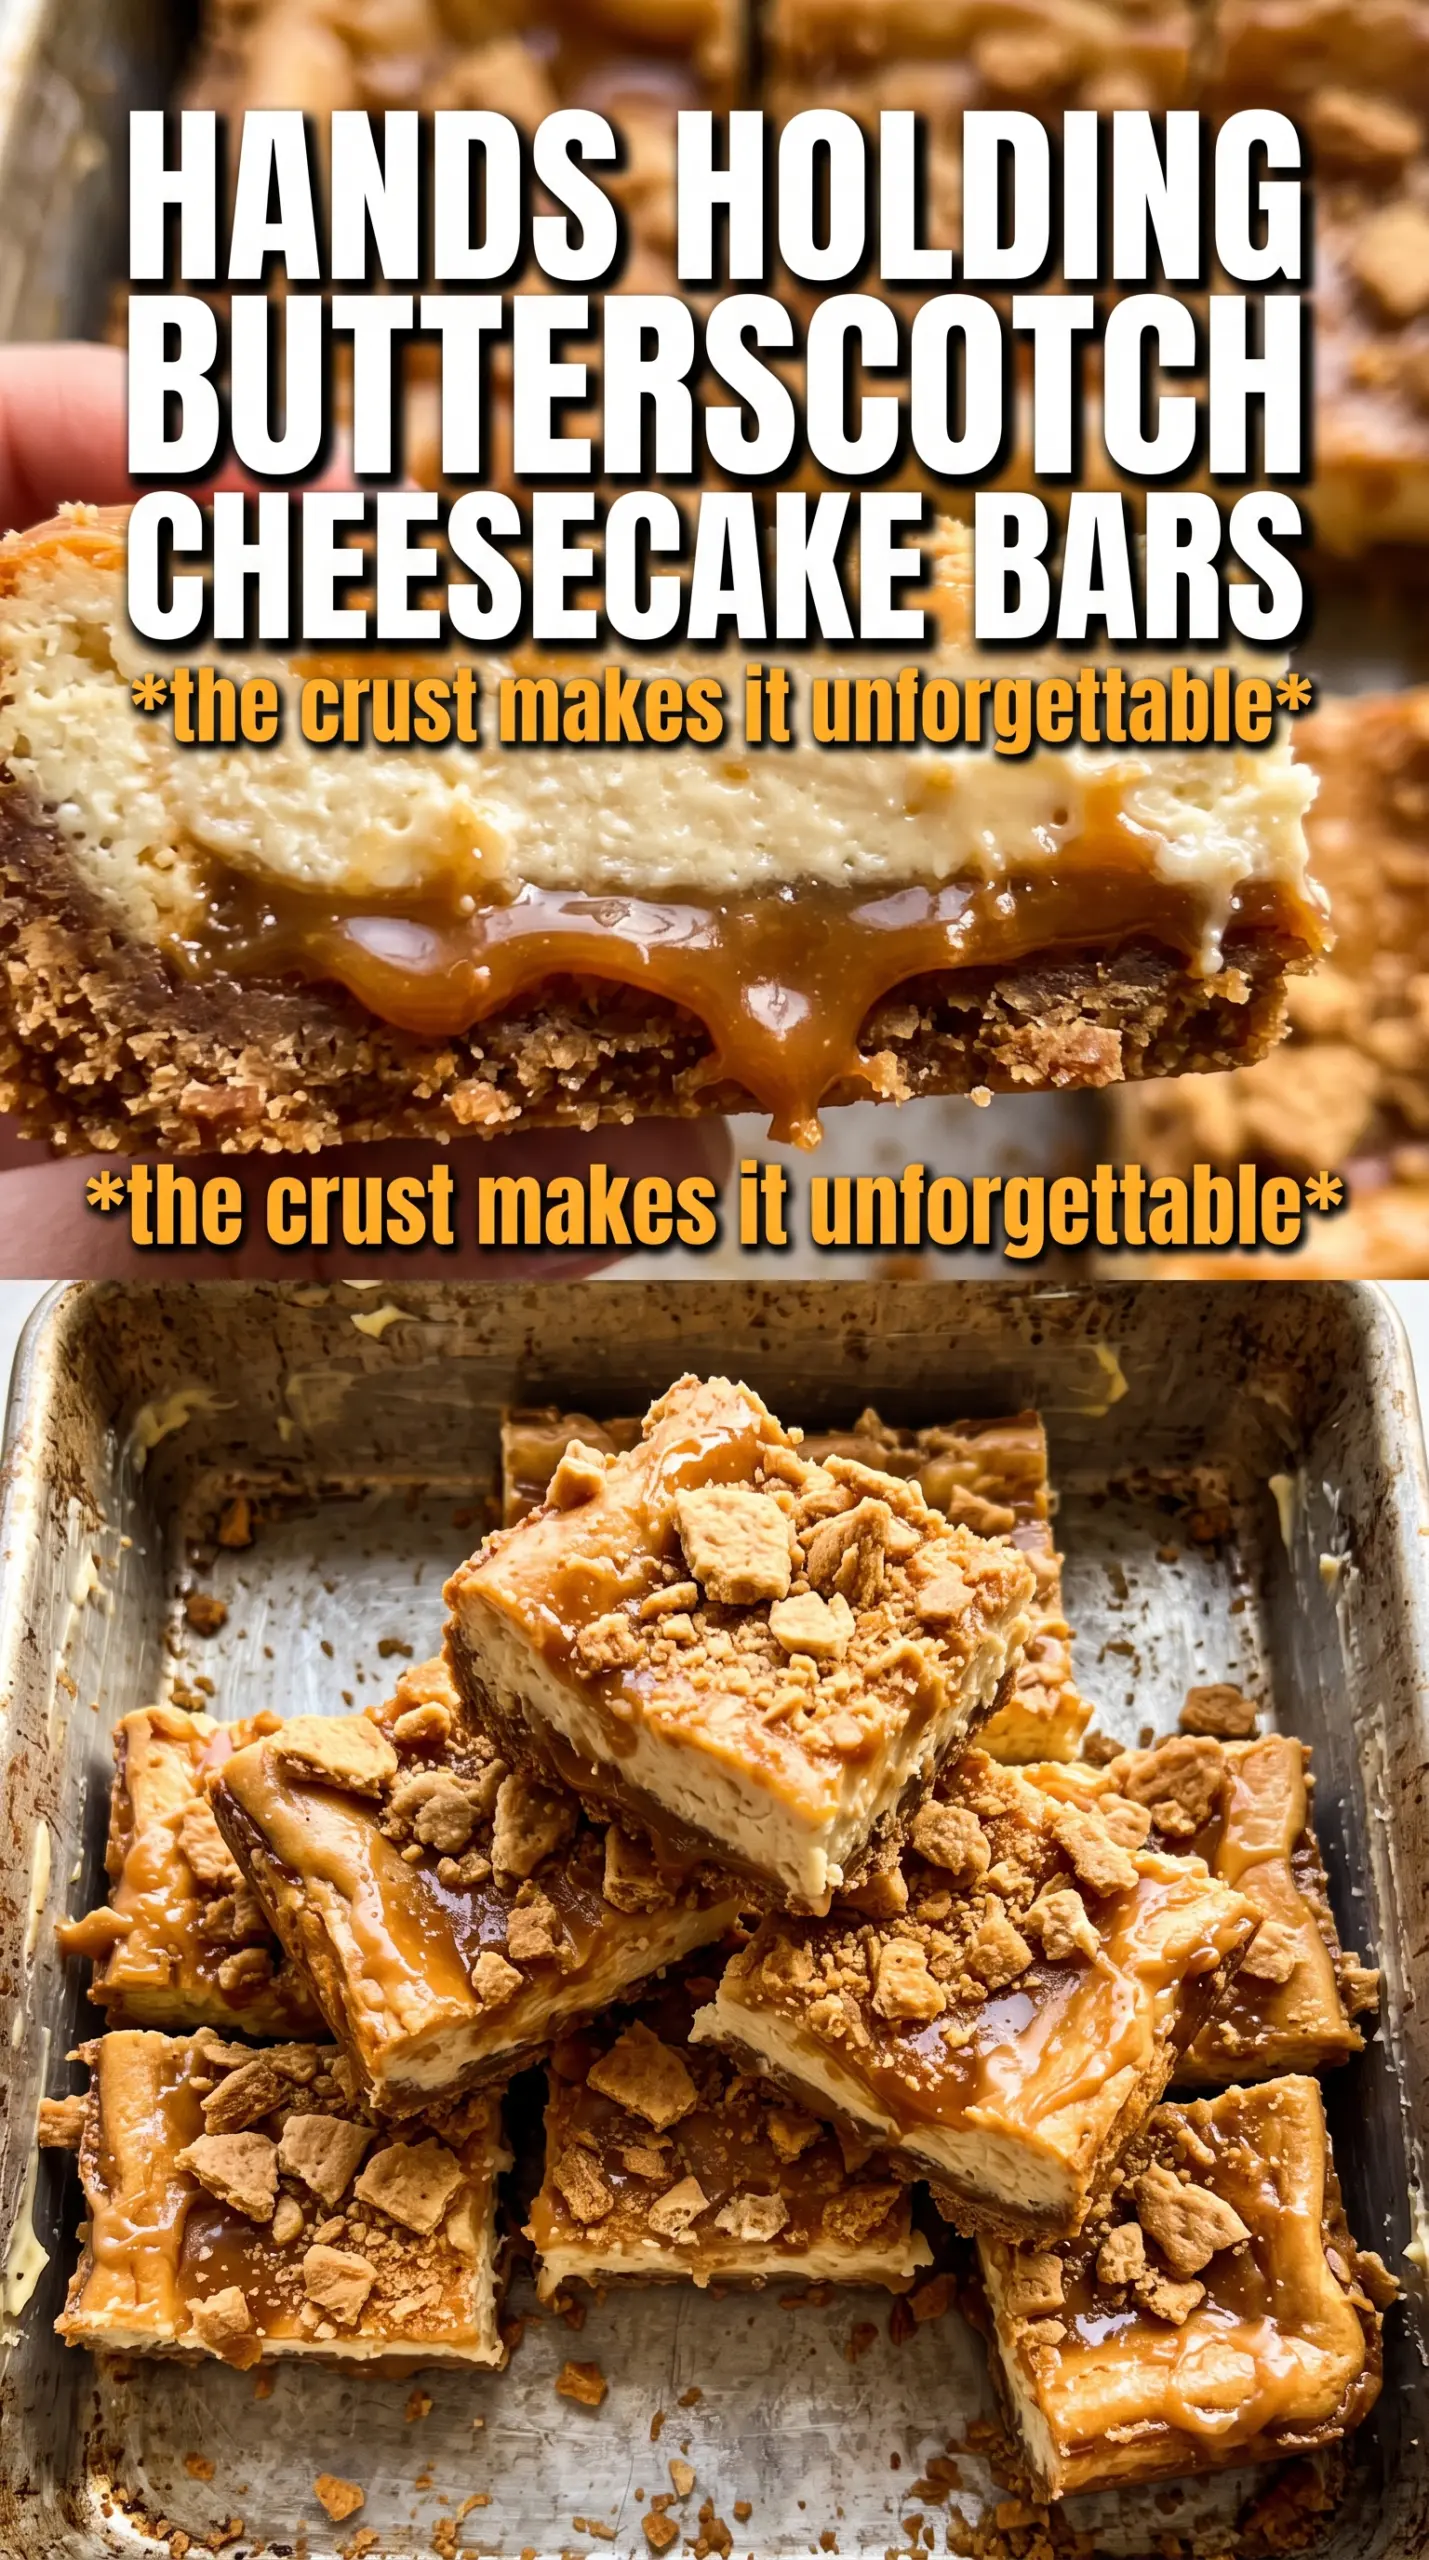
Butterscotch graham cracker cheesecake bars hit that sweet spot between a classic cheesecake and a hand-held dessert that actually slices cleanly. The crust bakes into a sturdy, buttery layer with enough graham flavor to stand up to the rich filling, and the butterscotch runs through the cheesecake instead of sitting on top like an afterthought. The result is creamy, dense in the best way, and finished with a glossy drizzle that tastes like caramel’s deeper, toastier cousin.
What makes this version work is balance. The cream cheese and sour cream keep the filling tangy and smooth, while melted butterscotch chips and a little extract bring the flavor forward without making the bars heavy or overly sweet. Baking the crust first keeps it from turning soft under the filling, and chilling the bars long enough gives you those neat squares that hold their shape when you lift them from the pan.
Below you’ll find the small details that matter most here: how to keep the cheesecake from cracking, why the butterscotch needs to cool before it goes into the batter, and the easiest way to get that clean bakery-style cut.
The filling set up beautifully and the butterscotch stayed distinct instead of disappearing into the cheesecake. I chilled them overnight and the bars cut into perfect squares with that crisp graham crust on the bottom.
Save these butterscotch graham cracker cheesecake bars for the kind of dessert that slices cleanly, chills beautifully, and brings big butterscotch flavor in every bite.
The Reason These Cheesecake Bars Slice Clean Instead of Smearing
The difference between cheesecake bars that look bakery-neat and bars that slump on the plate comes down to temperature and structure. This filling has enough richness to stay creamy, but it still needs the eggs to set it and the chill time to firm everything into bars. If you cut too early, the center will be soft and the graham crust can drag through the filling instead of giving you a sharp edge.
The crust matters just as much as the filling. Press it firmly and bake it before adding the cheesecake, or the bottom layer turns sandy and loose once the bars are chilled. A little sour cream keeps the texture from feeling heavy, and the melted butterscotch chips need to cool down first so they don’t melt the cream cheese or scramble the eggs when they go into the batter.
What Each Ingredient Is Actually Doing in These Bars
- Graham cracker crumbs — These create the base flavor and texture of the crust. Finely ground crumbs pack together best, but a few slightly larger crumbs add a little crunch.
- Melted butter — This is what holds the crust together after baking. If the crust seems greasy, it usually just needs firmer pressing, not less butter.
- Cream cheese — Use full-fat cream cheese for the smoothest filling and the most stable set. Low-fat cream cheese can work, but it tends to bake up looser and tangier in a way that pulls away from the butterscotch.
- Sour cream — This lightens the filling and gives it that classic cheesecake tang. Plain Greek yogurt can step in, but the texture will be a little firmer and slightly less silky.
- Melted butterscotch chips — This is the main flavor engine. Melt them gently and let them cool until just warm, because hot butterscotch can thicken the batter unevenly or soften the cream cheese too much.
- Butterscotch extract — It sharpens the butterscotch flavor so the bars taste like butterscotch all the way through, not just sweet filling. If you can’t find it, use a touch more vanilla and accept a milder result.
- Heavy cream for the topping — It turns the melted butterscotch chips into a drizzle instead of a stiff glaze. If you want a thicker topping, use a little less cream; for a looser ribbon, add it a teaspoon at a time.
Building the Layers So the Filling Stays Smooth
Press the crust with purpose
Mix the graham crumbs, sugar, and melted butter until every crumb looks evenly moistened, then press the mixture firmly into the parchment-lined pan. A measuring cup works well for this because it compacts the crust without tearing the parchment. Bake it until it smells toasted and the surface looks set, not pale and dusty. If the crust is loose before baking, it will be loose after chilling.
Beat the filling until the sugar disappears
Start with softened cream cheese and sugar, and beat until the mixture looks smooth and glossy with no visible grit. Add the eggs one at a time so the batter stays emulsified; dumping them in all at once can leave the filling lumpy. Once the sour cream, vanilla, cooled melted butterscotch, and extract go in, stop mixing as soon as the batter looks uniform. Overbeating at this stage pulls in extra air, and that air can puff the bars and make them crack as they cool.
Bake until the center still has a slight wobble
Pour the batter over the crust and bake until the edges are set and the center jiggles just a little when you nudge the pan. You don’t want liquid movement, but you do want softness in the middle because the bars keep setting as they cool. If you wait for the center to look completely firm in the oven, the cheesecake usually ends up overbaked and dry around the edges. Cool the pan at room temperature first, then chill it for the full three hours so the bars cut cleanly.
Finish with the drizzle after chilling
Melt the butterscotch chips with the heavy cream until smooth, then drizzle it over the chilled bars instead of the warm ones. Warm bars melt the topping and make the surface messy fast. Add the crushed graham crackers right after drizzling so they stick before the topping sets. A sharp knife wiped clean between cuts gives the neatest squares.
How to Adapt These Bars Without Losing the Cheesecake Set
Gluten-Free Crust That Still Holds Together
Swap in certified gluten-free graham-style crumbs at the same weight or volume. The texture stays close to the original as long as the crumbs are fine and you still press and pre-bake the crust, which is what keeps the bars from falling apart when sliced.
Dairy-Free Version With a Softer Set
Use dairy-free cream cheese, dairy-free butter, and a thick coconut-based cream in place of the sour cream and heavy cream. The flavor still reads as butterscotch cheesecake, but the filling will be a little softer, so chill it longer before cutting.
Less-Sweet Bars With More Tang
Reduce the granulated sugar in the filling by 2 to 3 tablespoons if you want the butterscotch to stand out more. The bars will still bake and set properly, but the finish will taste a little more cheesecake-forward and less candy-like.
Storage and Reheating
- Refrigerator: Store covered for up to 5 days. The crust stays best when the bars are kept in a single layer or with parchment between layers.
- Freezer: These freeze well. Wrap the cut bars tightly and freeze for up to 2 months, then thaw overnight in the refrigerator before serving.
- Reheating: No reheating needed. Serve chilled for the cleanest texture; if the bars are too firm straight from the fridge, let them sit at room temperature for 10 to 15 minutes instead of warming them.