Golden-brown dinner rolls with a soft, pull-apart center and a glossy brown butter sage finish don’t last long at the table. The crumb stays plush, the tops bake into a deep bronze, and the sage leaves crackle just enough to give each bite a little edge. The browned butter brings a nutty note that plain melted butter can’t touch, and the final brush of sage butter makes these rolls taste like they came from a bakery that knows exactly when to stop mixing.
What makes this version work is timing. The butter is browned first, then cooled just enough so it won’t kill the yeast when it goes into the dough. The dough itself is enriched with milk, eggs, and butter, which is what gives it that tender, pillowy texture instead of a dry, bready one. The second rise in the baking dish is what creates the soft sides and the pull-apart shape.
Below, I’ve included the detail that matters most for getting a fluffy roll instead of a dense one, plus a few smart swaps if you need to adjust the recipe without losing the texture.
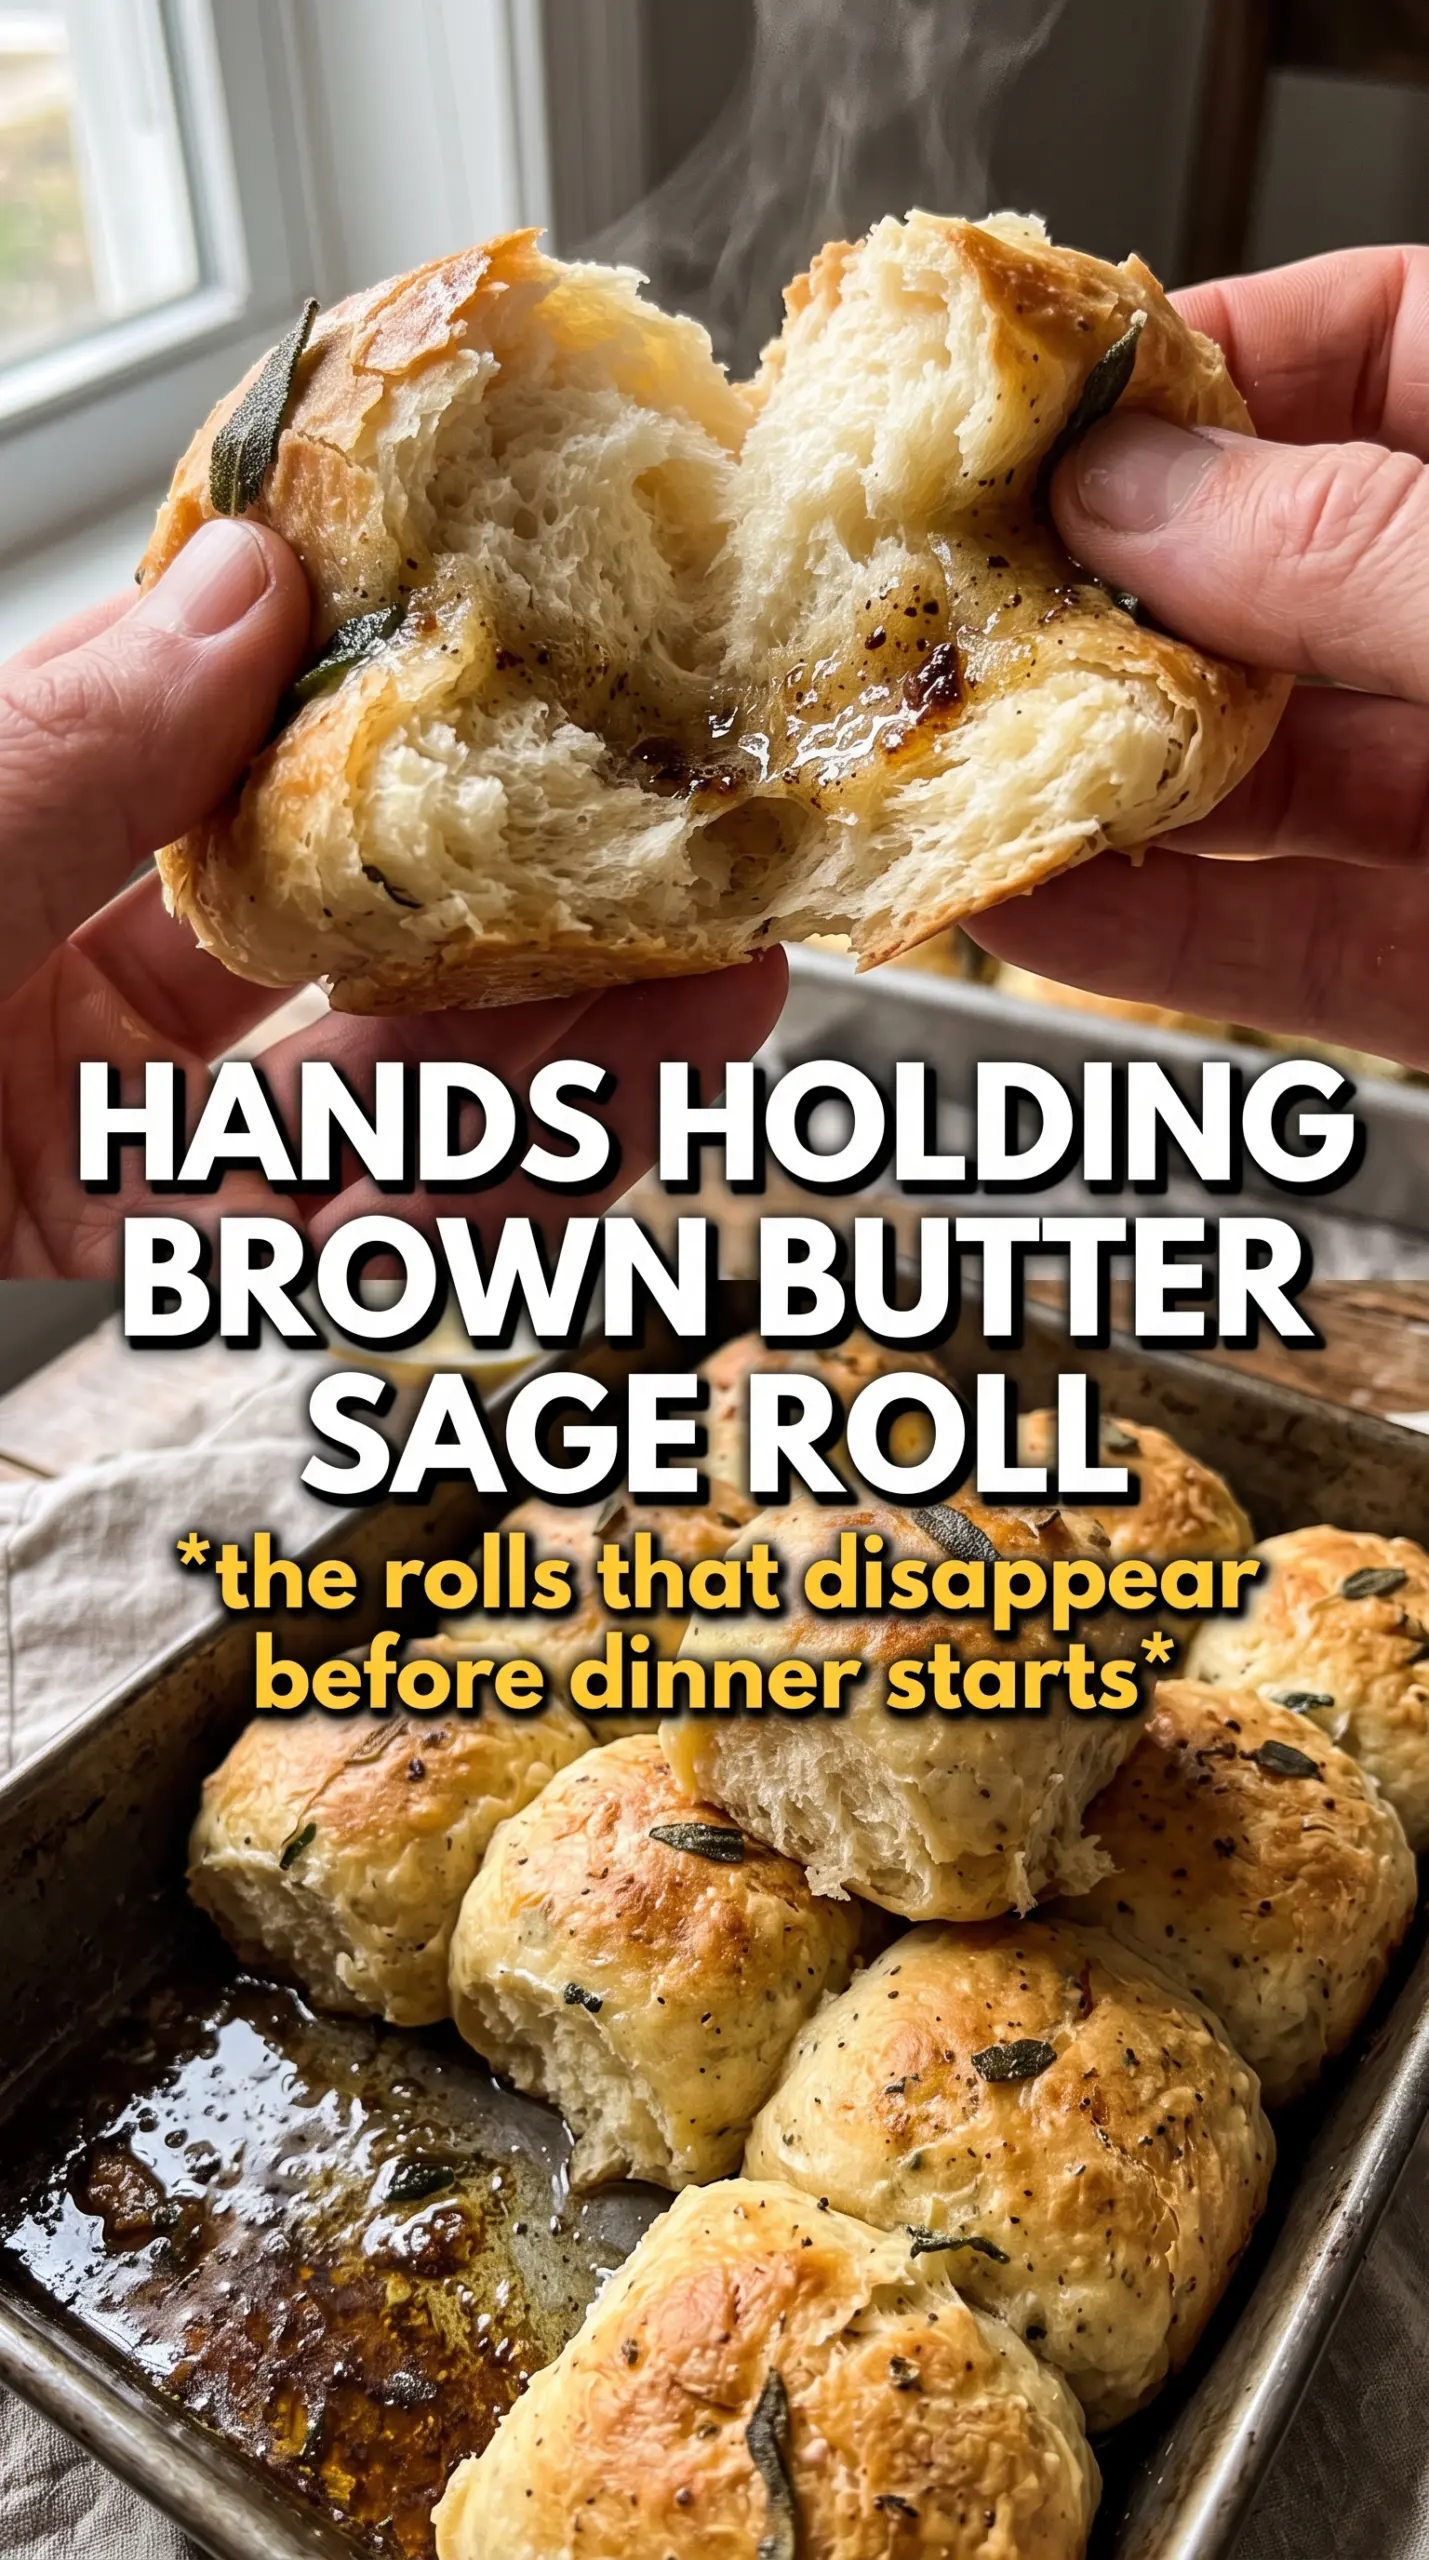
The rolls baked up soft all the way through, and that sage brown butter on top soaked into the cracks just enough without making them greasy. I loved how the bottoms stayed tender in the pan, and the crispy sage was such a nice touch.
Save these brown butter sage dinner rolls for the night you want soft pull-apart rolls with a nutty glaze and crispy sage on top.
The Mistake That Makes Dinner Rolls Heavy Instead of Pillowy
The fastest way to ruin enriched dinner rolls is to rush the dough. If the flour goes in too fast, or the dough gets only a half-hearted knead, you end up with tight rolls that bake up dense instead of airy. This dough needs enough mixing to become smooth and elastic, because that structure is what traps the gas from the yeast and gives the rolls their lift.
Brown butter changes the game here, but it also means you have to pay attention to temperature. If it’s too hot when it goes into the dough, it can slow the yeast down or throw off the rise. Let it cool until warm, not hot. You want it fluid and fragrant, with the toasted milk solids settled in the butter, not a pan of scorching fat.
- Mixing until the dough is smooth matters more than chasing a clock. Eight minutes by hand or in a mixer is about the point where the dough stops looking shaggy and starts stretching.
- The second rise in the pan is where the rolls relax into each other. Skip that, and they’ll bake into separate buns instead of soft pull-apart rolls.
- Golden tops are the cue, not a dark crust. These should stay tender, and overbaking is what dries out the crumb.
What Each Ingredient Is Actually Doing in These Rolls
- Warm whole milk — The milk gives the dough a softer, richer crumb than water ever will. It should be warm to the touch, not hot, or it can slow the yeast instead of helping it wake up.
- Instant yeast — Instant yeast is forgiving and gets the dough moving quickly, which helps keep the rise on schedule. If you only have active dry yeast, bloom it in the warm milk with the sugar for a few extra minutes until foamy.
- Browned butter — This is the flavor backbone. Plain melted butter gives richness, but browned butter adds a nutty depth that carries all the way through the rolls and the glaze.
- Eggs — The eggs help bind the dough and keep the texture tender. They also add enough richness to make these taste more like a special-occasion roll than a plain dinner roll.
- Fresh sage — Fresh sage is worth using here. Dried sage won’t crisp the same way in the butter and won’t give you that fragrant, savory finish on top.
- Flaky sea salt — The salt in the glaze wakes everything up after the richness of the butter. A light finish is enough; too much and it starts to compete with the rolls instead of finishing them.
How to Build the Dough So the Rolls Rise Soft and Even
Brown the Butter First, Then Cool It Down
Start by browning the butter for the dough until it smells nutty and the milk solids turn a deep caramel color. Pour it into a bowl and let it cool slightly before adding it to the milk and yeast mixture. If the butter is too hot, it can make the yeast sluggish and leave you waiting forever for the dough to rise. Warm is fine. Steaming hot is not.
Work the Dough Until It Turns Smooth
Once the flour and salt go in, knead until the dough looks smooth, supple, and just a little tacky. It should pull away from the sides of the bowl but still feel soft when you press it. If it feels dry and stiff, the rolls will bake up tight. If it’s so sticky that it won’t come together, add flour a spoonful at a time instead of dumping in a lot at once.
Let the Pan Rise Do the Heavy Lifting
After the first rise, divide the dough into 12 even pieces and place them in a greased 9×13-inch dish. The second rise should make them puff up and crowd together slightly before baking. That close arrangement is what gives you soft sides and that classic pull-apart finish. If they go into the oven under-proofed, they’ll bake up with a tighter crumb and less height.
Brush on the Sage Butter While the Rolls Are Hot
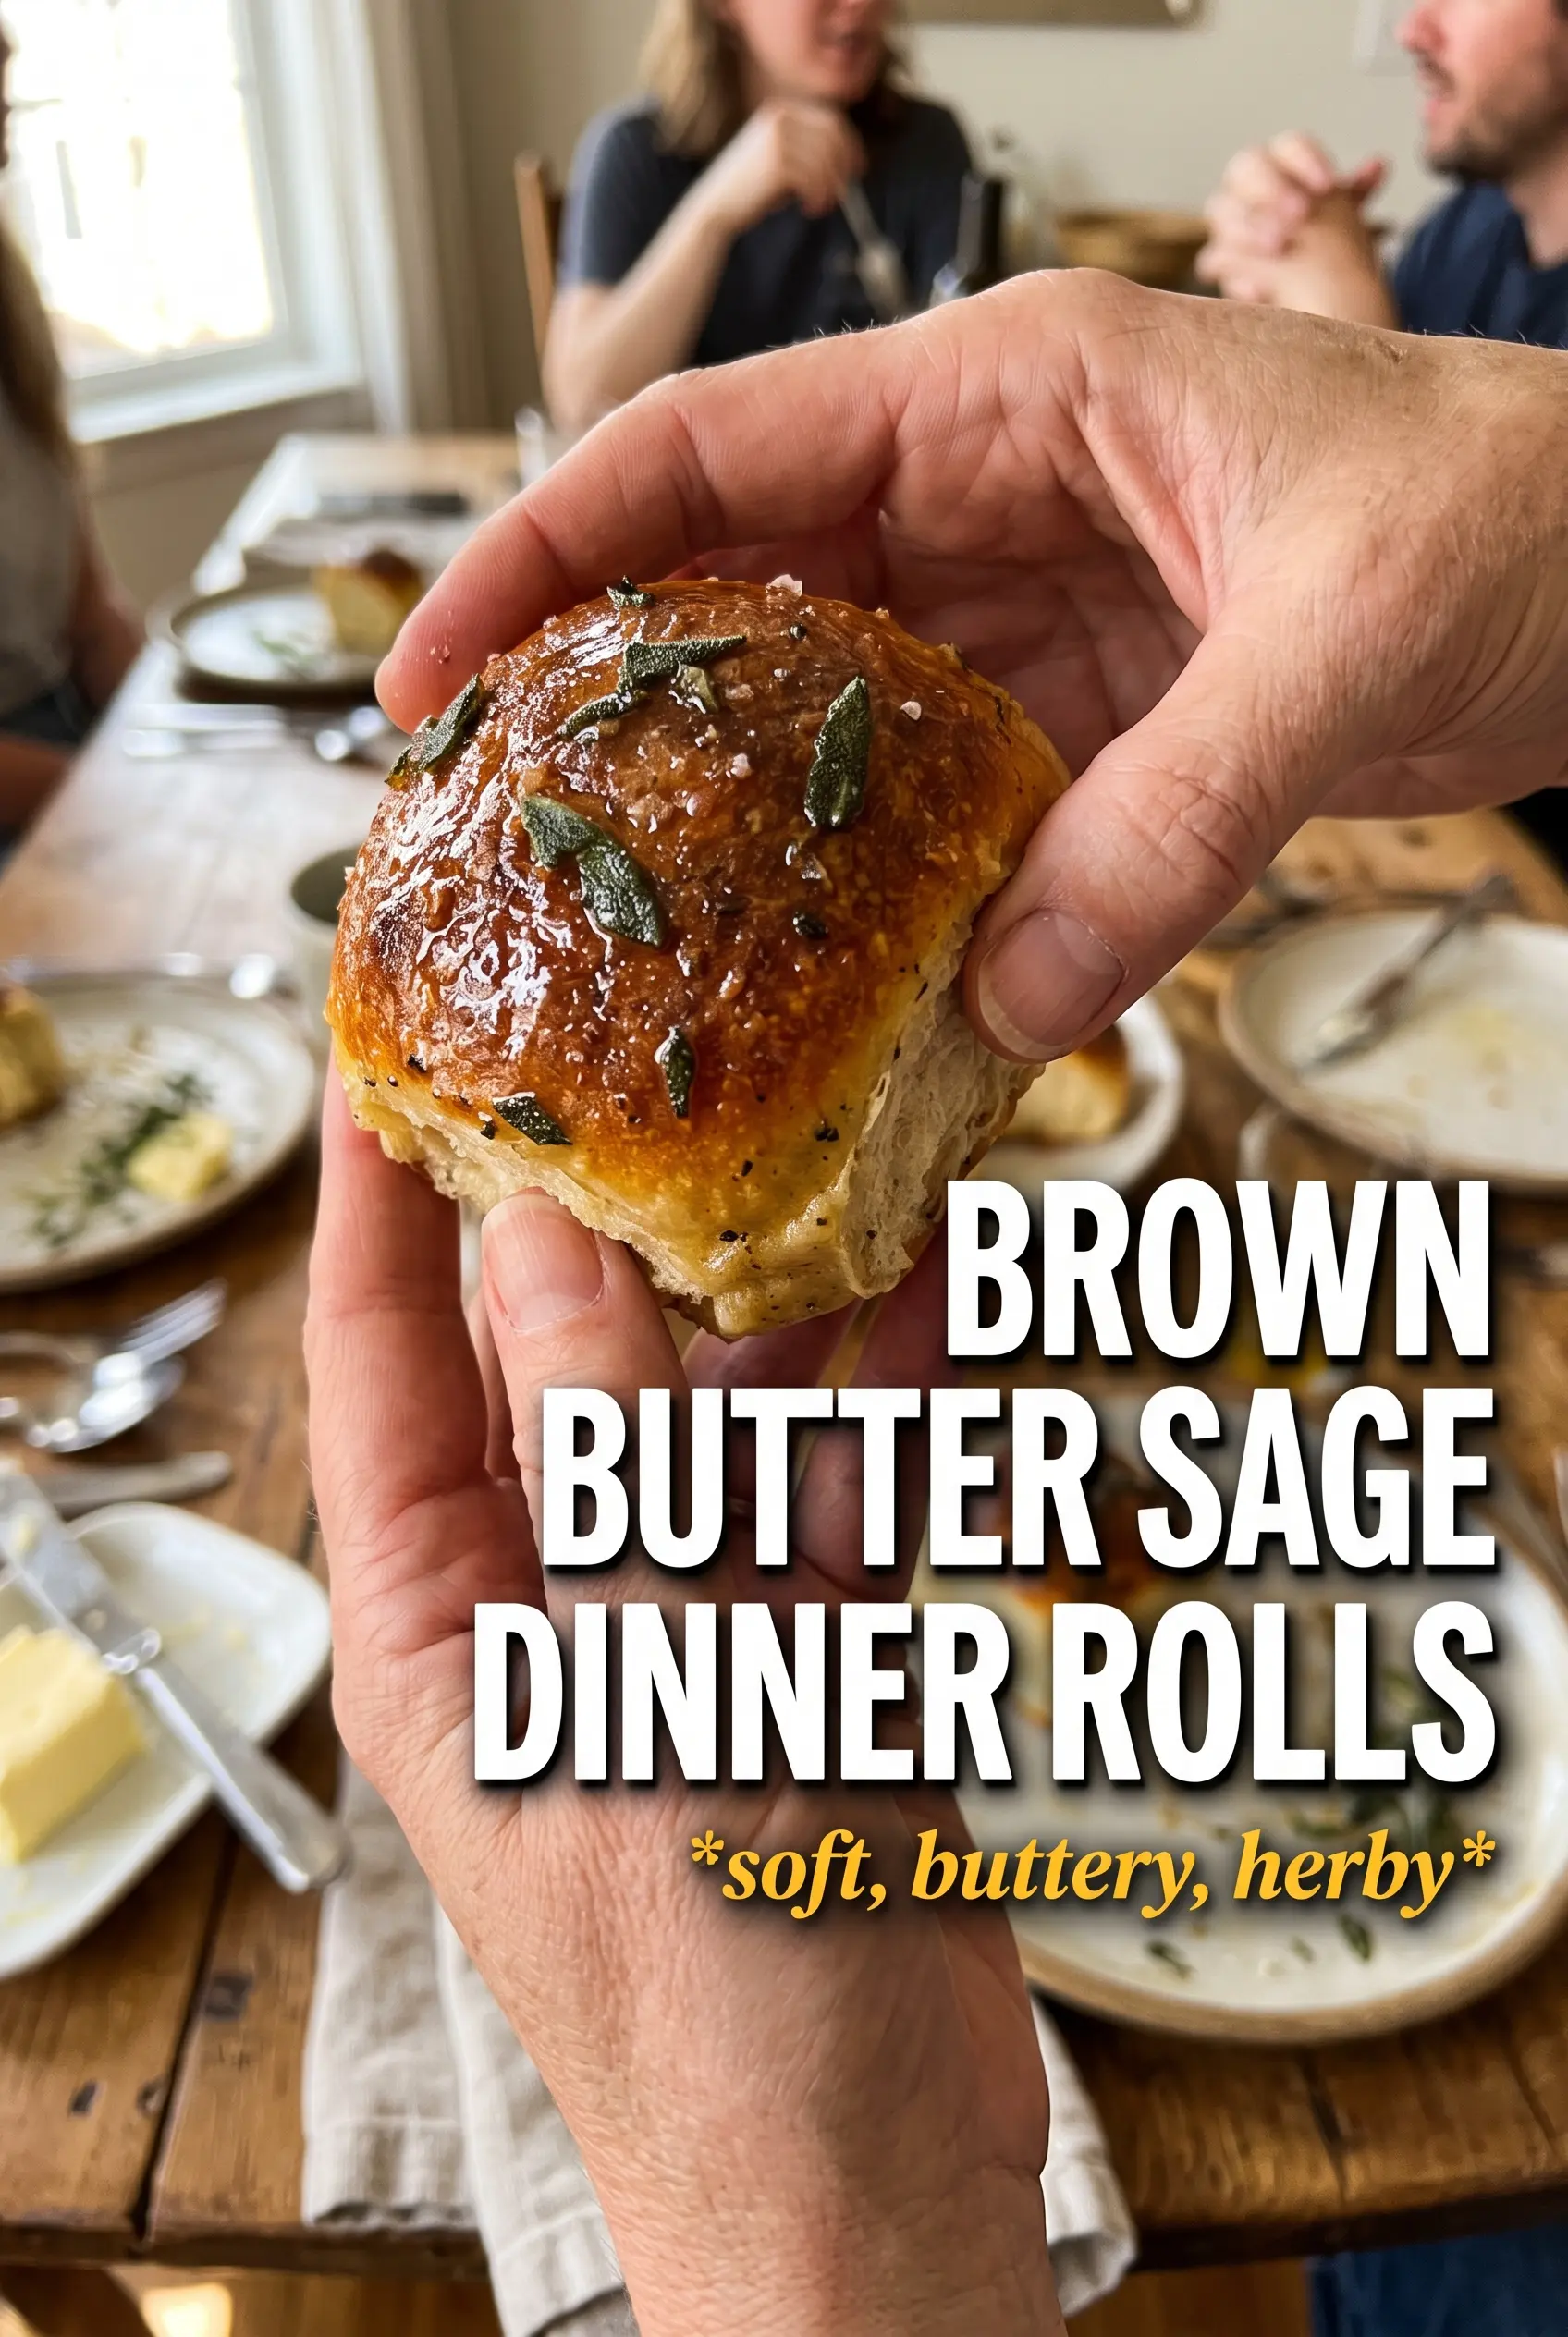
The sage glaze works best right after baking, when the rolls are still hot and thirsty for butter. Brown the remaining butter, fry the sage leaves until crisp, and brush the butter generously over the tops. Press a few sage leaves onto each roll while the butter is still glossy. That’s when they’ll stick and stay visible instead of sliding off.
How to Adapt These Rolls Without Losing the Soft Crumb
Dairy-Free Version
Use a rich unsweetened plant milk and a good dairy-free butter substitute that browns reasonably well. The rolls will still be soft, but the browned butter flavor will be lighter, so lean into the sage and garlic in the glaze to keep the finish bold.
Make-Ahead Timing
Shape the rolls, cover the pan tightly, and refrigerate them overnight after the first rise. The next day, let them come back closer to room temperature and finish the second rise before baking. Cold dough needs more time in the pan, and baking it too early leads to pale, tight rolls.
Using Active Dry Yeast
Active dry yeast works fine, but it needs a little more coaxing. Stir it into the warm milk with the sugar and let it sit until foamy before adding the browned butter and eggs. That extra proofing step helps avoid a slow rise and gives you the same airy texture.
Freezing Baked Rolls
Bake the rolls fully, let them cool, and freeze them in a sealed bag. They reheat well because the enriched dough stays tender after thawing. Brush on a little fresh brown butter after reheating so the tops taste like they just came out of the oven.
Storage and Reheating
- Refrigerator: Store in an airtight container for up to 4 days. The rolls stay soft, though the glaze will soak in a bit.
- Freezer: Freeze baked rolls for up to 2 months. Wrap tightly and thaw at room temperature before reheating.
- Reheating: Warm in a 300°F oven, covered loosely with foil, until heated through. A quick microwave blast makes the crumb rubbery, so use the oven if you want the rolls to stay tender.
Questions I Get Asked About This Recipe
Brown Butter Sage Dinner Rolls
Ingredients
Equipment
Method
- Brown 1/2 cup unsalted butter in a skillet until nutty and lightly browned, then cool slightly so it won’t scramble the eggs.
- In a mixing bowl, combine warm whole milk, instant yeast, sugar, browned butter, and eggs, and let it sit until foamy, 5-10 minutes.
- Add all-purpose flour and salt to the yeast mixture and knead for 8 minutes until smooth.
- Cover the dough and rise for 1 hour, until puffy and doubled.
- Punch down the dough, divide into 12 balls, and place them in a greased 9x13 baking dish.
- Cover and let the shaped rolls rise 30-40 minutes while you prepare to bake.
- Preheat the oven to 375°F during the final rise.
- Bake the rolls for 18-22 minutes, until golden-brown on top.
- Brown the remaining butter in a skillet, then fry fresh sage leaves until crisp, 1-2 minutes.
- Stir in minced garlic and flaky sea salt for 30-60 seconds, then remove from heat.
- Brush the rolls generously with the brown butter sage glaze while warm so it soaks slightly.
- Press the fried crispy sage leaves onto the top of each roll and serve.