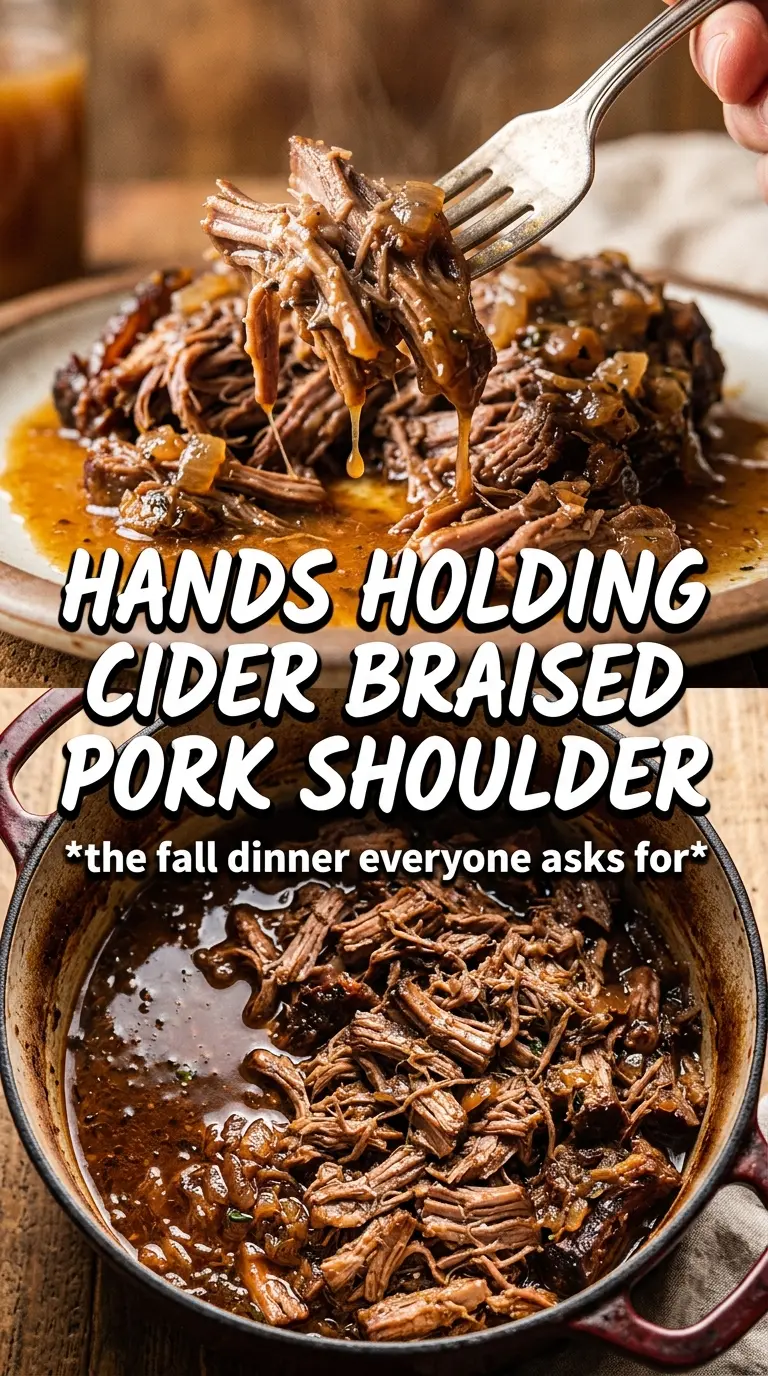
Fall-apart pork shoulder soaked in apple cider and herbs is the kind of dinner that earns its place in the rotation fast. The meat turns spoon-tender, the onions melt into the sauce, and the apples soften just enough to give the braise a little sweetness without turning mushy. Piled over mashed potatoes, it eats like something that took all day because, well, it did — but most of that time is hands-off.
What makes this version work is the balance. Hard cider brings a sharper, more complex apple note than juice alone, while Dijon and apple cider vinegar keep the sauce from tasting flat or sugary. Browning the pork first matters too. Those dark bits on the bottom of the pot become the backbone of the sauce once the cider goes in.
Below you’ll find the cues that tell you when the pork is ready to shred, plus a few swaps for when you want to stretch it to a crowd or adjust what you have on hand. The braising liquid gets better as it sits, which means leftovers are worth looking forward to.
The pork shredded beautifully at 4 hours, and the cider sauce thickened up just enough to spoon over the mashed potatoes without being watery. The apples held their shape better than I expected, which made the whole dish taste balanced instead of sweet.
Save this Apple Cider Braised Pork Shoulder for a rich, fall-apart dinner with cider gravy and tender apples.
The Braise Fails When the Pot Never Gets Hot Enough
Pork shoulder needs a hard sear before it ever goes into the oven. If the meat goes in pale, the finished sauce tastes one-note and the braise feels soft instead of rich. You want a deep brown crust on every side, and that means giving the pork time in the hot oil without crowding the pot. If the pieces steam, they won’t brown, and the whole dish loses depth before the liquid even goes in.
The other mistake is rushing the oven temperature. Braising works because gentle heat slowly breaks down the connective tissue in the shoulder while the covered pot traps moisture. At 325°F, the pork should start to relax after a few hours, then give completely when a fork slides in without resistance. If it’s still tight and stringy, it needs more time, not more heat.
What the Cider, Mustard, and Apples Are Doing Here
- Apple cider — Fresh or hard cider both work, but the flavor changes. Hard cider brings more tang and less sweetness, while fresh cider gives the braise a rounder apple note. Use the best cider you can drink on its own, because the sauce concentrates everything.
- Dijon mustard — This is the quiet ingredient that keeps the sauce from turning sugary. It gives the braising liquid a little bite and helps the pan sauce taste finished instead of just sweet and savory. There isn’t a perfect substitute here, but a smooth whole-grain mustard can stand in if that’s what you have.
- Apples — Choose firm apples that can hold their shape for a few hours in the oven. Softer varieties will collapse into the sauce, which isn’t a disaster, but you’ll lose the contrast between the meat and the fruit. I like apples that stay distinct enough to spoon alongside the pork.
- Pork shoulder — Boneless shoulder is ideal because the fat and connective tissue melt into the braise. Lean cuts won’t give you the same shreddable texture, and they’ll dry out before they ever get tender. Trim only any really thick surface fat; the rest is part of what makes this cut work.
Building the Braise So the Sauce Stays Balanced
Getting the Sear
Season the pork generously before it hits the pot, then sear it in olive oil until each side is dark brown and slightly crusted. Don’t move it too soon; the meat will release when it’s ready, and if you force it you’ll tear off the browning you need for flavor. Work in batches if the shoulder pieces are crowded. The goal is a deep crust, not just a little color.
Softening the Onion Base
Once the pork is out, the sliced onion and smashed garlic go into the same pot for a short sauté. Stir them through the browned bits until the onions start to turn translucent and pick up some color from the bottom of the pan. If the pot looks dry, the onions can catch, so keep them moving. They should smell sweet and savory, not scorched.
Bringing the Liquid Together
Whisk the cider, broth, Dijon, brown sugar, and vinegar before pouring them in. That keeps the mustard from clumping and helps the sugar dissolve before the oven does the rest. The liquid should look slightly cloudy and smell sharp, sweet, and a little tangy. Once it goes into the pot, scrape the bottom well so none of the browned flavor stays stuck there.
Braising Until It Gives Up Easily
Return the pork to the pot with the apples, thyme, and rosemary, then cover it tightly and move it into the oven. Around the 3 1/2-hour mark, start checking for tenderness with a fork or tongs. The meat is ready when it pulls apart with almost no effort and the apples are soft at the edges but not completely collapsed. If the pork still feels stubborn, let it keep going; braises punish impatience.
Shredding in the Juices
Take the pork out, shred it, and drop it back into the pot so it can soak up the sauce. This is where the dish goes from good to memorable, because the meat absorbs all those cider, onion, and herb drippings while it’s still hot. If the sauce seems thin, let it sit uncovered for a few minutes before serving so it clings better to the pork and mashed potatoes.
How to Stretch This Braise Without Losing What Makes It Good
Make It With Hard Cider for a Sharper Finish
Hard cider gives the sauce a drier, more grown-up edge and cuts through the richness of the pork. If you use it, the braise will taste a little less sweet and a little more complex. Fresh cider makes the dish softer and rounder, so choose based on whether you want the sauce to lean bright or mellow.
Gluten-Free Without Changing the Technique
This dish is naturally gluten-free as long as your broth and Dijon are certified gluten-free. The braise itself doesn’t need flour to thicken because the pork, onions, and reduced cider do that job for you. Serve it over mashed potatoes, polenta, or cauliflower mash without changing the cooking method.
Swap the Pork Shoulder for a Smaller Crowd
A smaller pork butt or shoulder roast works the same way; just keep the braising liquid proportionally shallow enough to come partway up the meat, not submerge it. If your roast is closer to 3 pounds, start checking earlier, since smaller pieces can turn tender faster. The flavor stays the same, but the cooking time shortens.
Storage and Reheating
- Refrigerator: Store the pork and sauce in an airtight container for up to 4 days. The flavor gets deeper overnight, and the sauce will thicken as it chills.
- Freezer: This freezes well. Cool it completely, pack it with some of the sauce, and freeze for up to 3 months. Thaw overnight in the fridge before reheating.
- Reheating: Warm it gently on the stove over low heat or covered in the oven at 300°F with a splash of broth if needed. High heat dries out the pork and makes the sauce separate.
Questions I Get Asked About This Recipe
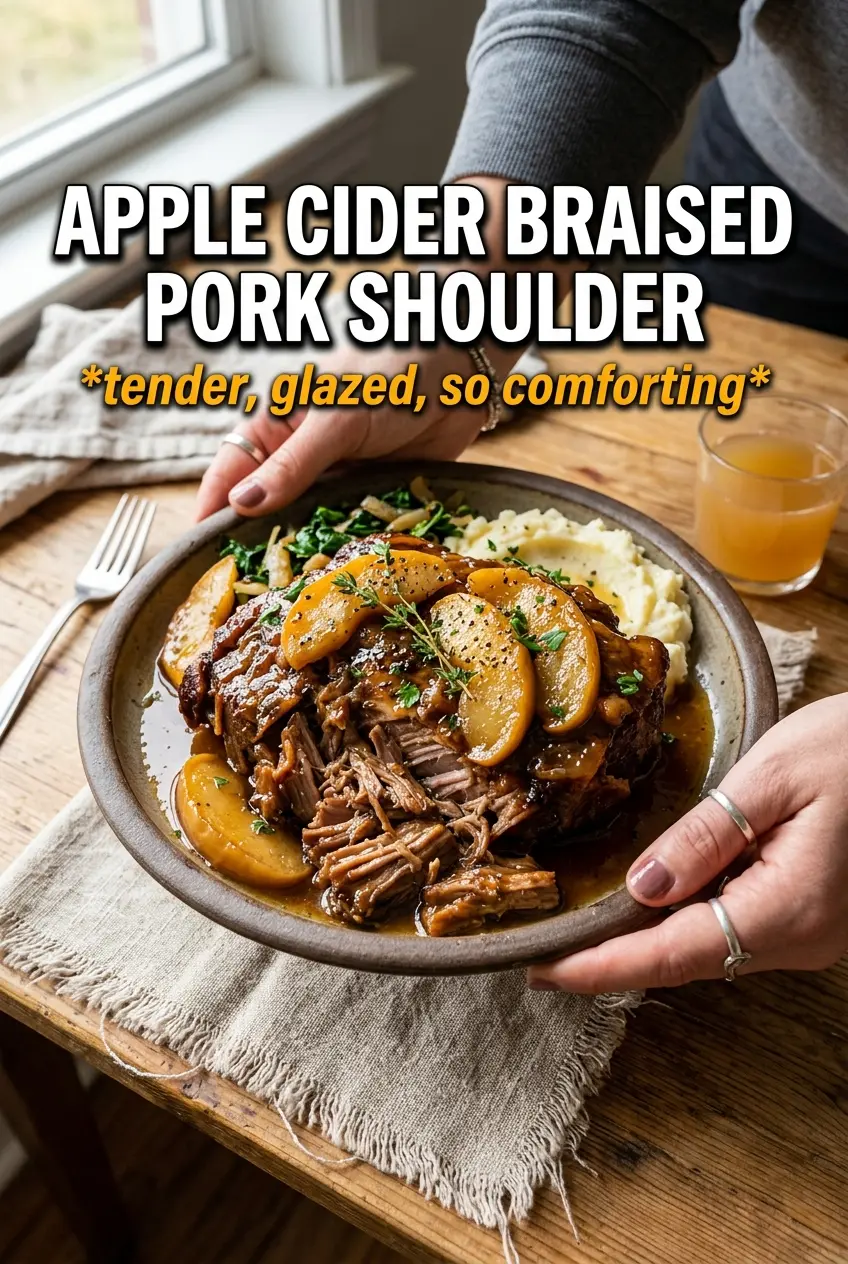
Apple Cider Braised Pork Shoulder
Ingredients
Equipment
Method
- Preheat oven to 325F, then season the pork generously with salt and pepper so the surface browns deeply.
- Sear pork in olive oil in a Dutch oven on all sides until deeply browned, using a visible crust as your cue.
- Remove pork, then sauté onion and garlic in the drippings for 3 minutes until fragrant.
- Whisk apple cider, chicken broth, Dijon, brown sugar, and apple cider vinegar, then pour the mixture into the pot, scraping up browned bits.
- Return pork to the pot, then add apples, thyme, and rosemary so they nest around the meat.
- Cover and braise in the oven for 3-1/2 to 4 hours until fall-apart tender, indicated by meat that pulls apart easily with a fork.
- Shred the pork in the juices, then serve over mashed potatoes with spooned sauce and softened apple pieces.