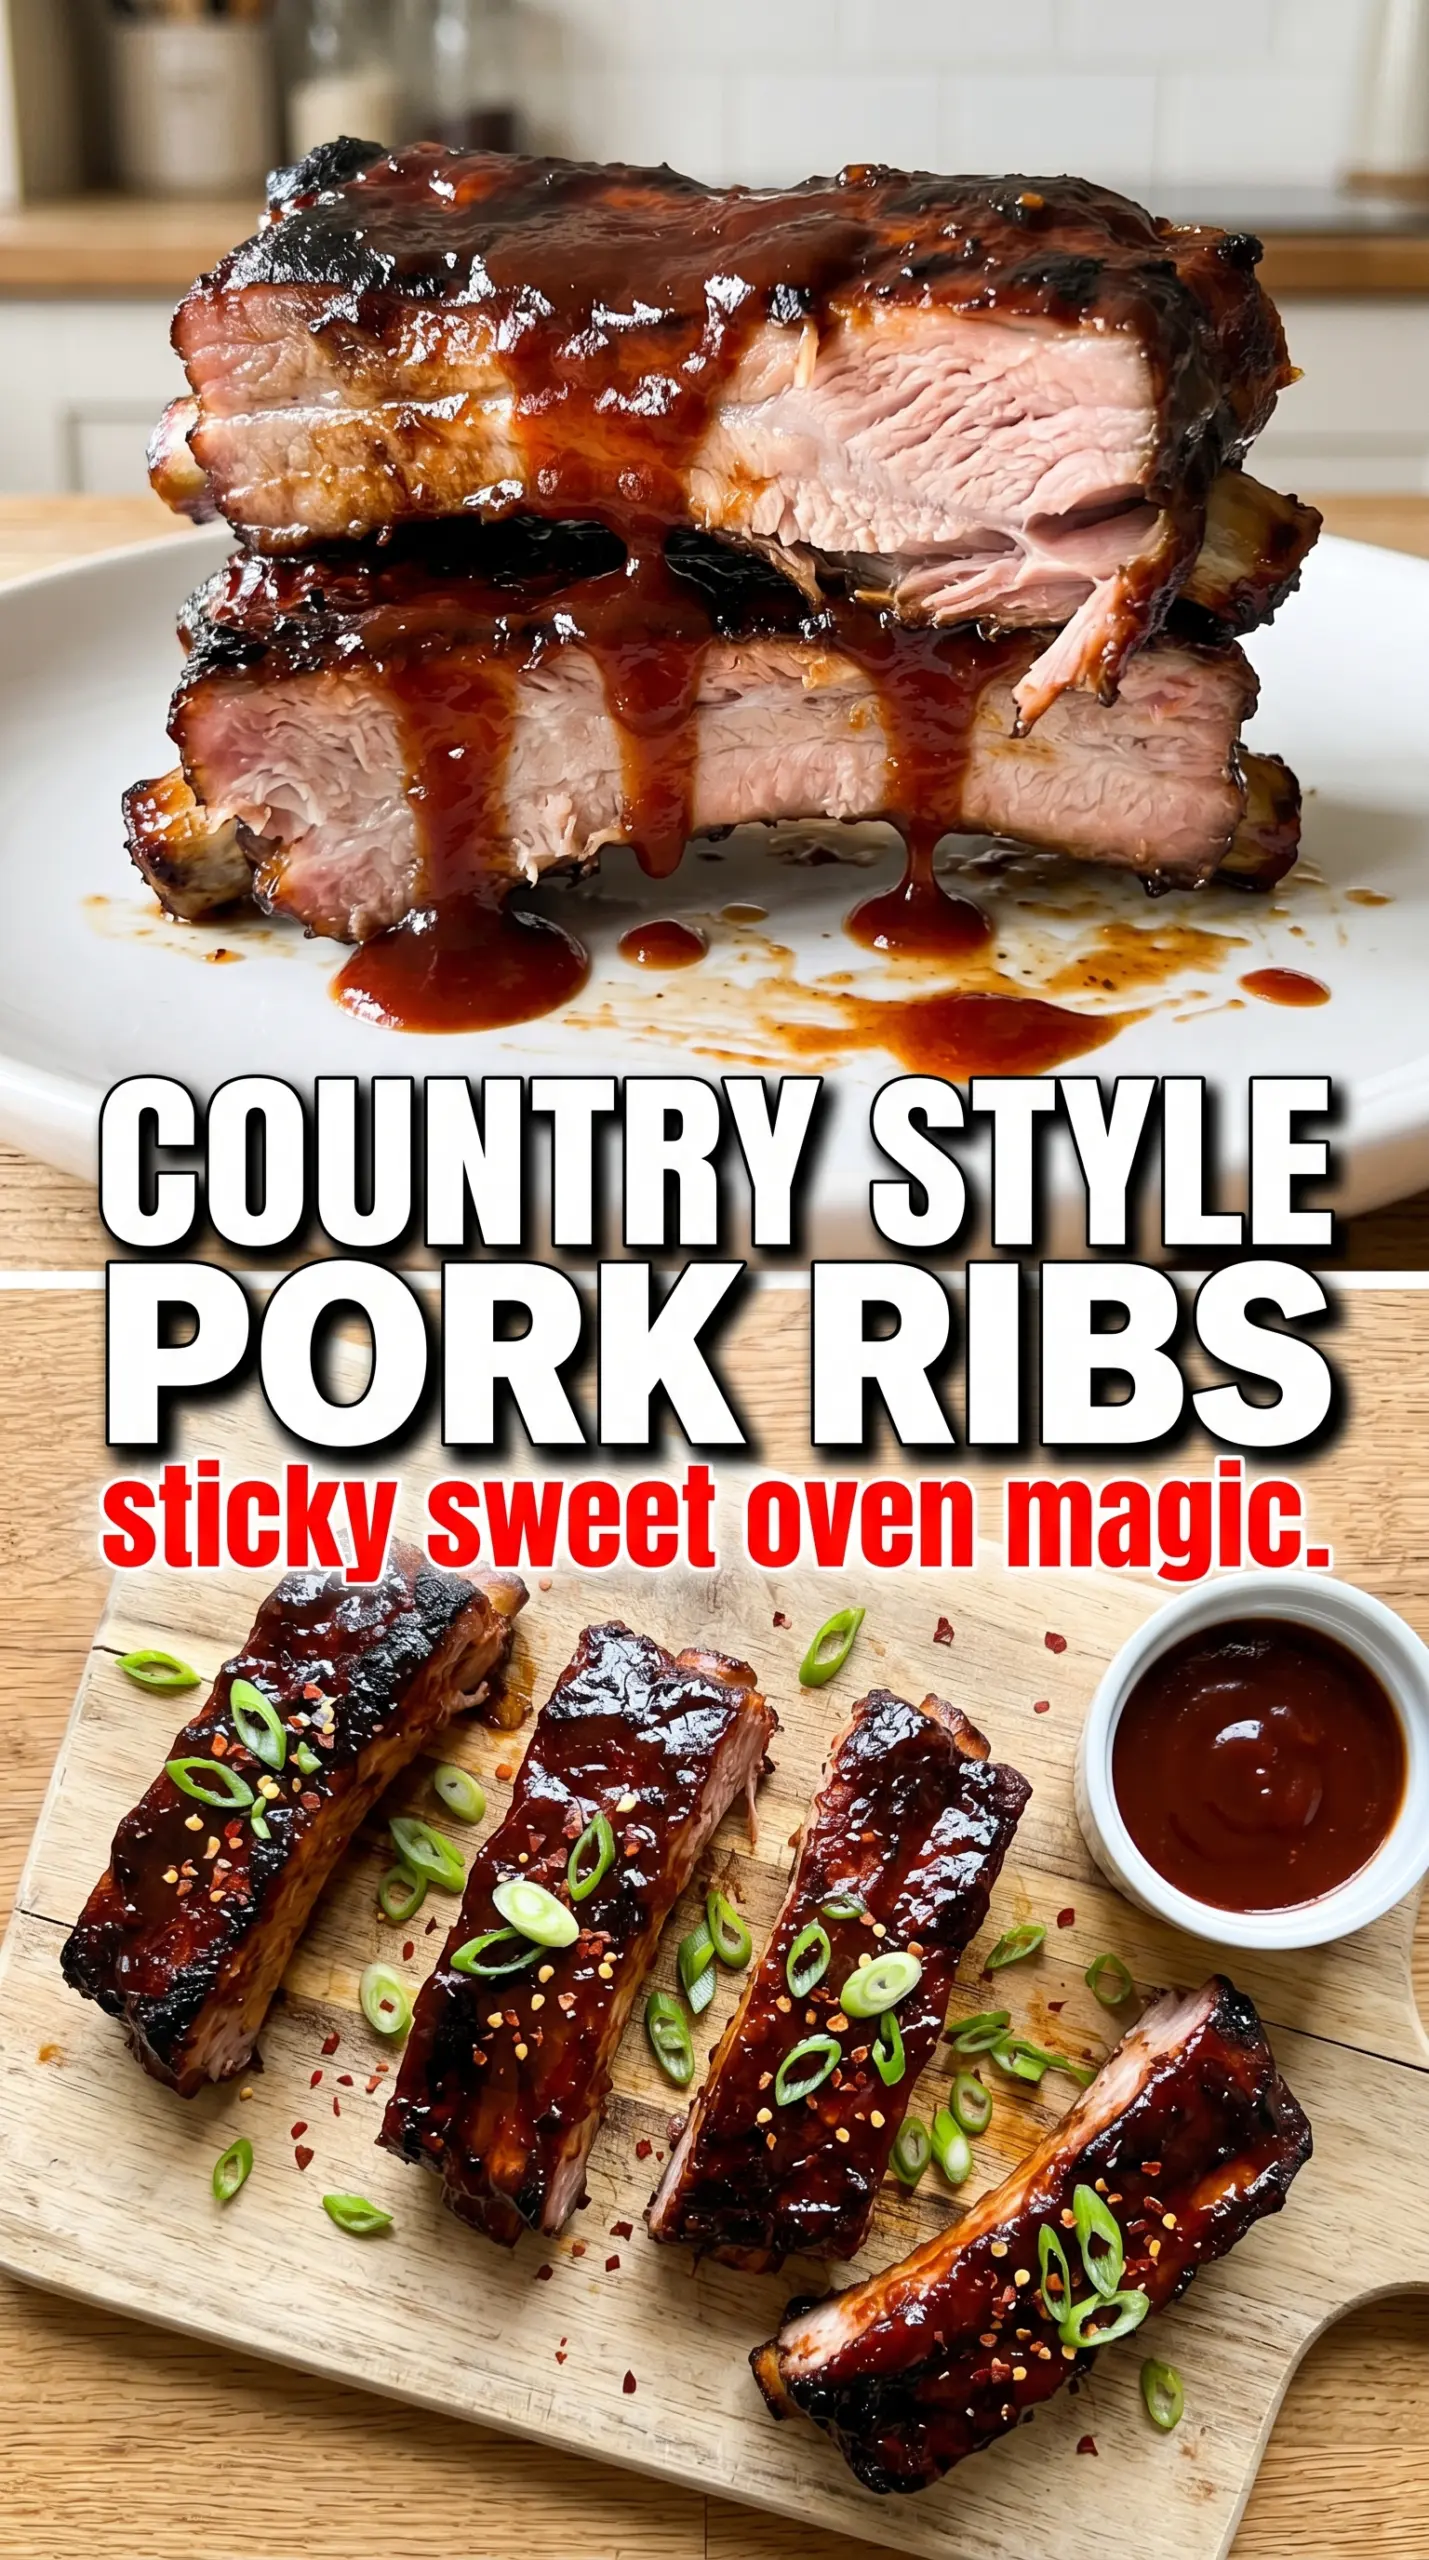
Oven roasted country style ribs turn tender in a way that feels almost unfair. The low, covered bake gives you pork that pulls apart with a fork, then the final blast of heat turns the BBQ sauce into a sticky, caramelized glaze that clings to every shred. You get that slow-cooked texture without firing up a grill or tending a smoker all afternoon.
What makes this version work is the sequence. The dry rub has enough brown sugar and paprika to build flavor before the sauce ever goes on, and the foil cover traps steam so the ribs soften instead of drying out. Then the oven gets turned up at the end, which is the part that gives you those browned edges and that lacquered finish people always fight over.
If you’ve ever ended up with ribs that were cooked through but still chewy, the problem was usually heat that was too high too soon. The notes below cover the rub, the baking time, and the one step that keeps the glaze from burning before the meat is ready.
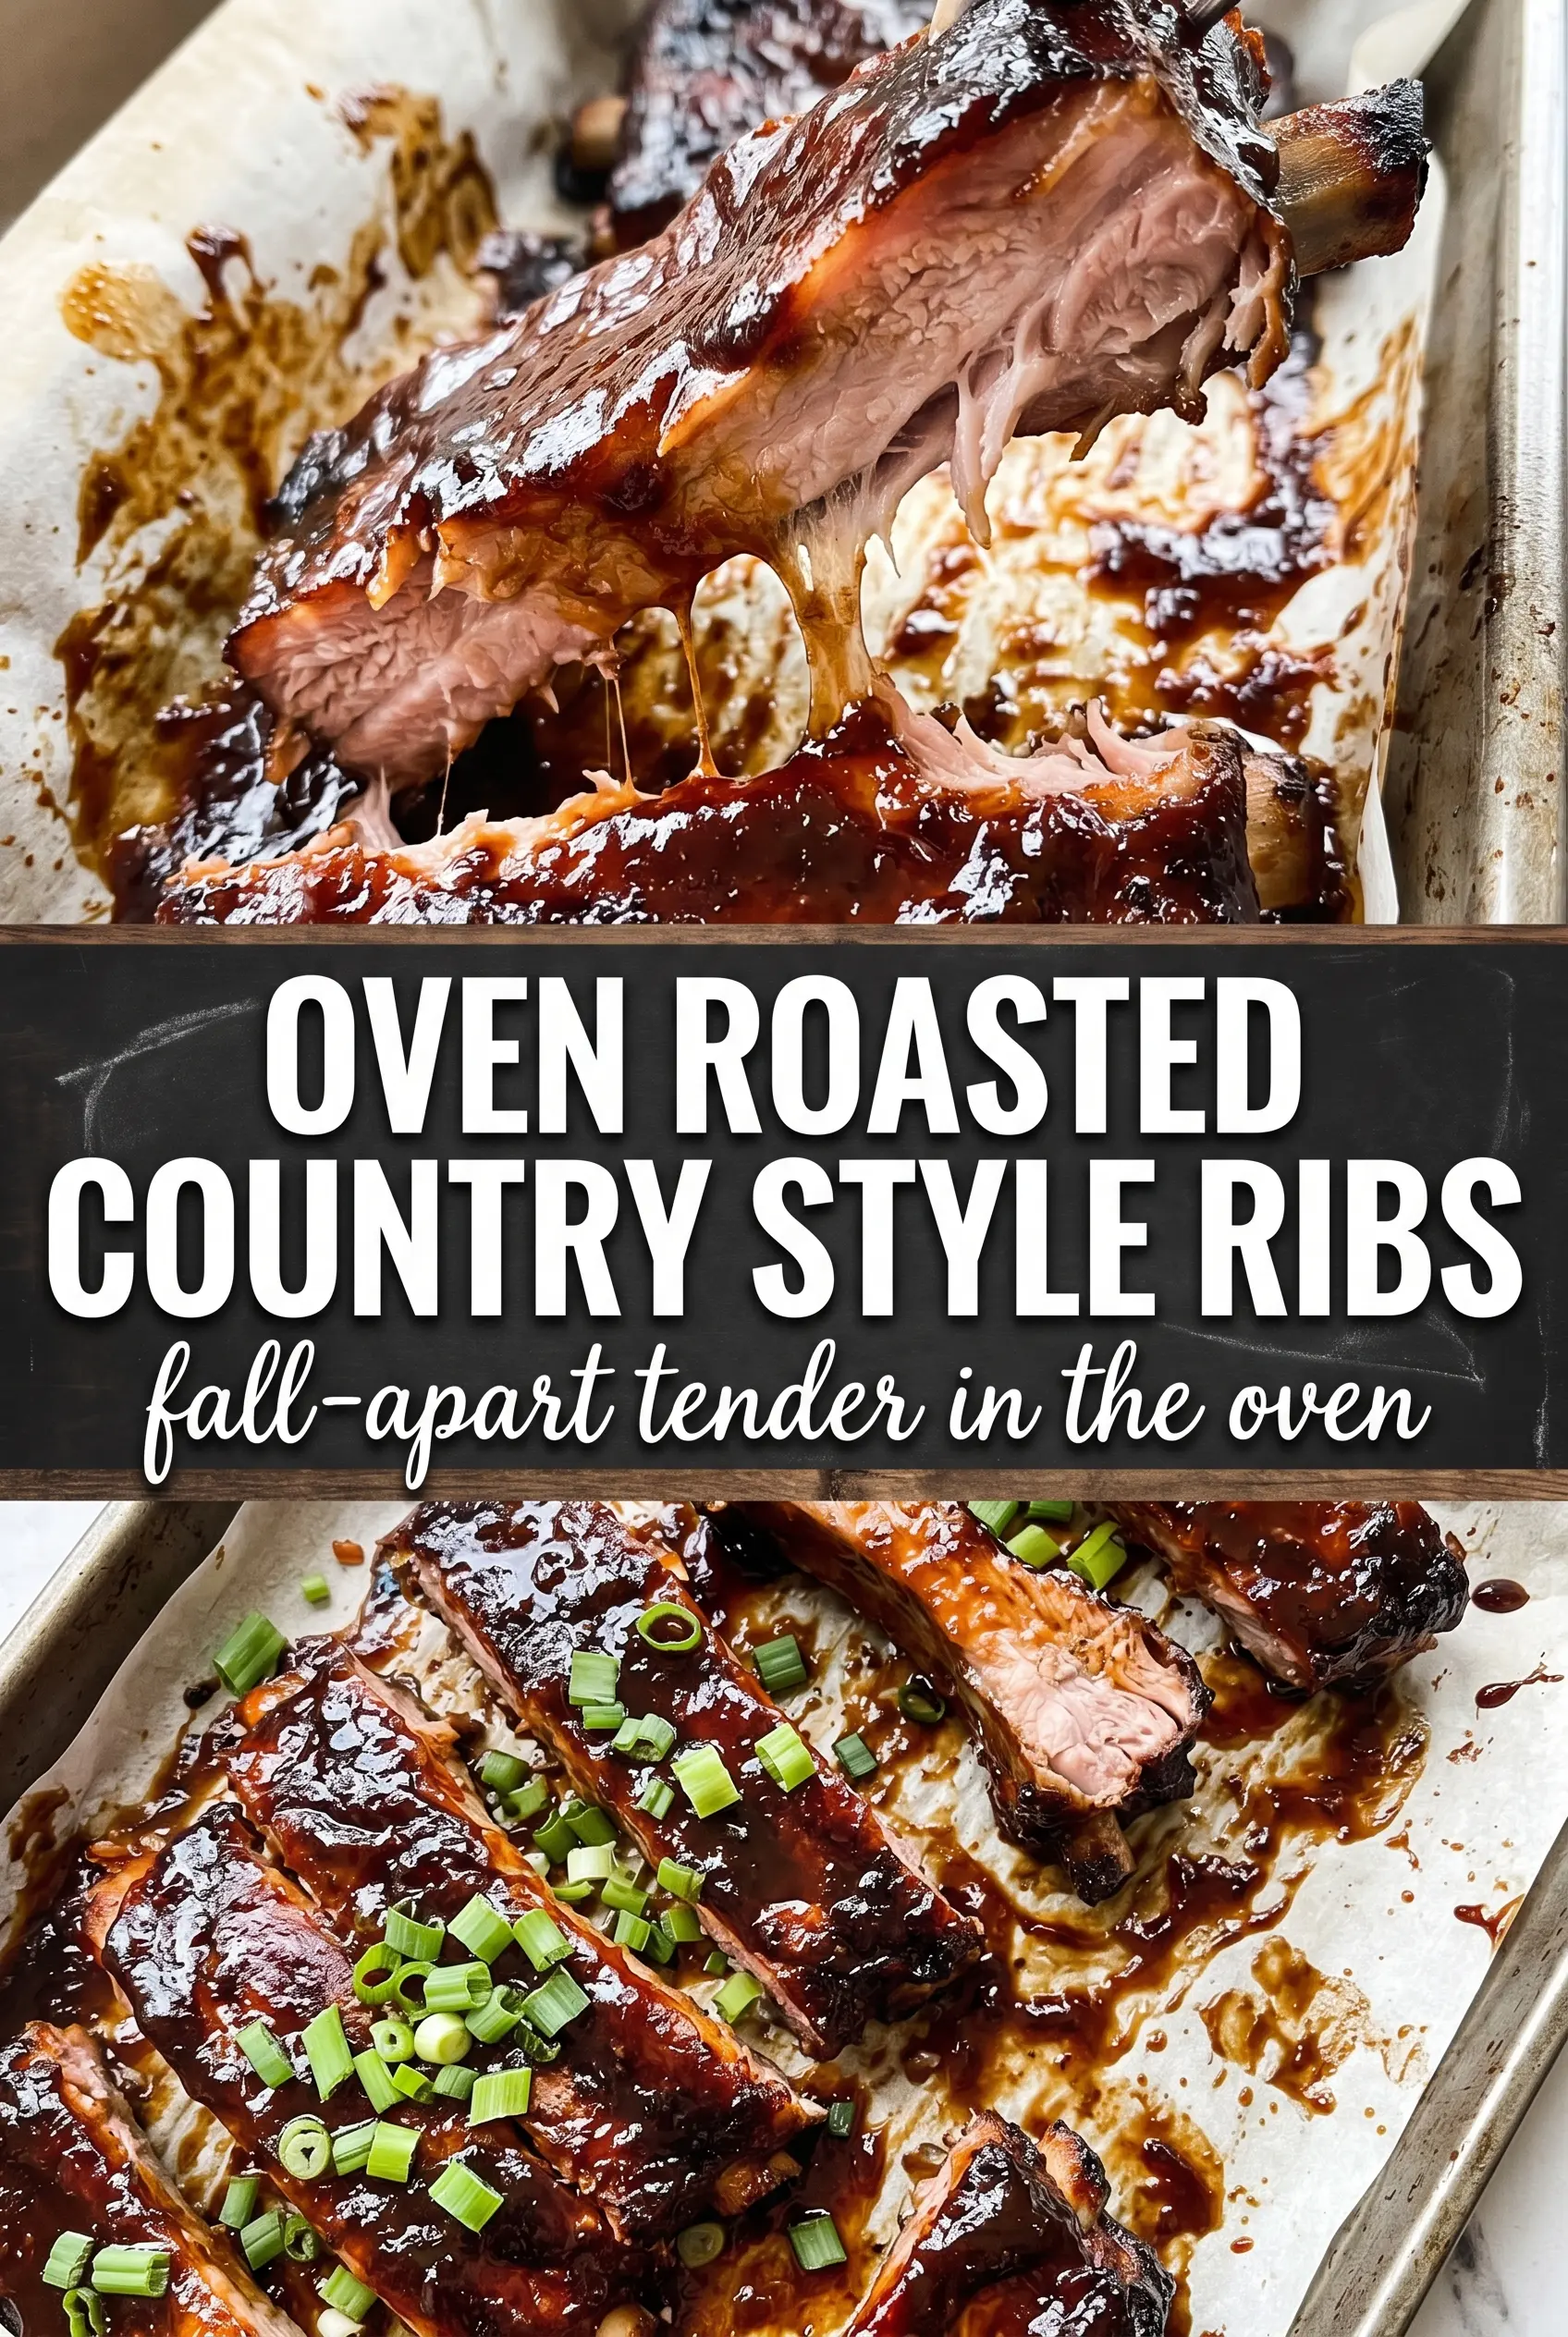
The ribs came out so tender after the covered bake that I could pull them apart with a spoon, and the sauce got perfectly sticky in the last 20 minutes without burning.
These oven roasted country style ribs get that sticky BBQ finish and fork-tender texture without a smoker.
The Reason These Ribs Go Tender Before They Brown
Country style ribs are forgiving, but they still need the right kind of heat. At 300°F, covered tightly, the pork has time to relax and break down without the outside drying out. That slow bake is what gives you that juicy, shreddable texture instead of the tight, chewy bite people sometimes get when they rush ribs in a hot oven.
The final uncovered roast is just as important. Once the meat is tender, the sauce only needs enough heat to tighten up and caramelize. If you glaze too early, the sugar in the BBQ sauce can scorch before the ribs have finished softening. Low heat first, high heat last. That’s the whole game here.
- Tight foil — This traps moisture and keeps the ribs in a gentle braise-like environment. If the foil is loose, the edges can dry out before the center gets tender.
- Brown sugar in the rub — It helps the crust darken and adds a little richness under the BBQ sauce. You can cut it slightly, but don’t skip it unless your sauce is already very sweet.
- Smoked paprika — This is where the recipe gets that backyard barbecue flavor without a grill. Regular paprika works in a pinch, but you lose some depth.
- BBQ sauce — Use one you actually like straight from the bottle. It reduces and concentrates in the oven, so a thin, overly sugary sauce can finish sticky in a bad way.
What the Rub and BBQ Sauce Are Doing Separately
- Country style pork ribs — Bone-in ribs hold a little more flavor and can stay juicier, but boneless works well too and is easier to serve. Either way, you want pieces that are roughly even in size so they finish at the same time.
- Brown sugar — It’s not just sweetness. It helps the rub cling to the meat and gives the final glaze a deeper color. Light or dark brown sugar both work.
- BBQ sauce — This recipe uses the sauce as a finish, not the main seasoning. Brush it on after the ribs are already tender so it can turn sticky instead of burning onto the pan.
- Cayenne — It adds a little heat without taking over. If your BBQ sauce is already spicy, reduce it or leave it out.
- Salt and pepper — Salt matters more than people think here because the pork is thick. Season generously so the meat tastes seasoned all the way through, not just on the surface.
How to Get the Meat Tender Before the Sauce Goes On
Seasoning the Ribs Evenly
Mix the dry rub first, then coat every surface of the ribs until they look well seasoned, not dusty. The sugar and spices need to sit on the meat long enough to start dissolving into the surface moisture, which helps the crust build later. If you see patches of bare pork, those spots will taste bland after baking.
Covered Baking Time
Lay the ribs in a single layer in a baking dish and cover the dish tightly with foil. This is where the tender texture happens, so resist the urge to open the oven repeatedly. At the end of two hours, the ribs should look softer, slightly shrunken, and tender enough that a fork slides in with little resistance.
Finishing With Sauce and Heat
Uncover the ribs and brush on a generous layer of BBQ sauce, then raise the oven temperature to 400°F. You want the sauce bubbling at the edges and darkening in spots, not blackening. If the glaze starts to smoke hard or go bitter, the oven is too hot or the rack is too close to the top element.
Serving at the Right Moment
Let the ribs sit just a few minutes after they come out so the sauce settles and doesn’t run off the meat. They should still be glossy and sticky when they hit the table. Extra BBQ sauce on the side is worth it, especially if someone wants a wetter finish over rice, potatoes, or slaw.
How to Adapt These Ribs for Different Kitchens and Tastes
Use Boneless Ribs for Easier Serving
Boneless country style ribs cook well here and slice or shred more neatly on the plate. They can dry out a little faster than bone-in, so check them at the two-hour mark and go by tenderness, not just the clock.
Make It Gluten-Free Without Changing the Method
Use a gluten-free BBQ sauce and a spice blend that doesn’t include any fillers. The baking method stays exactly the same, and the finished ribs still get that sticky, oven-caramelized finish.
Dial Back the Sweetness
If your BBQ sauce is already sweet, cut the brown sugar in the rub to 1 tablespoon. You’ll still get a good crust, but the glaze will finish with more smoky-savory balance and less candy-like sweetness.
Turn Up the Heat Carefully
For a spicier version, add another 1/4 teaspoon cayenne or use a hot BBQ sauce at the end. Keep the heat in the sauce rather than the base rub if you want the ribs to stay balanced instead of aggressively spicy all the way through.
Storage and Reheating
- Refrigerator: Store leftovers in an airtight container for up to 4 days. The sauce will thicken as it chills.
- Freezer: These ribs freeze well for up to 2 months. Wrap portions tightly with a little extra sauce so the meat doesn’t dry out after thawing.
- Reheating: Reheat covered in a 300°F oven with a spoonful of extra sauce until hot. The common mistake is blasting them in the microwave or a hot oven, which dries out the pork before the glaze loosens again.
Answers to the Questions Worth Asking
Oven Roasted Country Style Ribs
Ingredients
Equipment
Method
- Preheat the oven to 300°F. Set up your baking dish so the ribs can go in in a single layer.
- Mix the dry rub ingredients together until evenly blended. Coat the country style pork ribs generously on all sides with the rub.
- Place the ribs in a single layer in a baking dish. Cover tightly with foil so the meat stays moist while it bakes.
- Bake covered at 300°F for 2 hours until the ribs are very tender. You should be able to feel how easily the meat yields.
- Uncover the baking dish and brush the ribs generously with BBQ sauce. Spread it to the edges so it can caramelize in the next stage.
- Increase the oven to 400°F and bake uncovered for 20–25 minutes until the sauce is caramelized and sticky. Let it darken slightly and cling to the surface.
- Serve with extra BBQ sauce. Spoon the glaze over the meat so the shredded texture stays juicy.


