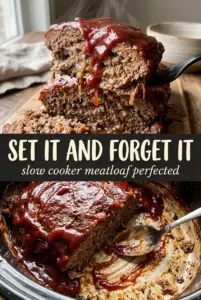
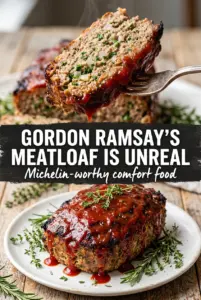
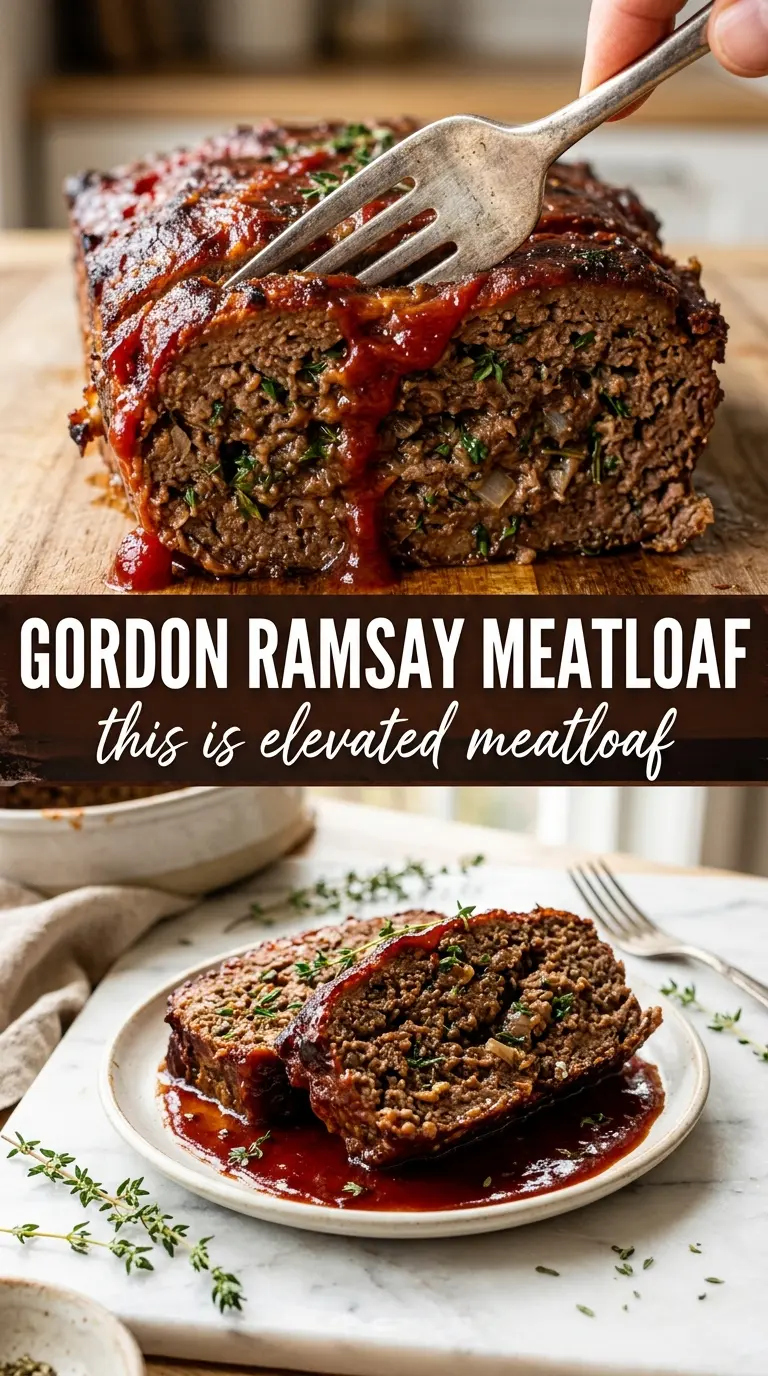
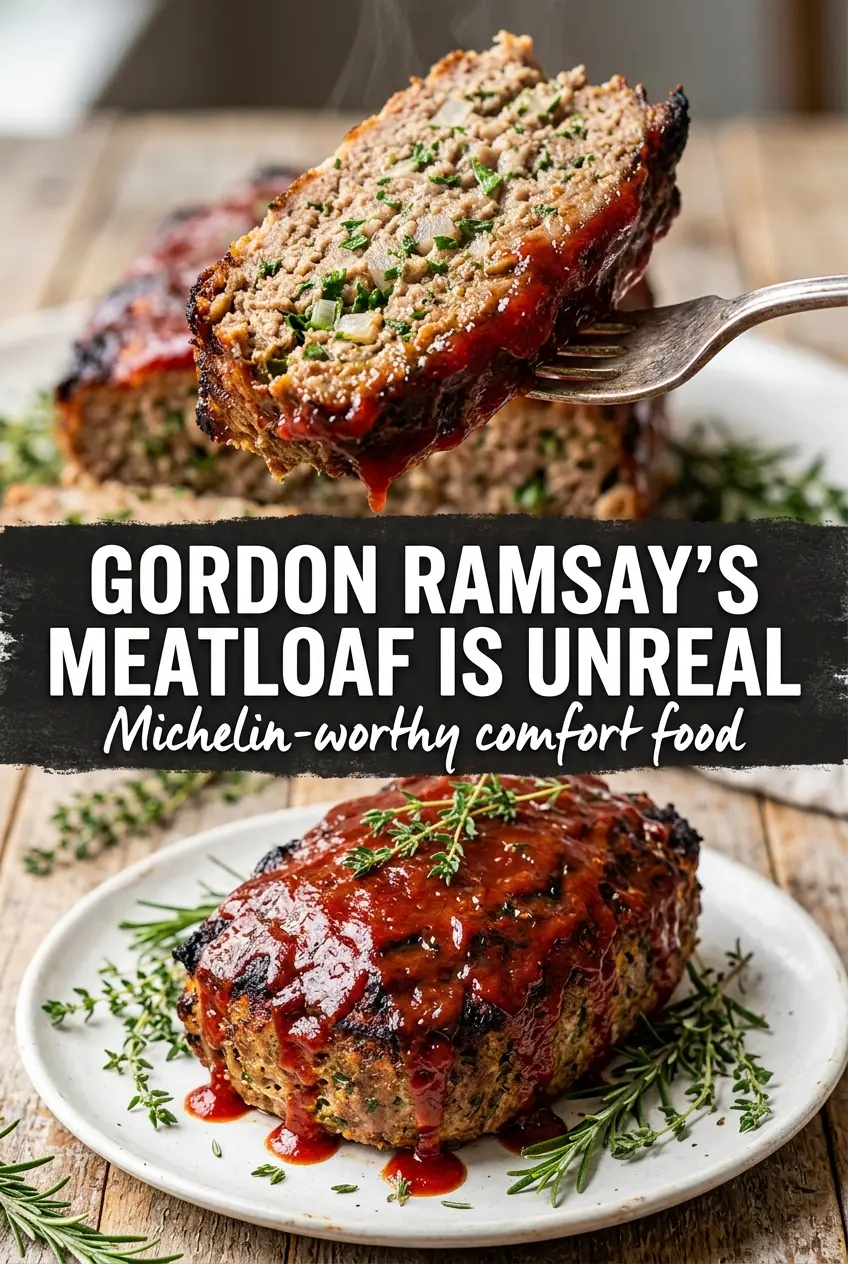
Gordon Ramsay-style meatloaf lands with a deep browned crust, a juicy center, and a glaze that turns sticky and tangy in the oven instead of sliding off into the pan. It eats like a proper dinner, not a fallback. The free-form shape gives you more of that caramelized exterior, and searing it first builds the kind of savory base most loaf pans never can.
The trick here is restraint. The beef and pork bring richness, but the breadcrumbs, milk, and eggs keep the texture tender without turning it dense. Sautéing the onion first takes the raw edge off and keeps the loaf from tasting flat, while Worcestershire, Dijon, and fresh herbs make every slice taste layered instead of bland.
Below, I’ve added the small details that matter: how to keep the loaf tight without packing it too hard, why the sear changes the final flavor, and which swaps still give you that restaurant-style finish.
The seared crust on this meatloaf was incredible, and the glaze set up instead of running everywhere. I let it rest the full 15 minutes and the slices held together beautifully.
Like this Gordon Ramsay meatloaf? Save it to Pinterest for the nights when you want a lacquered crust, juicy slices, and a glaze that actually stays put.
The Seared Crust Is What Keeps This Meatloaf Out of the Ordinary
Most meatloaf problems start before the oven even turns on. If the mixture is too wet, it spreads. If it’s packed too hard, it turns rubbery. If it goes straight into a loaf pan, you lose the browned sides that give you the best flavor. This version avoids all three by shaping the meat free-form, then searing it on all sides before roasting.
That quick stovetop browning does more than add color. It gives the loaf a set exterior, so the glaze clings and the juices stay where they belong. The result is a meatloaf that slices cleanly after resting instead of collapsing into a soft mound on the plate.
What Each Ingredient Is Actually Doing in This Dish
- Ground beef and ground pork — Beef gives the loaf structure and a deeper savory base, while pork adds fat and tenderness. All beef works in a pinch, but the texture gets leaner and a little less plush.
- Fresh breadcrumbs — These hold onto moisture better than dry crumbs and help the loaf stay tender without feeling pasty. If you only have dry breadcrumbs, use a little less and let them sit in the milk for a few minutes before mixing.
- Sautéed onion and garlic — Cooking them first removes harshness and keeps the finished loaf from tasting raw or sharp. This step matters more than most people think, especially in a shorter roast like this one.
- Worcestershire and Dijon — These are the quiet flavor boosters. Worcestershire adds depth and saltiness, while Dijon sharpens the meatiness and keeps the glaze from tasting flat.
- Fresh thyme and parsley — Thyme gives the loaf a woodsy backbone, and parsley keeps it from feeling heavy. Dried herbs will work, but use less because the flavor comes on stronger once baked.
- The glaze — Ketchup gives body, balsamic adds acidity, and brown sugar helps it caramelize. Brush it on after searing so it thickens on top instead of burning in the skillet.
How to Build the Loaf So It Stays Juicy and Slices Cleanly
Cooking the Onion Until It Softens
Sauté the onion before it goes into the meat. You want it soft and translucent, not browned hard, because raw onion releases moisture in the oven and can make the loaf taste sharp. Let it cool slightly before mixing so it doesn’t start setting the eggs early. If it goes in hot, the mixture can get sticky and harder to shape.
Mixing Without Compressing the Meat
Combine everything with your hands just until the ingredients are evenly distributed. Stop as soon as you no longer see streaks of egg or breadcrumbs. Overmixing makes the proteins tighten up, and that’s how you get a dense loaf instead of a tender slice. The mixture should hold together when pressed, but still feel soft.
Shaping the Free-Form Loaf
Form a tight loaf, but don’t pack it down like clay. The shape should be even from end to end so it cooks at the same rate, with no thin edges that dry out before the center is done. If the loaf cracks while you shape it, it usually means it’s too dry; add a small splash of milk and fold it in gently.
Searing Before the Oven
Heat the oil in an oven-safe skillet over medium-high heat until it shimmers, then sear the loaf on all sides until it develops a deep brown crust. This is where the flavor gets built. If the pan is too cool, the meat will steam and stick instead of browning. Work patiently and turn it with tongs so the crust stays intact.
Roasting, Glazing, and Resting
Brush on the glaze after the sear, then move the skillet to the oven and roast until the center reaches 160°F. Pull it out and let it rest for 15 minutes before slicing. That rest is what keeps the juices from flooding the cutting board. If you cut too early, the loaf will still taste good, but it won’t hold together the same way.
Three Ways to Adapt This Meatloaf Without Losing the Restaurant Finish
Gluten-Free Version
Swap the fresh breadcrumbs for gluten-free breadcrumbs or crushed gluten-free crackers. Keep the amount the same at first, since the goal is still a tender binder, not a stiff filler. The texture stays close to the original as long as you don’t overpack the loaf.
Dairy-Free Adaptation
Use an unsweetened plain non-dairy milk in place of the whole milk. Oat milk works best because it has enough body to soften the crumbs without adding a strong flavor. The loaf still comes out moist, though the crumb is a touch less rich than the original.
All Beef Instead of Beef and Pork
If you only have ground beef, use it. Choose 80/20 if you can, because lean beef alone can dry out in a longer roast. The loaf will still taste great, but it won’t have quite the same buttery texture that the pork brings.
Make It Ahead for Dinner Service
Shape the loaf and keep it covered in the fridge for up to 24 hours before cooking. That chill time helps it hold its shape in the pan and makes the sear cleaner. Don’t add the glaze until right before it goes into the oven, or the sugar can soften the crust too early.
Storage and Reheating
- Refrigerator: Store sliced meatloaf in an airtight container for up to 4 days. The glaze may thicken and the texture will firm up a bit once chilled.
- Freezer: It freezes well. Wrap slices or the whole cooled loaf tightly and freeze for up to 2 months. Thaw in the refrigerator before reheating for the best texture.
- Reheating: Warm slices covered in a 300°F oven with a spoonful of pan juices, broth, or a little extra glaze. The mistake most people make is blasting it in the microwave until the edges go dry.
Answers to the Questions Worth Asking
Gordon Ramsay Meatloaf
Ingredients
Equipment
Method
- Preheat oven to 350°F.
- Mix ground beef, ground pork, fresh breadcrumbs, eggs, whole milk, sautéed onion, minced garlic, Worcestershire sauce, Dijon mustard, chopped thyme, chopped parsley, salt, and coarse black pepper until just combined.
- Shape mixture into a tight, free-form loaf.
- Heat olive oil in an oven-safe skillet over medium-high heat and sear meatloaf on all sides until deeply browned, about 2 minutes per side, with a dark caramelized exterior.
- Mix ketchup, balsamic vinegar, and brown sugar, then brush the glaze over the top so it coats the surface.
- Transfer skillet to the oven and roast for 60–70 minutes until the internal temperature reaches 160°F.
- Rest the meatloaf for 15 minutes before slicing so the juices settle and the center stays moist.