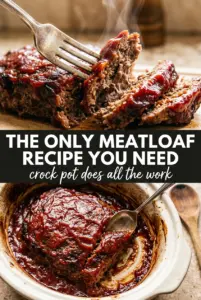
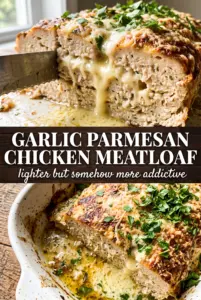
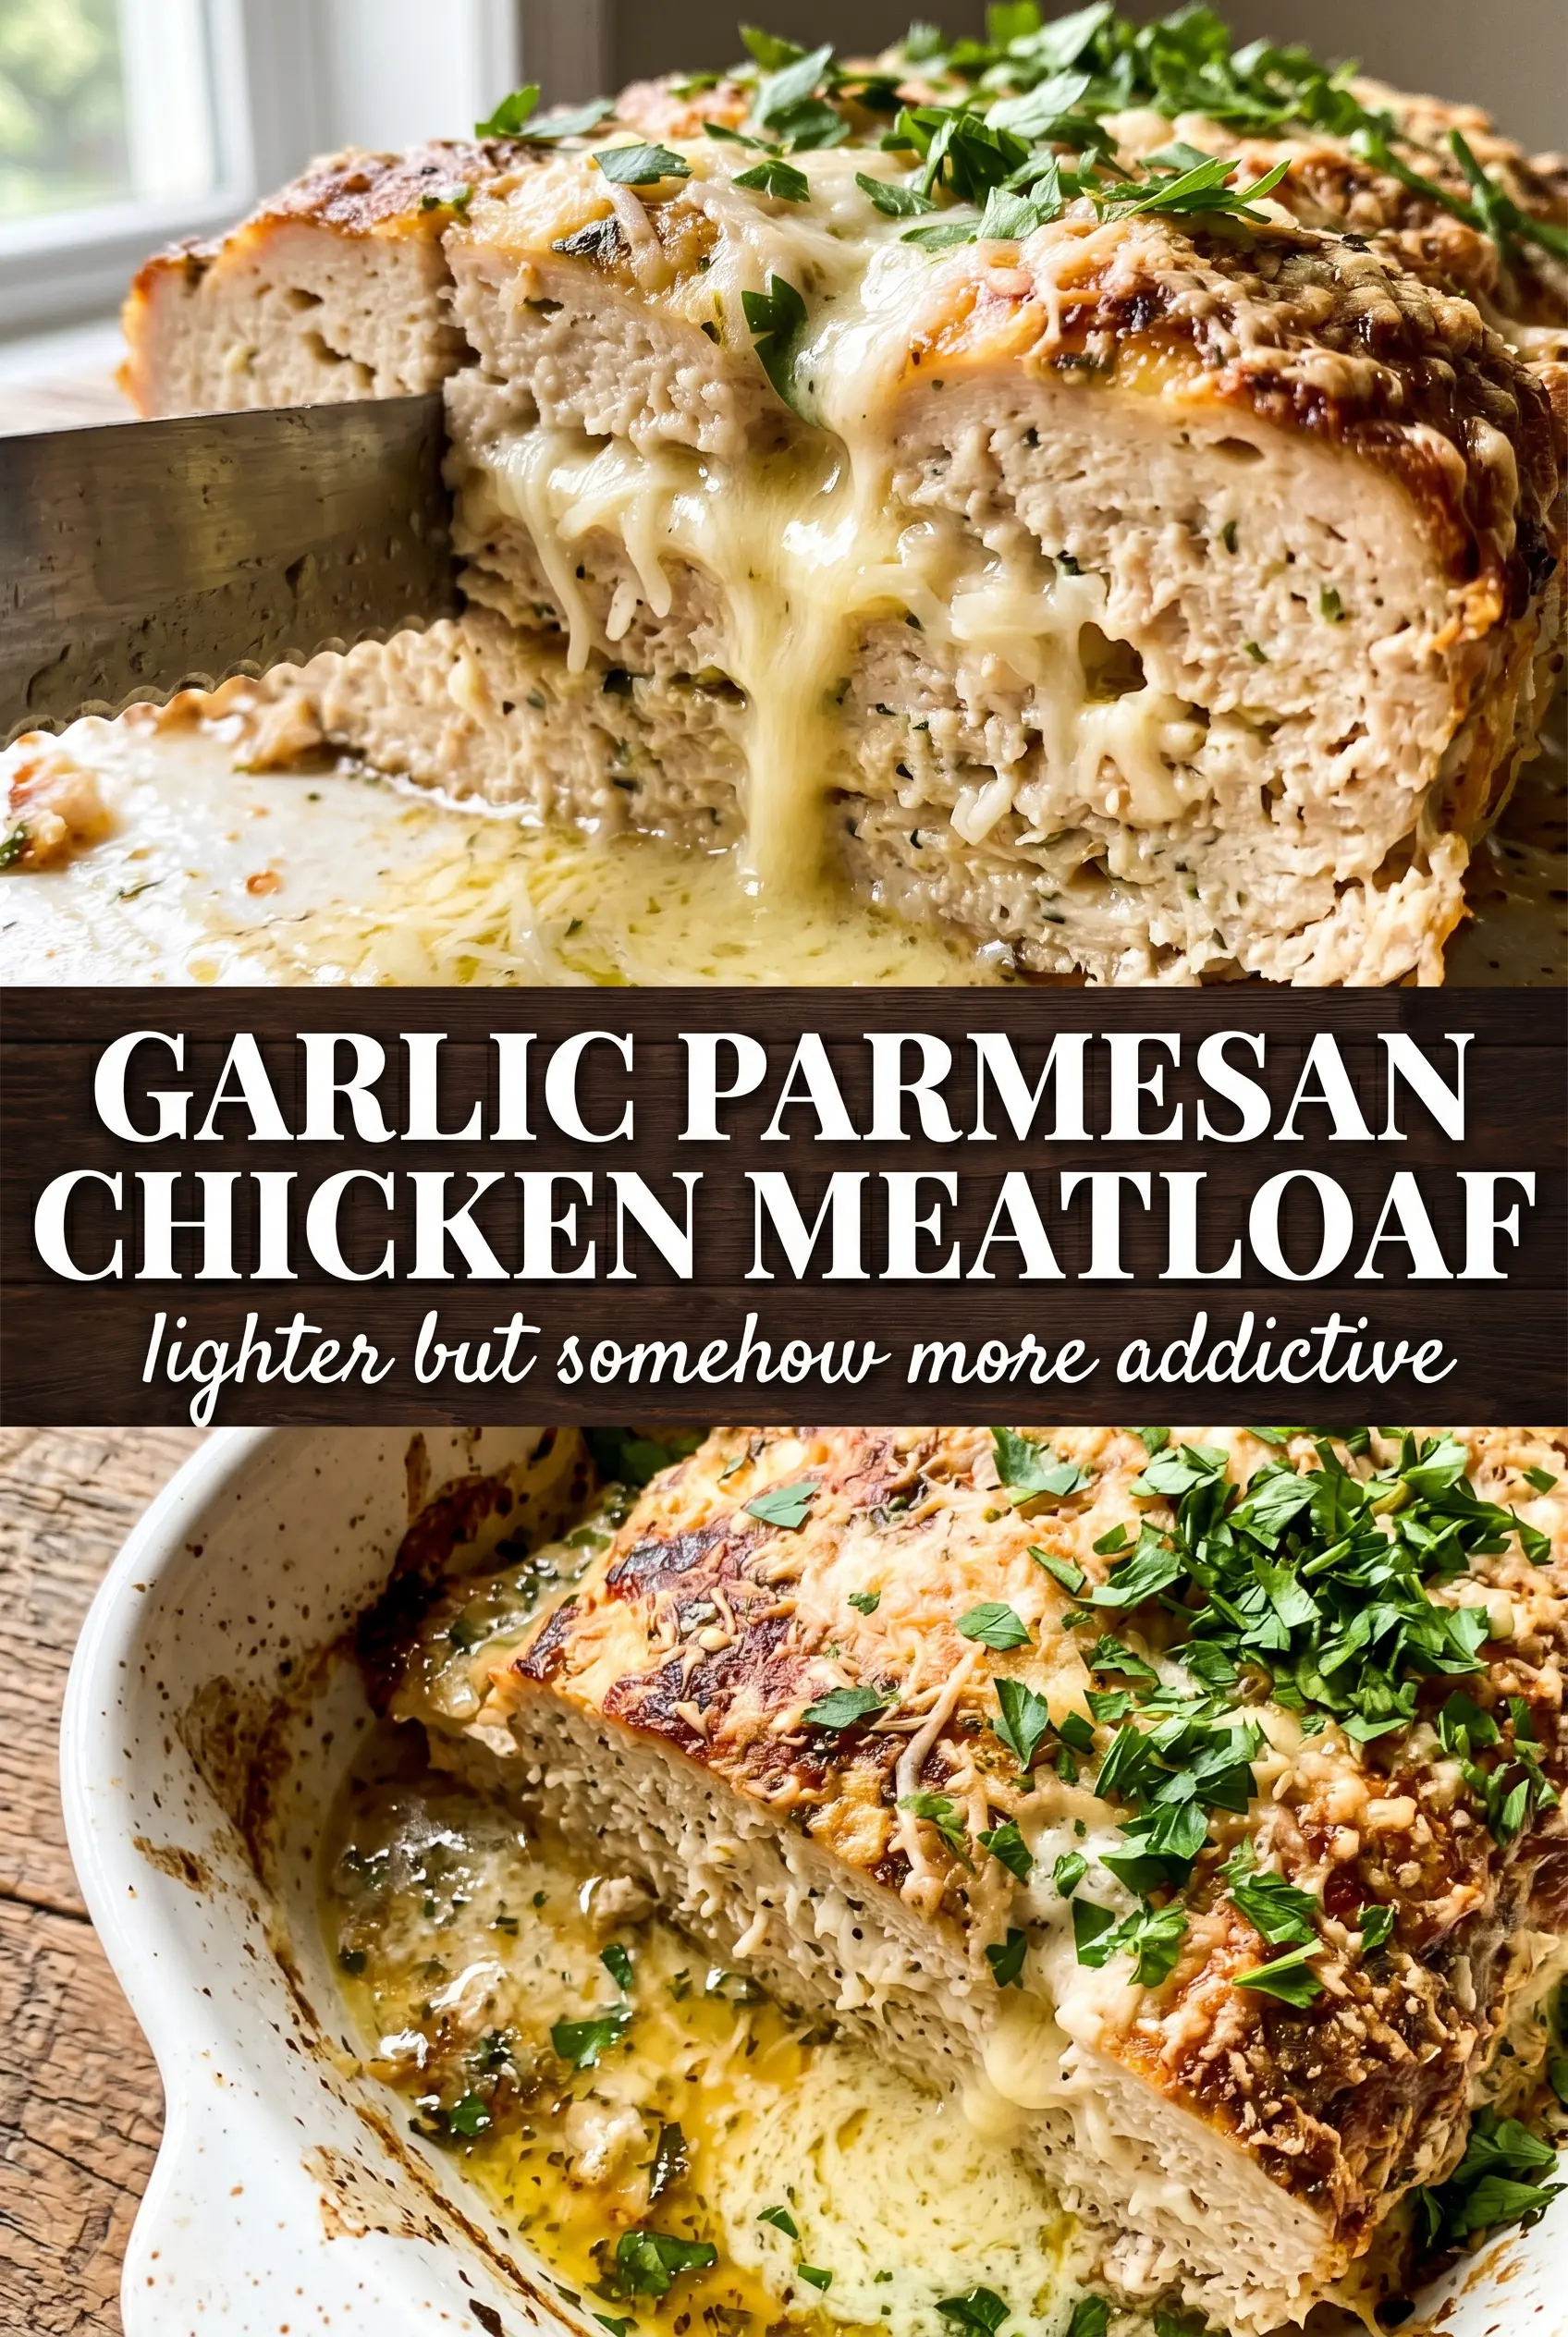
Garlic Parmesan Chicken Meatloaf lands with a crisp, cheesy top and a tender middle that stays juicy instead of drying out like a lot of lean meatloaves do. The garlic butter brushed over the top during baking gives it that glossy finish and pulls the whole dish into something richer than the ingredient list suggests.
Ground chicken needs a light hand, especially when you’re mixing in breadcrumbs, cheese, and egg. Work it just until everything is evenly distributed, then stop. Overmixing packs it tight and makes the loaves dense. The parmesan does more than add flavor here; it helps build a salty crust, while the panko keeps the texture from turning pasty.
Below, I’ve included the small timing details that matter most, plus a few swaps if you want to make this with what you already have on hand.
The tops got this gorgeous parmesan crust and the garlic butter kept the chicken so moist. I baked them exactly 27 minutes and they came out perfect with no dryness at all.
Garlic Parmesan Chicken Meatloaf with its golden crust and garlic butter finish is one to keep close for easy dinners that still feel special.
The Trick to Keeping Ground Chicken Tender Instead of Tight
Ground chicken can turn rubbery fast if it gets handled like beef. It doesn’t have the fat content to forgive rough mixing, so the texture depends on restraint. Mix only until the breadcrumbs, cheese, and seasonings disappear into the meat. The loaves should hold together without looking pasted or compressed.
The other thing that helps is the ratio of binder to meat. Parmesan adds salt and structure, but it won’t give you bulk the way breadcrumbs do. Panko keeps the texture light, and the egg helps everything set in the oven without turning the center into a dense block.
- Ground chicken — Use regular ground chicken, not extra-lean breast meat if you have a choice. The small amount of dark meat in a standard blend gives you a juicier loaf and better flavor.
- Parmesan cheese — Freshly grated parmesan melts and browns better than the shelf-stable stuff. The pre-grated version works in a pinch, but it won’t give you the same crust or the same sharp bite.
- Panko breadcrumbs — Panko keeps the loaves lighter than fine breadcrumbs. If you need a gluten-free version, use a gluten-free panko and keep the amount the same.
- Garlic butter topping — This is what makes the top taste finished. Brush it on before baking for color, then use the rest after baking for shine and a stronger garlic hit.
What Each Ingredient Is Actually Doing in This Meatloaf or Meatballs

- Ground meat (the protein foundation) — Use 80/20 so it stays moist. Handle gently to keep texture tender instead of dense.
- Breadcrumbs or fillers (the binder) — These hold the meat together without making it dense. Soak in milk first so they add moisture.
- Egg (the structural binding agent) — This holds everything together during cooking. One egg per pound of meat is the right ratio.
- Onion and aromatics (the base flavor) — Mince finely so they distribute evenly. Raw onion softens as it cooks and becomes part of the texture.
- Seasonings (salt, pepper, Worcestershire, spices) — Build flavor boldly. The meat mixture carries the entire flavor profile.
- Milk or liquid (the moisture keeper) — This keeps the meatloaf tender instead of dense and dry. Don’t skip this step.
- Glaze or sauce (ketchup-based or other) — This adds sweetness, moisture, and flavor to the exterior. Apply strategically so it caramelizes.
- Resting time (the final step) — Let the meatloaf rest 10 minutes so it sets and slices cleanly. Cutting too soon makes it fall apart.
Shaping and Baking the Mini Loaves So They Stay Juicy
Mix the Meat Just Enough
Combine everything in a bowl and stop the moment the mixture looks even. It should feel soft and slightly sticky, not firm like a formed sausage. If you keep mixing after that point, the chicken tightens up and bakes into a chewy loaf. Clean hands work best here because a spoon tends to mash the mixture instead of folding it together.
Shape for Even Browning
Divide the mixture into four equal portions and form short oval loaves on a parchment-lined sheet pan. Keep them similar in size so they finish at the same time. Press the middles just enough to keep them from rolling, but don’t flatten them; a little height helps the tops brown before the insides dry out.
Finish with Garlic Butter and Parmesan
Brush the loaves with the melted garlic butter before they go into the oven, then press extra parmesan over the top. That layer is what turns into the golden crust. Bake at 400°F until the tops are deeply golden and the centers reach 165°F. If the tops brown too quickly, move the pan one rack lower, not higher, so the chicken can finish without scorching the cheese.
Rest Before Serving
Let the loaves sit for a few minutes after baking. The juices settle back into the meat instead of spilling out the second you cut in. Finish with the remaining garlic butter and parsley right before serving so the crust stays crisp and the herbs stay bright.
How to Change the Loaf Without Losing the Texture
Make it gluten-free
Swap the panko for gluten-free panko or crushed gluten-free crackers with a similar light texture. Avoid dense crumbs, which can make the loaves feel heavy instead of tender.
Go dairy-free
Leave out the parmesan in the loaf and replace the topping with olive oil, extra garlic, and a little nutritional yeast if you want a savory edge. You won’t get the same salty crust, but the loaf will still brown nicely and stay moist.
Bake one large loaf instead of minis
Pack the mixture into a single loaf on the sheet pan and add 10 to 15 minutes to the bake time. The tradeoff is less crust per bite, but it’s a good move when you want cleaner slicing for sandwiches or meal prep.
Use turkey instead of chicken
Ground turkey works well with the same method, though it tastes a little leaner and milder. If your turkey is extra lean, add an extra tablespoon of butter to the topping or a splash of milk to the mixture so the texture doesn’t dry out.
Storage and Reheating
- Refrigerator: Store in an airtight container for up to 4 days. The crust softens a little, but the flavor holds up well.
- Freezer: Freeze the baked loaves wrapped tightly for up to 2 months. Thaw in the refrigerator before reheating so the centers warm evenly.
- Reheating: Warm in a 325°F oven, covered loosely with foil, until heated through. The common mistake is blasting them in the microwave, which makes the edges tough before the center is hot.
Questions I Get Asked About This Recipe
Garlic Parmesan Chicken Meatloaf
Ingredients
Equipment
Method
- Preheat the oven to 400°F and line a sheet pan with parchment. This ensures the mini meatloaves bake evenly without sticking.
- Combine ground chicken, parmesan, panko, garlic, egg, parsley, Italian seasoning, garlic powder, salt, and black pepper in a bowl and mix until just combined. Stop mixing as soon as the mixture comes together so the loaves stay tender.
- Divide the mixture into 4 equal portions and shape into oval loaves on the prepared pan. Leave a little space between them so they brown on top.
- Mix the melted butter with garlic and brush over each meatloaf, then press extra parmesan on top. You should see a glossy garlic-butter layer with parmesan clinging to the surface.
- Bake at 400°F for 25–28 minutes until cooked through, reaching 165°F internally, and golden on top. The crust should look set and browned rather than wet.
- Brush the meatloaves with the remaining garlic butter, garnish with fresh parsley, and serve. The final sheen should look pooled and fragrant around the loaves.