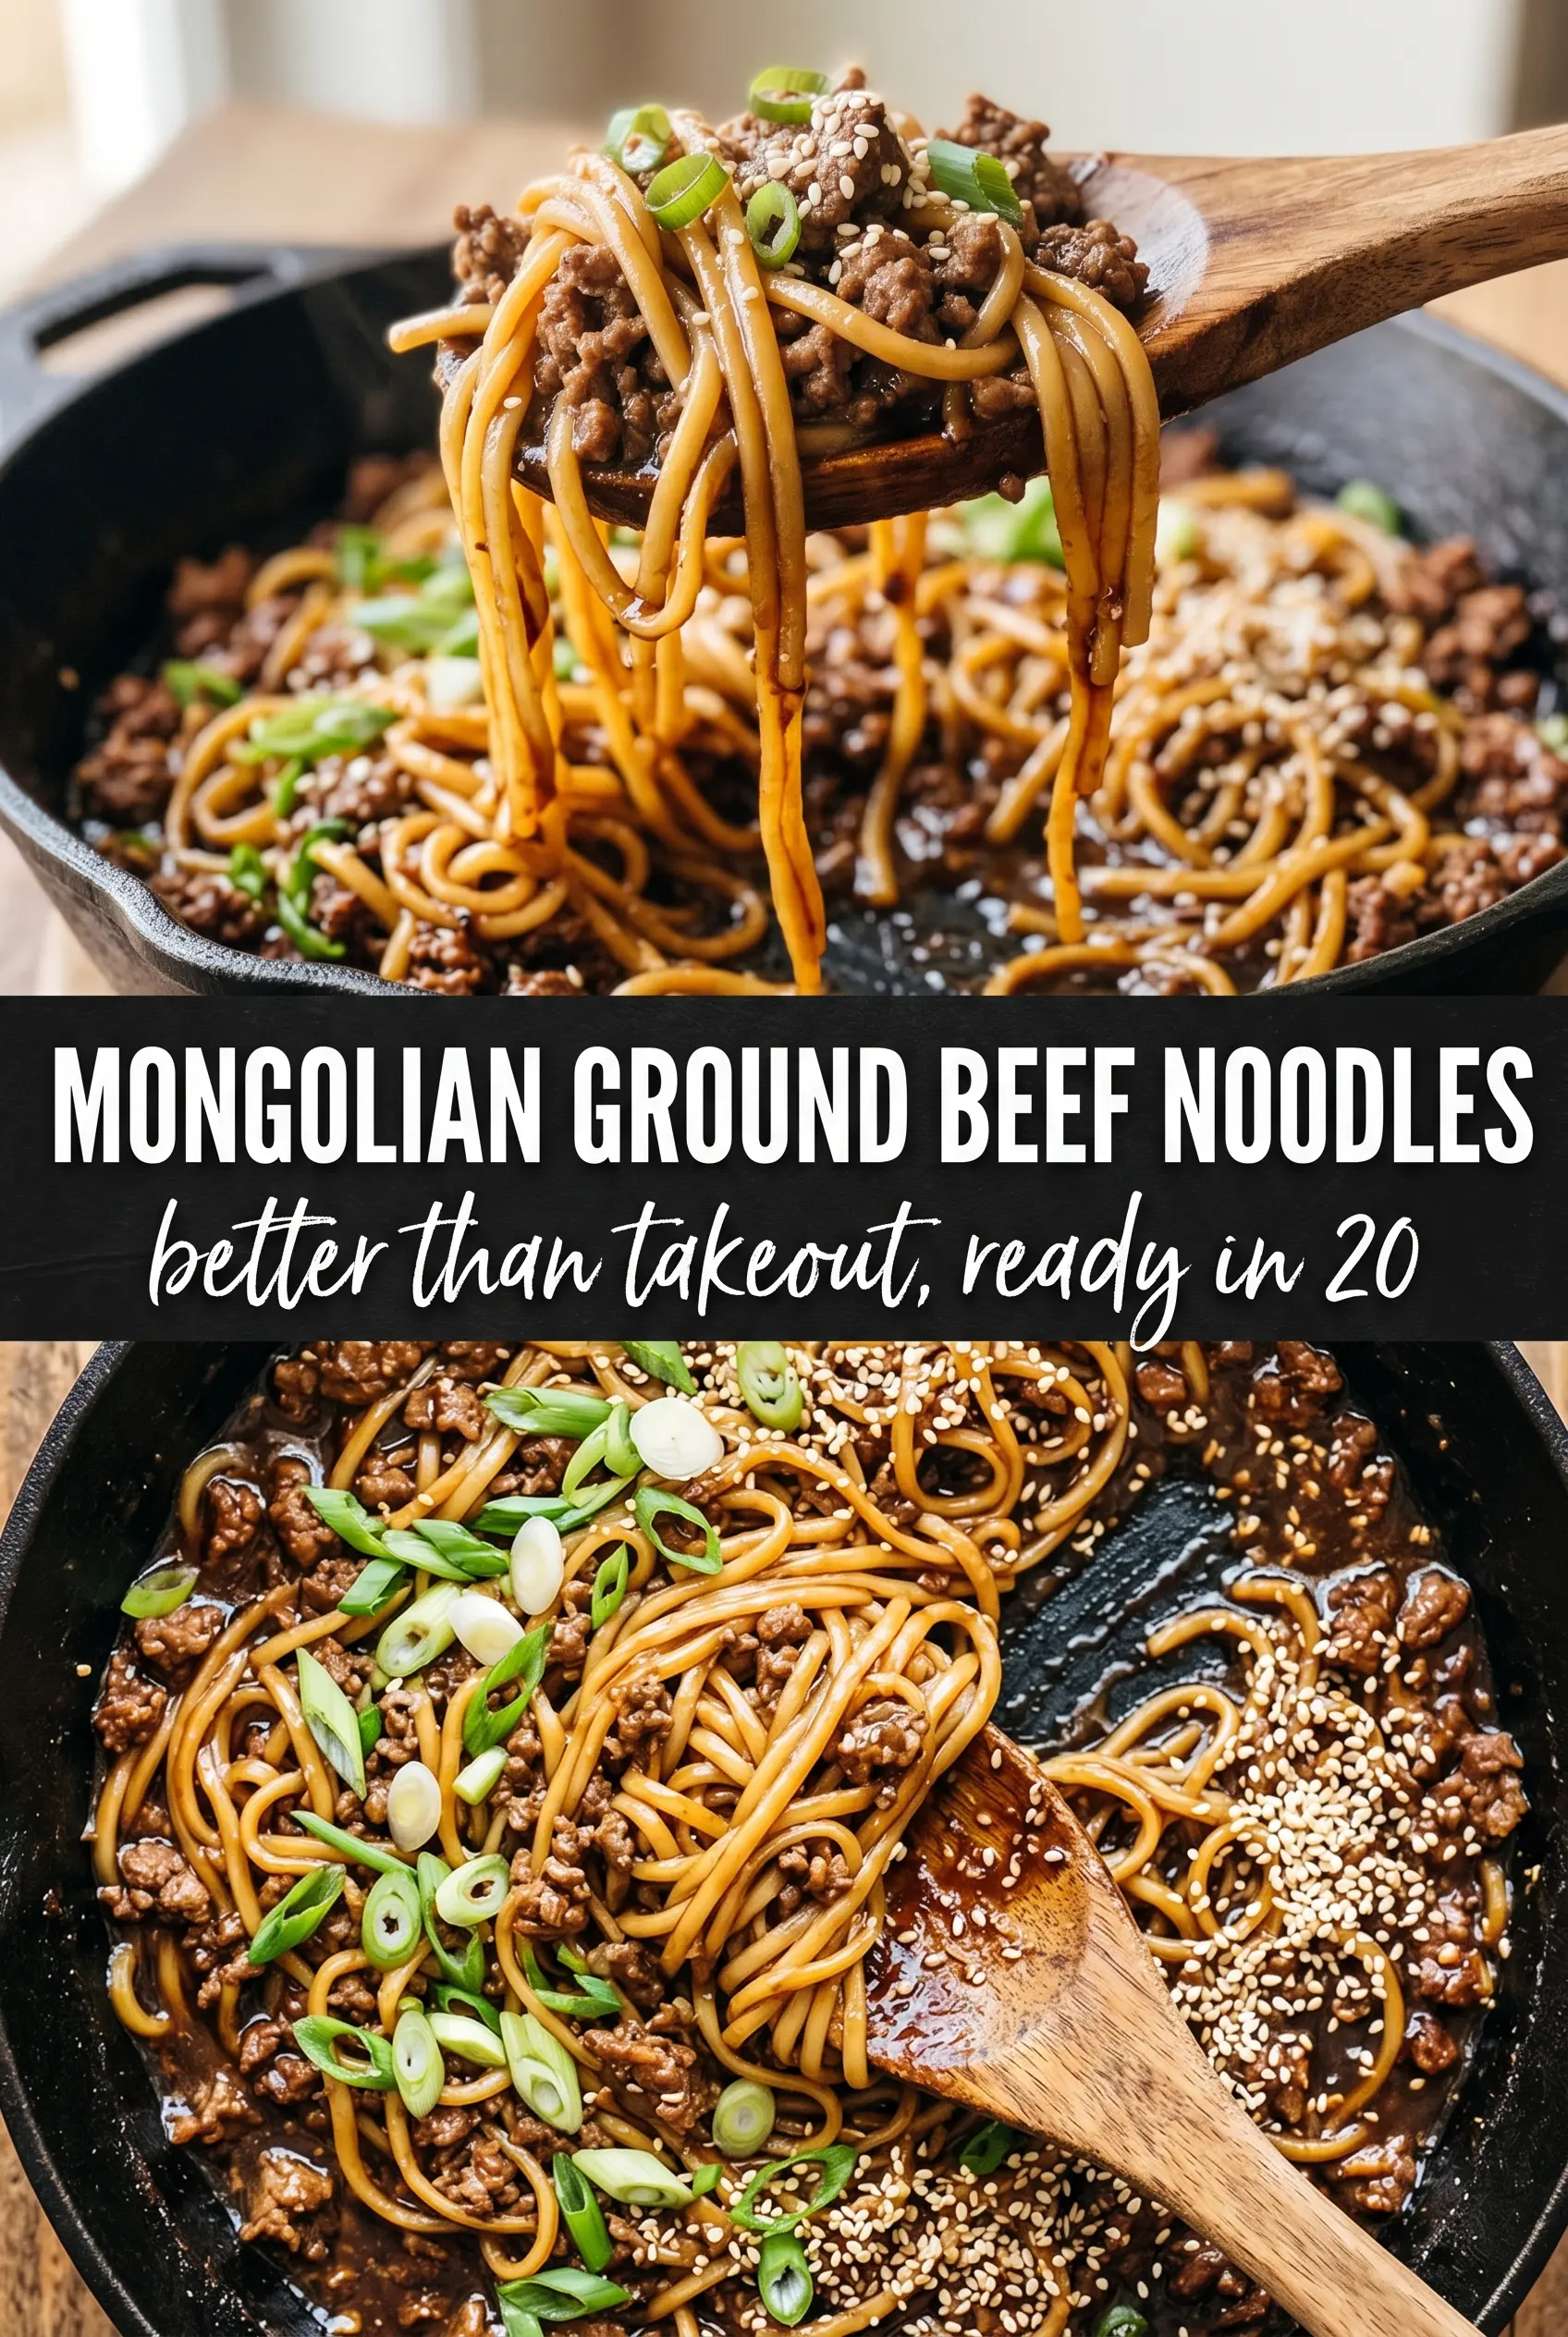
Glossy noodles coated in a sticky soy-garlic glaze have a way of disappearing fast, and this Mongolian Ground Beef Noodles skillet earns that reaction every time. The beef cooks into the sauce instead of sitting on top of plain pasta, so every strand picks up that sweet-salty finish with just enough ginger and heat to keep it from tasting one-note. It lands somewhere between takeout comfort and pantry dinner, which is exactly why it ends up back in the rotation.
The trick is building the sauce in the same pan after the beef browns. That gives you the browned bits for depth, and the cornstarch thickens the broth into a coating sauce instead of a thin glaze that slides off the noodles. A little brown sugar matters here, but it works because the soy sauce, hoisin, garlic, and ginger keep it grounded.
Below, I’m walking through the part that matters most: how to thicken the sauce without making it gummy, plus the small swaps that still keep the dish balanced when you’re using whatever noodles are already in the pantry.
The sauce thickened up perfectly and coated every noodle. I used ramen noodles and my husband went back for a second bowl before I even sat down.
Mongolian Ground Beef Noodles with that sticky soy-garlic sauce is the one to pin for fast dinners that still taste like you put in the work.
The Sauce Needs the Pan Drippings, Not a Clean Slate
The biggest mistake with a noodle skillet like this is draining the beef so aggressively that you throw away the flavor that just built in the pan. Leave a thin film of fat behind after browning the meat, then add the garlic and ginger right into that space. The spices bloom fast, and the sauce picks up all the browned bits when it hits the hot pan.
The other failure point is a sauce that turns watery or gluey. Cornstarch needs to be whisked into the liquid before it goes in, and the pan should be at a steady simmer, not a violent boil. That gives you a glossy coating that clings to the noodles instead of a thick paste that tightens up as soon as it cools.
What Each Ingredient Is Actually Doing in This Bowl
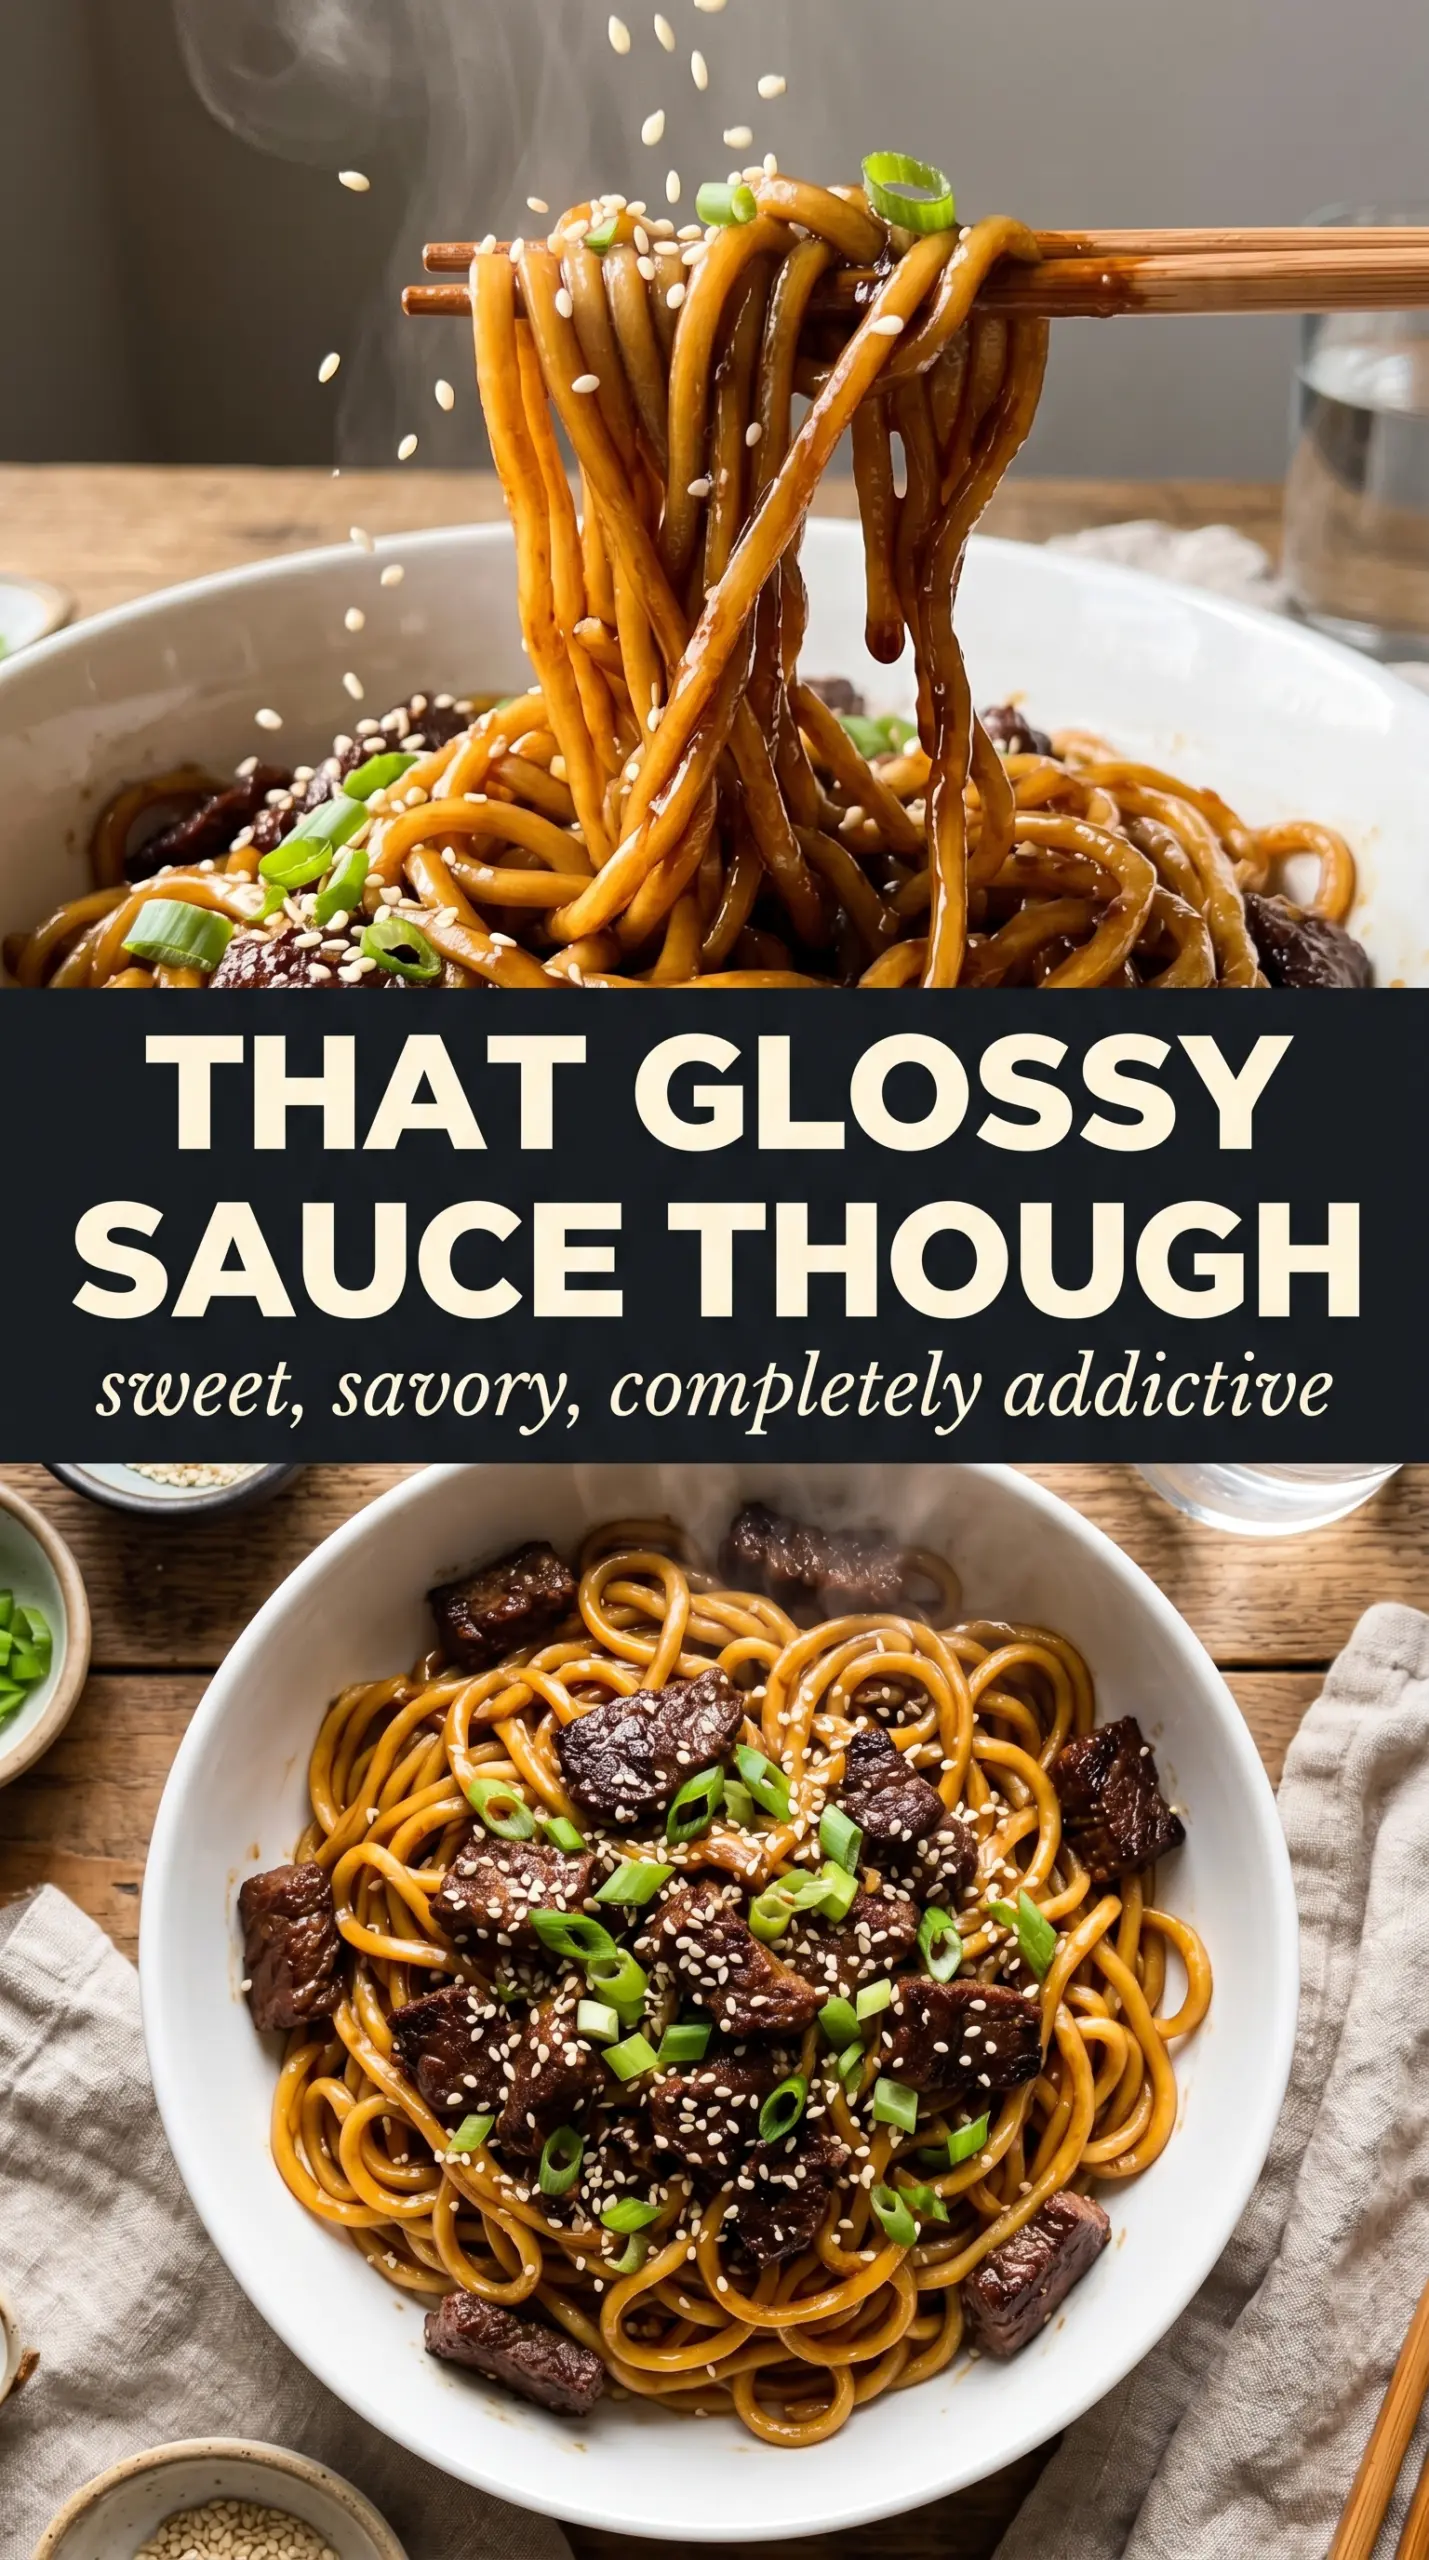
- Ground beef — Use an 80/20 blend if you can. It browns with enough fat to carry the sauce, and leaner beef can work, but it needs a little extra oil so the skillet doesn’t turn dry and crumbly.
- Soy sauce — This is the salty backbone of the dish. Low-sodium soy sauce works fine, but don’t swap in a sweet soy sauce or the balance tips too far toward sugary.
- Brown sugar and hoisin — These build the signature Mongolian-style glaze. Brown sugar gives the shine, while hoisin adds body and a little fermented depth that plain sugar can’t replace.
- Fresh garlic and ginger — Fresh matters here because both are cooked briefly and need to stay punchy. Powdered versions can work in a pinch, but they won’t give the same sharp, aromatic finish.
- Cornstarch — This is what turns the broth into sauce. Stir it into the liquid before it hits the pan so it thickens evenly instead of forming little starchy lumps.
- Noodles — Linguine, ramen, or lo mein all work because they hold sauce well. Cook them just to tender, since they’ll finish in the skillet and overcooked noodles fall apart once they’re tossed with the beef.
How to Build the Skillet So the Noodles Stay Glossy
Brown the Beef First
Start with a hot skillet and break the ground beef into small pieces as it cooks. Let it sit long enough to get some browning before you stir again; that caramelization is what gives the sauce its meaty depth. If the pan starts pooling with too much fat, spoon off some of it, but don’t wipe the skillet clean.
Wake Up the Garlic and Ginger
Add the garlic and ginger after the beef is browned and stir for about a minute, just until fragrant. If they go in too early, they scorch and taste bitter once the sauce comes together. You want them softened and aromatic, not darkened.
Simmer the Sauce Until It Looks Silky
Whisk the soy sauce, brown sugar, hoisin, sesame oil, red pepper flakes, broth, and cornstarch before pouring it into the pan. As it heats, the sauce will go from thin and cloudy to glossy and lightly thickened. Pull it off the highest heat once it starts to bubble steadily; if you boil it hard, the cornstarch can tighten too quickly and turn the glaze sticky instead of silky.
Toss the Noodles at the End
Add the cooked noodles last and toss until every strand is coated. The pan should look glossy, not soupy, and the noodles should be slipping through the sauce instead of swimming in it. If the skillet looks too tight, splash in a tablespoon or two of broth to loosen it before serving.
How to Adapt It When You Need a Different Noodle Night
Make It Gluten-Free
Use gluten-free tamari instead of soy sauce and swap in rice noodles or another gluten-free noodle you trust. Hoisin often contains wheat, so check the label or replace it with a little extra tamari plus a touch more brown sugar for the same sweet-salty balance.
Make It Less Spicy
Cut the red pepper flakes in half or leave them out entirely. You’ll keep the soy-garlic glaze and the savory beef flavor, just without the background heat that can linger on the tongue.
Swap in Ground Turkey
Ground turkey works, but it needs a little help because it’s leaner than beef. Add the full 2 tablespoons of oil and don’t skip the browning step, or the dish will taste flat instead of rich.
Stretch It With Vegetables
Toss in shredded carrots, snap peas, or thin-sliced bell pepper after the garlic and ginger. They’ll soften in the sauce without stealing the spotlight, and they add enough crunch to keep the skillet from feeling heavy.
Storage and Reheating
- Refrigerator: Store leftovers in an airtight container for up to 4 days. The noodles will absorb some sauce as they sit, so they’ll look a little tighter after chilling.
- Freezer: It freezes, but the noodles soften after thawing. For best texture, freeze the beef sauce separately and cook fresh noodles when you’re ready to serve.
- Reheating: Reheat gently in a skillet over medium-low with a splash of water or broth. Microwaving works in a pinch, but go in short bursts and stir between rounds so the sauce loosens instead of drying out at the edges.