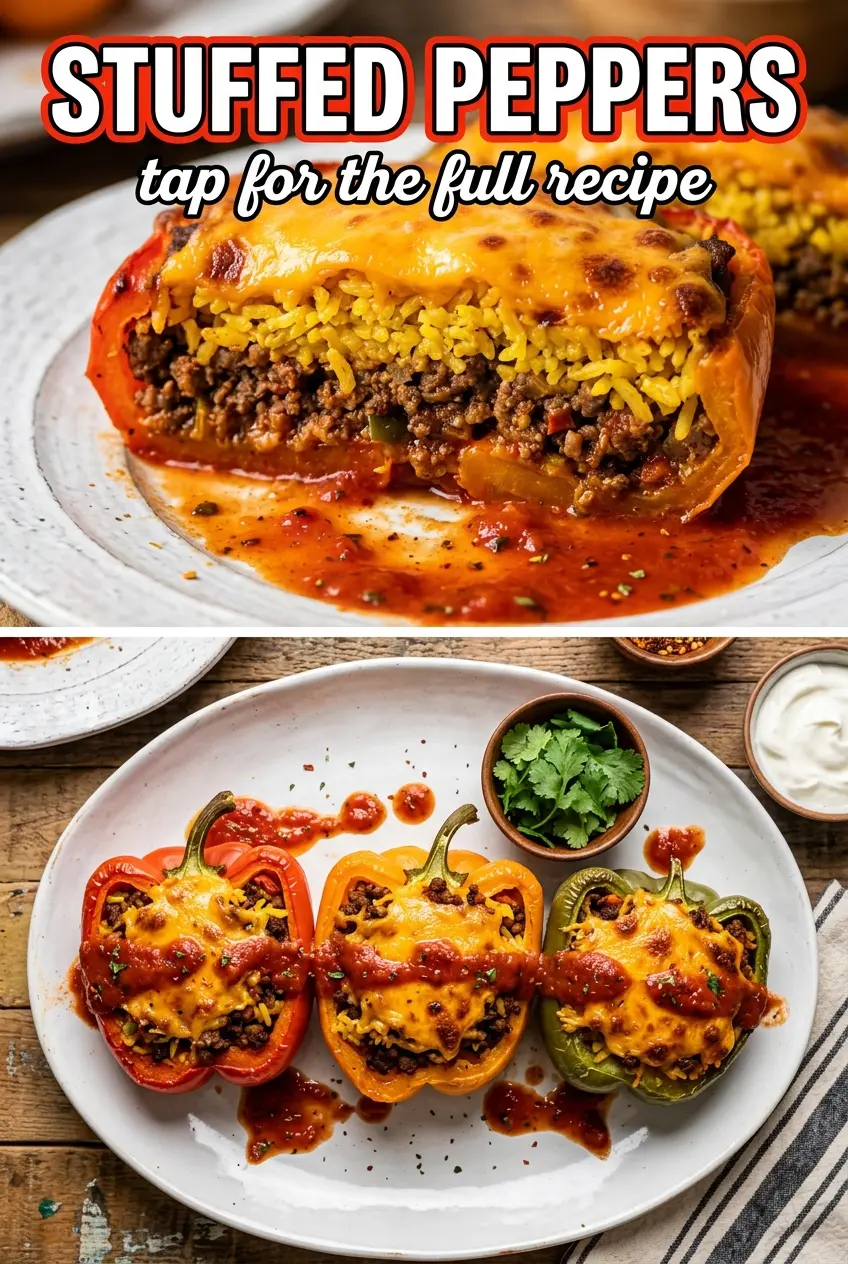
Roasted peppers, a savory beef-and-rice filling, and a blanket of melted cheese make these Mexican stuffed peppers the kind of dinner that disappears fast. The peppers stay tender with just enough bite, while the filling turns rich and cohesive instead of crumbly or watery. Every bite gets a little smoke from the charred skins, a little heat from the salsa, and plenty of texture from the beans and corn.
What makes this version work is the way the peppers are handled before they’re stuffed. Charring them first loosens the skins and softens the flesh so they bake up silky instead of tough, and the quick steam in a bag does most of the peeling work for you. The filling also simmers briefly before it goes into the peppers, which lets the salsa coat everything and keeps the final bake focused on melting the cheese instead of trying to cook raw ingredients.
Below, I’ve included the little details that matter most: how to keep the peppers intact after roasting, why the filling shouldn’t be too loose, and a few smart swaps if you need to adjust for what’s in the fridge.
The peppers softened up perfectly without falling apart, and the filling held together instead of getting soupy. I used mozzarella since that’s what I had, and it still came out stretchy and browned nicely on top.
Save these Mexican stuffed peppers for the night you want a smoky, cheesy dinner that still feels balanced and hearty.
The Trick to Peppers That Hold Their Shape Instead of Collapsing
The biggest mistake with stuffed peppers is skipping the pre-roast. Raw peppers look sturdy, but once they hit the oven with a heavy filling, they can stay a little crisp in the wrong way or slump unevenly while the cheese overcooks. Charring them first gives you control: the skins slip off, the flesh softens, and the final bake becomes about finishing the dish instead of rescuing it.
The other thing worth paying attention to is the slit you cut after steaming. Open the pepper just enough to remove the seeds, but don’t split it wide open. If the pepper tears, it will leak filling and lose the shape that makes stuffed peppers satisfying to serve.
- Poblano or bell peppers — Poblanos bring a gentle smokiness and a little more character, while bell peppers give you a sweeter, milder result. Either one works; choose based on how much pepper flavor you want in the finished dish.
- Ground beef — This is the backbone of the filling, so use a lean-to-moderate fat blend. Extra-lean beef can taste dry after baking unless you’re generous with the salsa.
- Rice, beans, and corn — These stretch the filling and give it the right spoonable texture. The rice absorbs sauce, the beans add body, and the corn keeps the filling from turning heavy.
- Salsa roja — This is doing more than seasoning. It brings moisture, acidity, and chile flavor all at once. A thick salsa works better than a watery one, because thin salsa can pool in the baking dish.
- Oaxaca or mozzarella cheese — Oaxaca melts with the most stretch and the most authentic texture here, but mozzarella is a solid substitute if that’s what you have. Use a good melting cheese rather than a hard grating cheese, or the tops won’t get that soft, gooey finish.
Building the Filling So It Tastes Cooked, Not Mixed
Roasting the Peppers Until the Skins Blister
Put the peppers directly over a gas flame or under the broiler and turn them until the skins are blackened in spots all over. You want blistered, charred skin, not just a few toasted patches, because that’s what makes peeling easier and gives the peppers their depth of flavor. Once they go into the bag, the steam loosens the skins without turning the flesh mushy.
Cooking the Beef Base First
Brown the beef with the onion until the meat loses its pink color and the onion softens at the edges. That first stage builds the savory base, and it’s where you develop the flavor that carries through the whole dish. Add the garlic at the end so it perfumes the filling instead of burning and turning bitter.
Finishing the Filling Before It Goes Into the Peppers
Stir in the rice, beans, corn, cheese, salsa, tomato, cumin, salt, and pepper, then let the mixture simmer for a few minutes. This is the point where everything should look cohesive and lightly saucy, not dry or runny. If it seems loose, keep it on the heat a minute longer; if it’s stiff, add a spoonful of salsa so it packs into the peppers without crumbling out.
Baking Until the Cheese Melds
Once the peppers are stuffed, arrange them snugly in the baking dish so they support one another and stay upright. The final bake is shorter than people expect because the filling is already cooked; you’re waiting for the cheese to melt into the top and for the peppers to finish softening. Pull them when the cheese is fully melted and a little golden at the edges, then let them rest for five minutes so the filling settles.
How to Adapt These Peppers for Different Tables
Make Them Lighter with Ground Turkey
Swap the beef for ground turkey and add an extra spoonful of salsa or a splash of broth while the filling simmers. Turkey has less fat, so it needs a little help staying juicy, but the peppers still bake up with the same hearty structure.
Go Vegetarian Without Losing the Heft
Replace the beef with an extra cup of black beans, or use a mix of beans and sautéed mushrooms. Mushrooms bring a savory bite that keeps the filling from tasting flat, while the beans preserve the same thick, scoopable texture.
Make It Gluten-Free Without Changing the Method
This dish is naturally gluten-free as written as long as your salsa is certified gluten-free. The only thing to watch is packaged seasoning or salsa with hidden thickeners, which can sneak wheat into an otherwise safe pan.
Storage and Reheating
- Refrigerator: Store leftovers in an airtight container for up to 4 days. The peppers soften a bit more as they sit, but the flavor gets even better the next day.
- Freezer: Freeze the stuffed peppers after baking and cooling completely. Wrap each one tightly or store in a freezer-safe container for up to 2 months; the texture will be softer after thawing, but they still reheat well.
- Reheating: Reheat in a 350°F oven, covered, until warmed through. The common mistake is blasting them in the microwave too long, which makes the peppers collapse and the cheese turn rubbery before the center is hot.
Answers to the Questions Worth Asking
Mexican Stuffed Peppers
Ingredients
Equipment
Method
- Roast the large poblano or bell peppers directly over a gas flame or under the broiler until charred all over, about 5 minutes, with visible blackened spots on the skin.
- Place the roasted peppers in a plastic bag and steam for 10 minutes so the char loosens, keeping them warm and soft.
- Peel off the charred skin, then make a careful slit down the side and gently remove the seeds while keeping each pepper intact.
- Brown the ground beef with the diced onion in a large skillet over medium-high heat until the beef is no longer pink.
- Add the minced garlic and cook for 1 minute until fragrant.
- Stir in the cooked rice, black beans, corn, 1/2 cup cheese, salsa roja, diced tomato, cumin, salt, and pepper, then simmer for 5 minutes so the mixture thickens slightly.
- Stuff each roasted pepper with the meat mixture and place them in a baking dish.
- Top the peppers with the remaining cheese, then bake at 350°F for 20 minutes until the cheese is melted and lightly bubbling.
- Garnish with chopped fresh cilantro before serving.