Flaky puff pastry, a tangy cream cheese layer, and glossy strawberries make this strawberry danish one of those bakes that disappears fast once it hits the table. The edges puff up into crisp, buttery layers while the center stays creamy and just set enough to hold the fruit without turning soggy. It looks elegant, but the method is simple and forgiving, which is exactly why it earns a place in the breakfast rotation and the dessert rotation.
The trick is keeping the pastry cold enough to rise before the filling warms through. Softened cream cheese gives you a smooth base that spreads without tearing the dough, and the strawberries go on fresh so they roast lightly instead of collapsing into jam. A thin brush of warmed apricot jam at the end gives the fruit a clean shine and helps the pearl sugar stick where it belongs.
Below, you’ll find the small details that keep the bottom crisp, the filling smooth, and the berries bright. There’s also a few smart ways to adapt it if you need a different fruit, a dairy-free version, or a make-ahead plan.
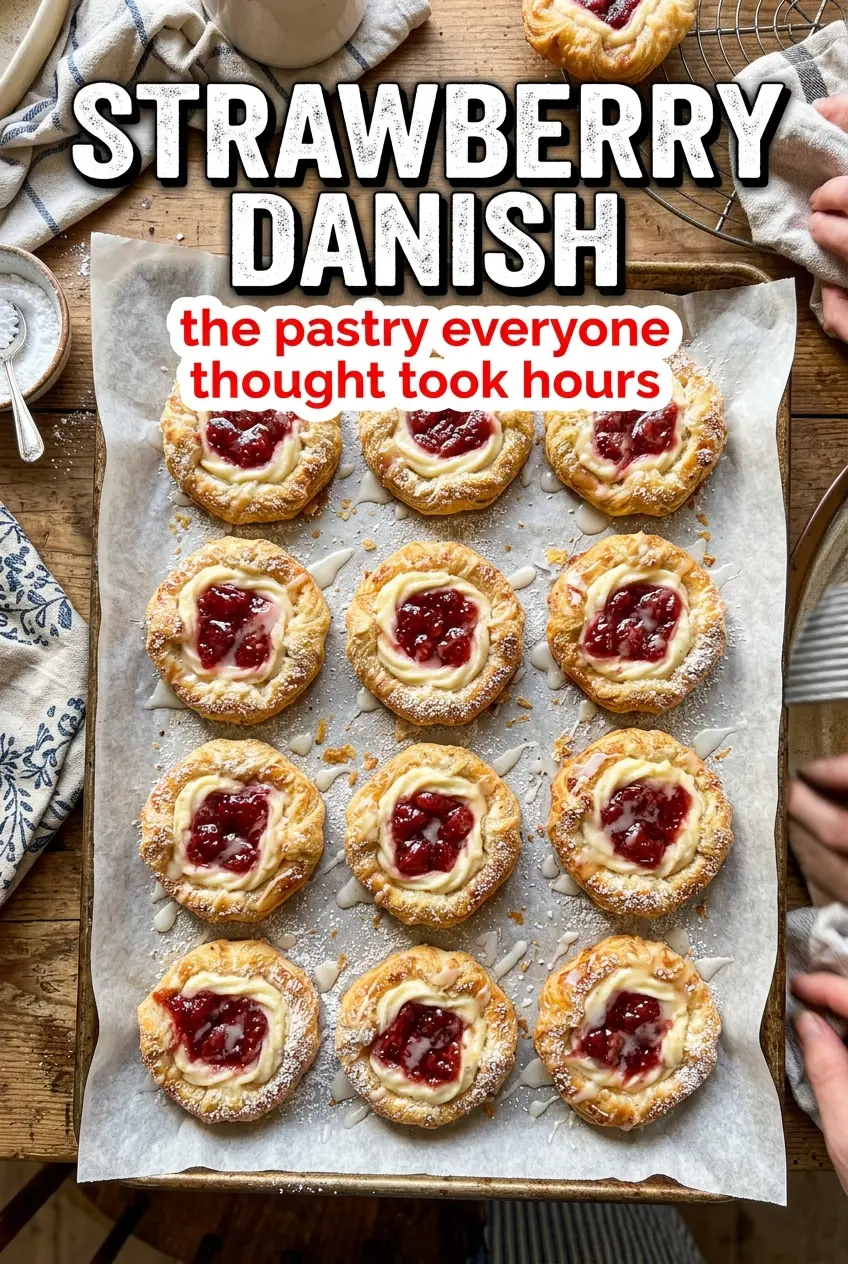
The puff pastry baked up with crisp, buttery edges and the cream cheese layer stayed smooth instead of leaking out. The strawberries looked beautiful after the apricot glaze and the pearl sugar gave it that bakery-style finish.
Save this strawberry danish for a flaky pastry with creamy filling, bright berries, and pearl sugar crunch.
The Reason the Bottom Stays Crisp Instead of Going Soft
Most fruit danishes fail in the same place: the pastry looks perfect on top, then turns limp under the filling. The fix here is twofold. First, the puff pastry goes onto a parchment-lined sheet and bakes hot enough to rise before the filling has time to seep down. Second, the cream cheese layer is kept thin and smooth, so it acts like a cushion instead of a wet blanket.
Cold pastry matters. If it gets warm before it hits the oven, you lose lift and the layers smear together. The strawberries also matter more than people think; halving them gives you enough juice release for flavor without flooding the pastry. A neat row of berries looks polished, but it also helps the danish bake evenly because each piece sits close to the same level.
What Each Ingredient Is Actually Doing in This Danish
- Puff pastry — This is the structure and the drama. Store-bought puff pastry works beautifully here as long as it’s fully thawed but still cool when you work with it. If it starts feeling sticky, chill it for a few minutes before assembling.
- Cream cheese — It gives the center that tangy, bakery-style richness and holds the fruit in place. Softened cream cheese blends smooth; cold cream cheese leaves lumps that can tear the pastry when you spread it.
- Powdered sugar — It sweetens without graininess and helps the filling stay silky. Granulated sugar can work in a pinch, but it won’t dissolve as cleanly.
- Vanilla extract — A small amount rounds out the cream cheese and makes the filling taste complete. Use pure vanilla if you can, since this is one of the few ingredients that shows up clearly in the final flavor.
- Fresh strawberries — Fresh berries hold their shape during baking and give you that glossy, roasted edge after the jam goes on. Frozen strawberries release too much water for this style of pastry and will soften the center.
- Apricot jam — Warming it into a thin glaze gives the strawberries shine and a little sweetness without making the whole pastry sticky. If you don’t have apricot, strained peach jam is the closest swap.
- Pearl sugar — This is the crunch that makes the topping taste like a proper bakery danish. Regular sugar melts instead of staying crisp, so it won’t give the same finish.
Building the Danishes So the Pastry Actually Puffs
Rolling and Shaping the Pastry
Roll the thawed pastry just enough to smooth the seams and even out the thickness, then keep it on parchment so you can slide it straight into the oven without disturbing the layers. If you stretch it too thin, the edges can bake up before the center has a chance to rise. A one-inch border gives the pastry room to puff around the filling and form a natural frame.
Mixing the Filling Until It’s Truly Smooth
Beat the cream cheese, powdered sugar, vanilla, and salt until the mixture looks glossy and spreadable, with no little lumps hiding in it. That smoothness matters because any clumps will make the filling drag on the pastry and bake unevenly. Spread it in a thin, even layer; a thick layer is where sogginess starts.
Arranging the Strawberries for Even Baking
Lay the strawberry halves cut-side down in neat rows so they sit flat and don’t wobble off the filling as the pastry rises. If the berries are piled randomly, the middle can bake wetter than the edges. Leave the border clear so the pastry can puff up and show off those crisp corners.
Finishing With Glaze and Sugar
Brush the warm jam over the strawberries as soon as the danish comes out of the oven, while the fruit is still hot enough to catch the glaze. If the jam is too thick, it will clump; if it’s too hot, it can slide off and make the pastry shiny in the wrong places. Sprinkle the pearl sugar right after glazing so it sticks before the surface cools.
Blueberry or Raspberry Danish
Swap the strawberries for fresh blueberries or raspberries and keep the rest of the method the same. Blueberries stay tidier and bake into little jammy pockets, while raspberries soften faster and give you a tarter finish. If you use raspberries, keep the layer a little thinner so the juices don’t run.
Dairy-Free Version
Use a dairy-free cream cheese that’s meant for spreading, not cooking, since the firmer styles tend to crack when baked. The texture will be slightly softer and less tangy, but the pastry still gets the same crisp edges and glossy fruit topping. Chill the filling a few minutes before spreading if it seems loose.
Make-Ahead Assembly
You can assemble the pastry with the cream cheese layer and strawberries, then cover and chill it for a few hours before baking. Don’t add the apricot glaze or pearl sugar until after baking, or they’ll melt into the fruit before the danish goes into the oven. If the pastry feels soft after chilling, give it a few minutes on the counter while the oven heats.
Storage and Reheating
- Refrigerator: Store leftovers in an airtight container for up to 3 days. The pastry softens a bit in the fridge, but it still tastes good cold or rewarmed.
- Freezer: Bake first, cool completely, then freeze without the glaze if possible. Wrap tightly and freeze for up to 1 month; the strawberries soften after thawing, so the texture won’t be as crisp as fresh.
- Reheating: Warm slices in a 325°F oven for 8 to 10 minutes. The oven brings back the crisp edges, while the microwave turns the pastry leathery and the filling loose.
Questions I Get Asked About This Recipe
Strawberry Danish
Ingredients
Equipment
Method
- Preheat the oven to 400°F and line a sheet pan with parchment paper for easy release.
- Roll out the thawed puff pastry on the parchment-lined baking sheet, keeping the pastry even in thickness.
- In a bowl, mix the softened cream cheese, powdered sugar, vanilla extract, and a pinch of salt until smooth and spreadable.
- Spread the cream cheese mixture evenly over the pastry, leaving a 1-inch border around the edges.
- Arrange the strawberry halves in neat rows over the cream cheese filling, pressing lightly so they sit snugly.
- Rest the assembled danish for 30 minutes to help the filling set slightly before baking.
- Bake for 18-22 minutes at 400°F until the pastry is golden brown and puffed with visible lift in the corners.
- Brush warm apricot jam over the strawberries so the surface looks glossy, then sprinkle with pearl sugar for a crisp top.
- Serve warm or at room temperature for the best creamy texture under the set strawberries.


