Green bean bundles land on the plate with the kind of sweet-savory crunch that makes people reach for a second serving before the rest of dinner is even settled. The beans stay bright and just-tender, the bacon turns crisp at the edges, and the brown sugar garlic butter bakes into a sticky glaze that clings to every bite instead of sliding off into the pan.
The trick is the blanch. A quick boil keeps the beans from tasting raw, but the ice bath locks in that fresh green color and stops them from overcooking in the oven. Wrapping 8 to 10 beans per bundle keeps the size even, so the bacon finishes at the same time the glaze turns bubbly and deep gold. If you skip that first par-cook, the beans can stay squeaky and underdone while the bacon is already where it needs to be.
Below, I’ll walk through the part that matters most: how to keep the bundles neat, how to get the bacon to wrap cleanly, and what to do if you want to make them ahead for a holiday table or a simple weeknight side.
The green beans stayed bright after baking, and the glaze thickened up into this sticky coating that kept the bacon from getting greasy. I followed the timing exactly and the bundles held together perfectly.
Green Bean Bundles with bacon and brown sugar garlic butter are the kind of side that disappears fast at any table.
The Blanching Step That Keeps the Beans Tender Instead of Tough
Green beans need a head start before they go into the oven. The 3-minute blanch softens their raw bite and keeps the final texture crisp-tender instead of leathery, while the ice bath stops the cooking at exactly the right point. That color stays vivid too, which matters here because the beans are part of the appeal.
The other reason this step matters is timing. Bacon needs a full bake to crisp, but green beans dry out if they sit in the oven long enough to catch up on their own. Starting with blanched beans lets both parts finish together, which is why the bundles stay neat and the centers never taste undercooked.
What the Butter, Brown Sugar, and Soy Sauce Are Doing in the Pan
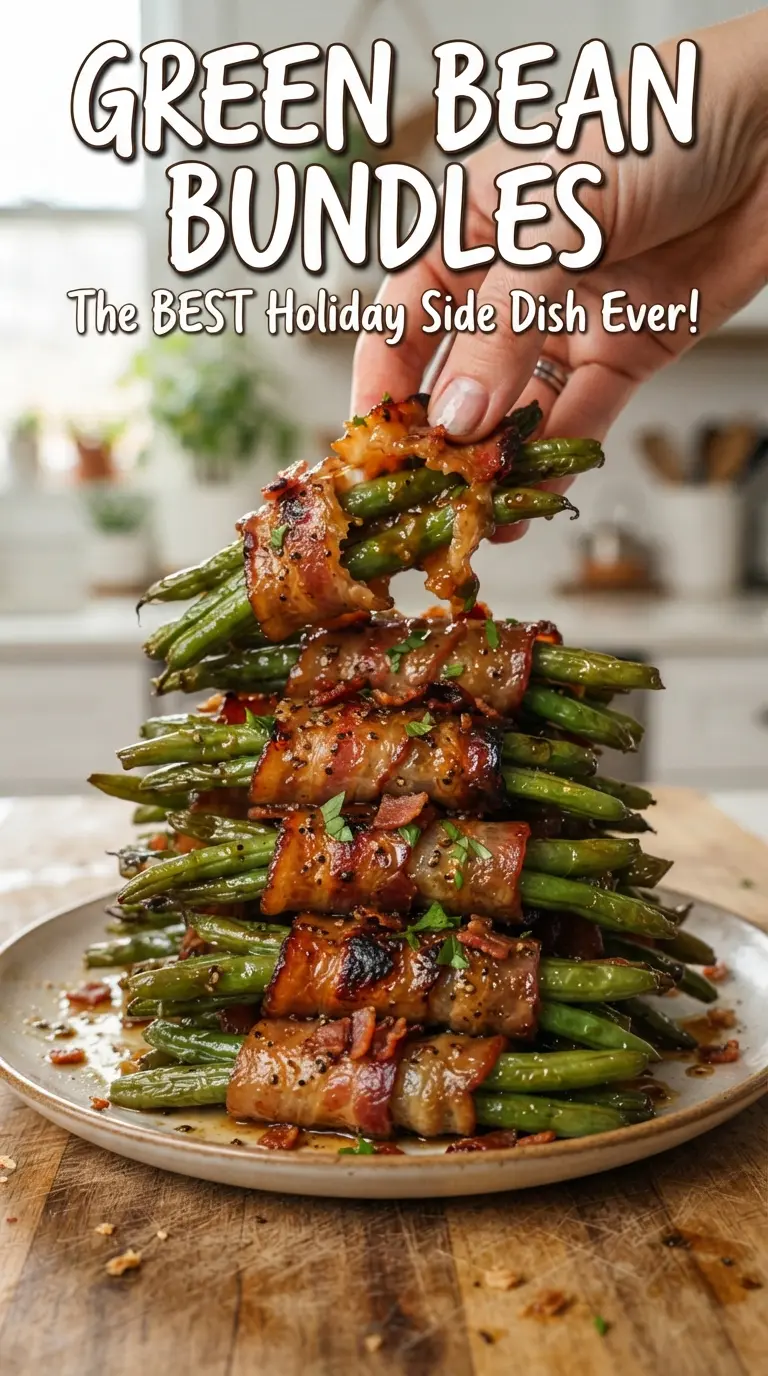
- Fresh green beans — Fresh beans hold their shape and give you that clean snap after baking. Thicker beans work fine, but very thin ones can soften too much under the glaze. Trim the ends so the bundles sit neatly and cook evenly.
- Bacon — Half slices wrap more cleanly around small bundles than full strips would. Regular bacon works best here because thick-cut bacon can stay chewy while the beans are done. If you want less shrinkage, stretch the bacon lightly as you wrap it.
- Butter — Melted butter helps the sugar dissolve and gives the glaze enough body to coat instead of pooling. Use real butter, not a spread, because the texture and flavor matter once it bakes down with the bacon fat.
- Brown sugar — This is what gives the glaze its sticky finish and caramel edge. Light or dark brown sugar both work; dark brown sugar makes a deeper molasses note. White sugar won’t give you the same glossy result.
- Soy sauce — A small amount sharpens the sweetness and keeps the glaze from tasting flat. If you need a gluten-free version, use tamari in the same amount. Don’t skip it unless you want the glaze to taste one-note sweet.
- Garlic — Fresh minced garlic perfumes the butter and makes the glaze taste savory instead of candy-like. Powder won’t give the same punch here. Mince it fine so it melts into the butter and doesn’t burn on top of the bundles.
Wrapping, Glazing, and Baking the Bundles So They Hold Together
Building the little bundles
Gather 8 to 10 beans for each bundle and line up the ends before wrapping them with a half slice of bacon. Place the seam side down in the baking dish so the bundle holds its shape as the bacon tightens in the oven. If the beans are very different in size, sort them first; mixed bundles can bake unevenly, and the small ones will slip out before the bacon crisps.
Pouring on the glaze
Whisk the melted butter, brown sugar, garlic, soy sauce, and black pepper until the sugar starts to dissolve and the mixture looks glossy. Pour it over the bundles as evenly as you can, aiming for the tops and the baking dish around them so the sauce has room to bubble up. If it lands in one spot, the nearby bundles brown faster while the rest stay pale.
Finishing in the oven
Bake at 400°F for 25 to 30 minutes until the bacon looks crisp at the edges and the glaze is bubbling thickly around the pan. If the bacon is browning before the beans are fully tender, loosely tent the dish with foil for the last few minutes, then uncover it again so the glaze can finish. Spoon the pan sauce over the bundles right before serving; that’s where the sticky finish lives.
Make it with turkey bacon
Turkey bacon will give you a leaner result, but it won’t render the same way or crisp as deeply. If you use it, bake the bundles until the glaze is bubbling and the bacon edges look set, not until they look dark brown. The beans will still turn out well, but the finish will be lighter and less smoky.
Gluten-free version
Swap the soy sauce for tamari and nothing else needs to change. Tamari keeps the glaze just as savory and balanced, which matters because the sauce leans sweet. The texture stays the same, so this is an easy swap that doesn’t cost you much.
Make-ahead holiday prep
You can blanch the beans and wrap the bundles a few hours ahead, then cover and refrigerate them until baking time. Hold the glaze separately and pour it on just before the pan goes into the oven so the sugar doesn’t draw out too much moisture. This keeps the bacon from turning soggy and saves you from scrambling at the last minute.
Bacon-free version
If you want the same sweet-savory glaze without bacon, brush the beans with the butter mixture and bake them in a single layer instead of bundling. You’ll lose the smoky, salty wrap, but the glaze still caramelizes nicely on the beans. This version works best with slightly thicker beans so they don’t overcook before the edges brown.
Storage and Reheating
- Refrigerator: Store leftovers covered for up to 3 days. The bacon softens a little as it sits, but the flavor stays good.
- Freezer: Not my first choice for this recipe. The beans can turn mushy after thawing and the bacon loses its crisp texture.
- Reheating: Warm in a 350°F oven until heated through, about 10 to 12 minutes. The oven brings the bacon back to life better than the microwave, which makes the bundles rubbery and leaves the glaze watery.
Answers to the Questions Worth Asking
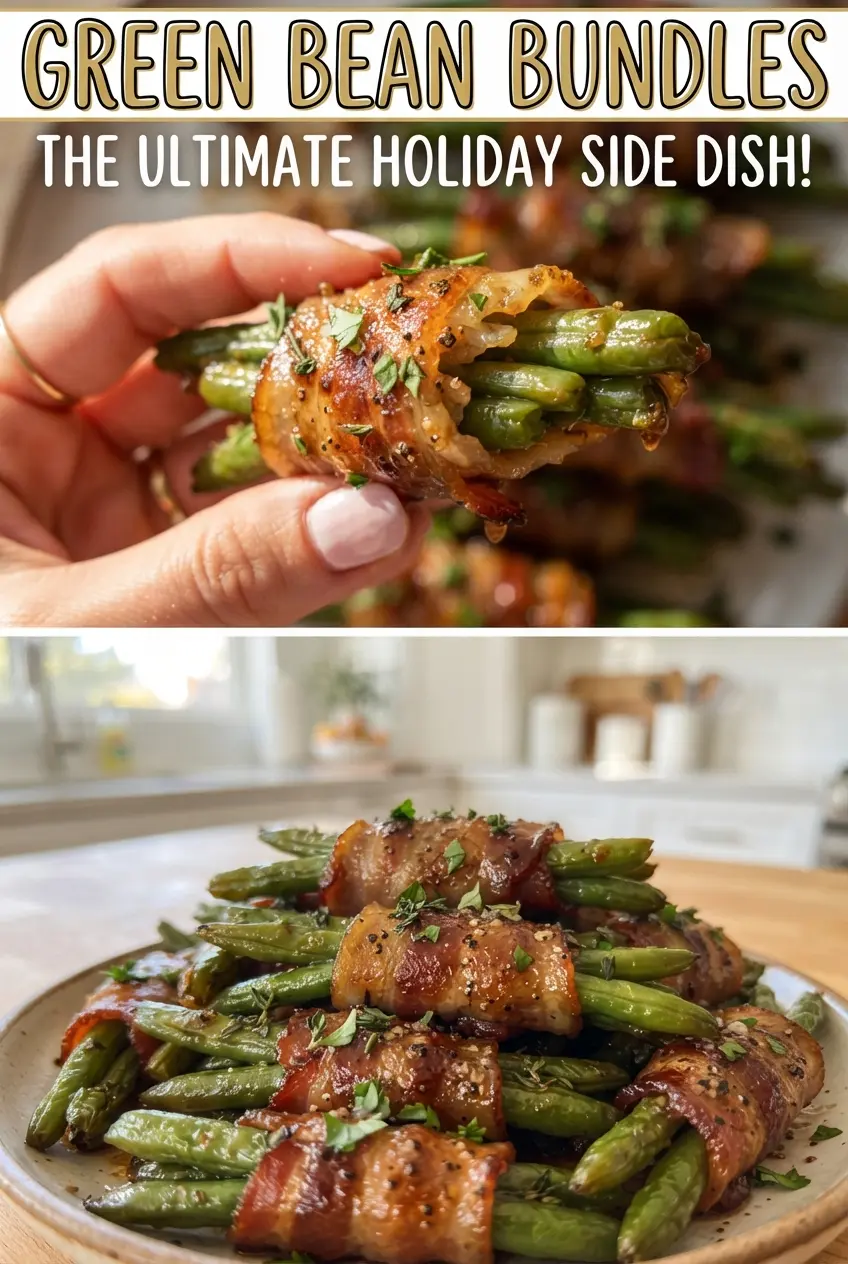
Green Bean Bundles
Ingredients
Equipment
Method
- Preheat oven to 400F. Blanch green beans in boiling water for 3 minutes, then plunge into ice water and drain.
- Gather 8-10 beans into a bundle and wrap with a half slice of bacon, placing seam-side down in a baking dish.
- Whisk melted butter, brown sugar, garlic, soy sauce, and black pepper until smooth.
- Pour the glaze evenly over the bundles. Bake for 25-30 minutes until bacon is crisp and glaze is bubbly.
- Spoon the pan glaze over the bundles for extra coating. Serve warm.