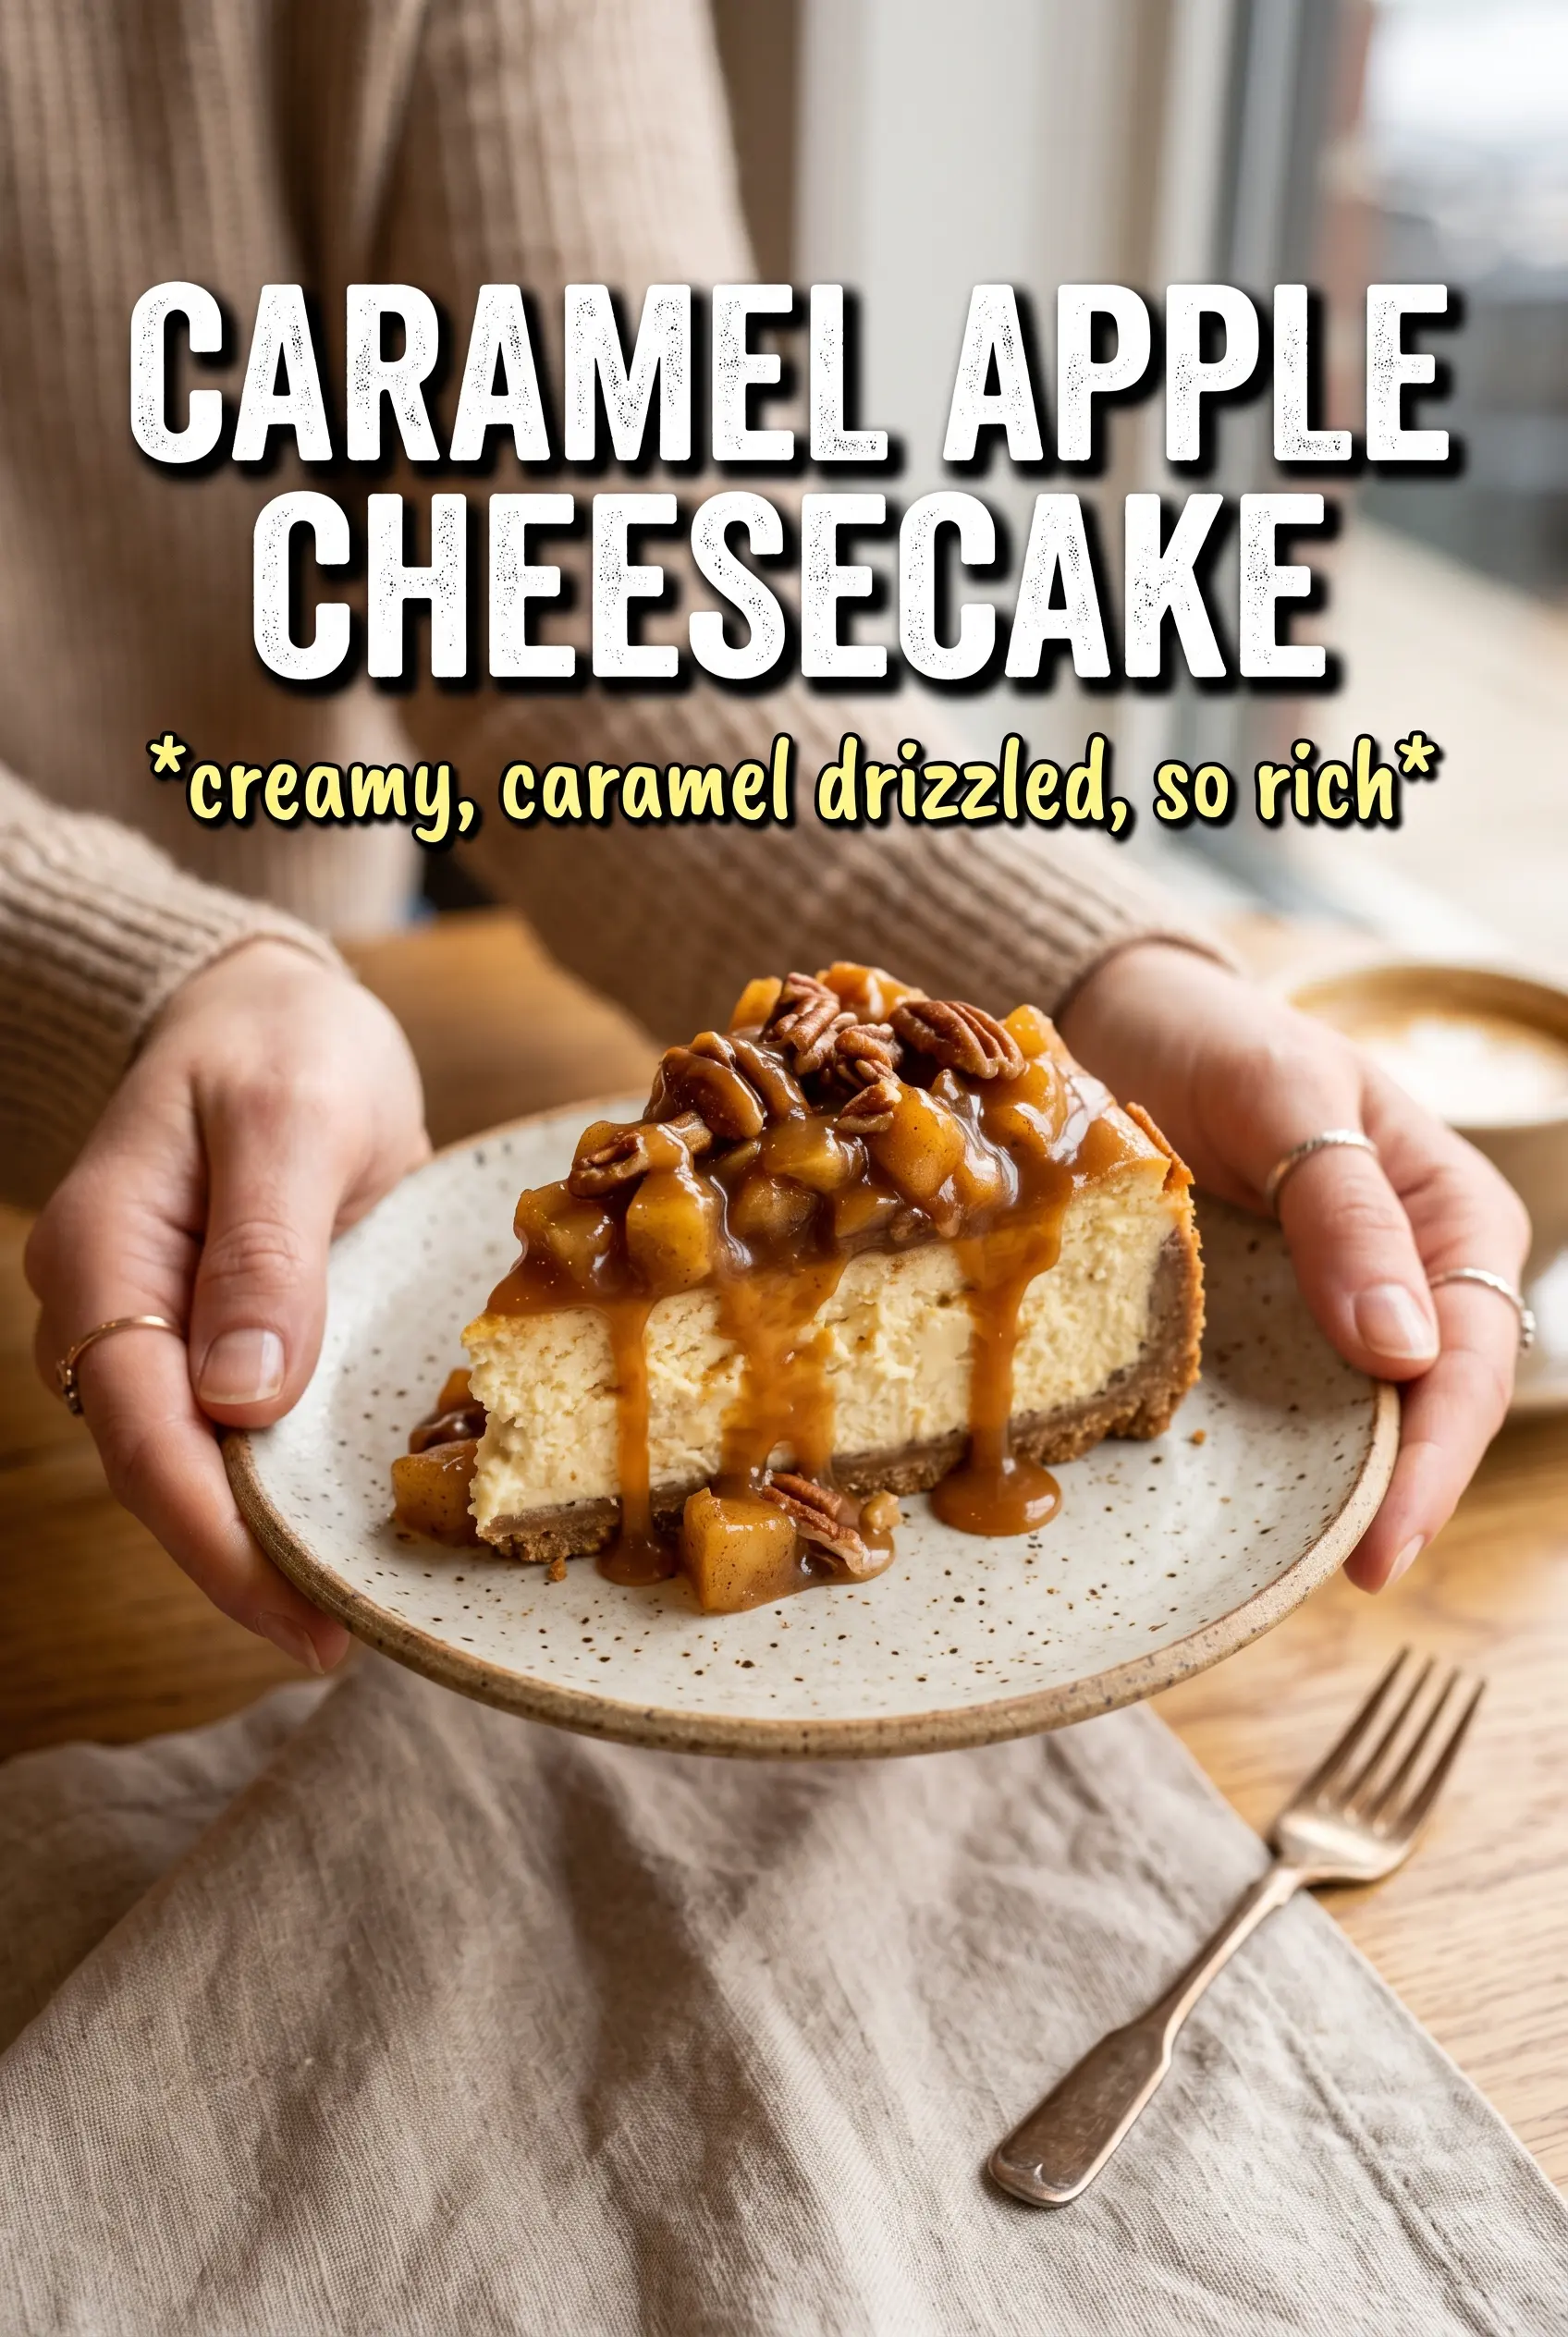
Caramel Apple Cheesecake earns its place on the dessert table because every layer brings something different: a crisp graham crust, a smooth cinnamon-kissed cheesecake, tender apples cooked just enough to hold their shape, and a buttery oat streusel that stays crumbly after baking. The caramel on top pulls everything together without turning the whole slice into a sugar bomb.
What makes this version work is the order of the layers and the way each one is handled before it goes into the pan. The apples are cooked first so they don’t leak juice into the filling, and the streusel is kept cold so it bakes into nubby little clusters instead of melting into a paste. The water bath matters here, too. It keeps the cheesecake gentle and even, which is how you get clean slices instead of a cracked top and a gummy center.
Below, I’m walking through the parts that matter most: how to keep the crust from going sandy, how to know when the cheesecake is done, and what to do if you want to make this ahead for a holiday or dinner party.
The apple layer stayed put, the streusel stayed crisp, and the cheesecake set up beautifully after chilling overnight. I got neat slices and the caramel drizzle made it look bakery-level.
Save this caramel apple cheesecake for the kind of dessert that slices clean, chills beautifully, and tastes even better the next day.
The Crust Needs a Short Head Start, Not a Long Bake
The crust in a cheesecake like this can turn dull and soggy if it goes in soft and underbaked. A quick 10-minute bake gives the graham crumbs enough structure to stay crisp under the filling, and the melted butter needs to be mixed until every crumb looks evenly moistened. If you leave dry pockets, those spots stay sandy after baking.
- Press firmly into the pan — Use the bottom of a measuring cup or glass to pack the crumbs into an even layer, especially at the seam where the base meets the sides. Loose crust breaks apart when you slice it.
- Don’t skip the pre-bake — This is what keeps the crust from tasting raw once the cheesecake bakes for over an hour.
- Butter should be just melted — Hot butter can make the crust greasy instead of compact.
What Each Layer Is Doing in the Pan

- Cream cheese — This is the backbone of the filling, so it needs to be fully softened before mixing. Cold cream cheese leaves tiny lumps that never smooth out, no matter how long you beat it.
- Sour cream — It loosens the batter just enough and gives the cheesecake a clean, tangy finish that keeps it from tasting flat. Full-fat sour cream works best here.
- Apples — Dice them small so they cook evenly and nestle into the cheesecake without making the layers slide apart. The quick stovetop cook is what keeps them tender but not watery.
- Oats and flour in the streusel — The flour binds the crumble while the oats keep it rustic and crisp. Cold butter is nonnegotiable; warm butter turns the topping dense.
- Caramel sauce — Add it at the end, right before serving, so the top stays defined and the slices don’t get slippery.
Building the Layers Without Letting the Cheesecake Split
Mix the Filling Until It’s Smooth, Then Stop
Beat the cream cheese and sugar until the mixture looks fluffy and loses its grainy look, then add the eggs one at a time. Overbeating after the eggs go in traps air, and that air rises in the oven and can crack the top. The batter should look silky, not whipped.
Cook the Apples Until the Pan Goes Glossy
Stir the diced apples with brown sugar, cinnamon, butter, and cornstarch over medium heat until the juices thicken and coat the fruit. You’re looking for softened edges and a filling that clings to the spoon instead of running. Cool it before layering, or it can melt the cheesecake batter around the edges.
Bake Low and Gentle in the Water Bath
Set the springform pan in a larger pan with hot water and bake until the center still has a slight wobble. The outer ring should look set before the middle does. If the top looks puffed and firm across the whole surface, it’s overbaked and will likely crack as it cools.
Chill Until the Center Cuts Clean
Let the cheesecake cool all the way before refrigerating it for at least 6 hours. That chill time is where the texture turns from soft to sliceable. If you cut too early, the apple layer can slide and the filling will look underdone even if it isn’t.
Three Ways to Make This Cheesecake Fit Your Table
Make It Gluten-Free
Swap the graham crackers for a gluten-free version and use a 1:1 gluten-free flour blend in the streusel. The texture stays close to the original, though the topping may be a little more delicate when you slice it.
Dairy-Free Version
Use dairy-free cream cheese, a plant-based sour cream, and vegan butter in both the crust and streusel. The filling won’t be quite as rich or dense, but the apple layer and caramel still give it plenty of body.
Swap the Apples for Pears
Firm pears work well if that’s what you have on hand. Cook them the same way, but watch them closely because pears soften faster than apples and can turn mushy if they go past the thickening stage.
Storage and Reheating
- Refrigerator: Keep covered for up to 5 days. The streusel softens a little on day two, but the flavor stays excellent.
- Freezer: Freeze without the caramel drizzle for up to 1 month. Wrap slices tightly and thaw them in the fridge so the filling doesn’t weep.
- Reheating: Serve chilled or let a slice sit at room temperature for 20 to 30 minutes. Don’t microwave it; the filling turns soft and the crust loses its texture.