Caramel Apple Pie Bombs bake up with a crisp, cinnamon-sugar shell and a warm center that turns soft, gooey, and just a little messy in the best way. The biscuit dough puffs around the apple filling and caramel candy, so every bite gives you tender fruit, a sticky caramel pull, and a golden crust that tastes like it came from a bakery case.
What makes this version work is the way the apple filling gets cooked down before it ever goes near the dough. That quick stovetop step thickens the juices with cornstarch, so the bombs stay sealed instead of leaking all over the pan. Cooling the filling completely matters too, because hot filling softens the biscuit dough and makes sealing much harder.
Below, I’ll walk through the small details that keep the bombs tight, round, and full of filling, plus a few smart swaps if you want to change the fruit or make them ahead.
The filling stayed put and the caramel didn’t leak out everywhere, which never happens for me with stuffed biscuit desserts. We ate half the pan before it even cooled.
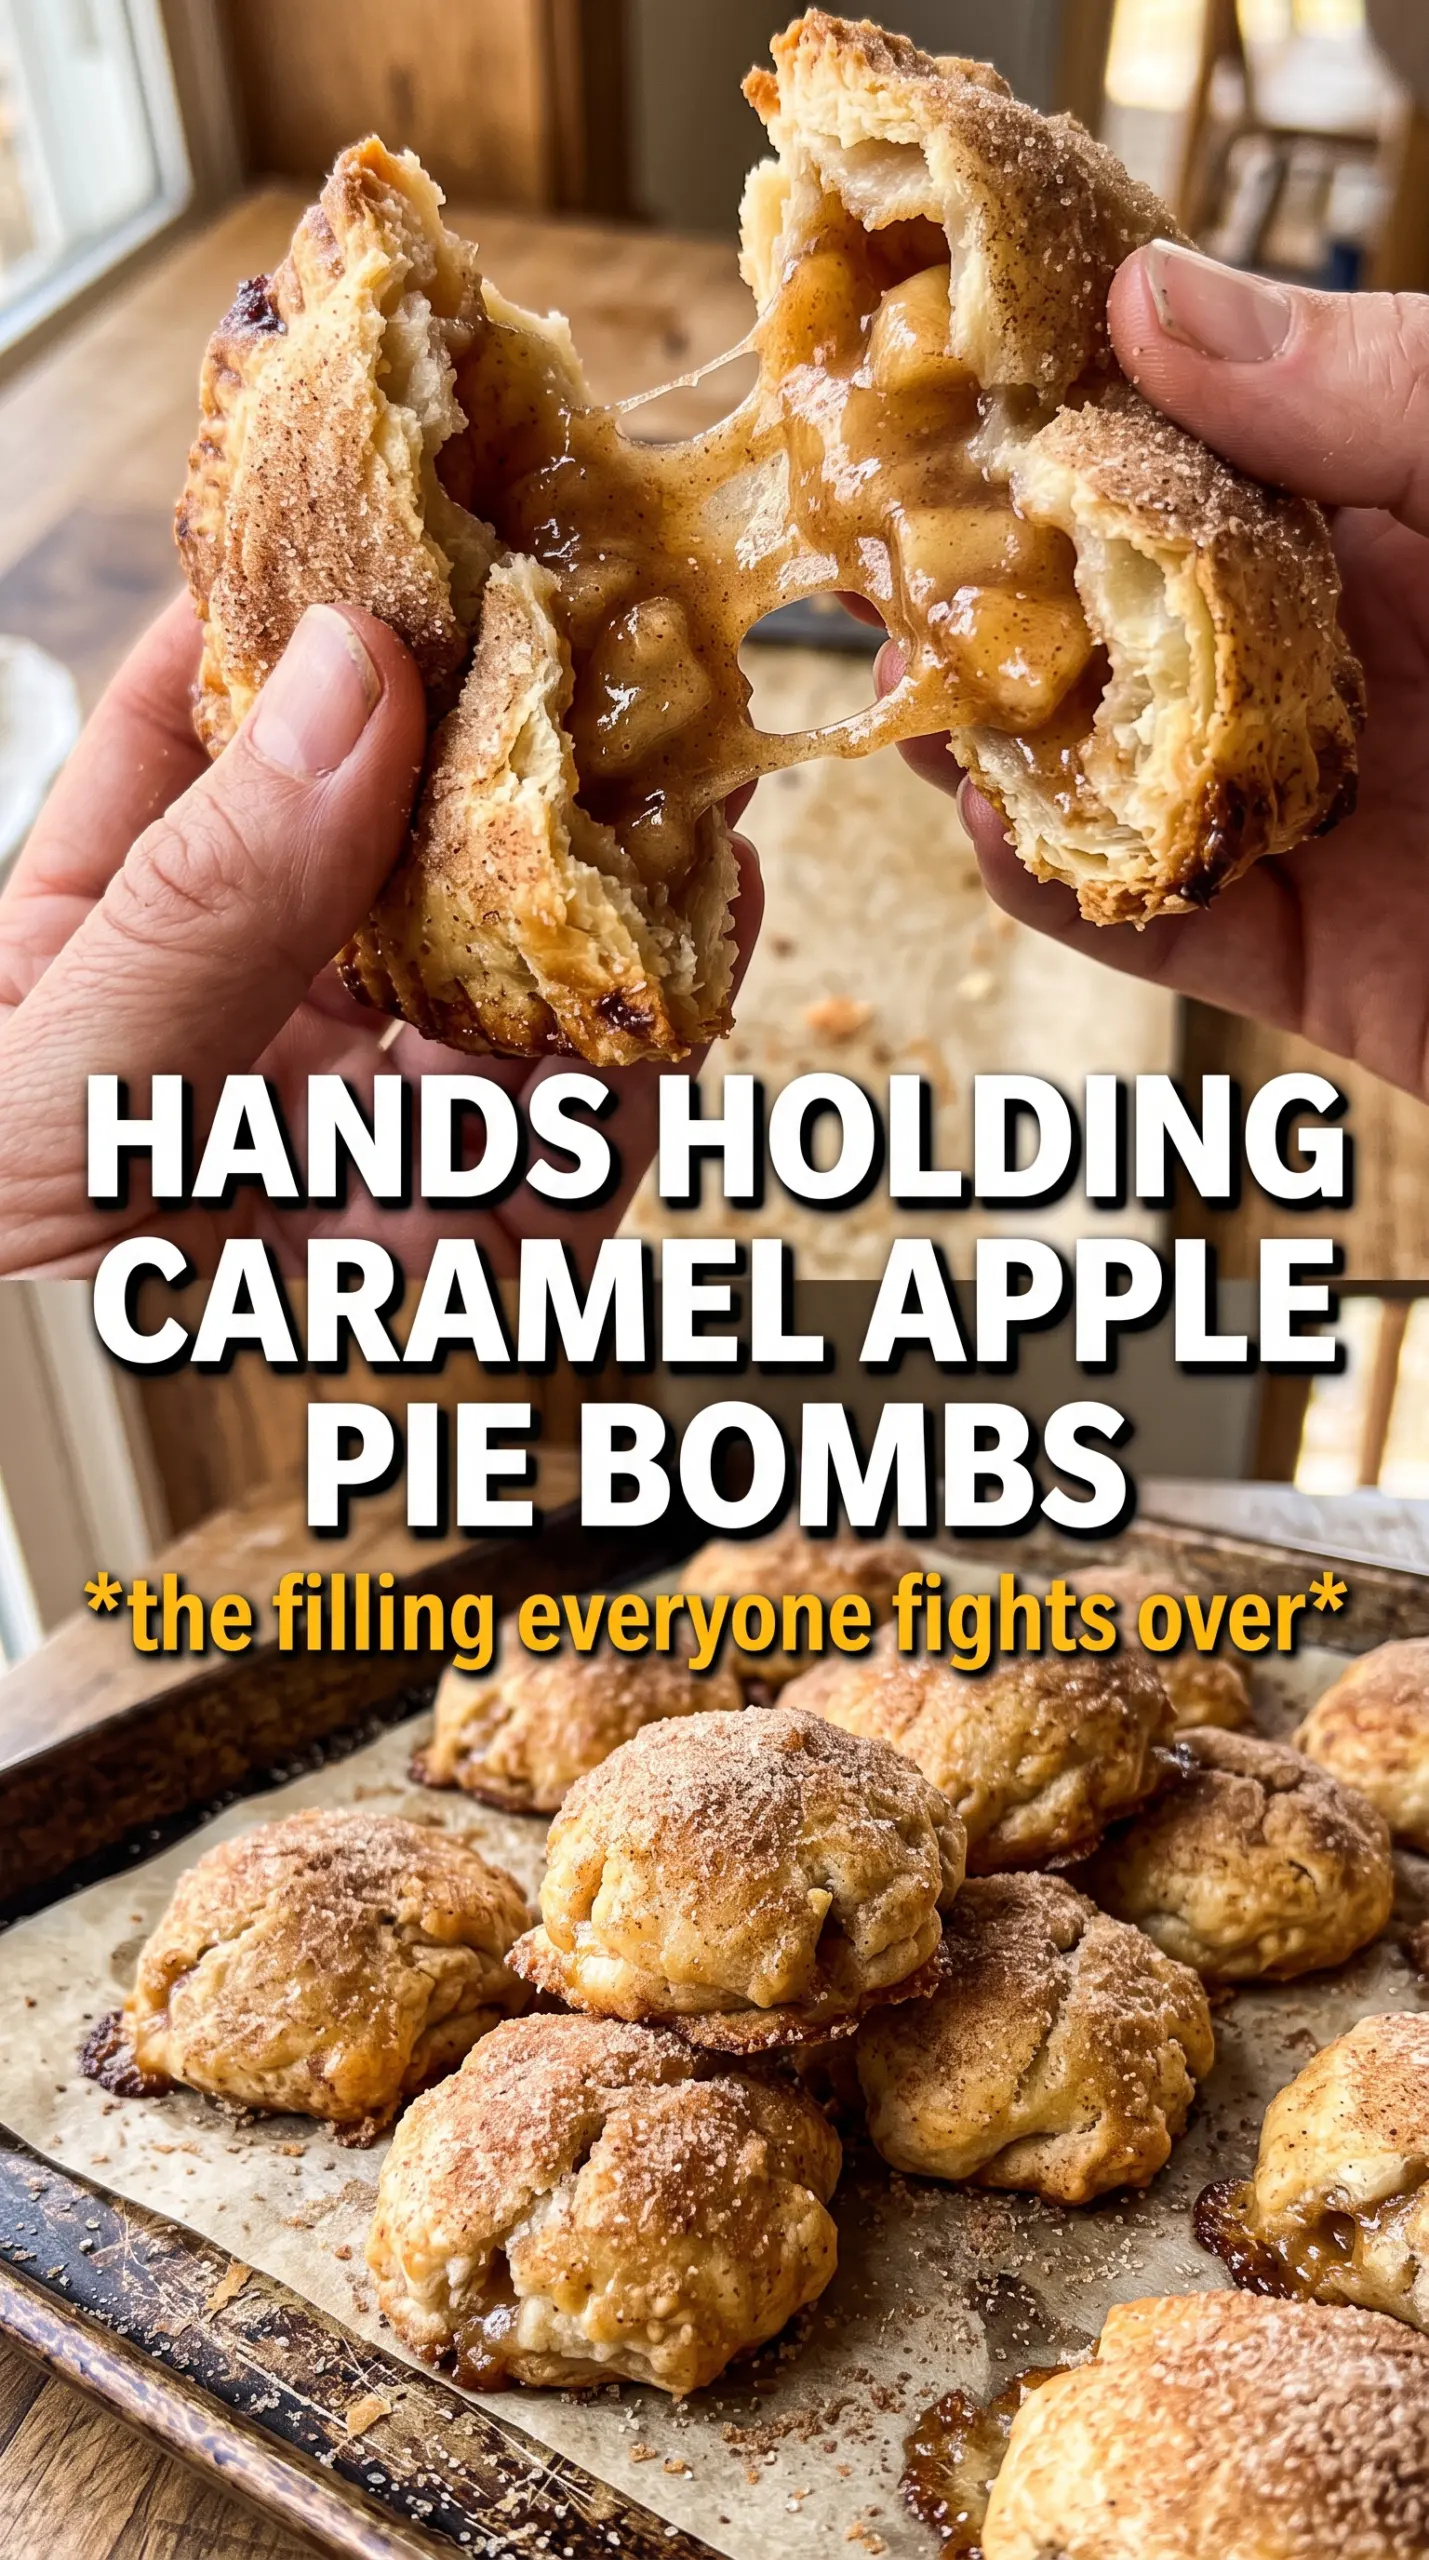
Caramel Apple Pie Bombs are the kind of warm, gooey dessert you’ll want to pull apart and eat straight from the pan.
The Trick to Keeping the Filling Inside the Bombs
The biggest mistake with stuffed biscuit desserts is rushing the filling. If the apples are still loose or steaming hot, they’ll break through the dough as the bombs bake and leave you with soggy seams instead of a clean seal. Cooking the apples first with brown sugar, cinnamon, nutmeg, butter, and cornstarch gives you a thick spoonable filling that stays in place.
Cool that filling all the way down before you assemble. Warm filling softens the biscuit dough fast, and softened dough tears when you stretch it around the caramel candy. A smooth, firm seal is what keeps the caramel tucked inside until the bombs hit the oven and puff around it.
- Apples — Peel and dice them small so they cook quickly and fit neatly inside each biscuit. A firm baking apple holds the best shape, but if you only have a softer variety, just watch the stovetop cooking time closely so the filling doesn’t turn mushy.
- Cornstarch — This is what turns the apple juices into a thick filling instead of a runny one. Flour won’t give you the same clean, glossy texture here, so cornstarch is the ingredient that really matters.
- Refrigerated biscuit dough — This is the shortcut that gives you the soft, pillowy shell. Use soft, flaky biscuits rather than dense ones if you have a choice, because they stretch and seal more easily around the filling.
- Caramel candies — A whole caramel candy in the center gives you that molten middle after baking. Cut up soft caramels only if they’re large; otherwise, keep them whole so they don’t disappear into the apple filling before the bombs bake.
What Each Ingredient Is Actually Doing in This Recipe
- Primary ingredient (the star) — Quality matters most. Choose the best you can find.
- Cooking medium (oil, butter, or broth) — This carries flavors and prevents dryness.
- Seasonings (salt, pepper, spices, herbs) — Layer flavors so nothing overpowers. Build depth gradually.
- Aromatics (garlic, onion, herbs) — Cook with fat to bloom flavors. Become the foundation.
- Supporting ingredients — Complement the main ingredient without overpowering it.
- Sauce or liquid (if applicable) — Brings flavors together. Balance richness with acid.
- Acid (lemon, vinegar, wine, or other) — Brightens and prevents flat-tasting results.
- Final finish (garnish, glaze, or sauce) — Prevents one-dimensional taste and adds visual appeal.
Building the Filling, Sealing the Dough, and Baking Until Deeply Golden
Cooking the Apples Down
Start the filling in a skillet over medium heat and cook until the apples are tender, the sugar has melted into a syrup, and the mixture looks thick enough to mound on a spoon. You’re not trying to make applesauce; you want small pieces of apple still visible so the filling has some texture inside the dough. If the pan looks dry before the apples soften, the heat is too high. Add a splash of water only if needed, and keep stirring until the cornstarch loses its chalky look.
Wrapping and Sealing Each Bomb
Flatten each biscuit into a circle that’s wide enough to hold the filling without stretching thin at the edges. Put the apple mixture in the center, press a caramel candy into it, and pinch the dough tightly over the top. The seam needs to be sealed firmly, then rolled smooth with your hands so no filling peeks through. Any open spot turns into a leak in the oven, so pause and pinch again if the dough feels loose anywhere.
Baking to a Deep Golden Finish
Brush the balls with melted butter and roll them in the cinnamon sugar so the coating sticks before they go into the oven. Bake until the tops are deeply golden and the dough feels set to the touch, not pale and doughy in the center. Underbaked biscuit dough can look done on top while staying gummy inside, so judge by color and firmness together. Drizzle the caramel sauce over the bombs while they’re still warm so it melts into the cracks instead of sitting on top.
Use Pears Instead of Apples
Pears work if you want a softer, slightly floral filling. Dice them small and cook them down a touch longer than apples, because pears can go from firm to mushy fast. The result is gentler and sweeter, with less tartness but the same gooey center.
Make It Dairy-Free
Use a plant-based butter for the filling and brushing step, and choose a dairy-free caramel sauce for the finish. The texture stays close to the original, though the caramel flavor will be a little less buttery. Check the biscuit dough label too, since some brands include dairy ingredients.
Turn Them Into a Smaller Party Dessert
Use less filling in each biscuit and keep the caramel candy whole so the bombs don’t burst while they bake. You’ll get more pieces with a little less goo in the center, which is a good trade if you’re serving a crowd and want them to hold together on a platter.
Storage and Reheating
- Refrigerator: Store in an airtight container for up to 3 days. The dough softens a bit as it sits, but the flavor holds well.
- Freezer: Freeze baked bombs in a single layer, then move them to a freezer bag for up to 1 month. They thaw best after sitting at room temperature for a short time.
- Reheating: Warm them in a 300F oven for about 8 to 10 minutes. Microwaving works in a pinch, but it makes the biscuit shell lose its crisp edges and can turn the caramel center overly loose.
Questions I Get Asked About This Recipe
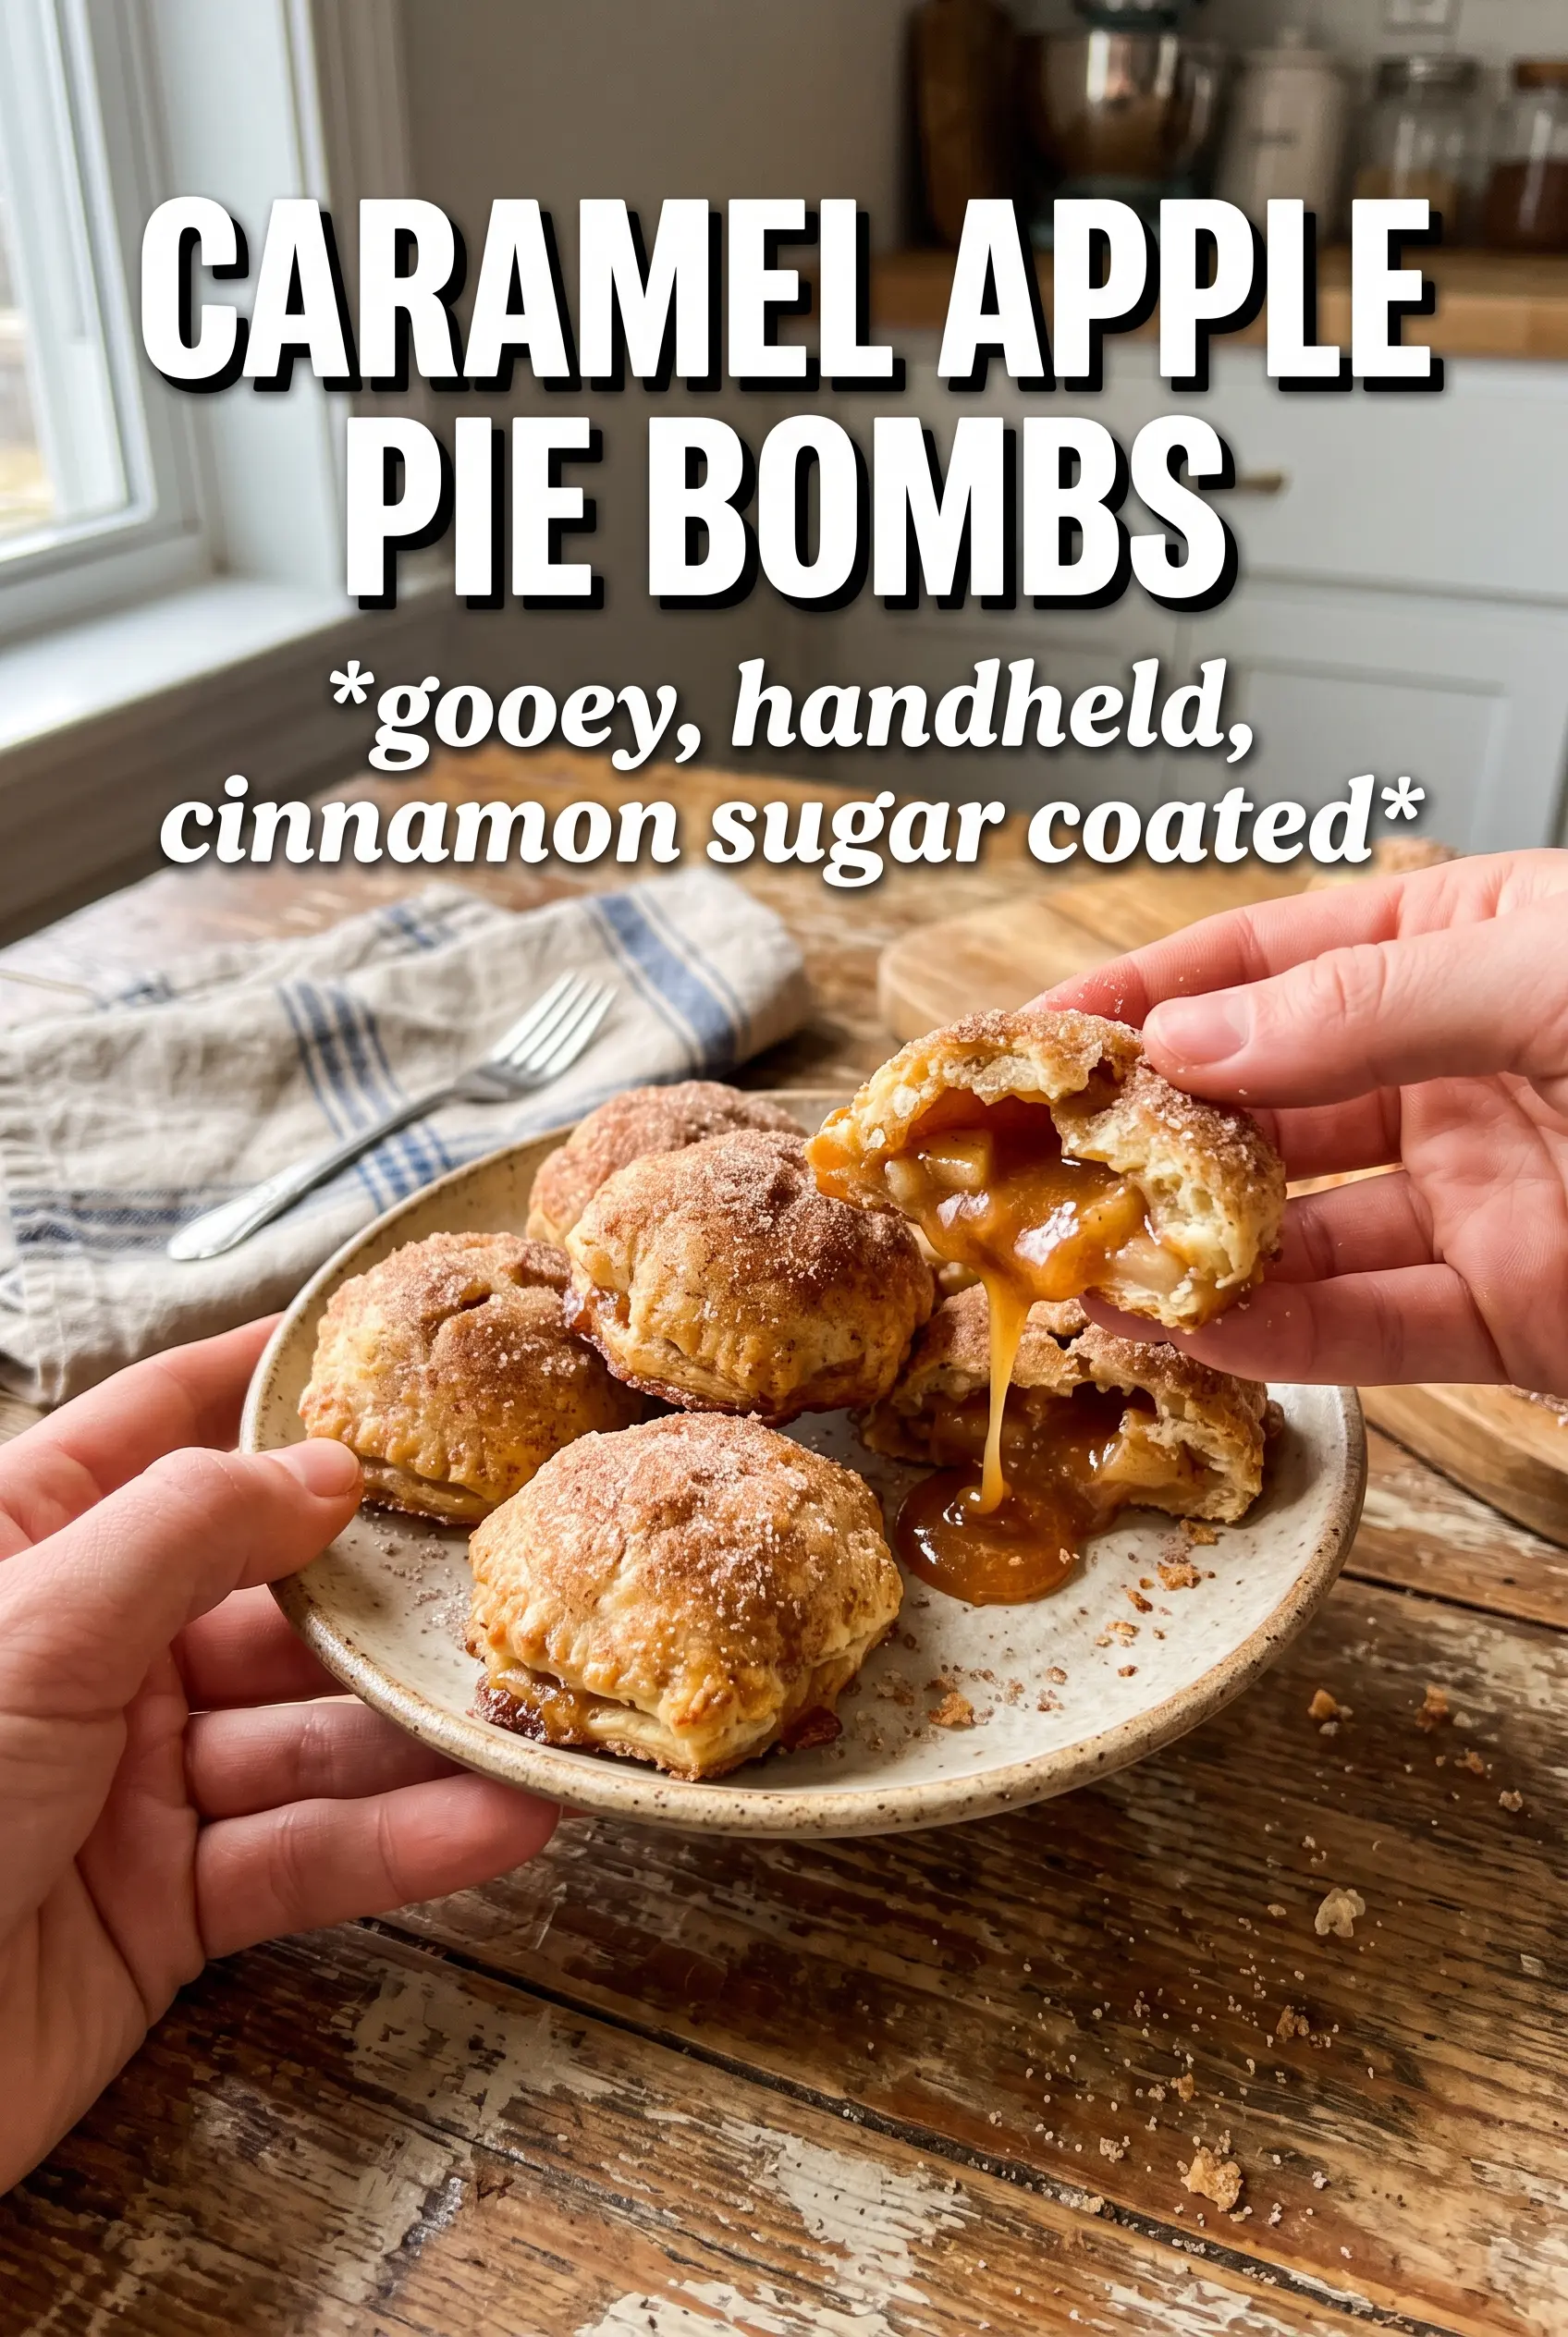
Caramel Apple Pie Bombs
Ingredients
Equipment
Method
- Cook the diced apples with butter, brown sugar, cinnamon, nutmeg, and cornstarch over medium heat for 5-7 minutes, stirring, until thickened and glossy.
- Cool the thickened apple filling completely before assembling the bombs.
- Preheat the oven to 375F and line a sheet pan with parchment paper.
- Separate the biscuit dough and flatten each into a 4-inch circle.
- Place 1 tablespoon apple filling and 1 soft caramel candy in the center of each circle.
- Wrap the dough around the filling and pinch firmly to seal, then roll into a smooth ball.
- Brush each ball with melted unsalted butter, then roll in cinnamon sugar to coat evenly.
- Bake for 18-20 minutes at 375F until deeply golden.
- Drizzle with caramel sauce and serve warm.