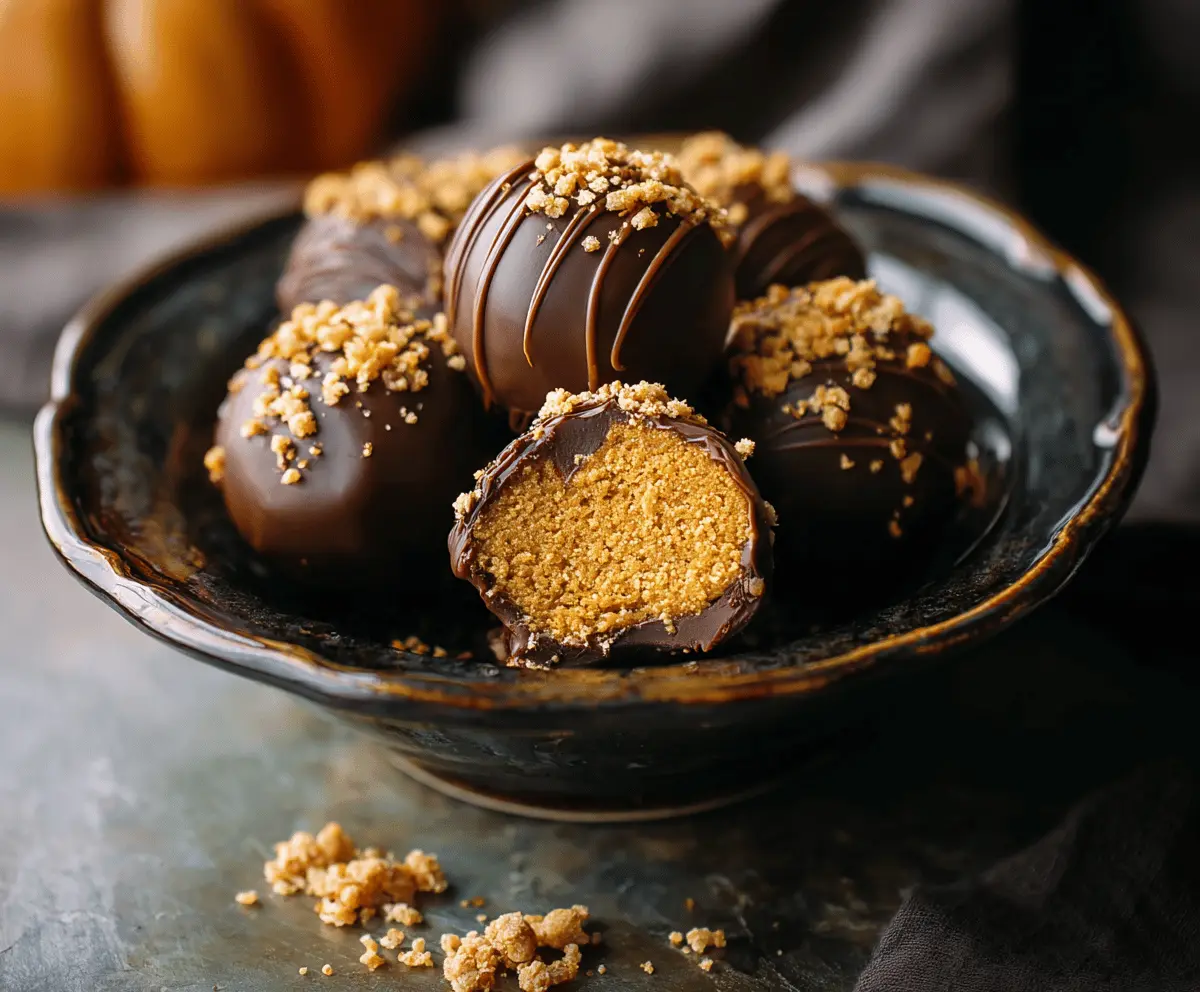
These Pumpkin Truffles are a tasty treat, combining smooth pumpkin with chocolate! Each bite is like a little autumn hug that melts in your mouth.
Making these truffles is super fun and easy. Just mix the ingredients, roll them into balls, and coat them in chocolate. You’ll be snacking on them in no time!
Key Ingredients & Substitutions
Pumpkin Puree: Canned puree is super convenient! If you prefer homemade, just roast a sugar pumpkin until soft, scoop it out, and blend until smooth. Avoid using pumpkin pie filling, as it has added sugar and spices.
Graham Cracker Crumbs: These give a nice texture and sweetness. If gluten-free, use gluten-free graham crackers or even crushed almonds for a different flavor. Crushed digestive biscuits work well too!
Chocolate: Semi-sweet chocolate is my go-to, but dark chocolate gives a nice contrast to the sweetness. If you’re looking for a dairy-free version, use dark chocolate that is dairy-free or enjoy white chocolate instead for a unique twist!
Oil: Coconut oil helps the chocolate coating be smooth and shiny. If you don’t have any, vegetable oil is a fine substitute! Don’t skip it if you want a better coating.
How Do You Make the Perfect Chocolate Coating?
Getting that shiny, smooth chocolate coating on your truffles is key! Here’s how to make it just right:
- Use a double boiler or microwave to melt your chocolate slowly. This prevents burning and keeps it silky.
- Add oil to your chocolate while melting. It makes the chocolate more fluid and easier to work with.
- Dip each truffle quickly and let the excess drip off. Don’t linger; otherwise, it may create a thick layer!
- Work quickly while coating so the chocolate doesn’t set before you garnish it with crumbs.
And remember, if the chocolate hardens before you’re done, just reheat it a bit! This technique will help give you a lovely finish to your pumpkin truffles.

How to Make Pumpkin Truffles
Ingredients You’ll Need:
- 1 cup pumpkin puree (canned or homemade)
- 1 1/2 cups graham cracker crumbs
- 1/4 cup powdered sugar
- 1 teaspoon pumpkin pie spice
- 1/2 teaspoon vanilla extract
- 1/4 teaspoon salt
- 8 ounces semi-sweet or dark chocolate, chopped (for coating)
- 1 tablespoon coconut oil or vegetable oil (optional, for smoother chocolate coating)
- Additional graham cracker crumbs for garnish
How Much Time Will You Need?
This recipe will take about 1 hour and 30 minutes in total. Expect around 30 minutes for preparation, then about 1 hour for chilling time. It’s a perfect make-ahead treat that you can prepare in advance!
Step-by-Step Instructions:
1. Mix the Pumpkin Base:
Start by grabbing a large mixing bowl. Combine the pumpkin puree, graham cracker crumbs, powdered sugar, pumpkin pie spice, vanilla extract, and salt. Mix everything together until it’s a smooth and thick mixture that holds its shape when you press it. This is your delicious pumpkin base!
2. Chill the Mixture:
Cover the bowl with plastic wrap and pop it in the refrigerator for about 30 minutes. This makes it easier to work with when you roll it into balls.
3. Shape the Truffles:
Once the mixture is chilled, take it out of the fridge. Use your hands or a cookie scoop to roll about 1-inch balls. Place these on a parchment-lined baking tray and put them back in the fridge for another 30 minutes to firm up further.
4. Melt the Chocolate:
While the truffles are chilling, get ready to make the chocolate coating. In a heatproof bowl, melt the chopped chocolate with the coconut oil (if using) over a pan of simmering water (double boiler method). You can also melt it in the microwave in short bursts, making sure to stir until it’s smooth.
5. Coat the Truffles:
Once your chocolate is melted, it’s time to coat the truffles! Use a fork or dipping tool to dip each pumpkin ball into the melted chocolate, making sure it’s fully covered. Let any excess chocolate drip off before placing the truffle back on the parchment paper.
6. Garnish with Crumbs:
While the chocolate is still wet, sprinkle some additional graham cracker crumbs on top of each truffle. This adds a nice touch and looks pretty too!
7. Let Them Set:
After you’ve coated all the truffles, just pop them back in the refrigerator for about 1 hour, or until the chocolate sets completely.
8. Serve and Enjoy:
Your pumpkin truffles are now ready! You can serve them chilled or at room temperature. If you have any leftovers, store them in an airtight container in the refrigerator for up to a week.
Enjoy these delicious pumpkin truffles at your next gathering or treat yourself anytime you’re in the mood for a sweet autumn-inspired snack!
Can I Use Fresh Pumpkin Instead of Canned?
Absolutely! If you prefer fresh pumpkin, roast a sugar pumpkin until soft, scoop out the flesh, and blend it until smooth. Just be sure to measure out 1 cup for the recipe!
How Long Do Pumpkin Truffles Last?
These truffles can be stored in an airtight container in the refrigerator for up to a week. Just be sure to keep them chilled to maintain their texture and flavor!
Can I Freeze Pumpkin Truffles?
Yes, you can freeze them! Just place the cooled truffles in a single layer on a baking sheet until frozen solid, then transfer them to an airtight container or freezer bag. They’ll last for about 2 months in the freezer. Thaw in the fridge before serving.
What Can I Use Instead of Pumpkin Pie Spice?
If you don’t have pumpkin pie spice, you can make your own! Mix 1/2 teaspoon cinnamon, 1/4 teaspoon nutmeg, 1/4 teaspoon ginger, and a pinch of cloves for a similar flavor profile.