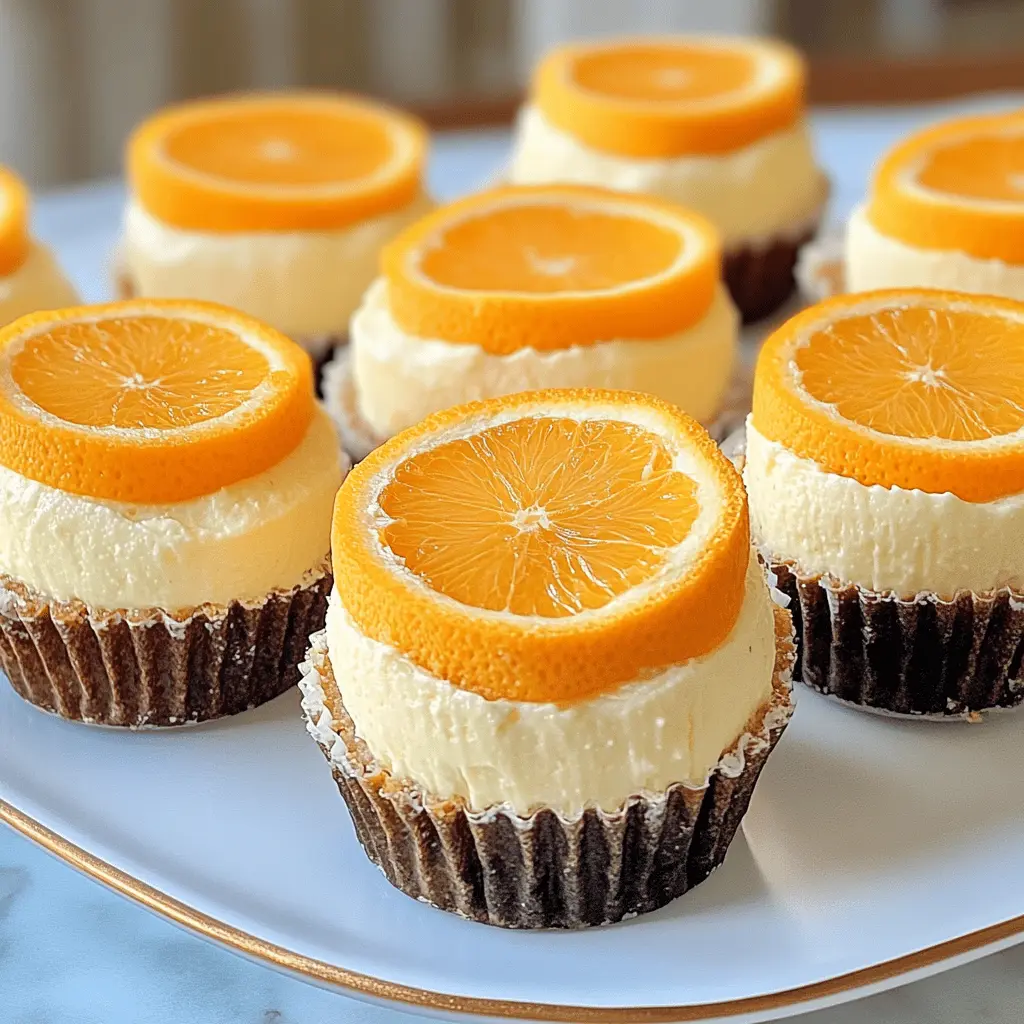
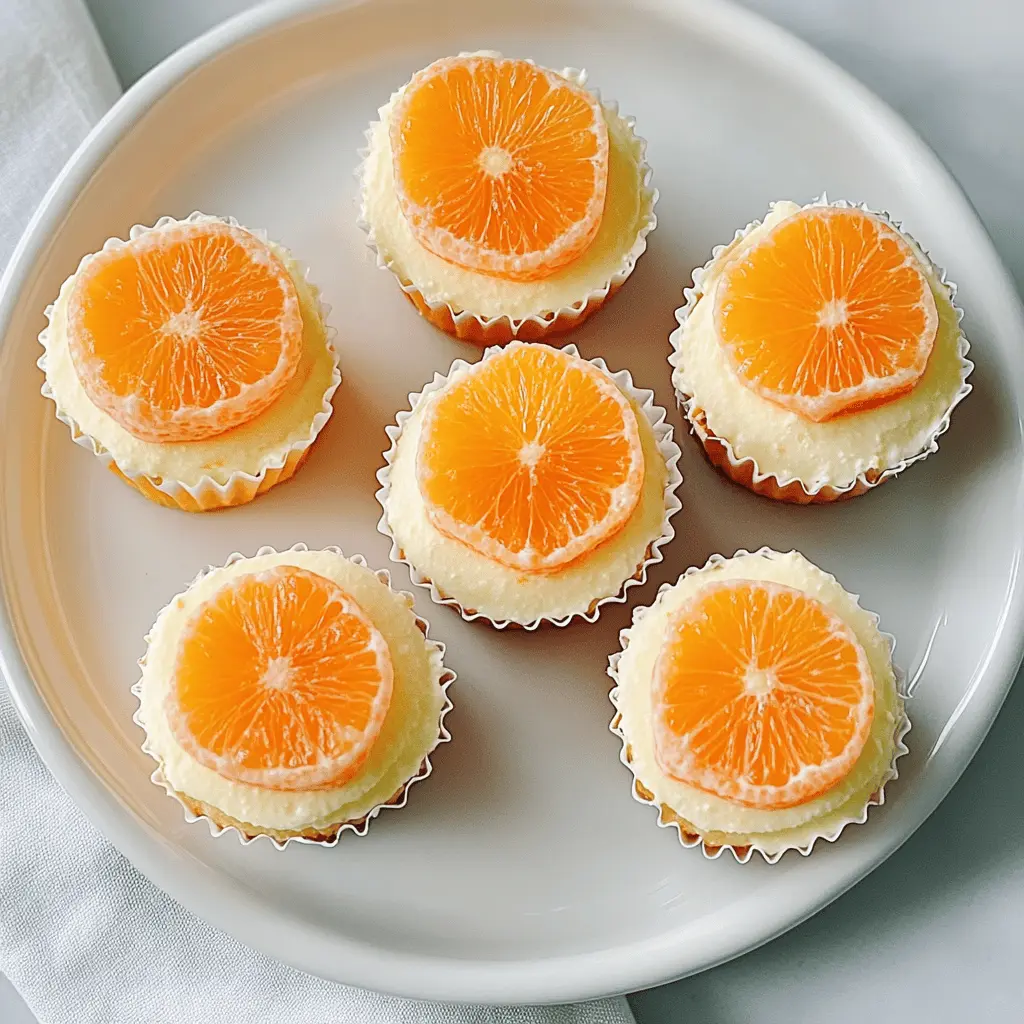
These Orange Creamsicle Mini Cheesecakes are a cute treat that mixes creamy cheesecake with zesty orange flavor. They’re perfect for any sweet tooth!
Making these little bites is a breeze! I love how easy they are to whip up, and they remind me of summer days with their refreshing taste. You might want to keep some extras hidden! 😋
Key Ingredients & Substitutions
Oreo Cookie Crumbs: These crumbs make a delicious crust. If you want a gluten-free option, use crushed gluten-free cookies. Graham crackers also work nicely but have a different flavor.
Cream Cheese: It’s essential for that rich, creamy texture. If you’re dairy-free, consider using a dairy-free cream cheese alternative, like cashew or almond-based cream cheese.
Heavy Cream: This gives the cheesecake its creamy richness. If you’re looking for a lighter version, you could substitute with a mix of cream cheese and Greek yogurt, but the texture may be a bit different.
Orange Juice and Zest: Fresh orange juice and zest bring brightness to your cheesecakes. You can substitute with lemon juice and zest for a zesty twist or use bottled orange juice if fresh isn’t available.
How Do You Achieve a Creamy Texture in Mini Cheesecakes?
To get that smooth and creamy texture, follow these tips. Start with softened cream cheese, which combines easier and avoids lumps. Beat the cream cheese and sugar until it’s very smooth before adding in other ingredients.
- Mix in eggs one at a time to ensure they blend thoroughly.
- When folding in the heavy cream and orange juice, do it gently to maintain the airiness.
- Avoid overmixing after adding the eggs to prevent cracks on the surface.
Finally, baking them at a low temperature and letting them cool in the oven prevents sudden changes that can cause cracking. Happy baking!
How to Make Orange Creamsicle Mini Cheesecakes
Ingredients You’ll Need:
For The Crust:
- 1 cup Oreo cookie crumbs
- 4 tablespoons unsalted butter, melted
For The Cheesecake Filling:
- 16 oz (2 packages) cream cheese, softened
- 1 cup granulated sugar
- 1 teaspoon vanilla extract
- 3 large eggs
- 1 cup heavy cream
- 1/2 cup orange juice
- Zest of 1 orange
- 1 teaspoon orange extract (optional)
- Orange food coloring (optional, to achieve desired color)
For Topping:
- Whipped cream, for topping
- Fresh orange slices, for garnish
How Much Time Will You Need?
This recipe requires about 20 minutes of preparation time, plus 15-20 minutes of baking. Make sure to set aside at least 3 hours for chilling the mini cheesecakes in the fridge. You’ll be ready to enjoy these delicious treats in no time!
Step-by-Step Instructions:
1. Preheat the Oven:
Start by preheating your oven to 325°F (163°C). While it’s warming up, line a cupcake pan with paper liners to prepare for your mini cheesecakes.
2. Make the Crust:
In a medium bowl, mix together the Oreo cookie crumbs and melted butter until everything is well combined. Once mixed, take about 1 tablespoon of this mixture and press it firmly into the bottom of each cupcake liner to form a nice crust. Bake the crusts in the preheated oven for 5-7 minutes and then let them cool.
3. Prepare the Cheesecake Filling:
In a large mixing bowl, beat the softened cream cheese and granulated sugar together using a hand mixer or stand mixer until the mixture is smooth and creamy. Next, add in the vanilla extract and then the eggs, one at a time. Make sure to mix well after each addition to keep everything nice and smooth.
4. Add Creamy Flavors:
Pour in the heavy cream, orange juice, and the orange zest. If you want to enhance the orange flavor, add the orange extract as well. Mix everything until it’s fully combined. You can also add a few drops of orange food coloring to get that vibrant orange color if you’d like!
5. Fill the Cups:
Carefully divide the cheesecake mixture evenly among the crusts in your cupcake pan, filling each one to about 3/4 full.
6. Bake the Cheesecakes:
Place the filled cupcake pan in the oven and bake for about 15-20 minutes. You want the edges to be set while the centers still have a little jiggle to them. Once done, turn off the oven and let the mini cheesecakes cool inside for 10-15 minutes.
7. Chill the Cheesecakes:
After they have cooled, move the mini cheesecakes to the refrigerator and let them chill for at least 3 hours until they are fully set. This helps them firm up and gives them a perfect texture!
8. Time to Serve:
When you’re ready to enjoy your mini cheesecakes, take them out of the fridge. Top each one with a dollop of whipped cream and a fresh orange slice for a beautiful garnish. Enjoy your delightful Orange Creamsicle Mini Cheesecakes!
Can I Use Different Cookie Crusts for These Mini Cheesecakes?
Absolutely! If you don’t have Oreo cookies, you can use other cookie varieties like graham crackers or vanilla wafers. Just crush them into fine crumbs and follow the same steps to mix with melted butter for the crust.
How Can I Adjust the Sweetness of the Cheesecakes?
If you prefer a less sweet cheesecake, you can reduce the sugar by up to 1/4 cup without significantly affecting the texture. Alternatively, you can use a sugar substitute like stevia or monk fruit, but make sure to check the conversion ratio on the package!
Can I Make These Mini Cheesecakes Gluten-Free?
Yes! Simply use gluten-free chocolate sandwich cookies for the crust instead of Oreos. Make sure all other ingredients are gluten-free, particularly if you’re serving someone with gluten sensitivity or celiac disease.
How to Store Leftover Mini Cheesecakes?
Store any leftovers in an airtight container in the refrigerator for up to 5 days. If you wish to keep them longer, consider freezing the mini cheesecakes. Just wrap them individually and place them in the freezer, where they can last for up to 3 months. Thaw in the fridge before serving!