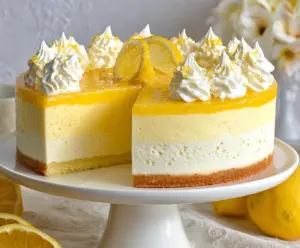
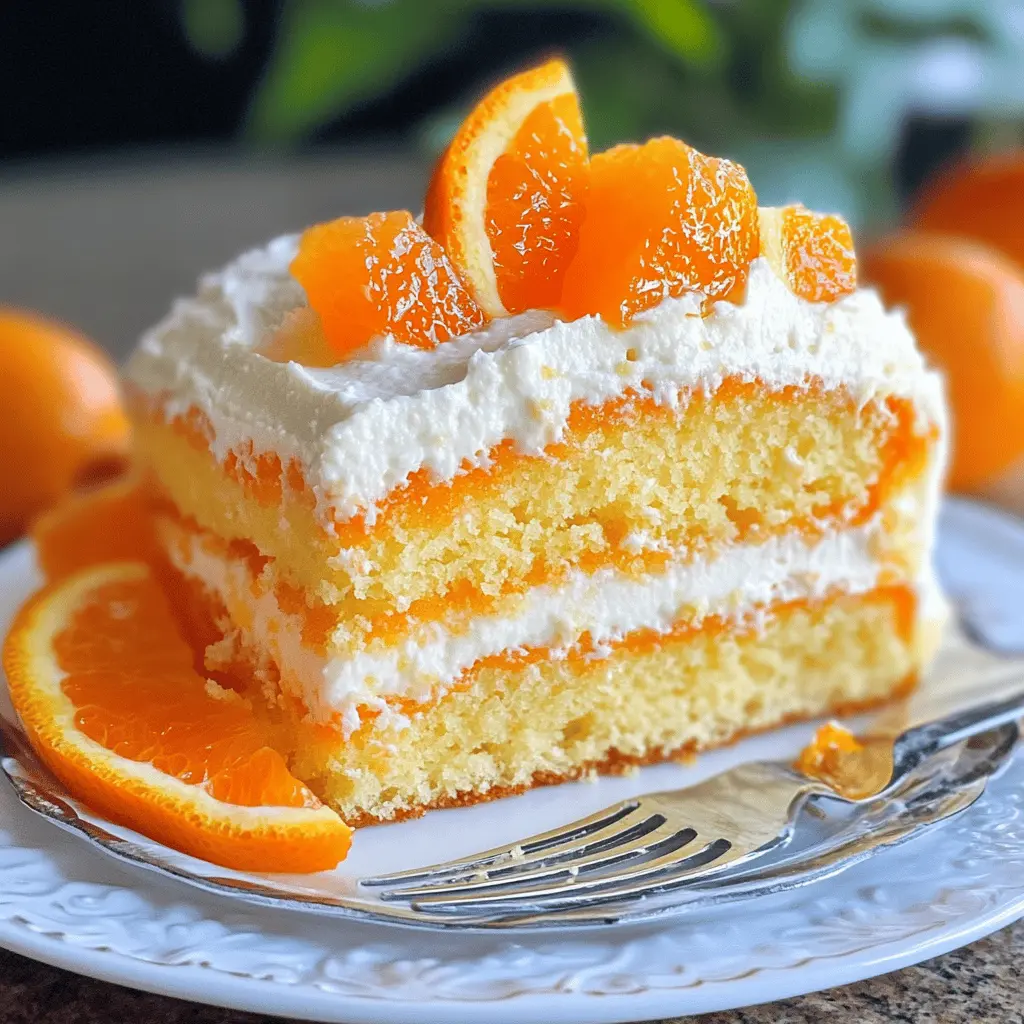
This Orange Creamsicle Cake is a sunny dessert that tastes just like your favorite ice cream treat! It’s light, fluffy, and packed with fresh orange flavor.
Every bite is a zesty delight and it’s super fun to make! I love serving it at parties; it brightens up the table and brings smiles all around. 🍊😊
Key Ingredients & Substitutions
Yellow Cake Mix: This is the base of your cake. If you want to make it from scratch, you can use flour, sugar, baking powder, and other ingredients for a homemade mix. Healthier versions are also available, like whole grain cake mixes.
Orange Soda: This adds moisture and a unique flavor. You can substitute it with lemon-lime soda for a lemony twist or use a sparkling orange beverage for a fresher taste. Try using a sugar-free soda if you’re looking to cut calories.
Instant Vanilla Pudding Mix: This helps make the cake moist. If you don’t have vanilla, you can use instant lemon pudding for a zesty kick. I’ve had great results with butterscotch pudding too; it adds a different layer of flavor!
Heavy Cream: This is essential for that fluffy topping. If you’re looking for a lighter option, you could use whipped topping or a non-dairy equivalent like coconut cream, which adds a subtle coconut flavor.
Orange Zest: This brightens up the flavor. You can use lemon zest if oranges aren’t available, or even a bit of orange extract if you’re truly in a pinch.
How Do I Get the Perfect Pudding Layer on My Cake?
To ensure your pudding layer is just right, follow these steps carefully:
- Make sure to mix the pudding according to package instructions, as this sets the foundation for that creamy layer.
- Incorporate the orange zest only after the pudding has thickened to keep the flavor fresh and bright.
- Poking holes in the cake with a fork allows the pudding to seep in. Don’t be shy—make lots of holes to guarantee great flavor throughout!
- Spread the pudding evenly over the cake, making sure it fills the holes to maximize flavor and moisture.
This step is crucial for achieving a delicious and moist cake that really complements the orange and vanilla flavors. Enjoy your baking!
How to Make Orange Creamsicle Cake?
Ingredients You’ll Need:
For the Cake:
- 1 box yellow cake mix (plus ingredients required for the cake mix)
- 1 cup orange soda
For the Pudding Layer:
- 1 package (3.4 oz) instant vanilla pudding mix
- 1/2 cup orange zest
- Milk (as needed to prepare the pudding)
For the Whipped Cream Topping:
- 1 cup heavy cream
- 1 cup powdered sugar
- 1 teaspoon vanilla extract
For Decoration:
- Orange gelatin (for sprinkling on top)
- Fresh mint leaves (for garnish)
- Orange candy cubes or jellies (for garnish)
How Much Time Will You Need?
This delicious Orange Creamsicle Cake will take about 20 minutes of prep time and about 30 minutes to bake, then you should chill it for at least 2 hours before serving. So, set aside about 3 hours total for the best results, mainly to let those yummy flavors blend together!
Step-by-Step Instructions:
1. Preheat and Prepare:
First, let’s get your oven ready! Preheat it to 350°F (175°C). While that’s heating up, grease a 9×13-inch baking dish so your cake won’t stick. Simple and straightforward!
2. Make the Cake Batter:
In a large bowl, whisk together the yellow cake mix and orange soda. Beat it with a mixer on medium speed for about 2 minutes. The mixture should look well combined and smooth. Now, pour this vibrant batter into your prepared baking dish.
3. Bake the Cake:
Pop the baking dish into the oven and bake according to the package directions, usually about 25-30 minutes. To check if it’s done, insert a toothpick into the center; it should come out clean when the cake is ready!
4. Prepare the Pudding Layer:
While the cake is baking, take another bowl and prepare the instant vanilla pudding mix according to the package instructions, using milk as directed. Once it’s made, mix in the orange zest until it’s fully blended. It’s going to smell amazing!
5. Poke and Spread:
After the cake is baked and cooled a bit, use a fork to poke holes all over the top. This will help the pudding soak in. Spread that creamy orange pudding mixture over the cake, making sure it seeps into the holes. Yum!
6. Whip Up the Cream:
In a separate bowl, whip the heavy cream until you see soft peaks forming. Then, gradually add the powdered sugar and vanilla extract while continuing to whip until the cream thickens. It should be fluffy and light—perfect for topping!
7. Top It Off:
Gently spread the whipped cream over the pudding layer on the cake. It’s okay if it gets a little messy; more cream is always great!
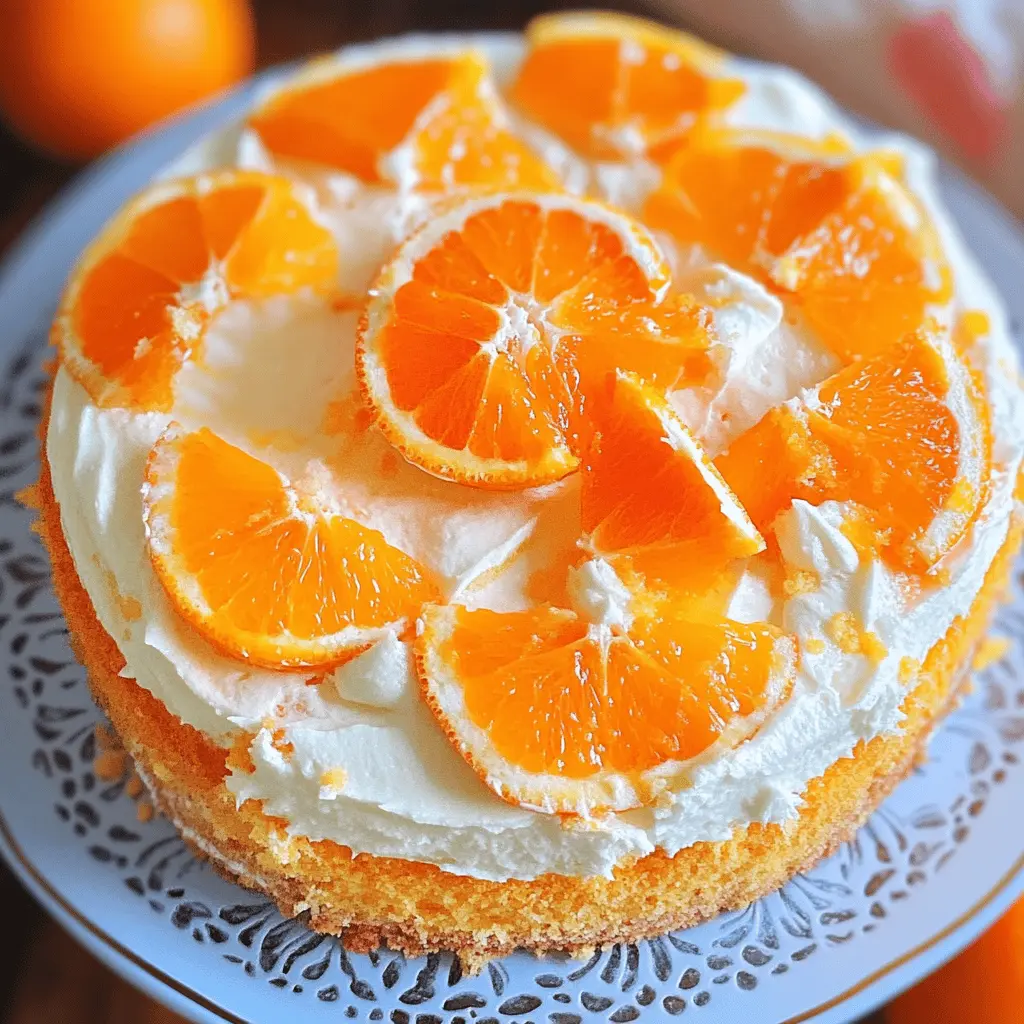
8. Bring on the Decorations:
For a fun touch, sprinkle the top lightly with orange gelatin. Then, finish it up by garnishing with fresh mint leaves and orange candy cubes or jellies for a pop of color!
9. Chill and Serve:
Now, cover the cake and chill it in the refrigerator for at least 2 hours. This waiting period allows all the flavors to meld together, making every bite delightful. Once chilled, slice the cake and get ready to enjoy those refreshing orange and vanilla flavors!
Can I Use a Different Flavor of Cake Mix?
Absolutely! You can use any flavor of cake mix that you enjoy, such as vanilla or lemon. Just keep the orange soda to add that refreshing citrus flavor, or choose a soda that complements the cake flavor you select.
How Can I Make This Recipe Dairy-Free?
To make this cake dairy-free, opt for a dairy-free cake mix and use a plant-based milk (like almond or soy) for the pudding mix. You can also use coconut cream instead of heavy cream for the whipped topping!
What’s the Best Way to Store Leftovers?
Store any leftover cake in an airtight container in the refrigerator for up to 3-4 days. To maintain the whipped topping’s texture, it’s best to cover it loosely with plastic wrap rather than pressing down tightly.
Can I Make This Cake Ahead of Time?
Yes, this cake is great for making ahead! You can prepare it a day in advance and keep it refrigerated. Just add the garnishes right before serving for the best presentation and freshness.