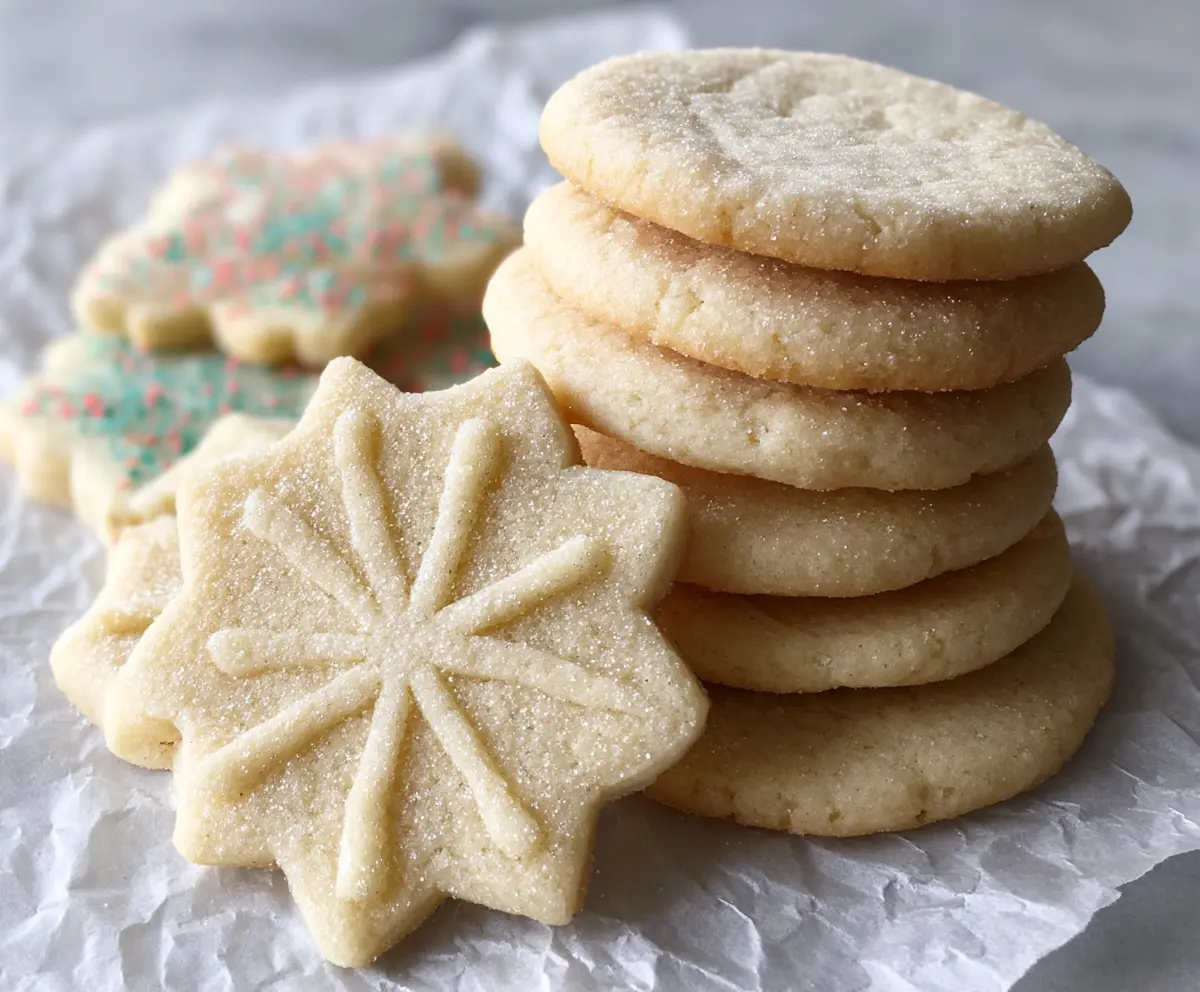
These melt-in-your-mouth sugar cookies are soft, sweet, and perfect little treats! With simple ingredients like butter, sugar, and flour, they come together easily.
When I bake these, I can’t resist sneaking a warm cookie off the tray—it’s like a hug for my taste buds! They’re great for sharing or just keeping all to yourself! 😄
Key Ingredients & Substitutions
Unsalted Butter: This ingredient gives the cookies their rich flavor and tender texture. If you need a dairy-free option, you can substitute with margarine or coconut oil.
Granulated Sugar: While white sugar is traditional, you can use brown sugar for a slightly chewier cookie and added flavor. If you prefer a healthier option, coconut sugar works too!
Egg: The egg helps bind the ingredients. For a vegan alternative, use flaxseed meal (1 tbsp mixed with 3 tbsp water) or applesauce (1/4 cup) for each egg.
Vanilla Extract: This adds sweetness and depth. If you’re out, almond extract can be a nice substitute, but use it sparingly as it’s stronger in flavor.
All-Purpose Flour: This is the base. For gluten-free cookies, you can use a gluten-free 1:1 baking flour, which usually works well in most recipes.
How Do You Avoid Spreading Cookies Too Much When Baking?
To keep your cookies from spreading too much in the oven, make sure your butter is softened, not melted. Also, chill your dough for 30 minutes before baking. This helps the cookies hold their shape better!
- Preheat oven to 350°F and line sheets with parchment paper.
- Form the dough into balls and roll in sugar before placing on sheets.
- Leave enough space (about 2 inches) for cookies to spread.
- If necessary, chill the formed balls in the fridge for 20-30 minutes.
These tips will help you bake perfect sugar cookies that stay thick and soft! Enjoy your cookie-making journey!
Melt In Your Mouth Sugar Cookies
Ingredients You’ll Need:
- 1 cup (2 sticks) unsalted butter, softened
- 1 cup granulated sugar (plus extra for rolling)
- 1 large egg
- 1 teaspoon vanilla extract
- 2 1/2 cups all-purpose flour
- 1/2 teaspoon baking powder
- 1/4 teaspoon salt
How Much Time Will You Need?
This recipe will take about 15 minutes for prep and 8-10 minutes for baking. Be sure to allow an additional 5 minutes for cooling on the baking sheet before transferring the cookies. Total time is around 30 minutes for delicious, melt-in-your-mouth cookies!
Step-by-Step Instructions:
1. Prepping the Oven and Baking Sheets:
Start by preheating your oven to 350°F (175°C). While it’s warming up, line your baking sheets with parchment paper to prevent sticking and make cleanup easier.
2. Creaming the Butter and Sugar:
In a large mixing bowl, combine the softened butter and 1 cup of granulated sugar. Use an electric mixer or a whisk to cream them together until the mixture is light and fluffy. This will take about 2-3 minutes.
3. Adding the Egg and Vanilla:
Next, beat in the egg and the vanilla extract into the butter-sugar mixture until everything is well combined and smooth. This step adds a lovely flavor to your cookies!
4. Mixing Dry Ingredients:
In a separate bowl, whisk together the flour, baking powder, and salt. This ensures that the baking powder is evenly distributed throughout the flour.
5. Combining Wet and Dry Ingredients:
Gradually add the dry ingredients to the butter mixture. Use a spatula or a hand mixer to combine them just until they form a soft dough. Be careful not to overmix; it’s okay if the mixture is a little sticky!
6. Forming the Dough Balls:
Now it’s time to shape your cookies! Scoop out about 1-inch pieces of dough and roll them into balls. Then, roll each ball in extra granulated sugar to coat them well.
7. Arranging on the Baking Sheets:
Place the sugar-coated dough balls onto your prepared baking sheets, making sure to space them about 2 inches apart. This allows enough room for them to spread as they bake.
8. Baking the Cookies:
If you’d like, you can gently flatten each ball with the bottom of a glass or using your palm for a more uniform shape. Bake the cookies for 8-10 minutes, or until the edges look lightly golden while the centers remain soft.
9. Cooling Time:
Once baked, allow the cookies to cool on the baking sheet for about 5 minutes. Then transfer them to a wire rack to cool completely. Patience is key here—these cookies are best enjoyed once fully cool!
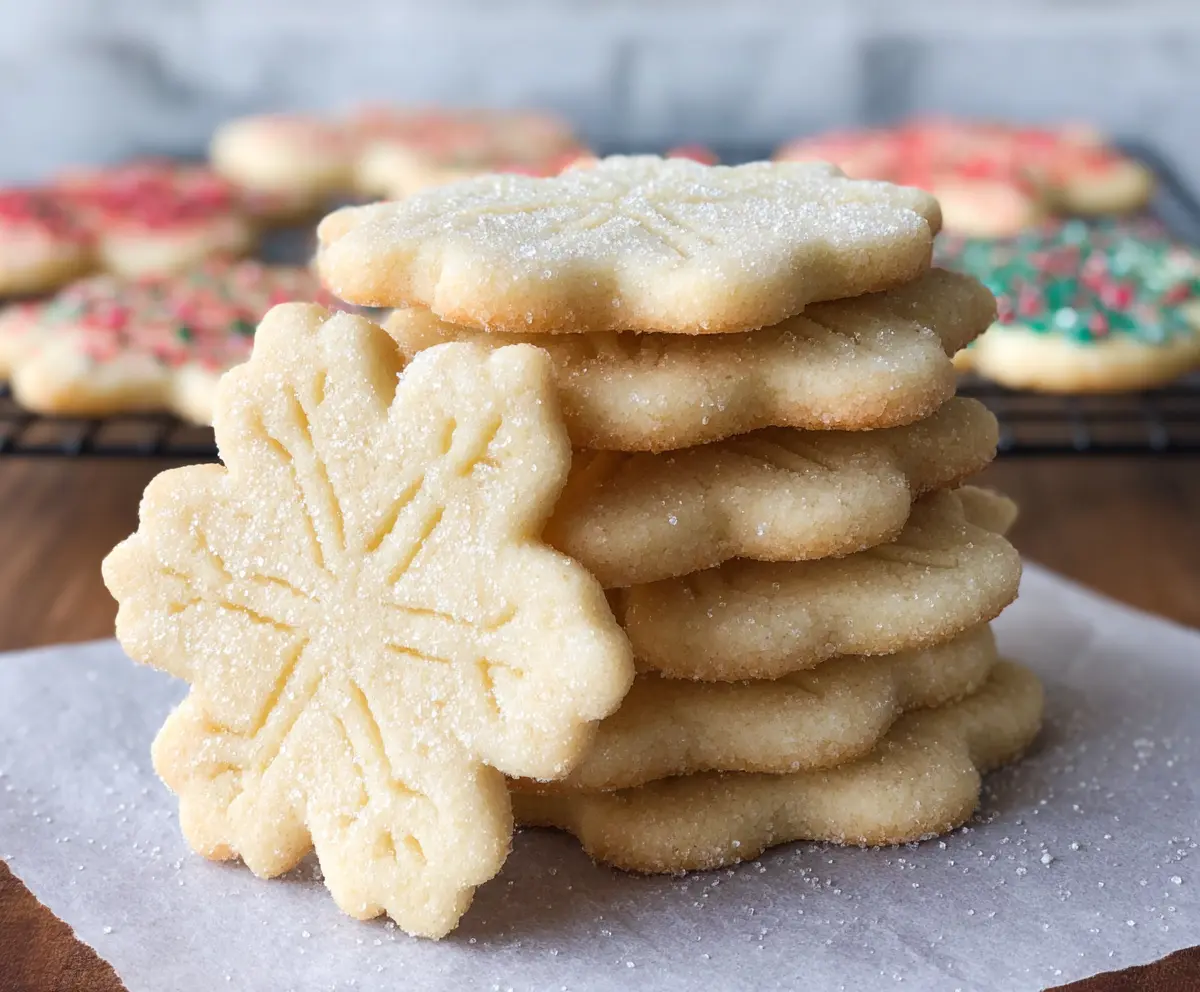
10. Decorating (Optional):
If you want to make decorated cookies, roll the dough out to about 1/4 inch thick and use cookie cutters to create fun shapes. Remember to sprinkle them with sugar before they go into the oven for an extra sparkle!
11. Storing Your Cookies:
Store your melt-in-your-mouth sugar cookies in an airtight container at room temperature. They should stay fresh for up to one week. But don’t be surprised if they disappear faster than that!
Enjoy these delightful cookies with a glass of milk or your favorite warm beverage. Happy baking!
Can I Use Margarine Instead of Butter?
Yes, you can substitute margarine for unsalted butter in this recipe. Just ensure it’s softened to the same consistency as butter for the best results in texture and flavor.
How Do I Prevent Cookies from Spreading Too Much?
To minimize spreading, make sure your butter is softened but not melted. Additionally, chilling the dough for about 30 minutes before baking can help the cookies maintain their shape.
Can I Freeze These Cookies for Later?
Absolutely! You can freeze the cookie dough before baking. Just shape the dough into balls, place them on a baking sheet to freeze for about an hour, then transfer them to an airtight container or zip-top bag for up to 3 months. When you’re ready to bake, just bake them straight from the freezer, adding a couple of minutes to the baking time.
What’s the Best Way to Decorate These Cookies?
For fun shapes, roll out the dough to about 1/4 inch thick and use cookie cutters. You can sprinkle colored sugar or icing on top after baking for a festive touch!