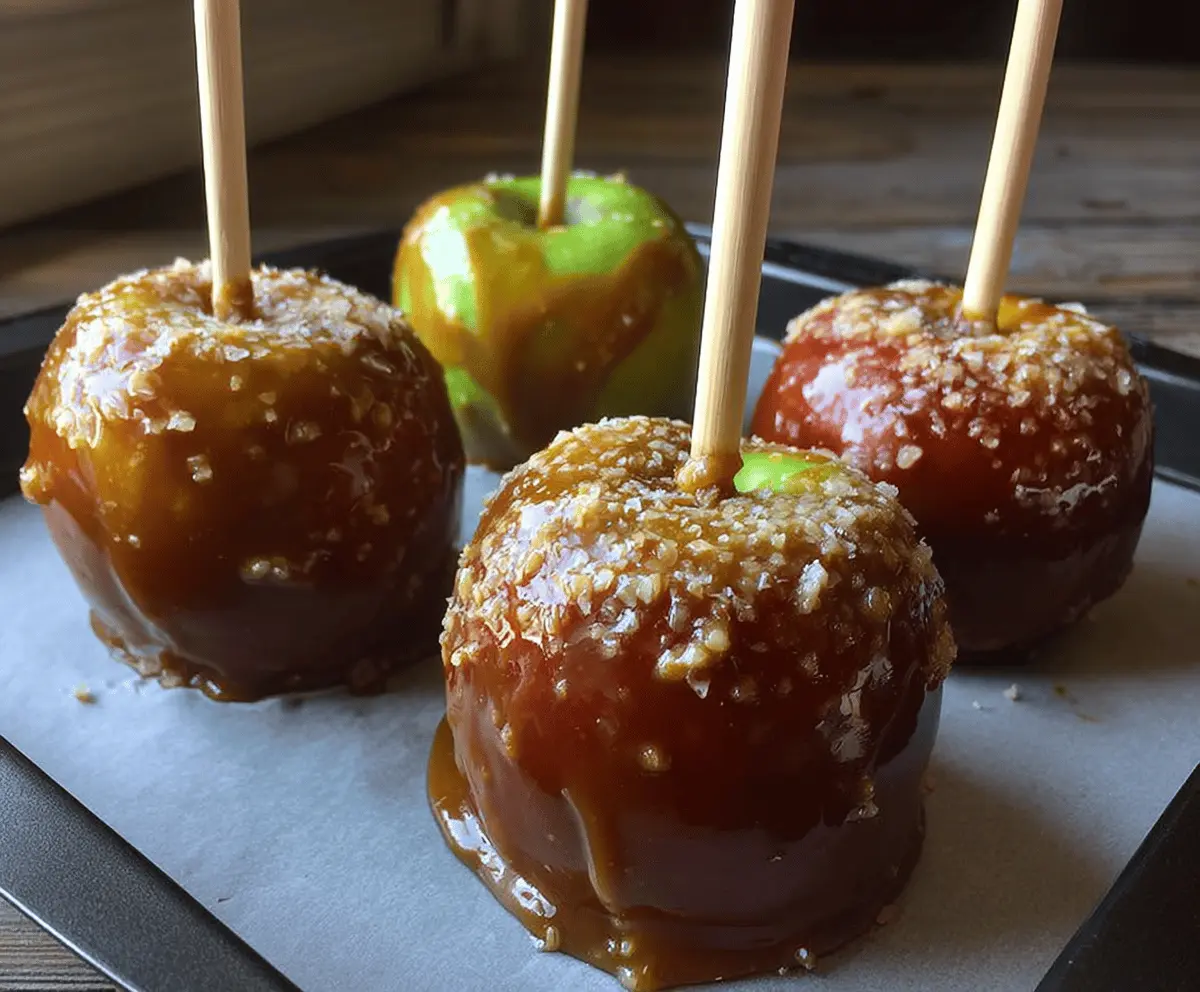
These gluten-free caramel apples are a sweet treat that’s super fun to make! Just take fresh apples, dip them in gooey caramel, and let them cool. They are perfect for autumn and Halloween!
You can’t go wrong with sticky caramel and crisp apples – it’s a match made in heaven! I love adding nuts or sprinkles for an extra crunch. Who doesn’t love a bit of extra fun? 🎉
Key Ingredients & Substitutions
Granny Smith Apples: These tart apples work great for caramel. Their firmness holds up well when dipped. You can use other tart varieties like Fuji or Honeycrisp if you prefer a sweeter flavor.
Light Brown Sugar: This gives the caramel a lovely sweetness and depth. If you don’t have brown sugar, you can use granulated sugar mixed with a little molasses as a substitute for a similar flavor.
Unsalted Butter: Use unsalted to control the salt level. If you’re dairy-free, try coconut oil or a dairy-free butter alternative. Just note that it might change the flavor slightly.
Heavy Cream: This adds creaminess to the caramel. If you’re looking for a lighter option, you can use half-and-half or coconut cream for a dairy-free version.
Chopped Nuts: Optional, but they add great texture. Almonds, pecans, or walnuts work well. If you have nut allergies, try crushed gluten-free cookie crumbs for crunch.
How Do You Achieve the Perfect Caramel Consistency?
Getting the caramel just right can be tricky! You want a smooth, thick caramel that coats the apples perfectly. Here’s how to achieve that:
- Be patient! Cook the sugar mixture over medium heat while stirring until smooth.
- Keep a close eye on the temperature using a candy thermometer. Aim for 245-250°F for a soft caramel.
- Once you add vanilla and salt, be quick when dipping the apples, as the caramel will thicken as it cools.
By taking your time, you’ll create delicious caramel-coated apples everyone will enjoy!
Gluten Free Caramel Apples
Ingredients You’ll Need:
- 4 medium Granny Smith apples (or your favorite tart apple)
- 1 cup packed light brown sugar
- 6 tablespoons unsalted butter
- 1/2 cup heavy cream
- 1/4 cup light corn syrup
- 1 teaspoon vanilla extract
- Pinch of sea salt
- Chopped nuts (optional, ensure they are gluten free)
- Wooden sticks or skewers
How Much Time Will You Need?
This recipe will take about 15 minutes of prep time and around 30 minutes for the caramel to set. In total, you should plan for about 45 minutes from start to finish. It’s a deliciously quick project!
Step-by-Step Instructions:
1. Prepare the Apples:
Start by washing and thoroughly drying your apples. This step is super important because any moisture will make the caramel slide off. Remove the stems from each apple and carefully insert a wooden stick or skewer firmly into the core.
2. Get Your Baking Sheet Ready:
Take a baking sheet and line it with parchment paper or lightly grease it to prevent the caramel from sticking later on. This way, the caramel apples will come off easily once they’re set!
3. Make the Caramel:
In a medium-sized heavy-bottomed saucepan, combine the brown sugar, butter, heavy cream, and corn syrup. Cook this mixture over medium heat, stirring constantly until the butter is completely melted and everything is smooth and blended together.
4. Boil and Check Temperature:
Once the mixture is smooth, bring it to a boil. Clip a candy thermometer to the side of your pan. Let it boil without stirring until it reaches 245-250°F (118-121°C). This temperature ensures you get that perfect soft caramel.
5. Add Flavor:
Once you reach the right temperature, carefully remove the saucepan from the heat. Stir in the vanilla extract and a pinch of sea salt to enhance the flavor. Be careful, as the caramel will be very hot!
6. Dip the Apples:
Now comes the fun part! Tilt the pan to make dipping easier. Dip each apple into the hot caramel, making sure to coat it evenly. Allow any excess caramel to drip back into the pan before placing the apple down.
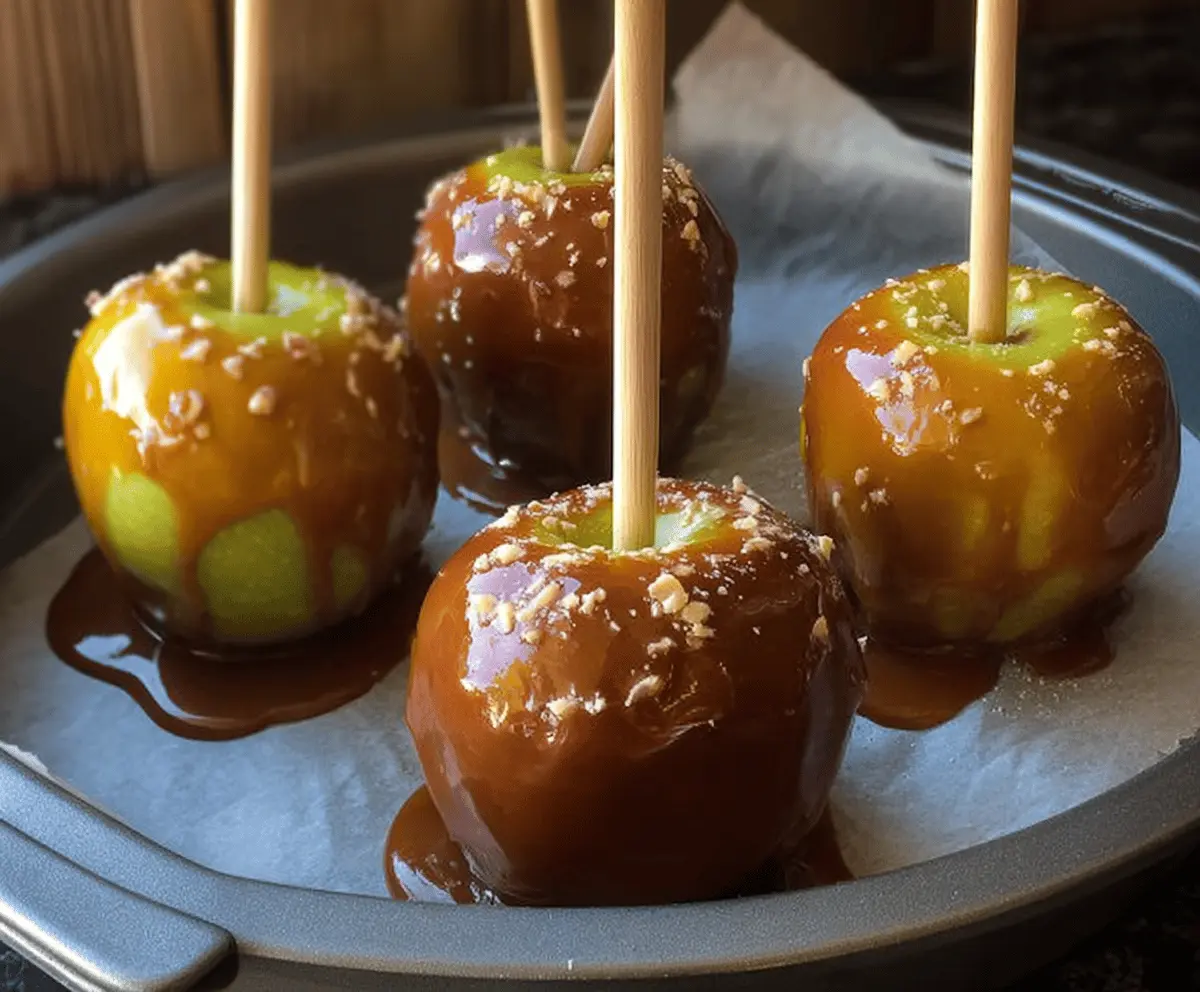
7. Add Nuts (Optional):
If you’re using nuts, sprinkle them onto the caramel right after dipping, so they adhere nicely before the caramel sets. This adds a great crunch!
8. Cool the Apples:
Place your dipped apples on the prepared baking sheet. Let them cool at room temperature until the caramel is fully set, which should take about 30 minutes.
9. Enjoy or Store:
Once the caramel is set, you can serve the apples immediately or store them in the refrigerator to keep them fresh. They make a perfect sweet treat for gatherings or just as a special snack!
Enjoy your delicious gluten-free caramel apples—perfect for a sweet, seasonal treat!
Can I Use Different Types of Apples?
Absolutely! While Granny Smith apples are a popular choice for their tartness and firmness, you can use any crisp apple variety like Fuji, Honeycrisp, or Gala for a sweeter flavor. Just make sure they are firm enough to hold the caramel!
How Should I Store Leftover Caramel Apples?
Store leftover caramel apples in an airtight container in the refrigerator. They will stay fresh for up to 3-4 days. Just be mindful that the caramel might get a bit sticky, so wrap them in parchment paper or wax paper if needed.
What Can I Use Instead of Corn Syrup?
If you prefer not to use corn syrup, you can substitute it with honey or maple syrup. Keep in mind that these alternative sweeteners may slightly alter the flavor, but they will still yield delicious results!
How Can I Ensure the Caramel Sticks to the Apples?
Make sure to thoroughly wash and dry the apples to remove any wax or residue that could prevent the caramel from sticking. In addition, dipping the apples while the caramel is hot ensures a good bond!