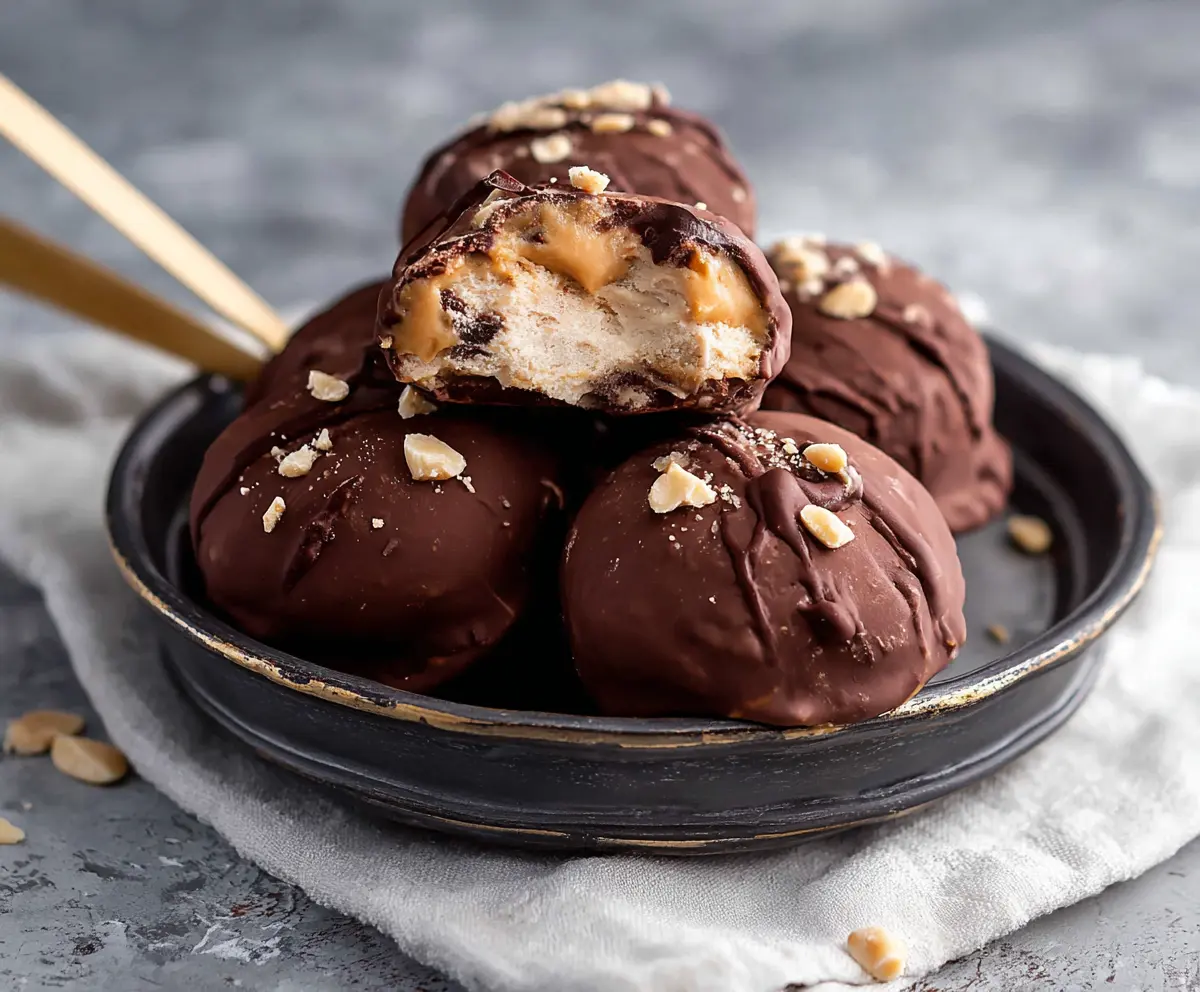
These Chocolate Peanut Butter Frozen Yogurt Bites are a sweet snack you’ll want to keep on hand! Creamy yogurt mixed with rich peanut butter and a yummy chocolate coating makes them irresistible.
They’re great for hot days or when you need a quick pick-me-up. I love popping a few into my mouth when cravings hit—so tasty and easy to make!
Key Ingredients & Substitutions
Greek Yogurt: I recommend using plain or vanilla Greek yogurt for a thick and creamy texture. If you need a dairy-free option, try coconut yogurt or another non-dairy yogurt with a similar consistency.
Peanut Butter: Creamy peanut butter keeps these bites smooth. If you have allergies, sunflower seed butter or almond butter works well too. Just ensure it’s creamy to blend easily with the yogurt.
Honey or Maple Syrup: Both add sweetness. For vegan options, stick with maple syrup. You can adjust the sweetness according to your taste—start with less and add more if needed!
Chocolate Chips: Semi-sweet chocolate is great, but you can also use dark, milk, or even white chocolate if that’s your preference. For a healthier twist, look for sugar-free or dark chocolate varieties.
Coconut Oil: This optional ingredient helps the chocolate melt smoothly, making it easier to coat the bites. If you don’t have any, just go without it, but you may need to adjust your melting time.
How Do I Ensure My Yogurt Bites Freeze Evenly?
Freezing the yogurt bites properly is key to achieving a nice texture. Follow these tips for even freezing:
- Drop even-sized dollops on the parchment paper to ensure uniformity. A cookie scoop can help with this!
- Flatten the dollops slightly so they’re easier to bite into later.
- Make sure the baking sheet isn’t overcrowded. Leave some space between each yogurt bite to freeze without sticking together.
- Once they’re frozen, freeze the peanut butter tops for a short while before dipping, allowing for easier coating later.
Chocolate Peanut Butter Frozen Yogurt Bites
Ingredients You’ll Need:
For the Yogurt Base:
- 1 cup plain or vanilla Greek yogurt
- 1/2 cup creamy peanut butter, divided
- 2 tablespoons honey or maple syrup
- 1 teaspoon vanilla extract
- 1/4 cup mini chocolate chips (optional)
For the Chocolate Coating:
- 1 1/2 cups semi-sweet chocolate chips or melting chocolate
- 1 teaspoon coconut oil (optional, for smoother melting)
For Garnishing:
- Chopped peanuts for garnish (optional)
Time Needed:
This delicious treat will take about 15 minutes of preparation time and 3 hours for chilling and setting. Plan to spend 1-2 hours freezing the yogurt bites and another 30 minutes to firm up the chocolate coating. Totally worth the wait!
Step-by-Step Instructions:
1. Mix the Yogurt Base:
In a bowl, combine the Greek yogurt, 1/4 cup of creamy peanut butter, honey (or maple syrup), and vanilla extract. Stir everything together until it’s smooth and creamy. If you’re using mini chocolate chips, fold them in gently. This is the tasty yogurt filling!
2. Prepare to Freeze:
Line a baking sheet with parchment paper. Using a small spoon or a cookie scoop, drop rounded tablespoon-sized dollops of the yogurt mixture onto the parchment paper. Flatten them slightly to make bites easier to eat later.
3. Freeze the Yogurt Mixture:
Place the baking sheet in the freezer for about 1-2 hours, or until the yogurt bites are fully solid. This step is important for achieving the right texture.
4. Make the Peanut Butter Topping:
While the yogurt bites are freezing, mix the remaining 1/4 cup of peanut butter in a small bowl. If it feels too thick, you can soften it slightly in the microwave for easier scooping.
5. Add the Peanut Butter Filling:
Once the yogurt bites are frozen, take them out of the freezer and add a small dollop (about 1/2 teaspoon) of peanut butter on top of each bite. After that, pop them back in the freezer for another 15 minutes to set.
6. Melt the Chocolate:
In a microwave-safe bowl, melt the chocolate chips and coconut oil (if using) together. Do this in 30-second intervals, stirring well after each time until the mixture is smoothly melted.
7. Coat the Yogurt Bites:
Using a fork or dipping tool, dip each frozen yogurt bite into the melted chocolate, making sure it’s completely covered. Allow any excess chocolate to drip off before placing them back onto the parchment-lined baking sheet.
8. Add the Finishing Touch:
If you like, sprinkle some chopped peanuts on top of the chocolate before it sets for an extra crunch and flavor.
9. Final Freeze:
Return the tray to the freezer for at least 30 minutes or until the chocolate is firm. This sealing step is crucial for that crisp chocolate shell.
10. Enjoy Your Treats:
Once the chocolate is solid, you can serve these delicious bites right away or store them in an airtight container in the freezer until you’re ready to enjoy. They’re perfect as a refreshing snack anytime!
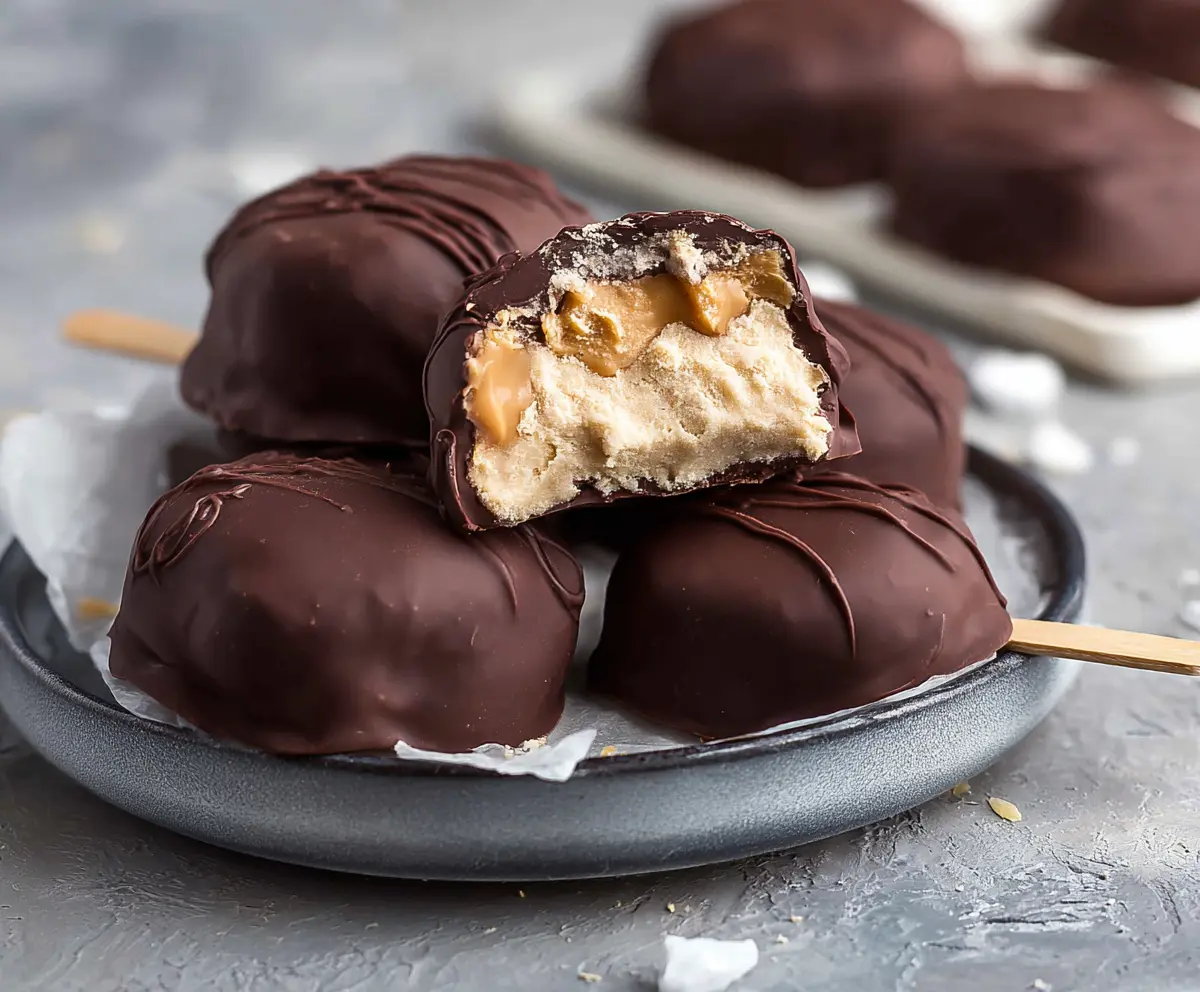
These Chocolate Peanut Butter Frozen Yogurt Bites are a delightful combination of creamy, crunchy, and chocolatey goodness. Enjoy your healthy treat!
Can I Use Non-Dairy Yogurt for This Recipe?
Absolutely! If you prefer a dairy-free option, coconut yogurt or almond yogurt can be great substitutes. Just make sure they have a similar consistency to Greek yogurt for the best results.
How Can I Store Leftover Yogurt Bites?
Store any leftover frozen yogurt bites in an airtight container in the freezer. They can last for up to two months, but they’re best enjoyed within a few weeks for optimal flavor and texture!
Can I Make These Without Chocolate?
Yes, if you want to skip the chocolate coating, you can enjoy the yogurt bites as they are for a lighter snack. You could also roll them in crushed nuts or coconut for added texture!
How Long Do They Take to Freeze?
The yogurt bites will need about 1-2 hours in the freezer to become solid. After adding the chocolate coating, they should freeze for an additional 30 minutes to ensure the chocolate is firm before serving.